
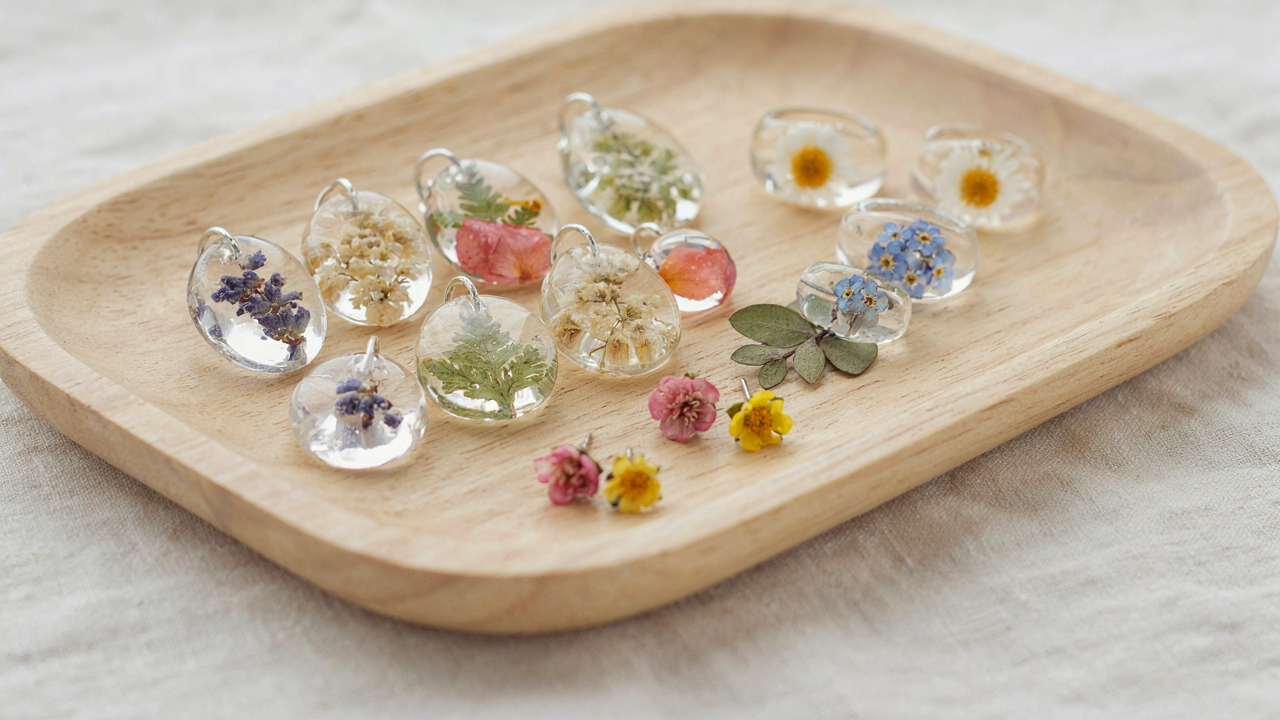
The Illusion Of Effortless Elegance In Dried Flower Resin Jewelry
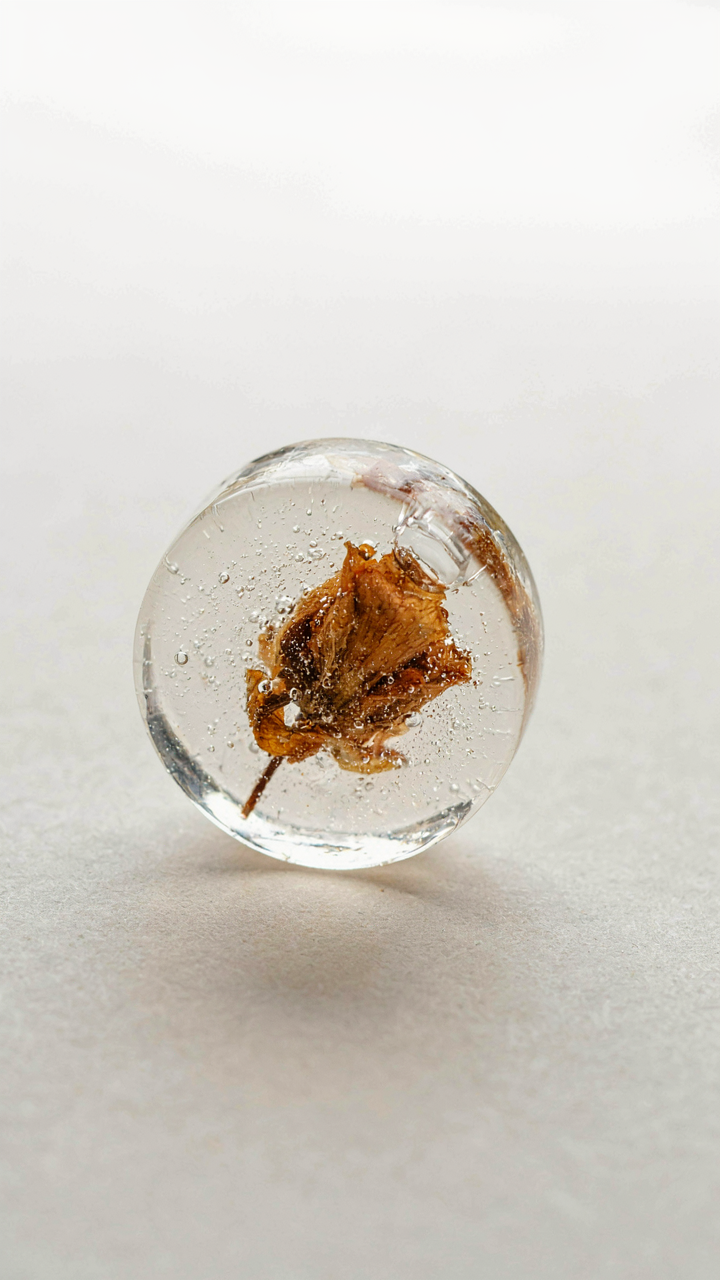
Why Most DIY Attempts Fall Flat
You want to believe you can make this look expensive without the skill gap. Here’s the mechanism: resin jewelry uses the same principle as camouflage in military strategy. The surface appearance masks the underlying structure. When the structure fails, the mask fails. Most DIY attempts collapse because people treat resin pouring as a single action instead of a sequence of dependent variables. They ignore cure time, temperature, humidity, and pressure. One variable breaks and the whole piece looks amateur.
The flowers themselves betray amateur work faster than anything else. Professional resin jewelry uses flowers pressed flat and positioned with precision during the pour. Amateurs drop them in randomly, watch them float or sink wrong, and end up with a chaotic interior that screams hobby project. The resin itself yellows or clouds if mixed improperly. Bubbles form and stay trapped. None of this is fixable once it hardens. You don’t get a second take.
The Hidden Costs Of Easy Resin Projects
Resin projects look cheap because they skip the infrastructure that makes them work. You see a five dollar pendant and think the material cost is the cost. You miss the equipment overhead. A basic setup requires a heat gun, pressure pot, molds, mixing vessels, safety gear, and workspace temperature control. The learning curve eats forty to sixty hours minimum before your output stops looking visibly flawed. That’s opportunity cost most people never calculate. Meanwhile, you’ve already bought materials for six failed batches.
The real expense hides in iteration. Each failed piece represents waste: resin, flowers, time, and the psychological friction of producing something below your standard. Professional resin jewelers run production batches specifically because the per-unit cost drops once you eliminate experimentation. They’ve already paid their learning tax. You’re still paying it. The “easy” project becomes expensive the moment you expect results before mastering the variables.
Resin Jewelry DIY: The Alchemist’s Blueprint For Imperfection

Where To Source Your Flowers
You want to believe a trip to the farmer’s market makes you a craftsperson. It doesn’t. Sourcing matters because resin jewelry fails or succeeds based on flower integrity before the pour, not after. Most people grab whatever looks pretty and watch it brown or collapse inside the cast.
The real mechanism here borrows from botany: you need flowers at peak turgidity before drying begins. This means harvest timing. Supermarket flowers arrive already stressed from transport and chemical treatment. Specialty florists who work with dried arrangements understand flower structure better than general retailers. They know which varieties hold color and form through the drying process without brittling into powder. Direct growers or farms that sell stems specifically for preservation work best.
The Drying Process Determines Everything
Everyone says “press between paper for two weeks” and calls it done. That’s incomplete advice that produces mediocre results. Drying method directly impacts whether your flower maintains structural integrity or becomes fragile waste inside the resin.
There are three practical approaches. Air drying in a dark, low-humidity space takes three to four weeks but preserves color best when you hang flowers upside down to maintain form. Silica gel cuts time to five to seven days and locks in vibrant tones through moisture absorption, though it requires careful extraction to avoid damaging petals. Microwave drying works in minutes but demands precision with heat settings to avoid browning or brittling. The method you choose depends on flower type and the visual outcome you need. Once dry, flowers must go directly into resin within hours to prevent moisture reabsorption, which degrades the final piece.
The Resin Craftsmanship Protocol: Beyond Basic Pouring
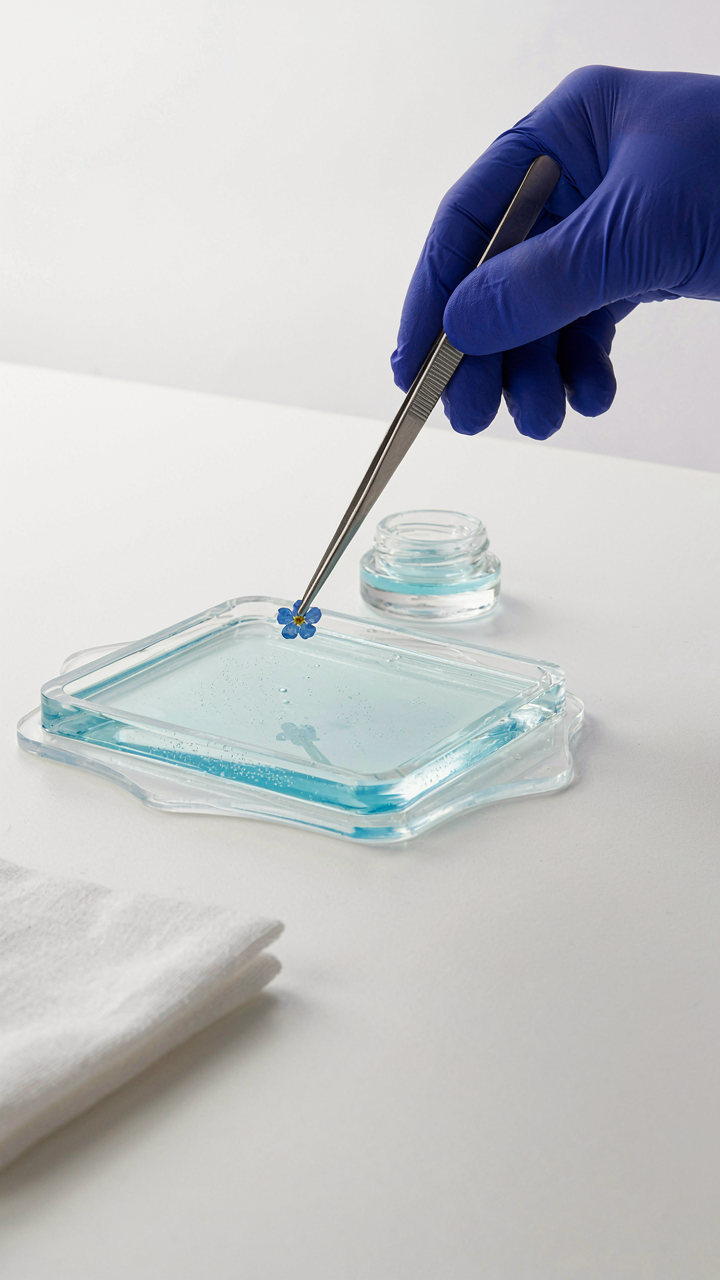
Bubble Elimination Is Your Silent Profit Margin
You want perfect pieces because imperfect ones don’t sell, and you know it. Bubbles aren’t just aesthetic failures—they’re structural weaknesses that crack under pressure. The military approach applies here: identify threats before deployment. In resin casting, air pockets form when resin meets flower material and traps oxygen. You eliminate them through vacuum degassing or heat application, not wishful thinking.
Standard advice tells you to stir slowly or tap the mold. That’s incomplete. The real mechanism: trapped air expands when resin cures and temperature rises, creating voids that rupture the surface. Use a vacuum chamber if you’re serious about production. If not, heat your resin to 110-140 degrees Fahrenheit before pouring—this lowers viscosity and lets bubbles rise naturally. Work quickly. Air doesn’t wait.
Layering For Depth Builds Intentional Architecture
Architecture separates space through deliberate structure, not accident. Resin jewelry uses the same principle: you don’t pour flowers into a mold and hope. You build depth by pouring in stages. First layer: thin base of clear resin, cured fully. Second layer: flowers positioned exactly where light hits them. Third layer: final clear resin seal. Each stage is load-bearing.
The depth perception people pay for comes from light refraction through multiple resin densities. Flowers buried in a single thick pour flatten under their own weight and lose dimension. Layering takes three times longer but produces pieces that catch light differently from every angle. That visual difference justifies higher pricing and repeat sales. Pour your base, wait for tack-free state, position flora, then seal—no shortcuts between stages.
Resin Jewelry Making: The Unseen Variables Of Curing
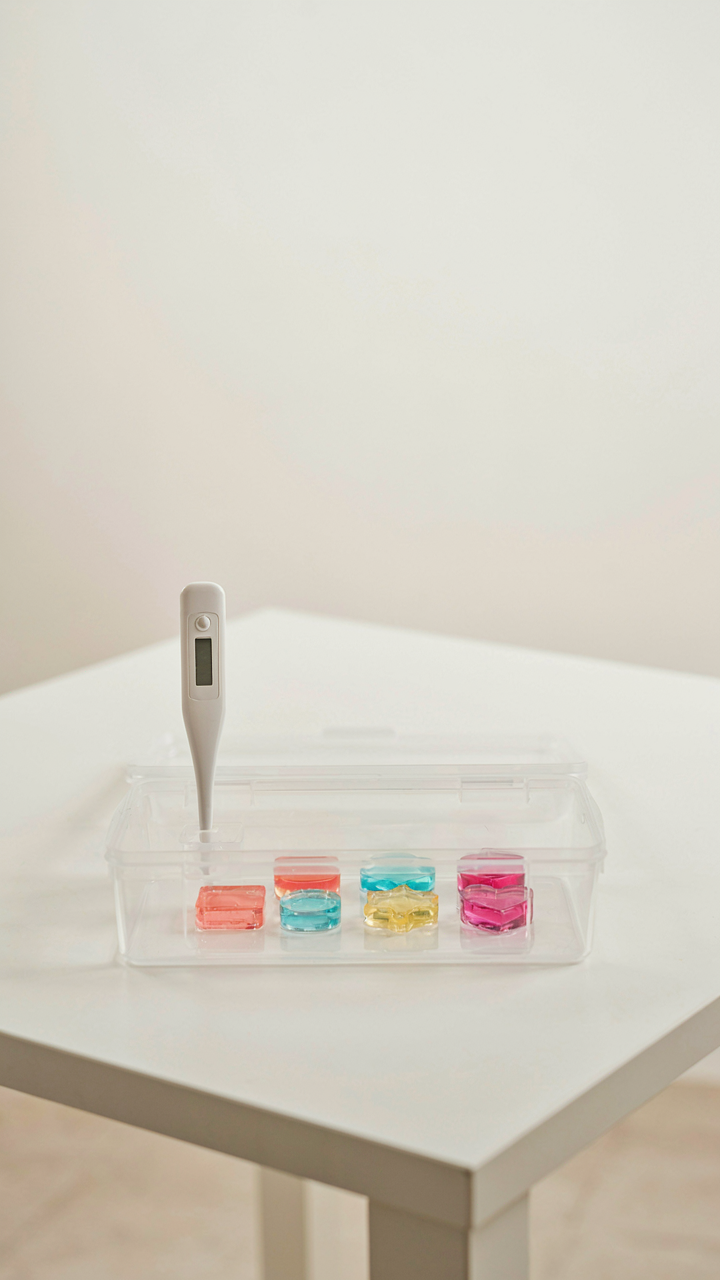
Temperature’s Tyranny: Controlling Your Environment
You want predictable results without babysitting your workspace. The real mechanism is that epoxy resin cures through an exothermic chemical reaction, and temperature dictates the speed and quality of that reaction. Too cold, and the resin cures slowly or incompletely, trapping moisture and air bubbles. Too hot, and it cures too fast, creating stress fractures and yellowing that destroys the flower preservation inside.
Most makers ignore this and just pour at room temperature, then blame the resin brand. The actual requirement: maintain 70-75 degrees Fahrenheit throughout the entire cure window, which typically spans 24 to 72 hours depending on your epoxy type. Use a basic thermometer to monitor your workspace. If your environment fluctuates, your results will too. Consistency beats convenience every time in resin work.
UV Light: Precision Vs Guesswork For Durability
UV resin and epoxy resin demand opposite light strategies, and conflating them ruins pieces. UV resin sets hard in minutes under UV lamps, but overexposure yellows the entire piece and degrades the flower pigments faster. The common advice to “just let it cure in sunlight” is incomplete. Sunlight contains full spectrum UV that you cannot control, so you get uneven curing and premature aging of both resin and botanicals.
Use a dedicated UV lamp with a timer set to the manufacturer’s specifications, typically 5 to 15 minutes per side depending on thickness. This gives you repeatable control. For epoxy resin jewelry, keep pieces away from direct sunlight during cure and storage. Store finished pieces in a cool, dark place. Uncontrolled light exposure is the hidden reason most resin jewelry fades or discolors within months of purchase.
Beyond The Mold: Finishing Your Resin Flowers Masterpiece
Sanding For Clarity: The Diamond In The Rough
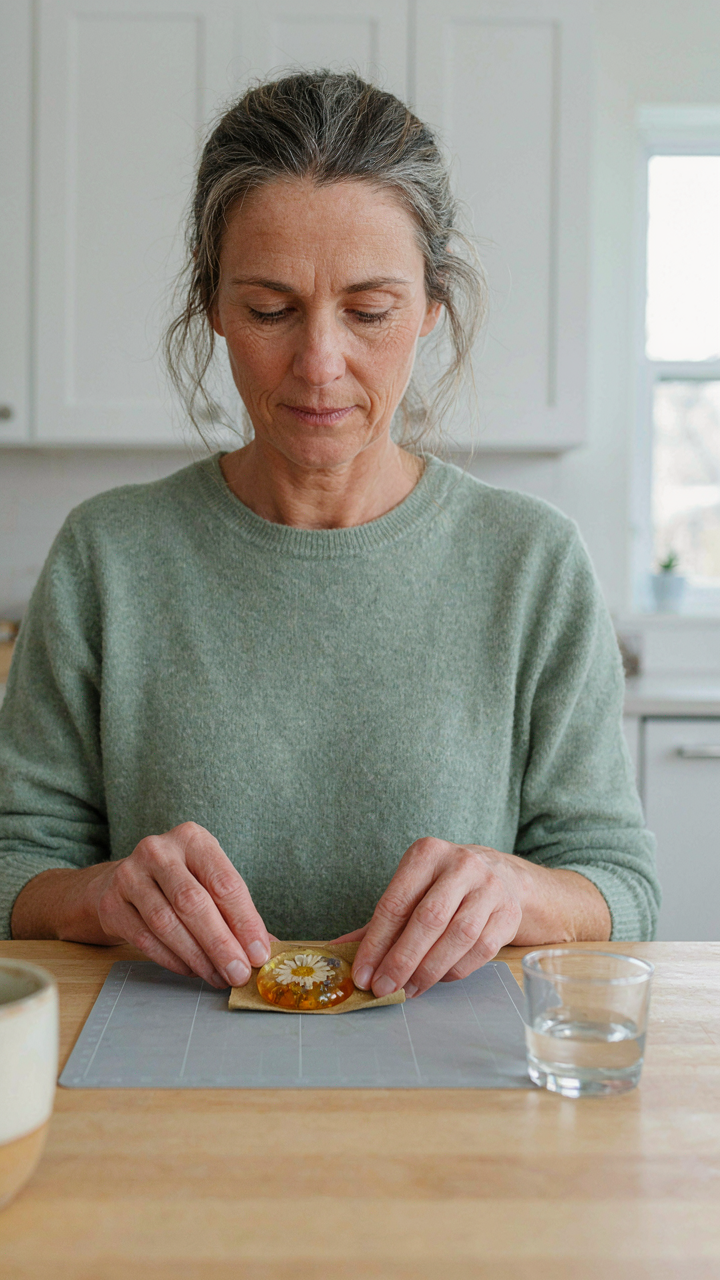
You want people to see what you paid for. That’s the real driver here. The mechanism is optical: light scatters off a cloudy resin surface instead of passing through it. Sanding removes the micro-scratches the mold created, restoring transparency. You start with 400-grit wet sandpaper and work progressively finer: 600, 1000, 2000-grit if you want true clarity. Wet sanding prevents dust from clogging the paper and keeps the surface cool. The resin doesn’t need to be perfect before this step, but it does need to fully cure or it’ll gum up your paper.
The mistake most people make is stopping too early. They hit 600-grit and think they’re done. That leaves a dull, frosted appearance that kills the whole piece. You need to push to at least 1500-grit for that transparent look. Use light pressure and let the grit do the work. If you bear down hard, you’ll create heat friction that can warp thin resin sections or cause micro-cracks. The surface should feel smooth like glass before you move to polishing.
Polishing To A Mirror: Revealing True Value
Polishing isn’t a finishing step you add at the end. It’s the reversal of sanding. Economics calls this the law of diminishing returns, but resin polishing inverts it: each step removes less material but returns exponentially more clarity. After 2000-grit sanding, your resin has a semi-clear appearance. Polishing compound and pads restore the molecular surface to its original state, letting light transmit without obstruction. Use a resin polish or automotive compound like Meguiar’s, applied with a microfiber pad by hand or rotary tool on low speed.
The compounds work through micro-abrasion and chemical bonding. They fill microscopic pits while smoothing the surface to optical quality. A single pass with the wrong technique wastes your work. Move in circular motions, light pressure, overlapping strokes. One minute per section is enough. Too long and friction heats the resin. You’ll know you’re done when the piece catches light like glass instead of matte plastic. This is the moment the flowers inside become visible the way the maker intended.
Pressed Flower Jewelry: From Ephemeral To Eternal Statement
The Flattening Trap
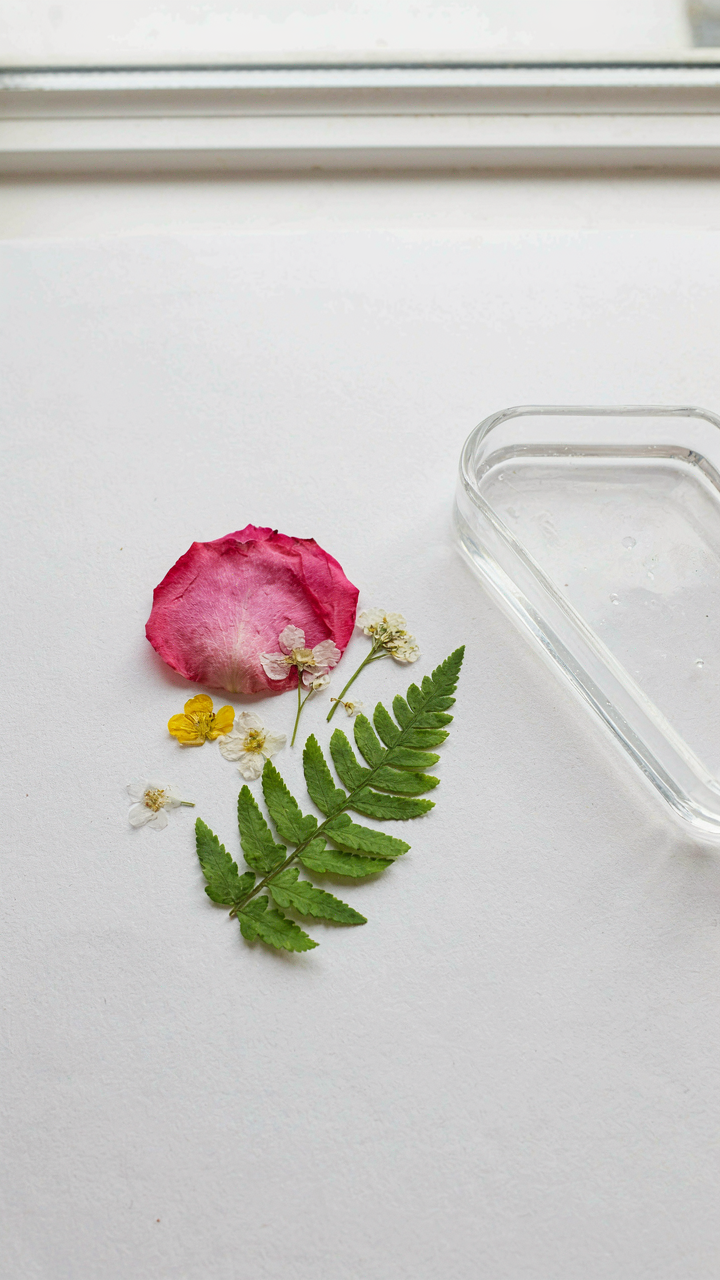
You want your pressed flowers to look “perfect” because you think perfection equals value. It doesn’t. Flattening a flower completely destroys dimension, which is what makes resin jewelry read as intentional rather than decorative filler. The real mechanism here borrows from sculpture: pressing is a compression technique, not an erasure technique. You’re creating controlled depth, not a two-dimensional ghost. Most people press flowers under books for weeks until they’re brittle wafers. That’s the wrong move.
Strategic pressing takes 48 to 72 hours under moderate weight, then you stop. The flower retains its form, its color saturation improves, and it holds structure when cast in resin. The petals still curve slightly, stamens still have texture, and the overall piece reads as deliberate composition instead of preservation gone wrong. Your goal is stabilization, not annihilation. When you pour resin over partially pressed flowers, light hits multiple surfaces instead of one flat plane. This is why amateur pieces look flat and professional pieces command attention.
Visual Logic Over Random Placement
Every element in the resin has to earn its position. Random arrangement is the tell that separates hobbyist work from gallery-quality pieces. You’re building a visual hierarchy with the same rules as graphic design: dominant flower, supporting elements, negative space. The dominant piece is always slightly larger or more saturated in color. Supporting flowers bridge the negative space without competing for focus. Background filler stays genuinely small.
The composition works because your eye follows a path, not because flowers are scattered across the setting. Test your arrangement on paper first. Lay out the flowers in the mold before pouring resin. If you can’t describe why each flower is there in one sentence, move it. The final piece should guide attention systematically. Small gypsophila or astilbe fills negative space. Mid-tone florals create rhythm. One bold element anchors the entire arrangement. This deliberate placement is the difference between jewelry that looks thoughtful and jewelry that looks like someone dropped flowers into plastic.
Resin Jewelry Display Ideas: Curating Your Personal Gallery
Where Each Piece Actually Belongs
You want people to notice what you own. That’s the real reason you’re reading this. The mechanism is context. In retail environments, display positioning directly controls customer perception of value and desirability. Apply this same principle to your resin pieces: placement determines whether they register as decoration or as deliberate curation.
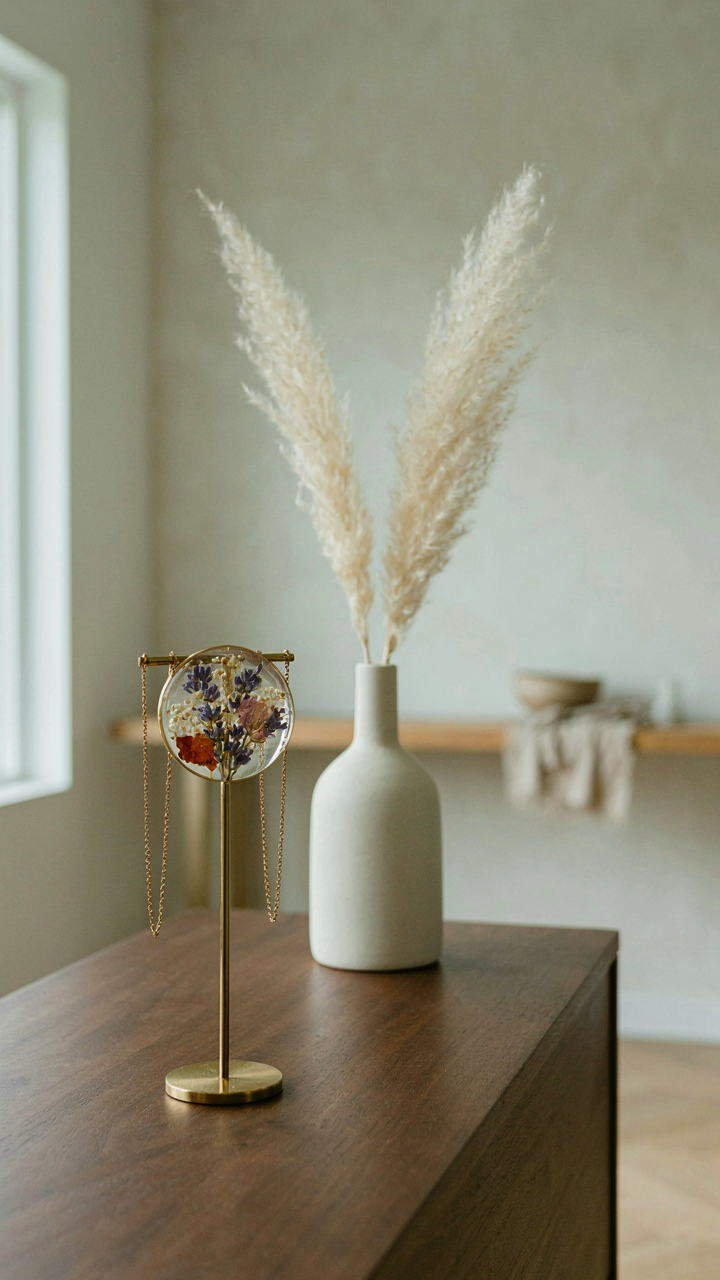
The mistake most people make is treating all display surfaces as equivalent. They’re not. Where you position a piece signals its importance to anyone viewing your space. A dried flower resin pendant on a shelf beside clutter reads as an afterthought. The same piece on a dedicated stand becomes a focal point. Your role is to engineer that difference intentionally.
- Entryway displays: Position signature pieces at eye level where guests encounter them first. This establishes tone before they fully enter your space.
- Bedroom nightstands: Place intimate, smaller pieces here. The proximity creates personal ownership that reads differently than public-facing displays.
- Workspace desks: Group related pieces to establish a visual narrative. Clustering strengthens perceived intentionality.
- Shelving with negative space: Avoid crowding. Empty space around each piece forces focus and signals confidence in the work itself.
- Floating wall mounts: Position pieces at the center of your sightline when seated. This demands attention without aggression.
Proximity matters more than most people admit. A piece positioned within your natural sight line when you sit gets noticed daily. That repetition builds emotional attachment. The pieces you place outside your regular visual flow disappear psychologically, regardless of their quality. Arrange your collection so the strongest pieces occupy spaces your eyes naturally rest on.
Amplifying Presence Through Light And Backdrop
Light doesn’t just illuminate resin jewelry. It reveals the depth that makes these pieces worth owning instead of buying mass-produced alternatives. Backlighting shows the flower structure inside the resin. Front lighting emphasizes the surface finish and color saturation. This is basic optics applied deliberately.
Most people underestimate how backdrop color affects perception. A white or light neutral background makes resin appear brighter and more prominent. Dark backdrops create contrast that isolates the piece from its surroundings. Neither is universally correct. Test both. The goal is determining which backdrop makes your specific pieces read as intentional rather than accidental. Position directional light sources so they hit the resin at an angle that reveals the flower layers without creating glare that washes out detail.
Consistency in lighting creates rhythm across multiple pieces. If you display three resin pendants, each should receive similar light quality and direction. Inconsistency signals carelessness. The light itself becomes part of the display system. A single well-positioned source outperforms ambient room lighting for emphasizing resin’s translucency and depth. Adjust your light positioning monthly as seasons change and natural light angles shift through your space.
Fleurs Séchées And Dried Flower Necklace: The Investment In Time

The Patience Premium
You want the piece fast because you think speed equals access to status. It doesn’t. Economics calls this the time preference problem: people discount future value because they can’t wait. Applied to dried flower resin jewelry, rushing the creation process destroys the actual product. Flowers pressed in haste crack. Resin poured without proper degassing traps bubbles. Hasty curing produces brittleness. The makers who charge more aren’t charging for materials. They’re charging for the calendar days required to do it right.
The real cost difference between rushed work and deliberate work shows up in year three, not week one. A necklace made with compressed timelines will yellow, cloud, and fragment. One made with proper flower pressing, sequential curing stages, and controlled temperature conditions stays clear and stable for decades. You pay the patience premium upfront or you pay it later in replacement costs and regret. There’s no third option.
Longevity Lessons
Designing for decades means accepting that epoxy resin yellows under UV exposure, so makers who plan for longevity use UV-stabilized formulations from the start. This is a material science choice, not an aesthetic one. Clear resin without stabilizers will shift amber within eighteen to thirty-six months of indoor display. Stabilized resin holds clarity for ten years or longer. The flowers themselves degrade too. Botanically, chlorophyll breaks down regardless. Makers who design for longevity select flowers with natural structural integrity—roses, baby’s breath, statice—and avoid fragile species like peonies that crumble inside the resin over time.
The second layer is sealing the piece against moisture and oxidation. Jewelry that lasts uses multiple barrier strategies: fully encasing flowers with no air pockets, backing the piece with a waterproof seal, and designing with thicker resin walls to prevent flexing. Thin, poorly backed necklaces fail because movement creates micro-fractures around the flower material. Thicker construction with reinforced backing prevents this. The maker’s protocol determines everything: sourcing stabilized resin, selecting structurally sound botanicals, eliminating air gaps during pour, and backing with protective sealant layers.
Diy Resin Art: The 80/20 Rule Of Distinctive Design
Restraint Creates Recognition
You want people to recognize your work instantly. That’s the real reason you care about this section. Most DIY resin jewelry makers do the opposite—they cram every technique, color, and flower variety into one piece because they can. Restraint is the mechanism. Remove 80 percent of what you could include and the remaining 20 percent becomes unmistakable.
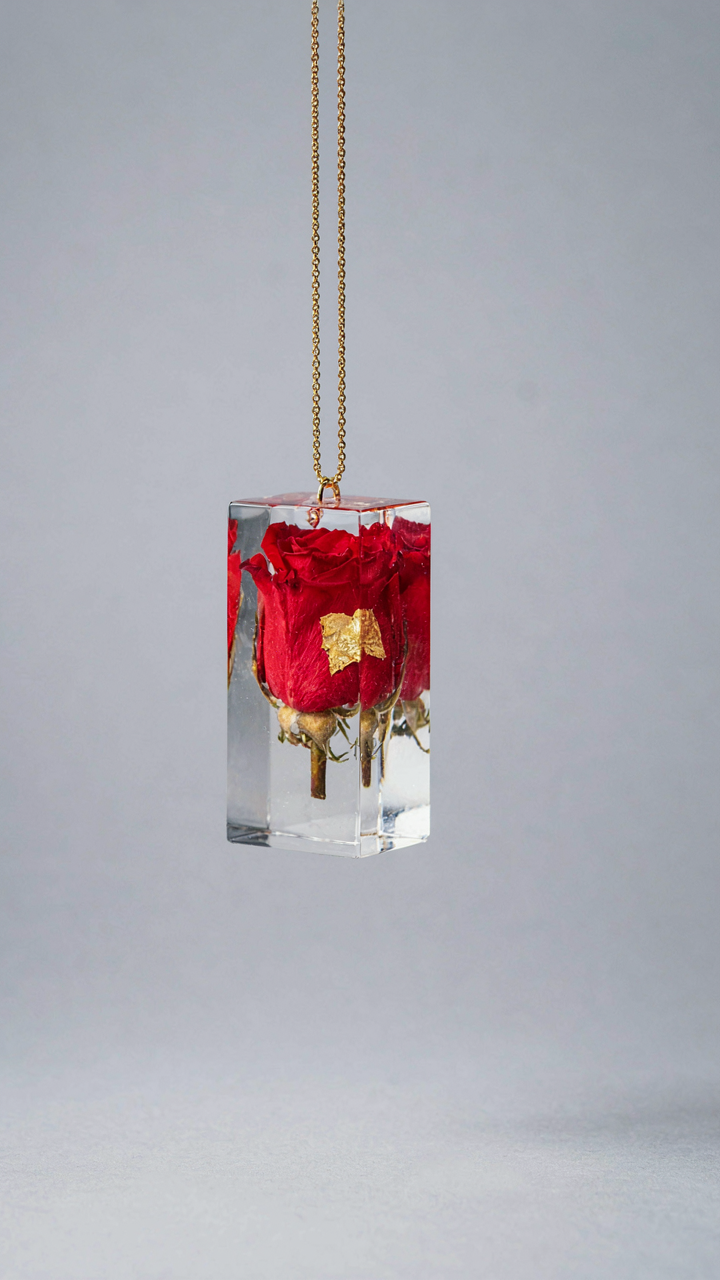
Minimalism in resin work means committing to a narrow constraint: one dominant flower type per piece, limited color palette, consistent sizing. The Bauhaus movement in design proved this decades ago—reduction forces clarity. When you force yourself to say no to options, each choice becomes heavier. A single preserved rose suspended in clear resin with a thin gold leaf accent reads stronger than five flower varieties competing for attention in murky pigmented resin.
Your Repeating Elements Are Your Brand
Stop copying what you see on Instagram and copying what you see on Instagram and start documenting what you naturally repeat. Your signature emerges from constraint, not experimentation. If you keep reaching for baby’s breath, keep it. If you consistently choose warm amber tones over cool blues, lock that in. Three decisions repeated across fifty pieces build recognition faster than forty different approaches across fifty pieces.
Define your signature by picking one element you’ll repeat in every piece and one you’ll vary slightly. The repetition creates brand recognition. The variation prevents monotony. For example: every pendant contains a single dried flower species, but the resin background color shifts within a defined palette. This approach requires discipline. You execute that discipline by treating your DIY practice like a product line, not a hobby workshop.
Your Home Is A Monument To Your Choices, Not A Museum Of Fleeting Trends

Most people decorate to impress strangers. They buy what Instagram told them to buy. Dried flower resin jewelry flips this. You’re selecting pieces that actually mean something to you, not chasing what dies next season. Pick one pendant or ring today that stops you cold when you look at it. That feeling is your only metric. Your space reflects what you refuse to compromise on, and that matters infinitely more than following the crowd into oblivion.



