
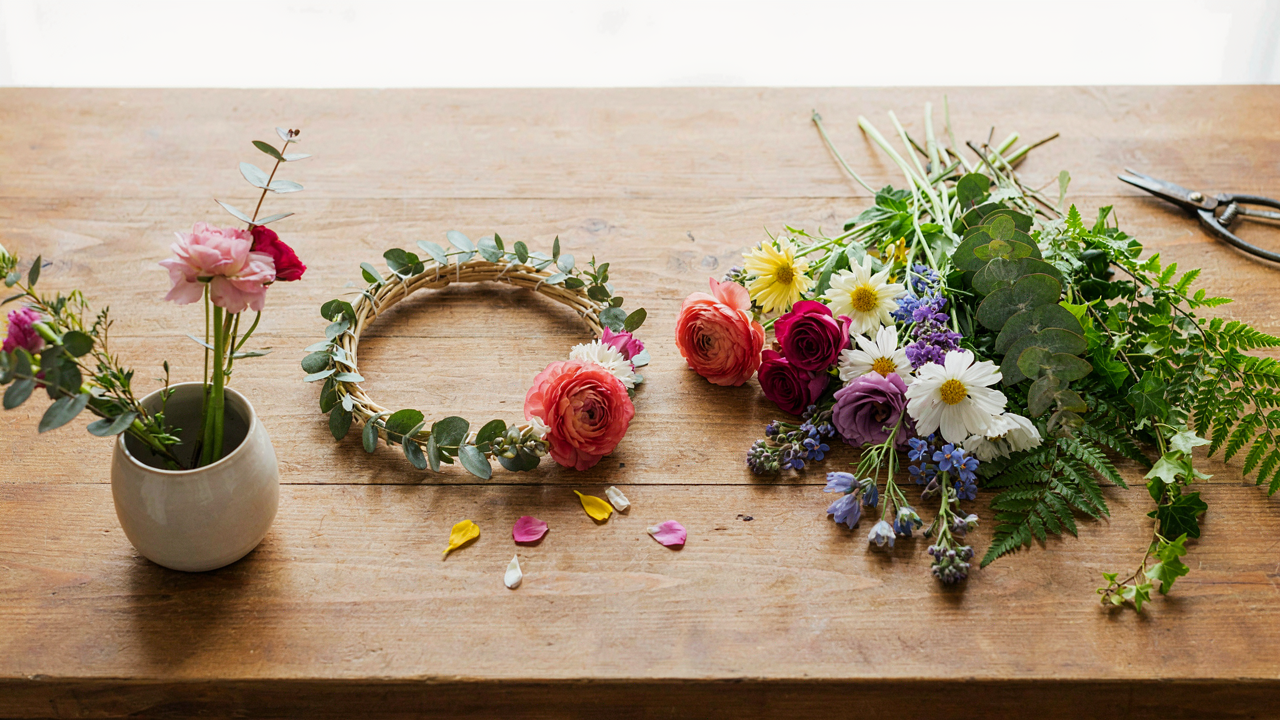
The Unseen Foundation: Why Your DIY Flower Crown Collapses
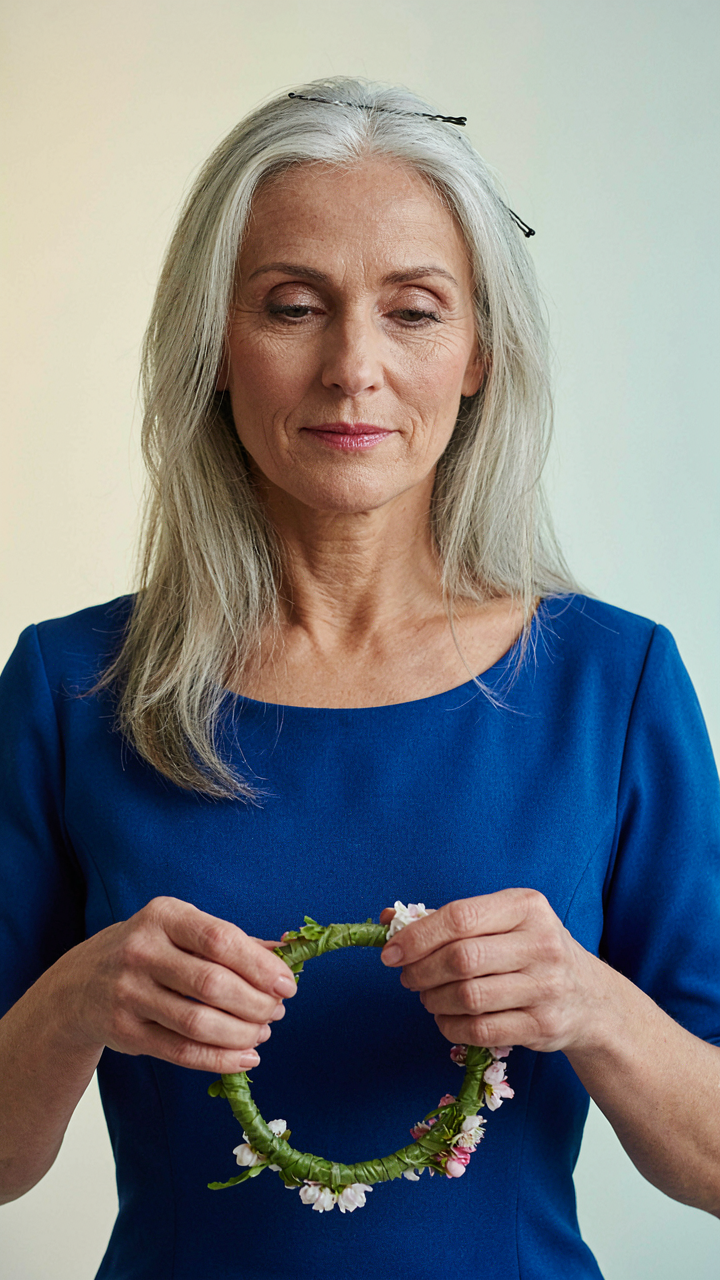
Choose Your Base Like An Engineer Chooses Materials
You want the crown to stay put because wearing one that slips feels like failure. Here’s the mechanism: flower crowns fail at the base, not the flowers. Think of this in terms of structural engineering—you need a substrate that balances tension and compression. Floral foam absorbs water but becomes brittle and crumbles under repeated adjustment. Wire frames offer rigidity but transfer all stress to anchor points, creating failure nodes. Fabric-wrapped bases distribute load evenly, which is why experienced florists use them.
The base material determines everything downstream. Floral tape wrapped tightly around a 16 to 20-gauge wire creates a stable foundation that flexes without collapsing. Moss-wrapped bases look organic but lack structural integrity under the weight of fresh flowers, especially as moisture builds. Choose your base first, then build the flower placement around its actual load capacity, not aesthetic preference.
Anchor Points Prevent The Inevitable Slip
Most tutorials skip this entirely, which is why crowns migrate sideways within an hour. The anchor mechanism works like rigging on a boat—you need multiple contact points distributed around the perimeter, not just back or sides. Hair grips and bobby pins placed every two inches around the band create redundancy. If one slips, the crown doesn’t collapse because adjacent anchors hold position.
The distribution pattern matters more than pin quantity. Place pins perpendicular to the band, angling downward into hair, not straight in. Secure the base to hair at crown, temple, and behind each ear simultaneously. This three-point anchor system prevents rotation and lateral movement.
Deconstructing The “How To Make A Flower Crown” Myth: Forget The “Easy” Way

Why Generic Easy Methods Fail Under Real World Conditions
You want to believe a flower crown lasts all day because you don’t want to spend three hours troubleshooting wilting petals at an event. Here’s the mechanism: most tutorials skip the actual material science and treat water retention like an afterthought instead of the primary structural problem. Fresh flowers lose hydration the moment you cut them. Air exposure, heat, and movement accelerate this loss exponentially. Generic advice says “mist with water” or “use floral foam” without addressing that these solutions only delay failure by hours, not eliminate it.
The real issue isn’t that the method is hard. It’s that tutorials separate flower selection from base construction from hydration strategy, treating each as independent steps. They’re not. You choose flowers based on their water retention capacity first, build the crown structure around that constraint, then apply hydration tactics that actually work for that specific flower type. Skip this sequencing and you get what most people get: a crown that looks decent for an Instagram photo then falls apart before the event ends.
The Critical Overlooked Steps For Actual Durability
Floral design borrows from engineering the concept of load distribution. Your crown must distribute weight evenly across the base frame, not concentrate it in clusters. Most tutorials clump flowers together for visual density, which creates stress points where stems snap and blooms detach. The base frame material determines whether your crown can handle that weight at all. Chicken wire wrapped in floral tape holds more weight than foam alone. Foam alone can’t support large blooms without reinforcement at the stem insertion points.
The overlooked step is pre-conditioning your flowers before assembly. Cut all stems fresh, remove lower leaves that sit in water, and place flowers in a hydration solution for at least two hours before building the crown. This pre-hydration fills the stem capillaries fully so they absorb moisture during wear instead of losing it. Skip this and stems become straw tubes that shed water instead of retaining it. Assemble the crown no more than four hours before wear. This timing window is non-negotiable if durability matters.
The Biomimicry Protocol: Engineering Your Flower Hair Wreath For Longevity

How Plants Stay Alive Under Pressure
You want your flower crown to last longer than two hours because you’re tired of watching your work collapse mid-event. That fear is rational. Biology solves this through vascular systems, and you can steal that exact mechanism. Plants transport water against gravity using capillary action and pressure differentials, not magic. Your stems need the same pathways open.
The typical advice says “keep stems in water” and calls it done. That misses the actual mechanism. Cut stems at a 45-degree angle underwater to expose maximum surface area and trap air out of the vascular tubes. Use floral foam or a wet moss base that maintains constant moisture delivery to every stem. The moment capillary action stops, the flower dies. Your job is maintaining that hydraulic chain from base to petal.
Framework Design That Doesn’t Collapse
Structural integrity comes from skeletal systems, and your crown’s framework is its skeleton. Animal bones don’t work through bulk, they work through distribution of load and strategic reinforcement at stress points. The crown base experiences pressure at attachment points and where the heaviest flowers sit. Build accordingly.
Florists use floral wire or a base frame precisely because it mirrors how skeletal systems transfer force. Thicker gauge wire holds the back of the crown where it touches the head. Lighter gauge branches out to support individual stems. This distributes weight instead of concentrating it. Secure each stem with multiple connection points rather than one, mimicking how joints handle load. The crown stays stable because stress flows through the structure instead of snapping it.
Beyond Blooms: The Unexpected “Coroa De Flores” Fillers That Matter

Foliage Does The Heavy Lifting
You want people to notice the flowers, but you’re afraid the crown will look sparse. That’s the real problem here. Foliage isn’t decoration—it’s engineering. In structural design, load-bearing elements support the visible components. Greenery functions the same way in a flower crown: it provides the framework that holds blooms in place and fills gaps that would otherwise expose the base structure.
Most tutorials gloss over foliage selection and jump to flowers. That’s backwards. Choose foliage first based on stem thickness and flexibility, not appearance. Eucalyptus, salal, and ruscus hold their shape for days and accept wire or tape without splitting. They create the skeleton. Flowers attach to this framework, not floating loose. Build the structure, then layer blooms on top.
Texture That Lasts Beyond The Event
Everyone talks about adding “interest” with varied textures. That’s vague nonsense that ignores longevity. The real mechanism is water retention: materials that dry slowly stay rigid longer and hold their form under the weight of blooms. Dried grasses, preserved oak leaves, and statice (limonium) don’t wilt or collapse mid-event because they’ve already shed their water content.
Incorporate one unexpected texture element that serves a dual purpose: visual contrast and structural integrity. Thistle heads, dried wheat, or bleached pampas add dimension while maintaining rigidity for hours. Test your texture choices by handling them after forty-eight hours without water. If they’re still firm, they’ll perform under crown conditions. Assemble your crown backwards: start with the dried textures that anchor the design, then layer fresh foliage, then finish with blooms.
The “Make A Flower Crown” Arsenal: Tools That Actually Work (and Don’t)
What You Actually Need To Start
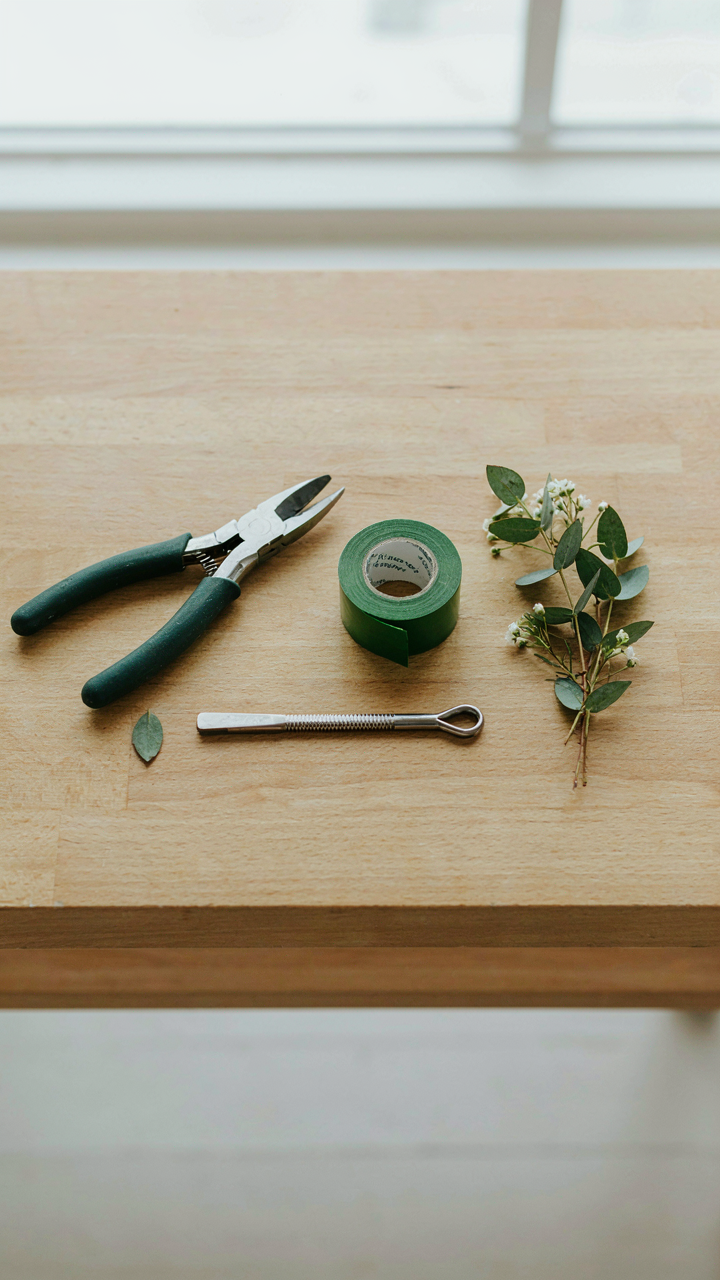
You want to avoid looking incompetent when someone asks you to make a crown, so you’re tempted to buy everything. Stop. The real mechanism here borrows from systems design: constraint forces efficiency. You need three tools and nothing more.
- Wire cutters: Cuts floral wire cleanly without crushing stem ends. Bypass scissors entirely—they mangle wire and damage flowers. Get pruning-grade cutters, not craft store scissors.
- Floral tape: Holds stems to the base wire and seals cut ends. It stretches as you wrap, creating an airtight seal that slows water loss. Essential for crown longevity.
- Stem stripper: Removes leaves from lower stems in one motion without shredding plant tissue. Prevents rot when stems sit in moisture near the base wire.
- Base wire or foam ring: Gives structure. Wire works better than foam for adjustable sizing and reusability across different head sizes.
- Floral knife or sharp knife: Makes angled cuts on stems for faster water absorption. A dull blade crushes vascular tissue and kills the flower faster.
You don’t need a specialized flower crown kit. Those kits bundle garbage you’ll never touch. Buy these three items individually and you’re done. Most fail before they start because they’re working with dull tools that crush instead of cut.
The Tools People Waste Money On
Most flower crown advice stops at “here’s what to buy” and misses why people buy the wrong things. You’ll see recommendations for hot glue guns, crown-shaped foam bases, and pre-made floral supplies. These create problems they claim to solve.
Hot glue guns kill flowers faster than scissors—the heat damages stems instantly. Pre-made foam bases are rigid and hurt when worn. Craft kits mark you as someone following instructions instead of understanding the mechanism. The real cost isn’t the money. It’s the time you spend fighting tools instead of building. You strip tools down to what changes the outcome: cutting efficiency, water retention, and structural integrity. Everything else is noise.
The “Diy Crown” Economy: Maximizing Impact, Minimizing Waste
Where To Source Your Materials
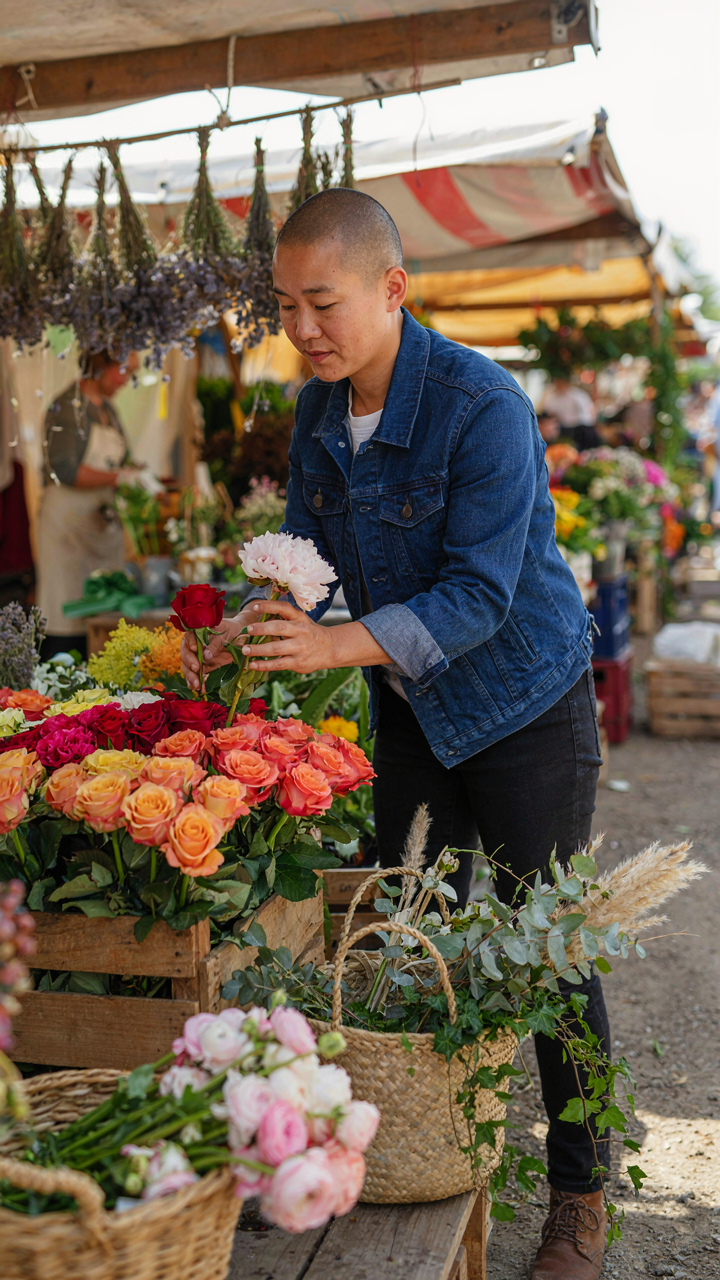
You want to feel resourceful without actually doing the work. Here’s the real mechanism: sourcing locally and seasonally cuts your costs by 40 to 60 percent because you’re buying flowers at peak supply, not peak demand. Florists mark up out-of-season inventory hard. When you align your crown project with what’s blooming now, you remove the middleman’s scarcity premium entirely.
Local growers—farmers markets, garden centers, nurseries—sell bulk stems at wholesale rates if you ask directly. Seasonal flowers cost less because volume is high and transport is minimal. Foraged materials from your yard or nearby parks cost nothing but time. The constraint forces creativity. Work with what’s available in your region right now, not what Pinterest shows you from California in January.
Bought Versus Found: The Real Trade Off
Everyone says forage when possible, but that’s incomplete advice. Economics calls this opportunity cost, and flower crowns are no different. Your time has value. If you spend three hours foraging for greenery when you could buy bulk eucalyptus for eight dollars, you’ve made a bad trade unless gathering is the point itself. The decision hinges on one question: are you optimizing for experience or output?
Purchased elements give you consistency and speed. Foraged materials give you story and zero recurring cost. Mix both. Buy your base flowers where quality matters—roses, peonies, dahlias hold shape under tension. Forage your filler: leaves, grasses, branches. This splits the difference. You control expense, maintain visual integrity, and keep the project grounded in place. Your final protocol: buy structured blooms, forage structural elements.
The “How To Make Flower Crown” Algorithm: A Step By Step System
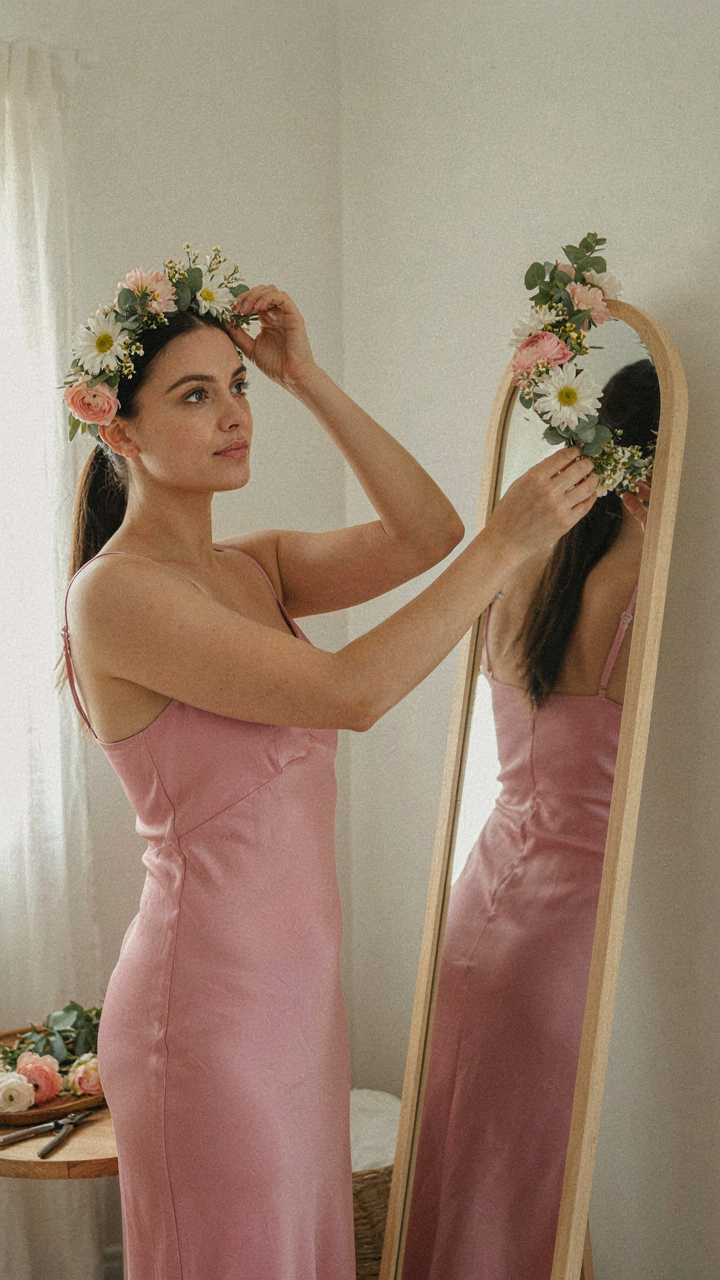
Build From Structure Outward
You want this to look effortless. That fear drives most people to grab flowers and jam them in random. Here’s the mechanism: a flower crown is a load-bearing structure. Treat it like architecture, not decoration. You start with the base—the wire or foam foundation that determines everything downstream. Without a stable base, the crown collapses under the weight of wet stems and gravity. Secondary decisions about flower placement become irrelevant if the skeleton fails first.
The primary elements come next. These are your statement flowers—the ones people notice first. Roses, peonies, or sunflowers. Space them with intent around the base at roughly equal intervals. This creates visual rhythm and prevents clustering. Then fill gaps with secondary fillers: baby’s breath, eucalyptus, small greenery. The sequence matters because primary flowers anchor the design. Fillers support them without competing for attention.
Adjust Until The Structure Holds
Most tutorials skip this part because iteration sounds like failure. It’s not. Dynamic design is borrowed from engineering: you build, test under load, then modify. Make your crown, wear it for five minutes, identify where it shifts or presses unevenly. That feedback is the only accurate data you have.
Adjustment means repositioning flowers slightly, adding support wire where stems bend wrong, or swapping a heavier element for something lighter. The crown should feel balanced on your head before you’re done, not after. This typically takes two to three rounds. Precision here saves you from a crown that looks sharp in photos but slides off at minute twenty.
Preservation Black Magic: Extending Your Flower Crown Tutorial Creation
What Flowers Actually Need Before Assembly
You want your crown to last because you’re terrified of it falling apart during the event. That fear is rational. The mechanism is simple: flowers wilt when they lose water faster than their stems can absorb it. Treat them like they’re thirsty before you build anything. Cut stems at a forty-five-degree angle under running water to maximize surface area. Remove all foliage below the waterline immediately. This eliminates bacterial growth that clogs the vascular system and speeds decay. Submerge freshly cut stems in room-temperature water for two hours minimum before assembly.
Floral preservative isn’t marketing noise. It contains three active components: sugar for energy, citric acid to lower pH and improve water uptake, and biocide to kill bacteria. Mix it into your water at the exact ratio the packet specifies. Flowers that start hydrated stay rigid longer because cell turgor pressure remains stable. Harvest or purchase flowers in early morning when they’re fullest with moisture. Late afternoon flowers are already stressed from heat and light exposure. Start with material that’s already winning, not material you’re trying to save.
Crown Care Between Build And Wearing
Most people get this wrong: they think misting is enough. It’s not. Misting hydrates the petals but doesn’t reach the stems where water actually matters. Store your finished crown in a cool space, ideally fifty to fifty-five degrees Fahrenheit if you have a spare refrigerator section. Keep it away from direct sunlight, ripening fruit, and air conditioning vents. All three accelerate ethylene gas production or cause rapid dehydration. Place the crown on a flat surface, never hanging or propped at angles that stress the base.
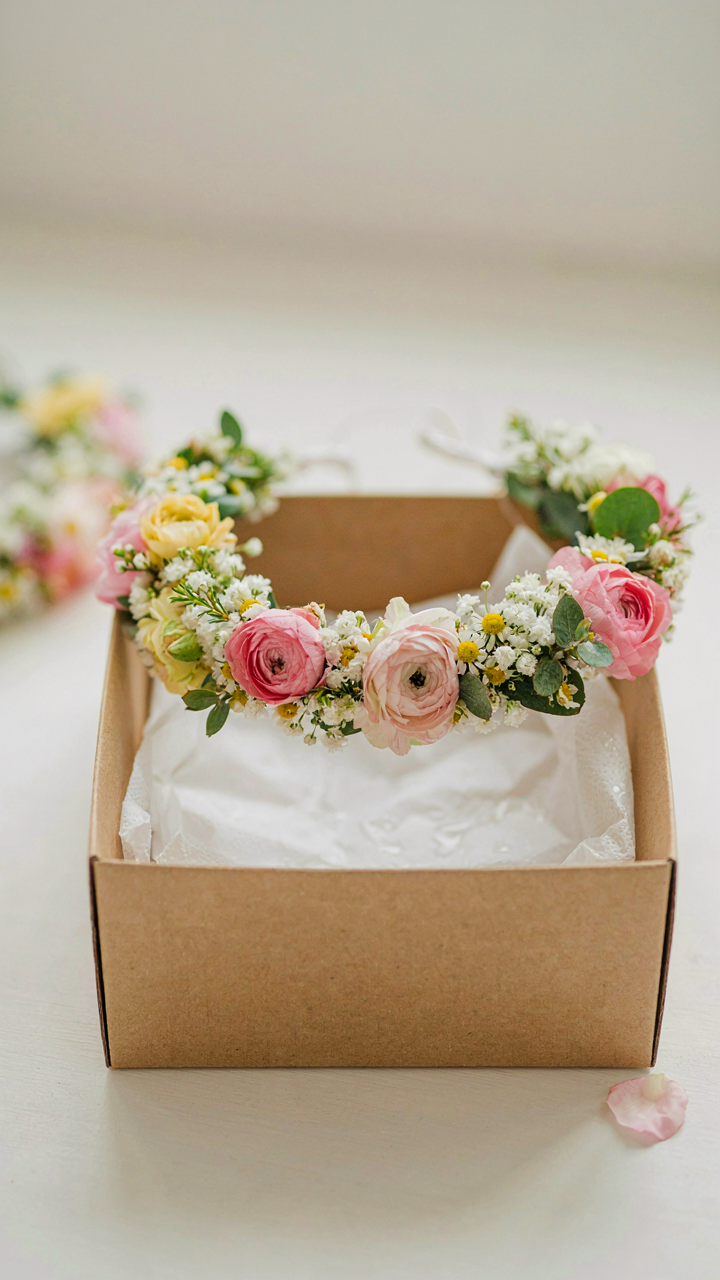
Handle the crown by the frame only, never by individual stems or flower heads. Oils from your skin transfer bacteria to cut surfaces and speed deterioration. If you must transport it, place the crown in a shallow box lined with damp paper towels, not touching the sides. The towels maintain humidity without waterlogging the flowers. Inspect stems one hour before wearing. Any stem showing visible slime needs removal immediately. This is your only failsafe against total collapse during wear.
The Unbreakable Flower Crown: Engineering For Real World Wear

Weight Distribution Across The Head
You want this to look effortless while staying put for hours, which means you’re terrified of it slipping and destroying your credibility in the moment. Here’s the real mechanism: think in terms of load bearing from structural engineering. A flower crown carries load, and that load must distribute across multiple contact points on the skull, not concentrate at the crown vertex where gravity pulls hardest. Most tutorials ignore this entirely.
The base wire or floral foam band should contact the head at minimum three points: the back of the head above the nape, both temples, and ideally the front hairline zone. Denser, heavier flowers go low and toward the back. Lighter blooms and filler material go high. This inverts what most people assume about flower placement. Test the weight distribution before securing by wearing it for five minutes without fasteners and noting where pressure builds.
Securing Systems For Different Hair And Movement
Common advice says bobby pins and floral tape solve everything. They don’t. The mechanism is friction and mechanical lock, not adhesion. Your fastening strategy depends entirely on hair texture, density, and the physical demands you’ll place on the crown during wear. Fine hair needs more anchor points with smaller spacing. Thick hair needs fewer points but heavier gauge materials.
For thin or slippery hair, use a combination approach: a baseline headband sewn into the floral base, supplemented by U-shaped pins that lock through the band itself, not just the hair. For active wear or dancing, add a thin elastic back-strap running from one temple around the back of the head to the other temple, hidden behind the flowers. The elastic absorbs movement shock and prevents forward creep. Always test the crown during a five-minute walk before committing to the full event.
The Real Obstacle Isn’t Your Craftiness, But Your Aversion To Understanding Fundamental Material Science

Most people fail at flower crowns because they treat flowers like static objects instead of living things that wilt, bend, and die on a schedule. You need to understand why certain stems hold tension better than others. Why greenery stays flexible longer. Why water absorption matters more than your aesthetic vision. Stop watching tutorials that skip these basics. Go buy three different flower types today and actually test how long each one lasts when you bend it. The difference between a crown that holds for an hour and one that lasts all night isn’t luck, it’s physics you refused to learn.



