
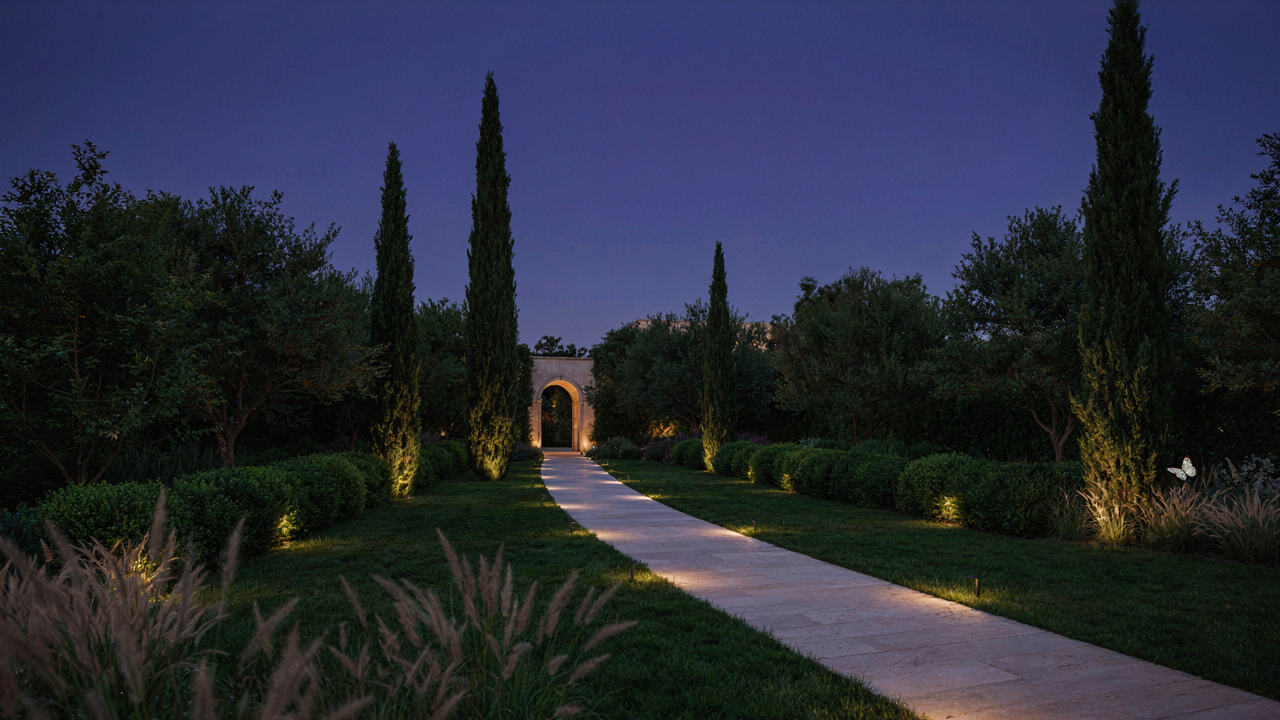
The Unseen Hand: Why Most Garden Lighting Fails
Illuminating Everything Kills The Design
You want to prove you did something. You want every corner visible, every plant readable, every surface accounted for. That’s the real driver here, and it’s the exact opposite of how lighting actually works.
The amateur floods the garden with light and calls it solved. But photography teaches us the mechanism: contrast creates perception. A garden lit everywhere is a garden lit nowhere. Your eye needs darkness to register what’s bright. Without shadow, there’s no depth, no drama, no reason to look at anything twice.
Strategic Darkness As A Design Tool
Landscape architects borrowed this from theater lighting. In theater, the term is “selective focus”—you light what matters and let the rest fall away. Garden lighting design plans that work do the same thing. You don’t illuminate the garden. You illuminate moments within it.
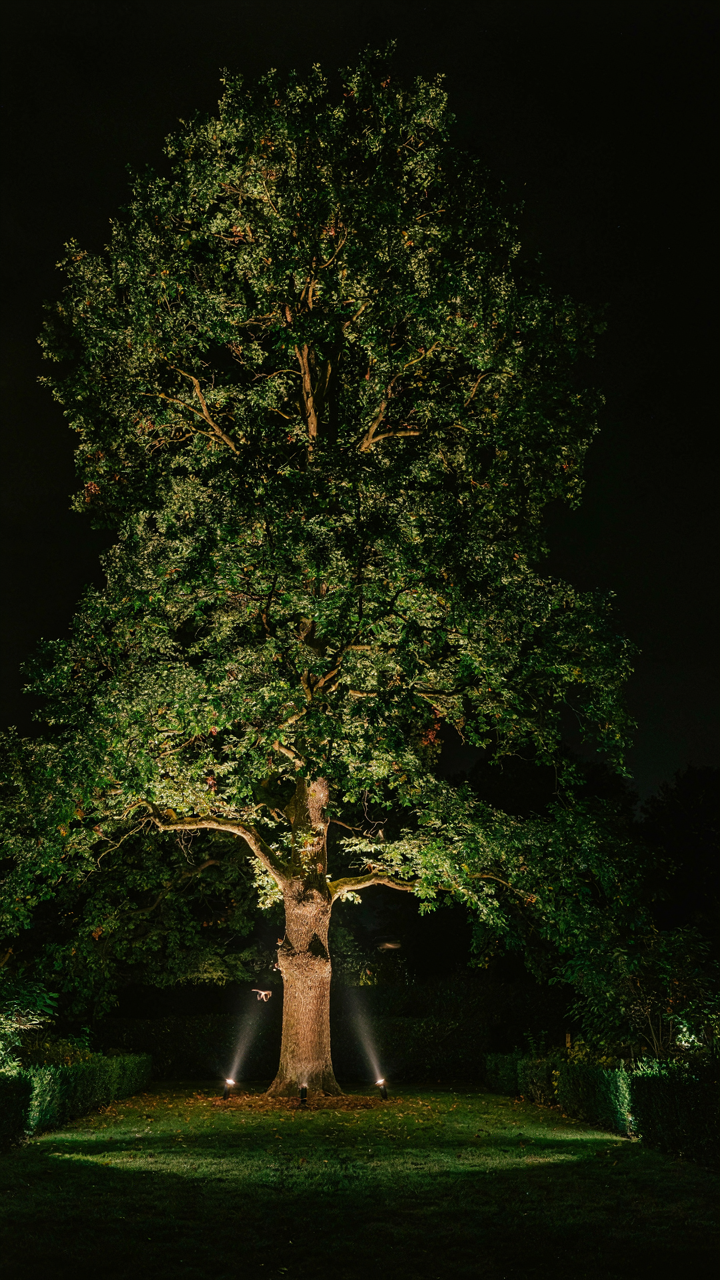
The second mistake is treating shadow as failure instead of material. Dark zones create contrast that makes lit areas pop. A single uplighter on a tree against black sky reads louder than that same tree under flat overhead light. You position lights to create hierarchy. The focal point gets brightness. Everything else recedes. This isn’t subtle or accidental. It’s the actual mechanism that makes a garden feel intentional instead of just bright.
The Focal Point Protocol: Mastering Visual Hierarchy
What Actually Demands The Light
You want people to look where you decide they look. That’s the real game here, not some vague aesthetic principle. This works because human attention follows contrast and brightness like water finds the lowest point. Borrow the military term “center of gravity” and apply it to your garden: the element that, once lit correctly, makes everything else fall into visual order. Most people light everything equally and wonder why nothing stands out. Wrong move.
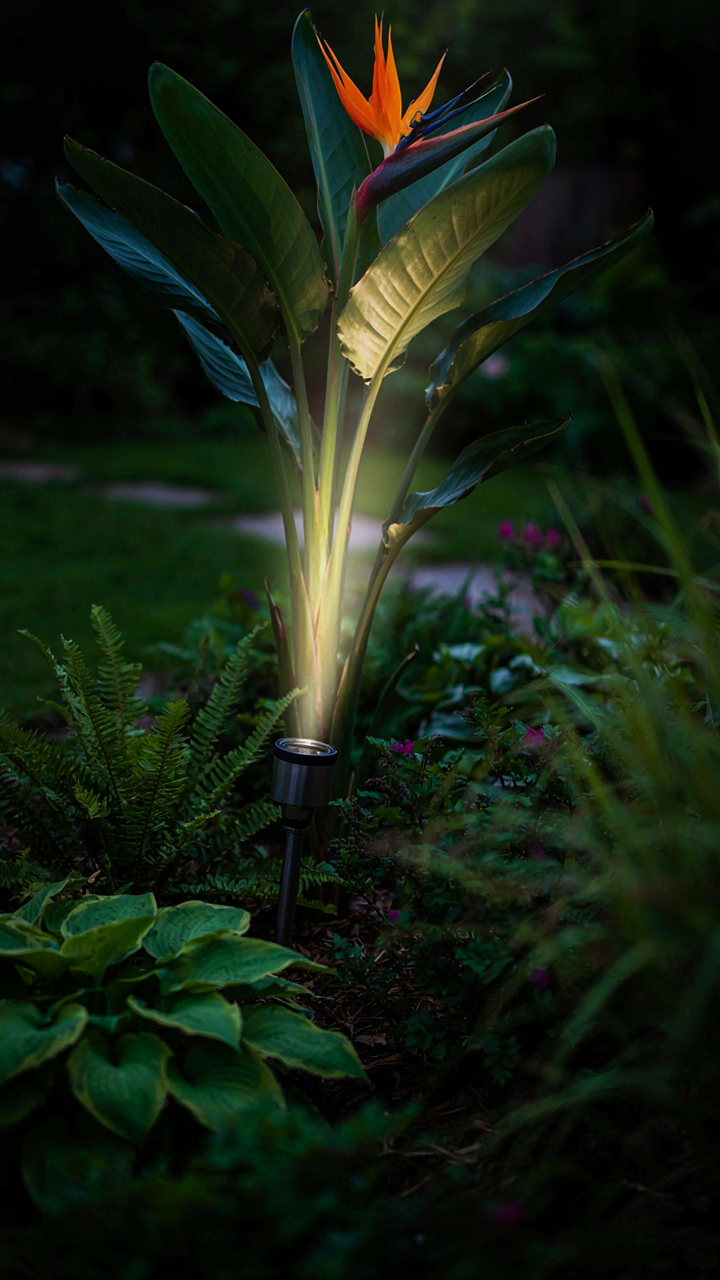
Identify one primary hero per zone. A specimen tree, architectural feature, or water element becomes your anchor. Everything else serves that focal point or stays subordinate. Use uplighting on the hero, reserve accent lighting for supporting elements. The brightness differential between hero and surroundings does the work, not the number of fixtures you install.
Cutting Visual Noise With Intention
The common advice says “hide your fixtures.” That’s incomplete. You don’t hide fixtures to be subtle. You hide them to eliminate competing signals. Fixtures visible from the main viewing angle are distractions that fight for attention with your focal points. Each visible light source is a secondary focal point whether you want it or not.
Remove uplighting from background trees. Kill ambient spill lighting across the perimeter. Dark zones create depth and force the eye toward lit areas. Place fixtures below sight lines, behind plants, or within planted beds. Suppress everything that isn’t working toward your focal point hierarchy. When guests enter your garden at night, their eye travels exactly where you designed it to travel.
The Architect’s Edge: From Landscape Lighting Plans To Experience

Drawing The Blueprint Beyond Placement
You want to feel like you’ve designed something sophisticated instead of just buying lights and pointing them at shrubs. That’s the real motivation here, and it’s a liability. Landscape lighting design borrows from architecture’s core principle: form follows function, but function first requires a structural plan. In garden lighting design plans, that structure is the visual hierarchy you establish before a single fixture gets installed. Most people skip this step entirely and wonder why their gardens look like parking lots at night.
A proper blueprint forces specificity. You map zones by purpose: intimate seating needs different light intensity than pathways. You determine fixture types, beam angles, and mounting heights on paper before touching soil. You identify sightlines from the house, the patio, the street. This removes guesswork and prevents the common failure of over-lighting everything equally. The blueprint is where design decisions become non-negotiable.
Orchestrating The Viewer’s Actual Movement
Most advice about garden lighting says create a “journey” or guide the eye. That’s vague and useless. What actually matters is sequence and contrast. As visitors move through the garden at night, their eyes need specific information at each stage, delivered through light intensity and color temperature shifts. Each transition should feel intentional, not accidental. This is directional psychology applied to darkness and illumination.
Begin with the entry point and map every transition: from public space to private space, from open ground to planted areas, from one elevation to another. At each transition, adjust light temperature or intensity to signal a change in zone. Warm light signals rest and intimacy. Cooler light signals clarity and movement. Never leave ambiguity between zones, and never light pathways as bright as gathering areas. The sequence controls behavior and perception without the viewer knowing they’re being guided.
The 3 Principles Of Beam Spread And Light Control

Hard Versus Soft Edges: Controlling Light Spill
You want your guests to think the lighting happened by accident. That’s the real reason you care about edge control—status masquerading as subtlety. But here’s the mechanism: hard edges come from focused beam angles, soft edges from diffusion. A hard edge fixture concentrates light into a tight cone. Spill is minimal. A soft edge fixture spreads light broadly across a surface. Spill is inevitable. Neither is wrong. The choice determines whether light becomes a design element or background noise.
Most people default to soft because they fear shadows. That’s backwards. Hard edges create shadow, yes, but they also create visual hierarchy. Soft edges make everything look equally lit, which flattens a space and wastes energy. For special occasions, hard edges let you direct attention precisely—a path here, a gathering zone there, nothing wasted. Use barn doors, louvers, or focused reflectors to tighten beam spread. Place fixtures to minimize unwanted light on walls or overhead areas that don’t need it. Hard edges require placement strategy, but they’re the difference between intentional lighting and ambient washing.
Uplighting, Downlighting, Crosslighting: Purpose Over Preference
This borrows from theatrical lighting. In theater, direction determines meaning: uplighting conveys mystery or drama, downlighting conveys clarity, crosslighting conveys dimension. Your garden operates the same way. Uplighting throws light upward onto foliage, tree canopies, or architectural features. It creates depth and makes vertical elements readable at night. Downlighting illuminates ground and planted beds from above, the most intuitive direction but also the most predictable. Crosslighting uses multiple angles on the same object to prevent flat appearance.
Don’t pick a direction because it feels right. Pick it because it solves a specific problem at that location. Uplighting on a mature tree makes it appear larger and more sculptural. Downlighting on pathways makes them functional and safe. Crosslighting on a water feature prevents a single beam from creating harsh reflection. For special occasions, combine all three methods strategically across different zones. This prevents monotony and guides guests through the space without explicit wayfinding. The protocol is simple: identify the object or zone, determine what you want it to communicate, then choose the direction that makes that communication happen.
The Neuro Aesthetics Of Outdoor Lighting Plan

Light As Emotional Trigger
You want this section because you suspect mood control matters but can’t articulate why your guests will actually feel different under your lights versus your neighbor’s. Borrow from psychology: light manipulates mood through three pathways. Circadian disruption via blue wavelengths signals time to the brain. Brightness levels activate the parasympathetic or sympathetic nervous system. Color temperature shifts perception of warmth, safety, and social comfort. Garden lighting design plans work when they exploit these pathways deliberately, not by accident.
The common advice treats lighting as decoration. That’s incomplete. Warm light (2700K to 3000K) suppresses cortisol and signals relaxation because it mimics sunset. Cool light (5000K and above) triggers alertness. At a garden event, you’re not just illuminating space. You’re controlling whether guests feel rushed, intimate, or energized. The mechanism is straightforward: photoreceptors in the eye send signals to the suprachiasmatic nucleus, which governs mood and behavior. Your lighting plan either aligns with these biological pathways or works against them.
Subconscious Movement And Gaze Direction
Attention follows light like water follows gravity. Most garden lighting plans fail because designers light everything equally, treating the garden as one static scene. Architecture provides the map here. In visual hierarchy, a focal point draws the eye first, secondary elements second. Your garden is a sequence, not a display.
- Threshold illumination: Light the entry point brighter than surrounding areas to signal transition and invite movement forward into the space.
- Path brightness gradient: Keep walkways slightly dimmer than focal points so guests move toward lit features naturally without conscious navigation effort.
- Feature spotlighting: Illuminate garden sculptures, water features, or plantings at 2-3x ambient brightness to anchor attention and create visual resting points.
- Shadow contrast: Leave some zones darker intentionally to create depth perception and prevent visual fatigue from uniform brightness.
- Uplighting vs downlighting: Uplighting creates drama and emotional intensity for special occasions while downlighting feels safer and more controlled for casual gatherings.
The subconscious reads light placement as a script. Brighter zones feel important. Dimmer zones feel secondary. Your guests will follow this hierarchy without deciding to. A well executed garden lighting design plan moves people through the space in a predetermined emotional arc, from entry through climax to exit. You’re not just illuminating. You’re choreographing behavior through light placement alone.
Beyond Symbols: Decoding Your Landscape Lighting Layout

From Diagram To Reality
You want the lighting plan to look as good installed as it does on paper because a bad install reflects on your judgment. Here’s the mechanism: a 2D diagram strips away depth, shadow cast, beam spread overlap, and human eye position. What reads clean on a plan becomes muddy in three dimensions. The angle of a fixture matters more than its placement. A light positioned six inches higher or lower changes where shadows fall on hardscape and plants. Uplighting a tree from the plan view looks centered, but ground-level reality shows asymmetrical shadows because tree trunks aren’t perfectly vertical and branch density varies. Test fixture placement before permanent installation using temporary stakes and battery-powered lights to see actual beam patterns and spillover onto adjacent surfaces.
The common mistake is trusting the rendering. Renderings use idealized symmetry and don’t account for the actual view lines from seating areas, doorways, or walkway approaches. A path light that looks perfectly spaced on the plot becomes a tripping hazard when its beam cuts across uneven ground. Install fixtures during dusk conditions when you can see actual light output against your landscape’s specific terrain. Walk the sight lines from the patio, the entry, and the street. Adjust fixture height and angle based on what your eyes report, not what the diagram promised. This step prevents costly reinstalls after the event.
Weather And Growth Change Everything
Biology teaches systems respond to environmental stress, and lighting systems respond the same way—except most designers treat them as static. A shrub blocking light in June grows denser in August. New foliage between fixtures and viewing areas kills contrast you planned for. Water stress changes plant color saturation, which changes how uplighting reads. Rain pooling around uplights creates glare. Wind moves trees, shifting shadows across hardscaping minute to minute. Designers ignore this because it’s unpredictable, but you don’t have that luxury if the event is fixed to a date.
Account for seasonal plant growth by placing uplights lower and wider than you think you need, giving foliage room to expand without blocking beams. Use spread angles larger than 40 degrees on uplighting. Document the landscape’s state three weeks before the event and check it weekly. If growth blocks a planned effect, relocate that fixture now, not the morning of. For weather variables, use weatherproof fixtures rated for moisture and wind load appropriate to your region. Position any fixtures near water features or drainage paths with slope considerations. Gutter and downspout placement can send water directly onto electrical connections if you don’t map drainage first.
The Unconventional Toolkit: Garden Lighting Design For Impact
When DIY Becomes A False Economy
You want to save money. That’s the real reason you’re reading this. The mechanism is simple: consumer-grade lighting fails faster than pro-grade equipment because tolerance stacks differently. A DIY string light degrades in moisture because its seal isn’t engineered for repeated wet-dry cycles. Professional fixtures use gasket systems and potted connections that cost more upfront but eliminate replacement labor that kills your ROI on special events.
The decision rule is concrete. If your event repeats annually or runs longer than two weeks, calculate the cost of replacing consumer gear twice against buying professional equipment once. Add labor time. Professionals also know transformer sizing and voltage drop over distance, which prevents the dimming effect that happens when you chain lights too far from power. Most DIY setups fail here invisibly.
Designing For Permanence And Spontaneity
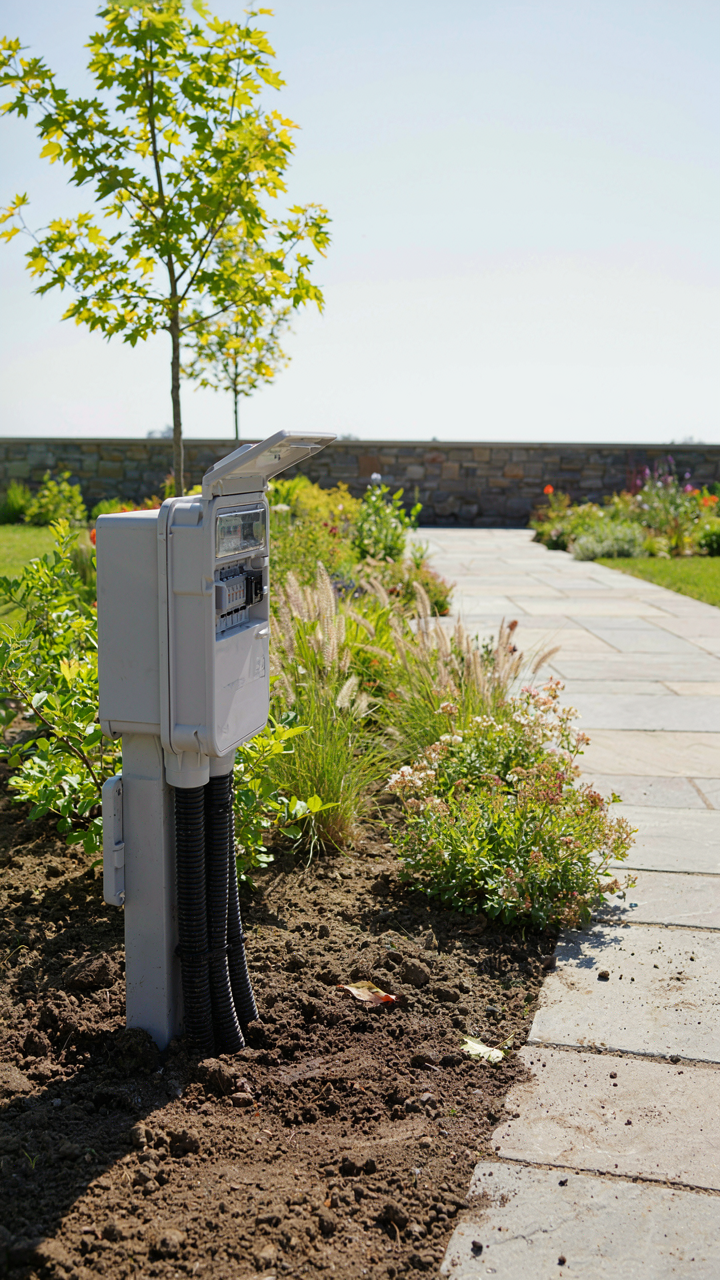
Economics calls this optionality, and garden lighting design needs it built in. Permanent infrastructure should route conduit and power to strategic zones before you add any fixtures. Temporary lighting then clips or mounts to these anchor points without digging, rewiring, or guessing about layout each season.
The protocol is this: install junction boxes at three to five permanent locations around the garden during initial construction, sized for future expansion. Run proper outdoor conduit, not exposed wire. When the event happens, you’re plugging fixtures into established points rather than improvising with extension cords. This separates the permanent decisions from the temporary ones, and temporary decisions are where most people waste money on gear they’ll never use the same way twice.
The Lighting Plan Landscape Architecture Of Scarcity
Restraint Is The Actual Design Decision
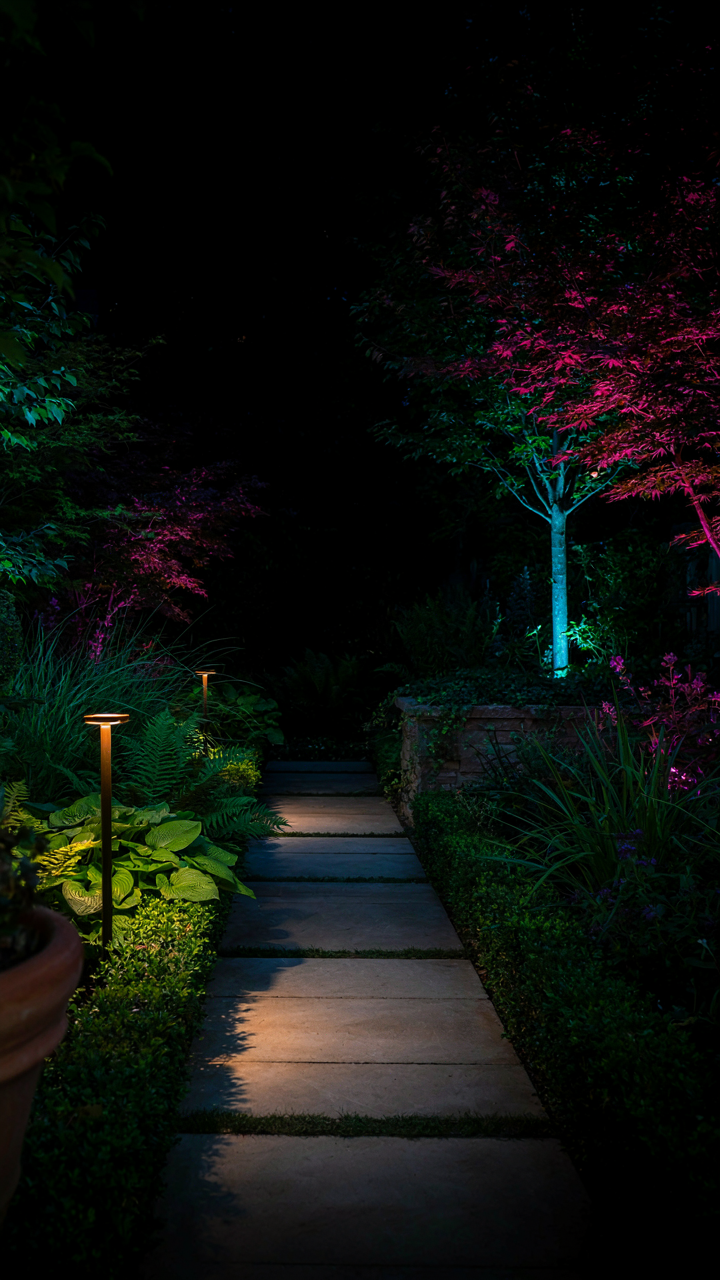
You want permission to light everything because you’re afraid the party will feel empty without it. That’s not design, that’s anxiety spending. Landscape architects borrowed the concept of negative space from visual art, and garden lighting operates on the same principle: the unlit areas define the lit ones. A space with every corner illuminated becomes visual noise. Your eye has nowhere to rest, nowhere to move intentionally.
Most garden lighting advice tells you to “layer” and “add depth” without naming what actually happens when you do this badly. You end up with a scattered, unfocused environment where light competes instead of guides. Strategic restraint means identifying three to five focal points per space, then lighting only those. The paths between them stay darker. This creates visual hierarchy that pulls guests exactly where you want them, and it uses less power while doing it.
The Unlit Zone Does The Work
What you don’t light controls the story as much as what you do. In landscape design, this mirrors the principle of figure-ground relationship: the background defines the figure. Leave sections of your garden entirely dark, and those dark zones become frames for your lit elements. A tree lit from below loses impact if the surrounding garden is equally bright. Darkness makes light legible.
Most garden lighting plans fail because they treat absence as a mistake rather than a tool. You have to decide which areas stay completely unlit, then commit to that choice. This might mean leaving the perimeter of your event space dark while concentrating all light on a central gathering zone, or keeping the back garden intentionally shadowed so the front terrace commands attention. The mechanism is simple: contrast creates focus, and focus creates the feeling of intentional design rather than random illumination. Map this out on paper before installation, marking dark zones as deliberately as you mark lit ones.
The Real Obstacle Isn’t Your Budget; It’s Your Inability To See Darkness As A Design Tool
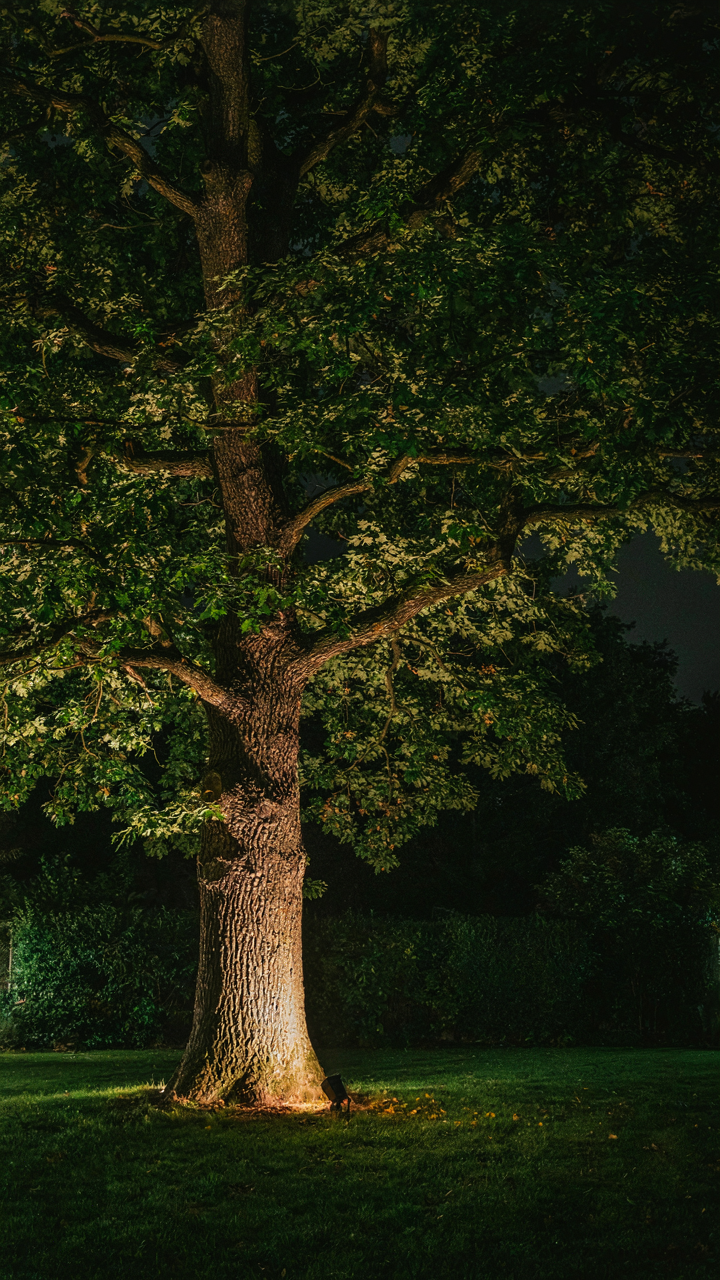
Most people light gardens like they’re afraid of the dark. They blast brightness everywhere and wonder why it looks flat and forgettable. The real move is using shadow as aggressively as you use light. Darkness makes light matter. Go outside tonight and position one light source low, pointing up at a tree. That’s it. Watch how suddenly your garden has dimension, drama, intention. Stop filling every inch with illumination. Start designing with what you refuse to light.



