
The Perception Protocol: Manipulating Visual Hierarchy With Light
Where Your Eye Goes First
You want people to notice what matters in your garden because control over attention feels like control over how others perceive you. Light operates like military strategy: concentrate force on the objective, starve everything else. Your focal point is the target. Everything else becomes secondary terrain.
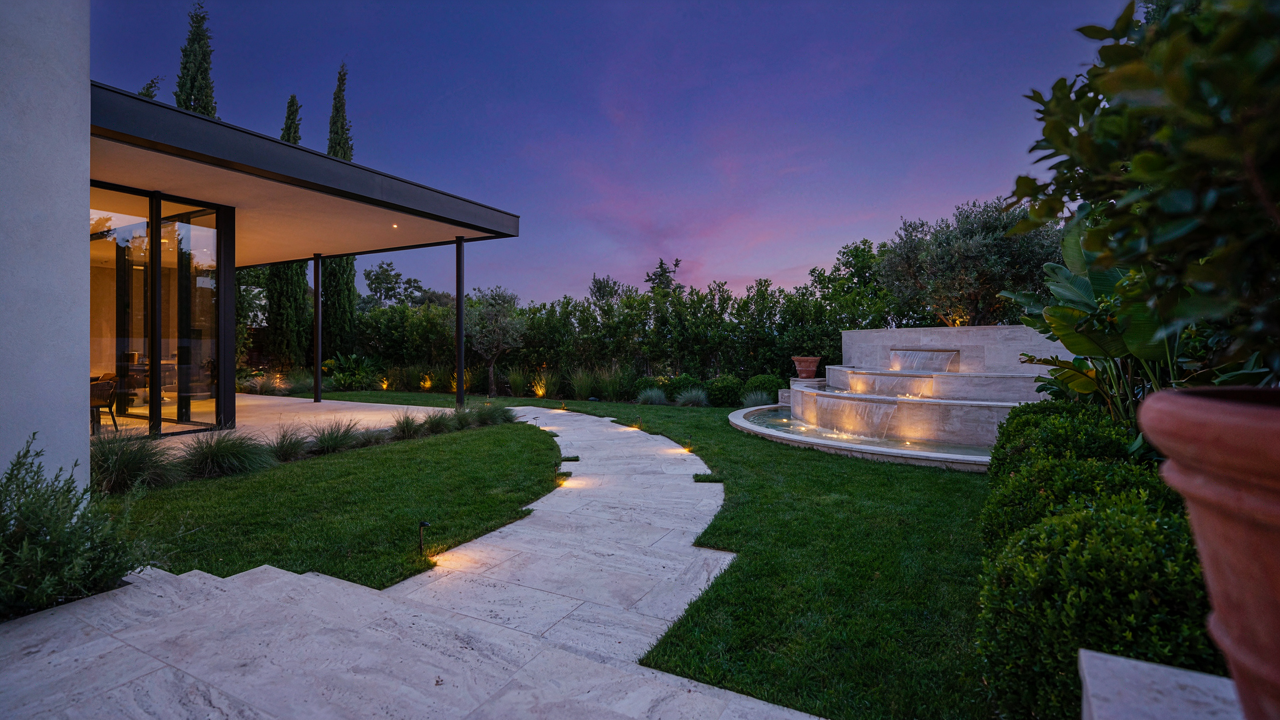
Identify what you actually want seen. A water feature. An architectural detail. A specimen plant. Place your light source to illuminate it directly while leaving surrounding areas dimmer. This contrast forces the eye toward your chosen subject. The mechanism is simple: humans track brightness before they track anything else. Install uplighting or spotlighting at ground level, angled upward at 45 degrees toward your focal point. Distance matters. The farther the light sits from the object, the softer the wash. The closer it sits, the more dramatic the definition.
Darkness Creates The Frame
Everyone talks about adding light. Nobody mentions that shadow is the actual currency of garden design. Without shadow, light has no reference point. You need both to create visual interest that registers in the human brain.
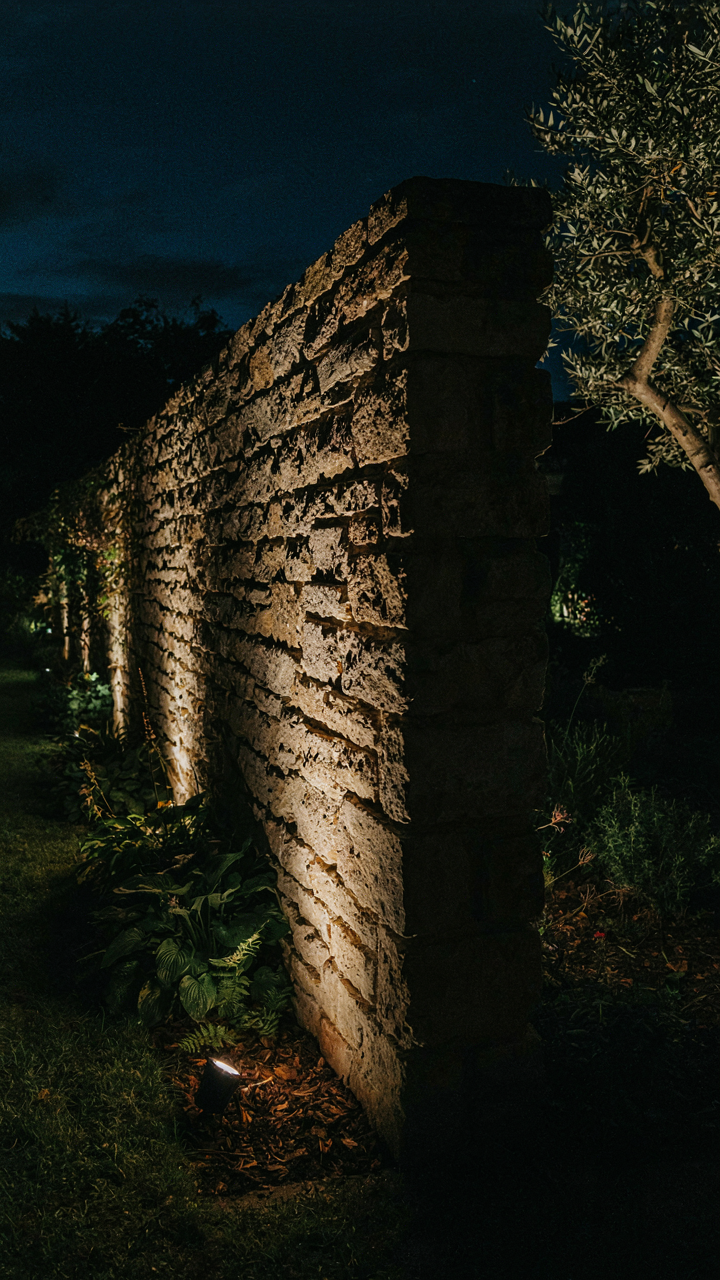
Place secondary lights to cast intentional shadows across textured surfaces, tree bark, or architectural elements. Angle the light so it grazes across the surface rather than flooding it. This technique is called side-lighting, and it amplifies dimension. Shadow reveals form. Bright light flattens it. Position uplights behind plantings to create a silhouette effect, which makes foreground elements read as darker shapes against a lit background. This layering technique deepens perceived space and prevents your garden from looking flat and one-dimensional.
Beyond Brightness: Understanding Lumens As Data Points

Know Your Baseline First
You want to feel like you’re making an intelligent design choice instead of guessing in the dark. That desire is legitimate, but it’s also why most people skip the most important step: measuring what’s already there. Without knowing your ambient light level, every fixture placement decision is just decoration masquerading as strategy.
Use a light meter app on your phone or a dedicated handheld meter to measure foot-candles or lux in your garden at night. Record readings from multiple zones: near the house, under trees, open lawn areas, pathways. This becomes your baseline. You’re not collecting data for vanity. You’re establishing the floor so you know how much additional light you actually need to create contrast and visibility.
Target Effect Over Wattage
Forget what the package says about watts. That number tells you power consumption, not what you’ll see. The mechanism here borrows from signal processing: signal strength matters less than signal-to-noise ratio. In garden lighting, the ratio is between your fixture output and the ambient darkness around it.
A 400-lumen light in pitch black creates drama. The same fixture in ambient light near a house reads as inadequate. Define your effect first: task lighting for a pathway needs 50-100 foot-candles at ground level. Accent lighting on a tree needs only 5-20 foot-candles to stand out. Measure the ambient level, decide your effect, then choose lumens accordingly. Install the fixture, measure the result with your meter, adjust positioning or wattage if the contrast falls short.
The Unseen Wall: Using Light For Security, Not Just Visibility
Placement That Stops Before It Starts
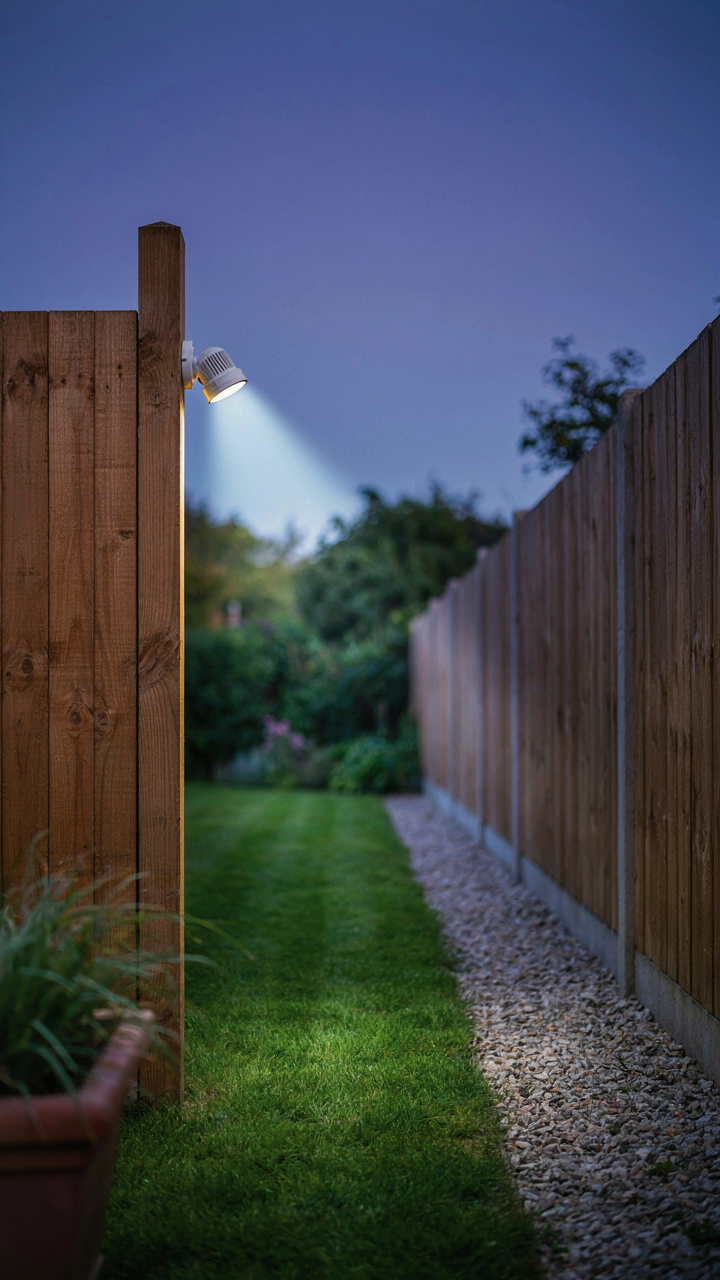
You want this because the alternative is lying awake wondering if someone’s testing your back door. Here’s the mechanism: light doesn’t deter intrusion through mystical “visibility”—it eliminates the one thing intruders need: unobserved approach time. Military doctrine calls this “denied cover.” Apply it to gardens by positioning lights at entry points where an intruder must cross open ground to reach your house or valuables. Perimeter placement defeats the threat before it gets close.
The mistake most people make is lighting the interior space. That’s backward. You don’t need to see your garden. You need intruders to know they’ll be seen crossing it. Mount lights at fence lines, gate entries, and property corners—not near seating areas. Aim them outward and slightly downward so they illuminate approach routes without creating dark zones where someone can hide just beyond the beam.
Motion Sensors That Work Without Tricks
Motion sensing isn’t about convenience. It’s about cost discipline and psychological advantage: a suddenly lit space signals active monitoring. Sensors work because they force a decision point on someone with bad intent. They either abort or commit knowing they’ve triggered an alert. Place sensors at vulnerable entry zones—side gates, blind corners, ground-level access points where someone could move undetected in darkness.
The technical requirement is simple: sensors need clear line of sight to the space they cover, positioned 4 to 6 feet high to detect human movement at ground level. Avoid placing them where wind-blown vegetation or passing animals trigger false activations, which trains your brain to ignore them. The protocol is basic: install at entry points first, then secondary areas. Test each sensor’s detection range and angle before finalizing placement. A sensor you ignore defeats itself.
The Psychology Of Warmth: Color Temperature As An Emotional Lever

Warm Versus Cool Light Output
You care about this because you want your garden to feel intentional, not like you defaulted to whatever bulb was on sale. Here’s the mechanism: color temperature is measured in Kelvin, a physics term that quantifies the actual heat signature of light. In garden lighting, this translates directly to how your nervous system responds to the space. Warm light (2700K-3000K) triggers relaxation because it mimics sunset and firelight your brain evolved around. Cool light (5000K and above) activates alertness and reads as clinical or institutional.
The common mistake is treating color temperature as decoration. It’s not. It’s a neurochemical input. Warm light suppresses cortisol production and increases melatonin readiness. Cool light does the opposite. Your garden’s color temperature determines whether people linger or move through it. If you light pathways at 5000K, visitors walk faster and stay guarded. Switch to 2700K and the same pathway becomes a destination, not a transit route. This isn’t psychology. It’s biology.
Match Temperature To Intended Function
Warm light works for seating areas, borders, and gathering zones because it signals safety and encourages settling in. Place 2700K or 3000K fixtures above or near seating to create the psychological anchor point for relaxation. The light doesn’t need to be bright, just present and consistent. This is where most beginners fail: they assume brighter equals better and blast cool-toned floodlights everywhere, destroying the atmosphere they wanted to build.
Cool light serves specific tactical functions: security lighting, task areas where you read or work, and pathways where foot traffic matters. Use 4000K to 5000K for safety zones and work zones only. Reserve warm light for everything designed to keep people in the space longer. The placement rule is simple: warm light wherever you want to build emotional residency, cool light wherever you want functional clarity. Install separate circuits for each so you can dial the right temperature for the right time.
The “Modern Backyard” Illusion: Minimizing Fixture Visual Clutter

Hide The Source, Keep The Light
You want people to think your backyard is naturally lit, not designed. That’s the real motive here. The mechanism comes from optics: light sources that remain invisible to the viewer create the illusion of ambient illumination rather than installed fixtures. This is directional masking. You place the fixture where the eye naturally doesn’t land, then angle it to land light exactly where it matters.
Most people mount lights where they’re convenient to install, not where they disappear. Wrong approach. Bury uplighting into planting beds so the shrub becomes the apparent light source. Recess downlighting into soffit or fascia so the structure itself vanishes from notice. The fixture only matters if someone walks backward looking for it. Position everything else, and the light floats.
Materials That Dissolve Into Surroundings
The rule most designers ignore: fixture color and material must match or disappear into what sits behind it. Matte finishes beat polished ones because polished surfaces catch ambient light and scream “I was installed.” Black and dark bronze fixtures vanish against trees and dark siding. Stainless steel and brass stand out unless positioned against matching materials.
- Matte Black Or Dark Bronze: Disappears against foliage, wood fencing, and dark landscaping elements during daylight hours while remaining visible for safety.
- Earth Tone Finishes: Match soil, mulch, and natural stone to blend fixtures into hardscaping rather than competing with it visually.
- Texture Matching: Rough cast aluminum mirrors concrete texture. Smooth fixtures clash with texture. Repeat the surrounding material’s surface quality in the fixture itself.
- Low Profile Designs: Shorter fixtures cast smaller shadows and occupy less visual real estate in sightlines during daytime when lights are off.
- Integrated Planter Lights: Fixtures built into or mounted within planters become part of the container rather than separate objects in the landscape.
Choose fixtures small enough to hide in plain sight. A fixture the size of a golf ball reads as an accent. A fixture the size of a softball reads as equipment. Smaller also means less material to age and oxidize visibly over time. Install the fixture first, then build the landscape around it. Don’t retrofit fixtures into finished spaces where they always look tacked on.
Up Lighting Landscape: The Subtlety Of Vertical Projection

Expose Texture And Architectural Detail
You want uplighting to make your garden look expensive because you suspect flat, even light reads as cheap. Here’s the mechanism: uplighting reveals surface variation. When light travels upward across stone, bark, or brick, it catches every ridge and depression. This contrast creates dimension. Downlighting flattens everything because shadows fall straight down, hiding texture entirely. Uplighting does the opposite work.
Place fixtures at ground level, pointed upward at a 45-degree angle toward the feature you want to emphasize. Distance matters. A light too close to a wall washes it out. A light too far dims the effect. Start with your fixture 3 to 5 feet from the base of whatever you’re lighting. Test it. Adjust until the texture reads clearly without looking like a spotlight hitting a stage.
Angle Selection Stops The Glare Problem
The physics term is beam spread. In optics, beam spread measures how wide light disperses from its source. In garden lighting, beam spread is your control valve for whether visitors see the light source or just its effect. Narrow beam angles concentrate light on a small target. Wide angles scatter it. Most beginners use too-wide angles and create glare, which is just light hitting the eye directly instead of illuminating the object.
Use fixtures with 15 to 40-degree beam angles for uplighting. This range keeps light focused on your feature without spilling sideways into sight lines. Position the fixture so the light hits the surface at an angle, never straight up into someone’s face. If you’re lighting a tree trunk from the front, aim slightly upward and from the side. If you’re lighting a wall, angle from below so light travels up the surface without bouncing back toward a seating area.
The “Solar Garden” Fallacy: Understanding Energy Autonomy Vs. Control

Why Solar Fails When You Actually Need Light
You want solar lights because they sound free and autonomous. That’s the real reason. But autonomy without reliability is just abandoned infrastructure in your garden. Think like an electrical engineer: every power source has a duty cycle, and solar’s duty cycle depends on variables you don’t control. Cloud cover, season, latitude, and panel angle all determine output. Most people place solar lights where they look good, not where the sun actually hits consistently. This disconnect between aesthetic placement and physics is why solar gardens go dark.
Solar panels need direct, unobstructed sunlight for six to eight hours daily to charge adequately. Trees, fences, and adjacent structures create shade that cuts output dramatically. A panel in partial shade doesn’t just lose some power—it loses disproportionate power. This isn’t linear. One hour of full sun doesn’t equal six hours of dappled light. Your lights will work inconsistently: bright some nights, dim others, dead after two cloudy days. The marketing never mentions this because selling the dream is easier than explaining photovoltaic efficiency curves.
Placing Solar Lights For Actual Output
Stop thinking about where solar lights look nice on your property. Start measuring where direct sunlight reaches between 9 AM and 3 PM. Use your phone’s compass or a sundial app to track shadow patterns across your garden for three days. Mark the zones that receive unbroken sun exposure. Those are your deployment zones. Solar lights placed outside these zones become visual clutter that occasionally glows.
Panel angle matters as much as location. Solar lights with fixed angles work worst in most climates because the sun’s path changes seasonally. Adjust fixtures in spring and fall if you want consistent output year-round. For permanent placement, angle panels toward true south if you’re in the Northern Hemisphere, true north in the Southern Hemisphere. Tilt them 15 to 30 degrees from vertical. This isn’t optional refinement—it’s the difference between lights that function and lights that don’t. Place solar fixtures on south-facing garden walls, open pathways, and raised beds where nothing casts shadows.
The Echo Location Principle: Mapping Your Backyard With Light
Control Points First
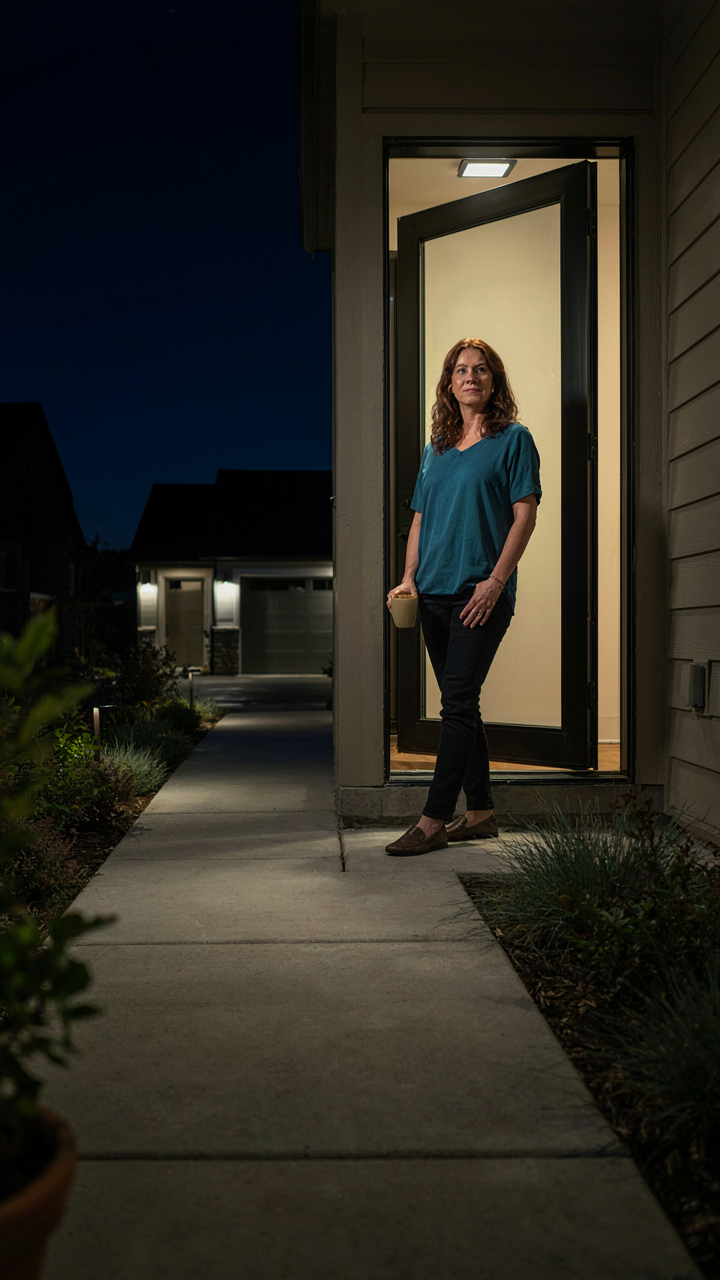
You want your yard to feel intentional and safe, which means you want proof that you’ve thought about it. The real mechanism here borrows from military strategy: you secure perimeter control before you worry about aesthetics. In tactical positioning, you illuminate entry and exit routes first because they determine how people move through the space. Doors, gates, pathways between structures, and vehicle approach routes get light before anything else. This isn’t decoration. It’s infrastructure.
Most lighting guides start with “accent trees” or “create ambiance.” That’s backwards. Egress and ingress points are decision nodes. Light them first so people navigate without hesitation or mistakes. A motion sensor at your back door, ground-level path lights along the route to your driveway, and a fixture above your front entrance establish control. Once these anchor points work, you build secondary layers around them.
Intensity Layers Define Territory
Different light intensities don’t just look different. They actually partition your yard into functional zones, the same way brightness gradients control attention in a room. High intensity light at entrances signals “this is a controlled area.” Medium intensity in transition zones keeps movement fluid. Low intensity in gathering areas reduces glare and prevents eye strain. Most beginners flood everything equally, which wastes power and creates visual confusion instead of hierarchy.
- High Intensity Zones: 50-100 foot-candles at entry points and security areas. Ensures clear visibility and deters approach uncertainty.
- Medium Intensity Zones: 10-20 foot-candles on pathways and stairs. Enough to navigate safely without overwhelming the eye.
- Low Intensity Zones: 2-5 foot-candles in seating areas and dining zones. Allows conversation and connection without harsh shadows.
- Transition Zones: Gradual step-downs between intensities. Prevents jarring contrast that makes the eye work harder than necessary.
- Accent Lighting: 5-15 foot-candles on focal points like water features or plant material. Controlled enough to draw attention without dominating the space.
Once you map intensity zones, install fixtures that support those ranges. Use dimmers or different wattages to hit your targets precisely. This approach eliminates the amateur mistake of treating all outdoor light the same. Your yard now has readable structure.
Outdoor Patio Lights: Beyond Decorative, Creating Functional Zones

Defining Social Areas And Private Retreats
You want people to think your yard is intentional, not just lit up. The mechanism is territorial zoning, borrowed straight from urban planning: you’re creating distinct districts so every part of your patio serves a specific function and reads as deliberate. Most people string lights everywhere equally and wonder why their yard feels chaotic. The real move is lighting only where activity happens, leaving dark pockets between zones.
Bright task lighting over the dining table or seating cluster anchors social gravity. Dimmer accent lighting along pathways and perimeter edges defines boundaries without announcing them. This separation lets guests understand where to gather and where to retreat. Your eye naturally reads lit zones as “here” and unlit zones as “there,” which is infinitely more sophisticated than uniform illumination.
Layering Light For Different Moments
The theater world calls this depth staging, and garden lighting works the same way: you build three independent layers so you control the entire mood with dimmer switches. Most beginners install one bright source and call it done. That’s lazy. Real control means overhead task lighting for function, mid-level ambient light for presence, and low accent light for texture.
Start with one bright source you’ll rarely use at full intensity. Add ambient fill light at eye level around seating areas. Finish with ground-level or uplighting on plants and architectural features. Each layer operates independently on its own dimmer. This architecture lets you run a full dinner at seventy percent brightness, then drop everything to thirty percent for late-night conversation. The protocol: install task first, ambient second, accent third, then dial each layer independently until the mood reads correct.
The Real Obstacle Isn’t Complex Wiring; It’s Your Failure To See Light As A Tool Of Strategic Psychological Leverage

Most people treat garden lighting like decoration. They slap some fixtures around and call it done. Wrong. Light shapes how people move through your space, what they notice, where they linger. It controls emotion without them knowing it. Walk outside today and point one flashlight at different angles on a single tree. Watch how each angle changes the entire mood of your garden. That shift you feel? That’s leverage. Stop treating placement like an afterthought and start treating it like psychology.



