
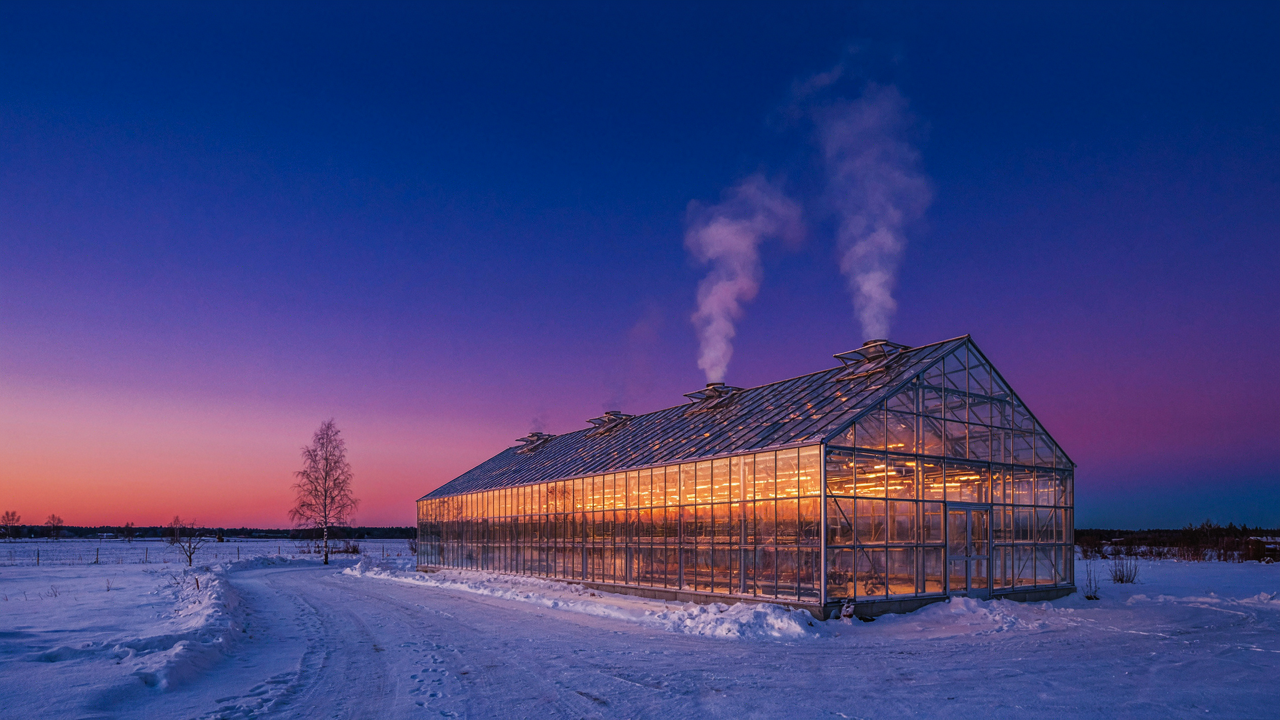
Why Your Current Heating Efforts Are Burning Cash (Not Weeds)

Where Heat Actually Escapes
You’re focused on the wrong number because it feels like control. Everyone talks about BTU output, but your heating system is hemorrhaging energy through paths you haven’t mapped. Think of heat loss like military logistics: you can manufacture all the supplies you want, but if your supply lines leak, you’re funding the enemy. In greenhouses, the enemy is conduction through glazing, infiltration through gaps, and radiation into the night sky.
Glass and polycarbonate panels handle most of the conduction load. A single-pane greenhouse loses roughly forty percent of its heat through the roof alone in cold climates, while air infiltration around doors, vents, and frame joints drains another thirty percent. You cannot outrun these losses with a bigger heater. You stop them first, then heat what remains.
When More Heat Doesn’t Mean More Warmth
The standard advice says size your heater to match your square footage. That’s incomplete. You’re told to assume a certain heat loss per square foot per degree of temperature difference, then buy equipment accordingly. But this assumes your structure stays static, your vents seal tight, and your night temperatures hold steady. None of that happens in practice.
Constant heat input is a trap because your greenhouse isn’t a sealed box. Sunny days spike interior temps without heater input. Ventilation fans dump heated air outdoors. Evaporation from plants and wet soil absorbs enormous amounts of energy. Running full-blast heating during these fluctuations wastes fuel and burns cash you’ll never recover. The real move is staged heating that responds to actual interior conditions, not theoretical load calculations.
The Thermal Mass Protocol: Storing The Sun’s Free Energy

Water Barrels And Rocks As Passive Heaters
You want this to work without effort or ongoing cost, which means you’re betting on physics to do your labor. Thermal mass works like a battery in electrical systems: it stores energy when supply exceeds demand, then releases it when supply drops. Water barrels absorb solar radiation during the day and radiate heat back into the greenhouse at night. A 55-gallon barrel holds roughly 440 pounds of water, which requires significant energy to change temperature, making it a genuine heat buffer rather than a gimmick.
The mistake most growers make is treating water placement like decoration. Position barrels directly in the path of winter sun, not in shade or corners. Paint them flat black or dark colors to maximize absorption. Rocks work similarly but less efficiently: they heat faster but also cool faster than water because they have lower heat capacity. Stack rocks in south-facing areas where direct sun hits them for six or more hours daily. The goal is simple: capture free solar energy during peak hours and use that stored warmth to suppress temperature swings at night.
Earth Battery Concepts For Sustained Warmth
An earth battery is a thermal storage system that uses soil depth and underground mass to moderate temperature fluctuation. Instead of relying only on surface storage, this approach taps soil’s natural resistance to rapid temperature change. Dig trenches or install underground tubes that circulate air or liquid through zones where soil stays cooler in summer and warmer in winter compared to surface conditions. This is not a new concept: traditional root cellars and cave storage exploited the same principle for centuries.
The mechanism works because soil temperature stabilizes roughly 10 to 15 feet down, depending on climate and latitude. Design requires either passive thermosiphon loops (air circulates naturally due to density differences) or active circulation (fan or pump moves the medium). Many growers skip this because it demands upfront digging and material cost, but the payoff is measurable: sustained heat without daily fuel input during shoulder seasons. Install your system so that cooled greenhouse air cycles through earth tubes during the day, then reverses at night to push stored ground warmth back into the growing space.
Insulation Isn’t An Option; It’s Your Winter Greenhouse Imperative

Double Wall Polycarbonate Vs Single Pane
You want to believe a cheap solution exists so you don’t have to spend money upfront. The mechanism is heat transfer through conduction, and single pane loses it fast. Double-wall polycarbonate traps an air gap between layers, which breaks the conduction path. Single pane allows direct thermal bridge straight through the material to outside air. The R-value difference is measurable: single pane sits around R-1, while double-wall polycarbonate ranges R-1.5 to R-2. That gap matters when you’re heating 24/7.
Double-wall polycarbonate also diffuses light evenly, preventing hot spots that stress plants. The material handles freeze-thaw cycling without shattering like glass. Installation cost runs higher initially, but heating fuel savings compound every winter month. Single pane seems cheaper until January arrives and your thermostat runs constantly. The decision isn’t really about material choice; it’s about whether you absorb costs now or every month for years.
Foundation Skirts And Sealing Drafts
Everyone talks about insulation above ground and forgets the perimeter entirely. Cold air doesn’t stop at ground level, it slides under your structure and radiates upward from the soil. A foundation skirt is a thermal barrier buried partially into earth around your greenhouse base, blocking that lateral air movement. Without one, heated air inside finds every gap and escapes. Drafts aren’t random; they follow pressure differentials from warm air rising and cold air sinking.
Seal every penetration methodically: where pipes enter, where vents sit, where panels overlap. Use foam weatherstripping rated for temperature swings, not cheap felt that compresses into useless felt. Check seals in mid-winter when thermal stress exposes gaps. The protocol: map all potential leak points on paper, seal them in sequence, then run your heating system and use a thermal camera to confirm no cold spots remain at the perimeter where ground meets structure.
Strategic Venting: Cooling Without A Grid, Heating With Intent
Heat Rising Is Your Free Labor
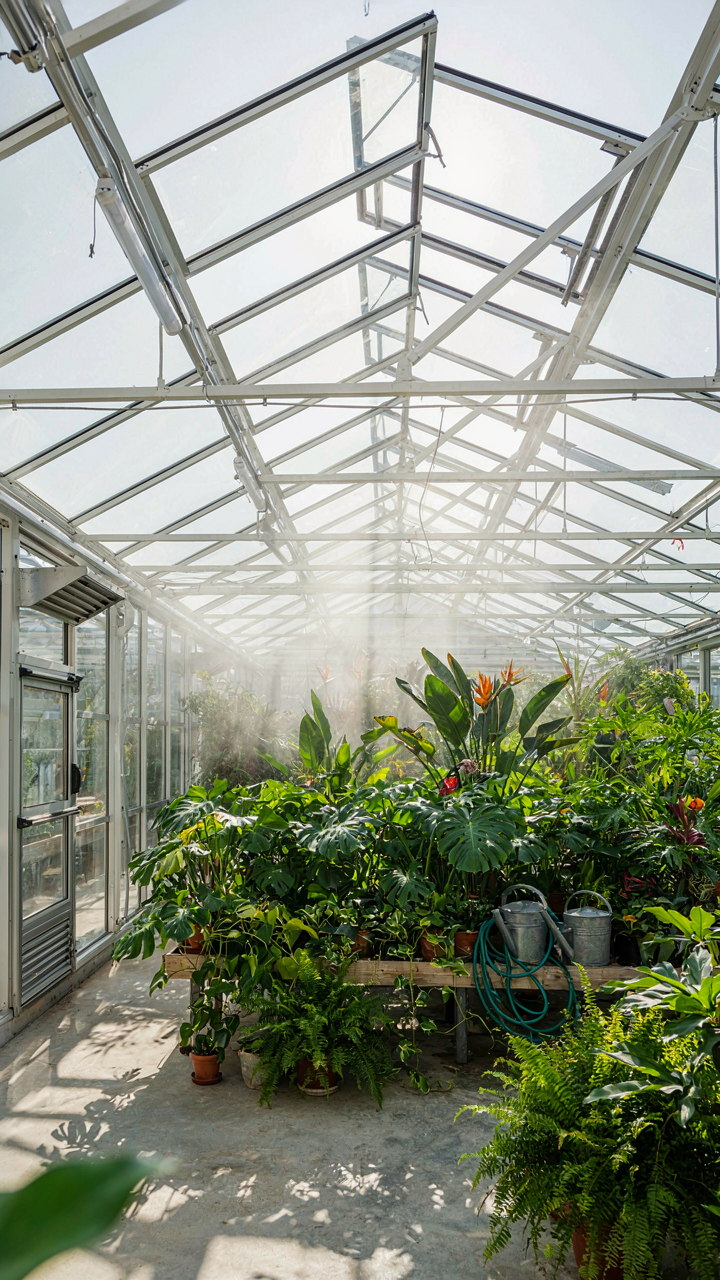
You want passive climate control without admitting you’re afraid of energy bills. Here’s what nobody tells you: thermodynamics isn’t a theory to understand, it’s a mechanism to exploit. Hot air rises. That’s not poetic. That’s a force you build into the structure itself. Ridge vents at the peak and lower intake vents on the sidewalls create convection loops that cost nothing to operate. The temperature differential between inside and outside drives the whole system.
A properly designed vent strategy removes excess heat during the day and retains warmth at night when you seal them shut. The math is simple: warm air at ninety degrees inside naturally rises and exits through roof vents. Cooler air at sixty degrees outside gets pulled in through foundation-level intakes. This cycle repeats without electricity, fans, or thermostats. You’re not fighting physics. You’re using it as your heating and cooling worker.
Passive Vents Without Power Requirements
Everyone says “install vents.” They don’t explain why most growers’ vents fail. Passive vents depend on two things: area and positioning. The intake area must match or exceed the exhaust area, otherwise you create vacuum and nothing moves. Ridge vents need clear sightlines and zero obstructions inside the greenhouse. Many growers block them with hanging plants or equipment and wonder why heat doesn’t leave.
Louver vents with manual chains outperform motorized ones in off-grid setups because they never fail. You open them on warm days, close them before sunset. A simple bimetallic strip vent opener handles this automatically by expanding and contracting with temperature, requiring zero maintenance. Install intakes on the north side, low and wide. Install exhausts on the south side, high and narrow. This orientation maximizes air exchange while minimizing direct solar gain through open vents during intake phases.
The Geothermal Loophole: Subterranean Heat For Your Heated Greenhouse

How Earth Tubes Capture Stable Ground Temperature
You’re drawn to this because it sounds passive and free, like the earth will just hand you heat without ongoing expense or maintenance. That’s half right, and half delusion. Here’s the mechanism: ground temperature stabilizes 6 to 10 feet below the surface, staying between 50 and 60 degrees Fahrenheit in most climates year-round. Earth tube systems run air through buried PVC or metal pipes, leveraging this thermal mass as a heat exchanger. The air entering your greenhouse absorbs ground temperature as it travels through the tubes.
The physics term is thermal inertia, and in greenhouse heating solutions it functions like a battery that charges for free. Cold air enters the pipes at dawn, warms to ground temperature, then rises into the greenhouse as outside air temperatures drop at night. The system requires only a fan to move air through the tubes and minimal electricity to operate it. Installation depth, tube diameter, and air velocity all determine how much heat you actually recover versus how much you waste to friction and surface losses.
Climate Fit Determines Whether This Works
Most advice treats geothermal as universally applicable. It isn’t. In climates where ground temperature stays above 55 degrees, earth tubes become marginally useful because you’re not gaining much temperature differential. In hot climates, they work as cooling systems during summer when you bury hot greenhouse air in cool earth, but your heating season is short. Cold climates between 30 and 50 degrees outside see real value because the ground stays 15 to 30 degrees warmer than air temperature, creating a meaningful thermal gradient.
The trade-off isn’t complicated. Installation costs 3 to 8 thousand dollars depending on tube length and soil conditions. You recover that cost faster in climates with long heating seasons and cold winters. In mild climates, solar heating or conventional propane systems payback faster. Run the numbers for your location: calculate your heating degree days, your current fuel costs, and your greenhouse size. If your winter extends six months and ground temperature stays 20 degrees above your nighttime air temperature, earth tubes make economic sense. Otherwise, you’re paying for marginal gains.
Beyond The Heater: The Power Of Targeted Plant Protection

Cloches And Row Covers For Microclimates
You want to believe a single heater solves everything because buying one thing is easier than thinking through zones. It doesn’t work that way. Thermal stratification, borrowed from fluid dynamics, means heat distributes unevenly in your greenhouse—warm air rises, cold settles at plant level. Cloches and row covers create localized barriers that trap radiant heat exactly where plants need it, reducing the load on your central system.
Cloches function as individual heat domes. A simple bell jar or plastic cloche over a tender seedling creates a microclimate 5 to 10 degrees warmer than ambient greenhouse temperature. Row covers—lightweight fabric, typically polypropylene—blanket multiple plants and allow light penetration while slowing heat loss. You deploy these on nights when heating costs spike or when frost threatens newly transplanted stock. The mechanism is straightforward: you reduce the thermal mass you’re heating by shrinking the active growing zone.
Protecting Roots And Tender Shoots
The consensus advice says “keep soil warm” without explaining why roots fail before leaves do. Soil temperature lags air temperature by hours. A plant’s root system sits in cold substrate while the air warms, creating a physiological shock that stunts growth or triggers disease. You solve this by decoupling root zone heating from overhead heating strategy.
Bench heating cables or heating mats warm soil directly at the substrate level, independent of your greenhouse air temperature. This prevents the common failure mode where seedlings look fine but roots refuse to develop. Run cables on a thermostat set 5 to 10 degrees higher than your air temperature target, and rotate which benches receive active heating on rotation to manage energy consumption and avoid root burn from sustained high temperatures.
The Unconventional Heating Stack: Layering Low Tech Solutions
Compost Piles As Thermal Mass
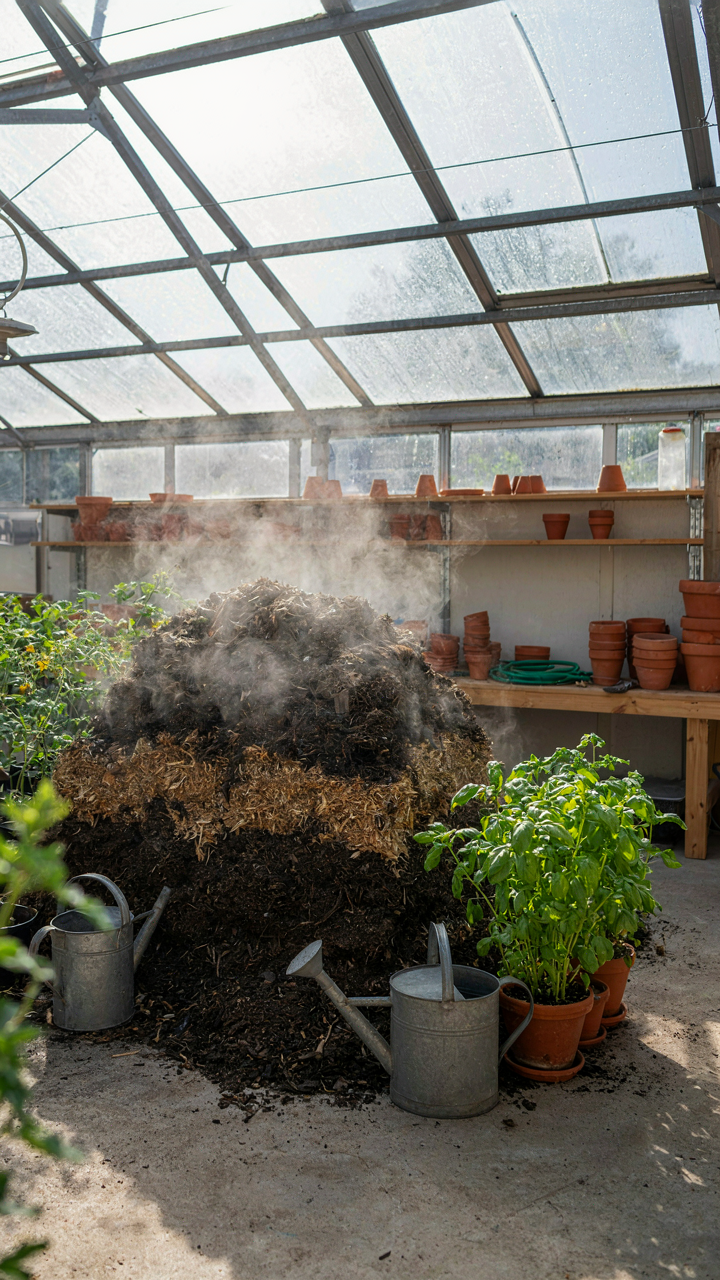
You want the shortcut that makes you look smart without buying expensive equipment. The mechanism is biological decomposition generating measurable heat, and you’re leveraging thermodynamics—the study of energy transfer—by placing a thermal battery inside your greenhouse structure itself.
Active compost reaches 130 to 160 degrees Fahrenheit during the hot decomposition phase. This isn’t theoretical. Horse manure mixed with carbon materials generates more consistent heat than aged compost. You build the pile inside the greenhouse or directly against the north wall, positioning it to radiate heat into growing beds during day-night temperature swings. The pile acts as thermal mass, absorbing solar gain during daylight and releasing it when outside temperature drops.
- Horse manure as primary heat source: Generates higher temperatures than cattle manure due to higher nitrogen content and bacterial activity rate during decomposition cycles.
- Carbon-to-nitrogen ratio of 25:1 to 30:1: Maintains optimal decomposition speed and heat output without creating anaerobic conditions that kill the heating process.
- Pile dimensions of 4 by 4 by 4 feet minimum: Reaches core temperatures only when mass is sufficient to retain heat and sustain microbial activity throughout winter months.
- Weekly turning for 4 to 6 weeks: Accelerates decomposition and peak heat output, then you let it settle and continue slow release for extended low-level warming.
- Placement against greenhouse south or east wall: Maximizes solar absorption during day, then radiates stored heat back into the growing zone at night when outside temperatures drop.
Most growers treat compost as waste management, not heating infrastructure. Position your pile as a deliberate thermal system by monitoring core temperature with a probe thermometer and feeding it fresh material before heat output drops below 90 degrees. Compost stops heating when decomposition stalls, so your job is maintaining the biological process through material rotation and moisture balance.
Rocket Mass Heaters Scaled For Greenhouses
Rocket mass heaters operate on a principle borrowed from combustion engineering: maximize heat transfer to thermal mass before exhaust leaves the system. A rocket heater’s efficiency comes from the J-tube design—a vertical insulated chamber where fuel burns hot, then channels exhaust through a mass core (usually cob or brick) before venting outside. The greenhouse version shrinks the footprint but keeps the mechanism intact.
Standard rocket heaters designed for homes run too large for enclosed growing spaces under 500 square feet. You need a greenhouse-scaled unit that fits in a corner or against the north wall without consuming valuable growing area. The core principle stays the same: burn wood fast in a small combustion chamber, force heat through a thermal mass block, then let radiant energy warm the space over hours after the fire dies. A 2 by 2 foot thermal mass block with 6 to 8 inches of insulation around the combustion chamber works for most mid-size greenhouse applications. The unit produces 8,000 to 12,000 BTU per firing cycle, enough to raise temperatures 15 to 25 degrees Fahrenheit in a sealed 300-square-foot space when operated twice daily during winter months.
The mistake most people make is assuming rocket heaters need constant feeding. They don’t. A single 30-minute firing stores enough heat in the mass core to radiate for 6 to 10 hours. Load the unit in morning and evening, let thermal mass work overnight, and your fuel consumption drops dramatically compared to forced-air systems. Install the unit on a solid foundation to prevent settling, insulate the entire mass block to reduce heat loss to the exterior walls, and run the exhaust pipe through an exterior wall at a slight upward angle to prevent backdraft. Monitor carbon monoxide levels weekly with a detector—rocket heaters are safe when properly sealed but require annual flue inspection to prevent creosote buildup that kills efficiency.
Optimizing Your Off Grid Greenhouse Heating Setup
Solar Air Collectors: DIY Efficiency
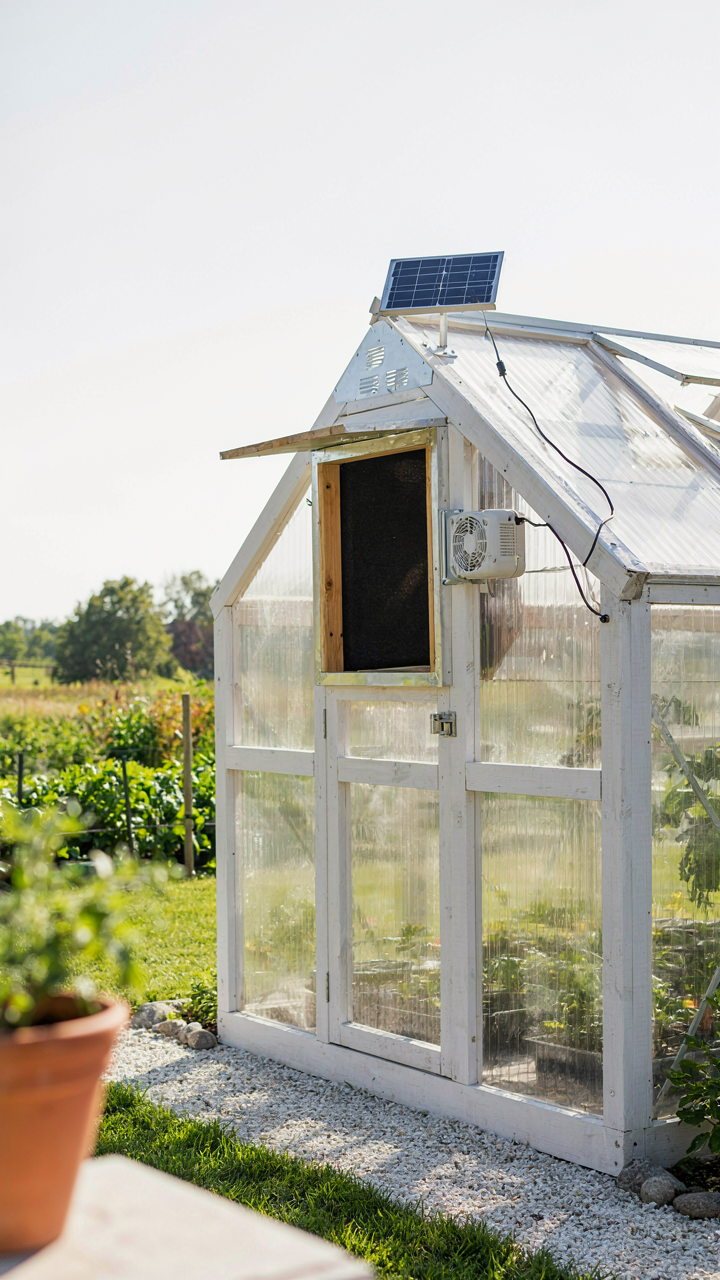
You want off-grid heating because you think it makes you independent. Really, you’re afraid of utility bills rising faster than your crops. The mechanism is simple: solar air collectors convert free radiation into usable heat by forcing air across an absorber surface, then storing or circulating that warmth directly into your greenhouse. This is thermodynamics applied to agriculture. No batteries required. No conversion losses.
A basic solar air collector is a box with a dark absorber plate, insulation underneath, and intake and outlet ports. Air moves through by convection or a small fan. The absorber plate warms to 140-180 degrees Fahrenheit on clear days. That heat transfers to the air passing over it. You can build one from aluminum flashing, plywood, and black paint for under 300 dollars. The payback happens in one season if you’re heating a modest greenhouse year-round.
Battery Storage For Electrical Backup
Most people size battery banks wrong because they confuse days of autonomy with actual load calculations. You need to know your peak draw, your average daily consumption, and your depth of discharge tolerance. Lithium batteries accept 80-90 percent discharge. Lead-acid batteries lose viability below 50 percent depth of discharge, which means you’re buying twice the capacity you actually use. The real cost lives in that dead space.
For a greenhouse heating system, batteries serve one job: run the fan or circulation pump when solar input drops. A 5-kilowatt-hour lithium system costs 3,500 to 5,000 dollars installed. A comparable lead-acid setup costs half that but requires replacement in five to seven years versus fifteen years for lithium. Calculate your actual daily heating load first. Most growers oversize batteries and never recover the investment because they underestimated how much passive thermal mass their greenhouse already provides.
Heating A Greenhouse In Winter: Dispelling Common Myths

Why Electric Heaters Fail In Real Conditions
You want the simple fix because you’re tired of overthinking this. Electric heaters fail because they treat your greenhouse as a sealed box when it’s actually a thermal sieve. Heat moves through glass and vents faster than any electric unit can replace it. The mechanism is thermodynamic load: the rate of heat loss exceeds the heater’s output capacity in subzero conditions. Most growers buy undersized units and wonder why they’re broke and cold.
The real problem isn’t the heater—it’s that people skip insulation, sealing, and passive heat capture before plugging in equipment. Electric heating alone costs three to five times more than a hybrid approach because you’re fighting physics instead of working with it. Measure your greenhouse’s actual heat loss first. Calculate the BTU requirement based on your lowest winter temperature, ventilation rate, and surface area. Only then choose an electric heater sized to supplement, not carry the entire load alone.
Active Versus Passive Is Not A Binary Choice
Economics calls this resource allocation, and your greenhouse heating strategy should too. The common advice treats active and passive heating as opposing camps. They’re not. Passive systems like thermal mass and south-facing orientation reduce your heating demand by 40 to 60 percent. Active heating then covers the remaining load at a fraction of the fuel cost.
Start with passive infrastructure: mass, insulation, and air sealing. Those require upfront capital but zero ongoing fuel. Then layer in active heating—whether gas, electric, or water-based—to handle the gap. A greenhouse with good thermal mass and double-layer polycarbonate might need half the heater capacity of a single-layer glass structure. The cost-benefit flips entirely in your favor. Test passive measures for one season before investing in expensive active systems.
The Real Obstacle Isn’t The Cold; It’s Your Addiction To Complexity

Most growers bury themselves in specifications when they should bury themselves in execution. You don’t need the perfect greenhouse heating solution. You need a working one installed by next week. Stop researching. Pick the system that fits your budget and your space, then start running the numbers on what it actually produces. The difference between success and failure isn’t the equipment. It’s whether you’re heating a greenhouse or heating your indecision.



