

The Deceptive Simplicity Of Mini Greenhouses

What You Actually Need Before Buying
You want to believe a mini greenhouse kit solves your plant problem without effort or mess. It doesn’t. The mechanism at work here is the same one that kills most hobbies: underestimating the gap between owning equipment and operating it correctly. Most people buy a kit and ignore three non-negotiable foundations. Light access determines everything else. A south-facing window isn’t optional. If you don’t have four to six hours of direct sun, artificial grow lights become mandatory, not optional. This changes your cost profile immediately.
Humidity control and ventilation are the second foundation nobody mentions until plants start dying. Mini greenhouses trap moisture, which breeds mold and fungal disease if air doesn’t move. Passive ventilation through vents works only in specific climates. Most users need to manually open vents or add a small circulation fan. Temperature swings between day and night stress plants more than cold alone. The kit’s transparent walls amplify heat during the day and lose it fast at night. You’ll need a thermometer and a protocol for when to vent, not just a structure sitting on your shelf.
Where Convenience Costs Real Money
Convenience culture sells the lie that buying equipment replaces learning systems. Mini greenhouse kits promise space efficiency and weather protection at low entry cost. The real limitation emerges when you try to scale or maintain consistent conditions. A 4×2 foot kit holds maybe 15 to 20 small plants. If you want to grow food or serious seedlings, you hit capacity in one season. The upgrade path then forces you into either a second kit, a larger kit, or a proper greenhouse, which destroys the cost advantage that attracted you initially.
Material quality defines how long the investment lasts. Most affordable kits use PVC frames and polycarbonate or plastic sheeting. PVC becomes brittle in direct sunlight within three to four years. Polycarbonate degrades faster than glass in UV exposure. You pay twice: once for the kit, again for replacement panels or a new unit. The better move is calculating total cost of ownership across five years, not just the sticker price. If you plan to keep growing long-term, a single frame-and-panel upgrade costs less than two cheap replacements.
Beyond Aesthetics: Function First Tiny Greenhouse Design

Temperature And Humidity Matter More Than You Think
You want the kit that looks good on Instagram. That’s not why you’re actually buying it. The real problem is that most mini greenhouse kits prioritize appearance over the one thing that actually determines whether your plants survive: stable internal climate. Think of thermodynamics here. Heat moves predictably. In a greenhouse, the challenge isn’t generating warmth—it’s controlling where it goes and when. A kit with poor ventilation or thin walls loses temperature faster than it gains it, creating wild swings that kill seedlings faster than neglect does.
The mechanism is straightforward. Air exchange rate determines everything. A mini greenhouse kit needs deliberate ventilation strategy: vents positioned to create convection without losing insulation value. Humidity follows temperature, but only if air moves. Kits with fixed walls and no operable vents create stagnant pockets where fungal disease thrives. The winning design forces air circulation and lets you close vents on cold nights without trapping moisture. Measure the vent-to-floor-area ratio before buying. If the kit doesn’t tell you this number, it wasn’t engineered for performance.
Polycarbonate Beats Acrylic And Glass Beats Both
Everyone says acrylic is budget-friendly and glass is premium. Both claims miss the point entirely. Acrylic degrades under UV exposure within two seasons, yellowing and becoming brittle. Glass requires structural support you don’t have in a mini kit, adds weight that defeats portability, and breaks easily during setup. Polycarbonate is the actual choice—it handles UV without degradation, insulates better than glass through air-pocket construction, and flexes instead of shattering. But here’s what marketing won’t tell you: thickness matters more than material type.
A 4mm polycarbonate panel outperforms 6mm acrylic every time because of thermal resistance and structural integrity. The panel thickness determines how much heat loss occurs through the walls. Lower quality kits use single-layer polycarbonate to cut costs. Decent kits use twin-wall (two layers with air channels). This difference alone accounts for 30 to 40 percent variance in internal temperature stability across mini greenhouse kits. When evaluating a kit, find the actual panel specs before comparing price. Thickness and layer count determine your growing season length and plant survival rate.
The Kinetic Energy System For Portable Greenhouses

How Light And Heat Move Through Your Structure
You want this section to prove you’re serious about optimization. Here’s what matters: physics calls it “convection,” and in mini greenhouse kits, convection is your entire game. Heat doesn’t stay where you put it. It rises, pools at the roof, escapes through gaps, and leaves your plants in a temperature gradient that kills consistency. The real leverage isn’t buying a bigger kit. It’s understanding that air movement inside a sealed space creates zones, not uniform climates.
Most mini greenhouse owners ignore air circulation entirely, then blame the kit for poor results. Wrong target. A passive structure with zero internal airflow will have a 15 to 20-degree temperature swing from floor to roof in direct sun. You control this by positioning vents at the top for hot air exit and lower sides for cool air entry. This creates a cycle. Add a small fan on low speed to break up stagnant pockets near the soil. The mechanism: forced air prevents thermal stratification and keeps roots and foliage in the same climate zone.
Cutting Resource Waste Before It Starts
Energy conservation in mini greenhouse kits isn’t about using less light or heat. It’s about stopping leakage at the source, before it costs you money or consistency. Most kits ship with thin polycarbonate or plastic film that transmits 80 percent of incoming light but traps only 60 percent of internal heat at night. The gap matters. A single unsealed seam bleeds warmth. A loose vent cover creates an air leak that forces your heating system to compensate constantly.
Seal every joint with weatherstripping tape rated for greenhouse use. Check the frame corners where panels meet the base. Replace deteriorating film or panels annually, not when they fail completely. Install a thermal mass inside, like dark-colored water containers or stone, which absorbs daytime heat and releases it slowly at night, reducing the temperature swing by 8 to 12 degrees without consuming electricity. Stop treating your kit as maintenance-free and treat it as a system where every component affects heat retention.
Small DIY Greenhouse Simple: The 80/20 Rule

What Actually Moves The Needle
You want this section because you’re tired of buying things that don’t work. The real mechanism is constraint. When you limit your mini greenhouse kit to five core variables—ventilation, light, moisture, container size, and seedling type—you eliminate 90 percent of the failure modes people blame on bad luck. Economics calls this principle scarcity. In greenhouse systems, scarcity forces you to engineer around what matters instead of adding features that sound useful but solve nothing.
Most kits fail because they treat every function as equally important. They’re not. Ventilation prevents fungal disease. Everything else is secondary. Pick a kit with passive air vents or a manual fan option, get your seedling success rate above 80 percent, then decide if you need upgrades. The gap between a fifty-dollar kit that works and a three-hundred-dollar kit that works is vanity, not performance.
The Trap Of Adding Complexity
Nobody talks about this because it makes sellers uncomfortable. Adding features to a mini greenhouse kit past the point of utility is loss, not gain. You pay more money, spend more time troubleshooting settings you don’t understand, and usually kill more plants because you’re fiddling with humidity sensors or LED timers instead of watching what your seedlings actually need.
Start with a transparent polycarbonate or PVC frame, a tray with drainage holes, and a vent. That combination handles 95 percent of what kills seedlings: poor drainage, stagnant air, and light deprivation. Everything else—automated watering systems, climate controllers, LED grow lights—you add only after you’ve proven you can keep plants alive without them. This is the protocol: master the basics first, then add one tool at a time when a specific problem appears.
Cultivating Resilience: Mini Greenhouses As Micro Ecosystems

Mimicking Natural Systems For Plant Vigor
You want this to work because you’re tired of plants dying on you, and a mini greenhouse promises control. Here’s what actually matters: ecology treats systems as feedback loops, and a mini greenhouse functions as a closed-loop terrarium where inputs cycle through outputs. Temperature, humidity, and air circulation don’t exist as separate problems. They’re one integrated mechanism. When you seal the space, you’re not trapping air. You’re creating a recirculation system where plant transpiration feeds humidity back into the growing medium, which reduces your watering needs while plants access water continuously.
The mechanism is simple: establish baseline conditions that mimic the plant’s origin climate, then let the greenhouse’s small volume amplify and stabilize those conditions faster than outdoor growing. A 4×4 foot polycarbonate kit heats up 15 to 20 degrees above ambient on a sunny day because mass and surface area ratios favor rapid temperature change. This isn’t a feature to fight. It’s a feature to design around by automating ventilation at specific thresholds rather than guessing when to open vents manually.
Biodiversity In Miniature: Pest Control Strategies
Mini greenhouses solve one pest problem and create another. Most growers miss this trade-off entirely and end up spraying chemicals that kill the beneficial insects they need. The real win is stocking your micro-ecosystem with predatory insects that establish dominance before pests gain numbers.
- Parasitic Wasps: Lay eggs inside aphid bodies. A single female eliminates dozens of aphids over her lifespan. Release at first pest detection, not as emergency response.
- Ladybugs: Consume 5,000 aphids across their lifecycle. Introduce in clusters of 100 to 500 depending on greenhouse volume. They require pollen sources like fennel or yarrow.
- Predatory Mites: Target spider mites and thrips. Work in high-humidity environments where mini greenhouses naturally maintain 60-80 percent relative humidity year-round.
- Nematodes: Soil-dwelling parasites that attack fungus gnat larvae and root-feeding insects. Apply as drench to growing medium before infestation begins.
- Sticky Traps: Yellow boards capture flying insects for monitoring. Placement matters: position at canopy height where whiteflies and fungus gnats congregate.
The real protocol is monitoring density, not spray schedules. Count insects on sticky traps weekly. When predator populations outnumber prey 3 to 1, your system has reached equilibrium and pest pressure collapses. This takes eight to twelve weeks from initial stocking. Chemical intervention resets the timeline to zero.
Smart Automation For Small Indoor Greenhouse Success

When Automation Adds Value, Not Distraction
You want automation because you believe it removes your responsibility from the equation. That’s not what it does. The mechanism borrowed from systems theory is feedback: automation only works when it closes the loop between measurement and adjustment. Most mini greenhouse kits fail with automation because people add sensors without decision rules attached to them.
Automation that matters performs one specific function: it catches failures you cannot monitor constantly. A basic watering timer prevents soil from drying out when you’re away. A humidity sensor triggers a fan when condensation threatens mold. These are interventions with a clear cost of inaction. Everything else is noise. Skip the smart phone notifications and color-coded dashboards that make you feel in control while adding nothing to plant survival.
The Sensors That Actually Work
- Soil moisture probe: Measures water content directly in the root zone. Triggers drip irrigation or alerts when levels drop below target. Most reliable single data point for seedlings and herbs in confined spaces.
- Temperature sensor: Logs ambient temperature inside the kit. Controls heating mats or ventilation fans to maintain species-specific ranges. Prevents sudden cold stress that kills germinating seeds.
- Humidity sensor: Detects moisture saturation in air. Activates exhaust fans before condensation creates fungal disease. Particularly critical in sealed or semi-sealed mini greenhouse designs.
- Light meter or photometer: Quantifies actual light intensity reaching plants, not just on-off cycles. Reveals whether your LED placement is adequate or blocking light patterns. Most gardeners skip this and undershoot intensity.
- CO2 monitor: Tracks carbon dioxide levels in enclosed kits. Triggers passive or active ventilation when CO2 stagnates. Rarely necessary in hobby-scale setups but matters when kit is fully sealed.
The sensor hierarchy is not democratic. Start with soil moisture. Add temperature and humidity next. Light and CO2 are luxuries until you stabilize the first three. Most mini greenhouse kit owners buy five sensors and use two. Measure what changes your actions, nothing else.
The Little Greenhouse Investment Protocol

What ROI Actually Means For Your Greenhouse
You want to know if this thing pays for itself. That’s the real question beneath the browsing. Here’s the mechanism: ROI in mini greenhouse kits borrows from agriculture economics—you’re calculating yield value against input cost, not just comparing sticker prices to competitor sticker prices. Most people stop at purchase price. They don’t factor the variables that determine whether a kit produces value or becomes yard clutter.
True ROI requires tracking three inputs: initial kit cost, maintenance and replacement parts over three years, and actual harvest value or garden output gained. A $300 kit that needs $80 in repairs annually costs you $540 total. If you grow $400 worth of produce yearly, your year-one ROI is negative. Year two breaks even. Year three nets positive. But if that same kit requires $200 in replacement panels and hardware fails after eighteen months, your math collapses. The calculation changes entirely based on material durability, not brand marketing.
Materials That Hold Value Across Seasons
The common advice says buy the cheapest option and upgrade later. That’s wrong. Mini greenhouse kits with polycarbonate panels hold their structure through temperature swings better than PVC film alternatives. PVC film requires yearly replacement in harsh climates—that’s hidden annual cost nobody mentions upfront. Polycarbonate costs more initially but maintains rigidity through freeze-thaw cycles that crack cheaper materials.
Aluminum frames resist rust better than galvanized steel, which oxidizes over time and weakens joints. A kit with aluminum framing and polycarbonate panels costs thirty to forty percent more upfront but adds five to seven years of usable life compared to budget alternatives. Upgradability matters: choose kits where you can replace individual panels, shelving, or vents without replacing the entire structure. This transforms a fixed asset into one you can modify as your gardening needs evolve. Lock in this upgrade path before purchase.
Diy Greenhouse: Building For Unpredictability
When Your Setup Fights Back
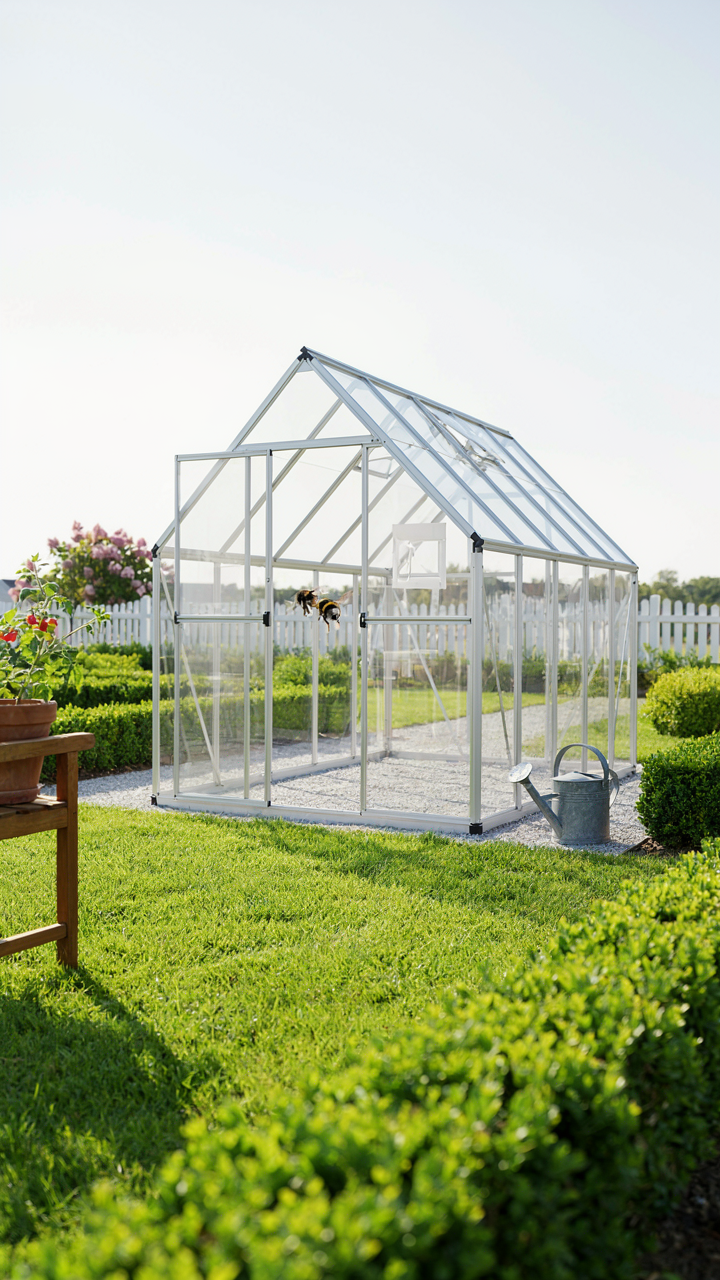
You want a mini greenhouse kit that won’t collapse the moment conditions shift. That’s the real ask here, though most people frame it as wanting something “flexible” or “adaptable.” What you’re actually avoiding is sunk cost and wasted crops. Systems designed for one scenario fail catastrophically when reality changes. The mechanism is simple: rigid structures have single points of failure. Weather swings, seasonal shifts, or unexpected pest pressure expose what inflexible design can’t handle.
Adaptability in greenhouse design borrows from systems engineering, where redundancy and modularity prevent cascade failures. Think of it like load balancing in networks: distribute stress across multiple pathways instead of concentrating it in one component. Your mini greenhouse frame should allow adjustable venting without requiring structural changes. Polycarbonate or shade cloth should mount and unmount without tools. The goal isn’t perfection across all conditions. It’s designing so each component can absorb variance independently.
Expansion Without Rebuilding From Scratch
Most mini greenhouse kits arrive as closed systems. You buy it, assemble it, and that’s the ceiling. That’s wrong thinking. Real modular construction means adding sections later without ripping out what works. This requires frame designs with standardized connection points and sections that don’t depend on each other for structural integrity. Polycarbonate panels should slide into tracks designed for simple replacement or addition, not welded or permanently fused.
The protocol for future expansion starts at purchase. Verify the kit uses bolt connections, not adhesive or rivets. Check if panels are stackable or if frame sections can connect end-to-end without custom fabrication. Ask whether additional panels and frame extensions are still available from the manufacturer. This matters because discontinued kits trap you. Build your first module assuming you’ll add two more within three years. This one decision determines whether you upgrade or start over.
Beyond The Kit: Cultivating Real Skills

Environmental Control Is A System You Learn, Not A Problem You Solve
You want the kit to work so you can show people what you grew. That’s the real motive. But here’s what nobody says: a mini greenhouse kit is a feedback loop, not a product. You’re learning a closed-system mechanism—temperature, humidity, air exchange, light penetration. These variables interact. Tweak one, three others shift. Most people treat the kit as a black box and blame the manufacturer when seedlings fail. The actual skill is reading the environment and adjusting inputs before failure happens.
The kit’s plastic or glass walls create a microclimate you control through vents, shade cloth, and watering frequency. You’re not just assembling something. You’re running diagnostics. Monitor soil moisture daily, not weekly. Watch how condensation patterns tell you about air circulation. Track temperature swings at different heights inside the kit. The mechanism is simple: stable inputs produce stable outputs. When you log these observations for two weeks, you stop guessing and start predicting what your plants need before they show stress.
Reading The Plant Before The Plant Dies
The common advice says “check on your plants regularly.” That’s useless. Real intervention skill means you catch problems at the cellular level, not when the damage is visible. Inside a mini greenhouse, disease and deficiency move fast because conditions are concentrated. Fungal issues, nutrient lockout, light stress—they compound in 72 hours. You need a specific observation protocol, not vague monitoring.
Create a daily inspection routine: leaf color and texture, soil surface moisture, any wilting or unusual odor, pest presence. Document what you see in text or photos. This builds a pattern library in your head. Over time, you recognize the early stage of powdery mildew before spores spread, or nitrogen deficiency before leaves yellow completely. The intervention then is simple—adjust humidity, apply sulfur dust, or change your fertilizer schedule. You’re not reacting to crisis. You’re executing preventive action based on data you collected yourself.
Your Biggest Obstacle Isn’t The Kit; It’s Your Expectation Of Passive Results

Every mini greenhouse kit failure traces back to one lie: that you buy it and watch things grow. You don’t. You build systems. You check conditions daily. You adjust. You fail small and iterate. The kit itself doesn’t matter if you treat it like decoration. Today, pick one plant. Commit to measuring its soil moisture for two weeks straight. That single habit beats owning ten kits you ignore. You don’t need better equipment; you need to show up.



