
The Illusory “Standard”: Why Generic Window Box Sizes Fail You
Myths That Waste Your Money
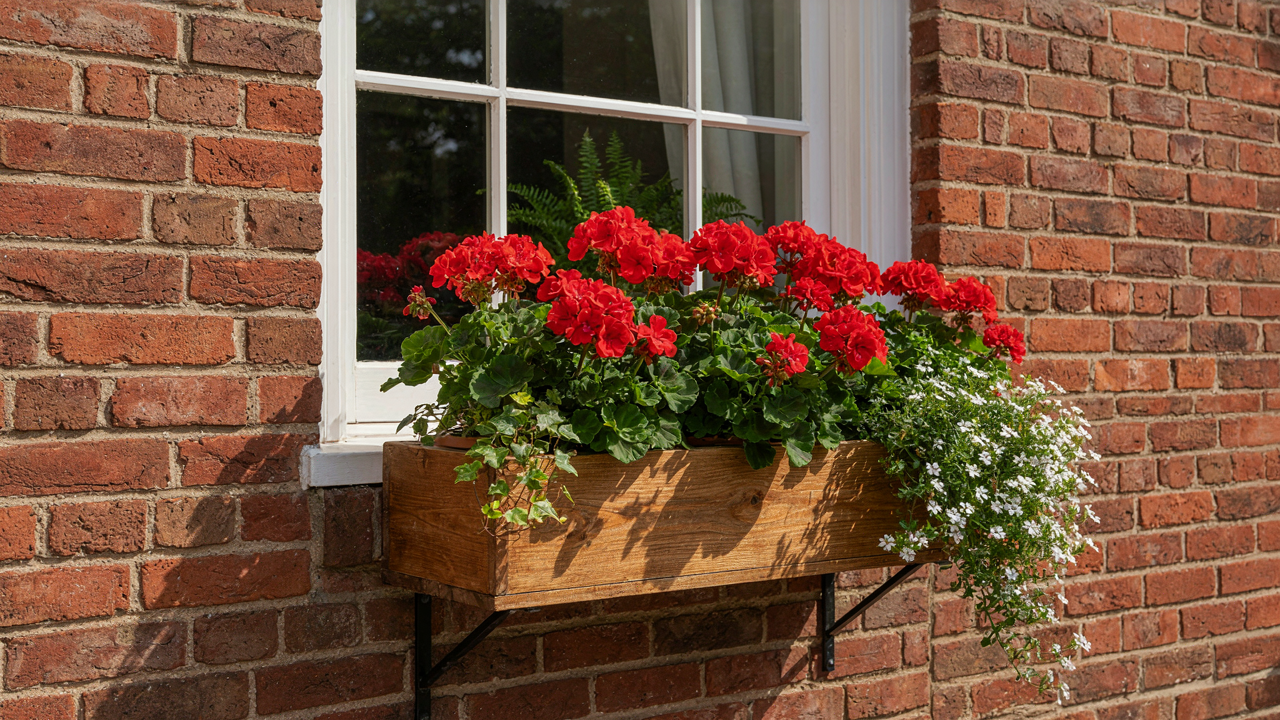
You want the comfort of a rule that works everywhere so you don’t have to think. That’s the real reason you’re reading this. But “standard” window box sizes don’t exist because windows don’t come in standard sizes and plants don’t care about conventions. The myth persists because retailers need inventory that moves fast, not because the dimensions actually solve your problem. A 24-inch box works for one window and creates a visual disaster on another. The industry pushes these arbitrary lengths because they’re easy to manufacture and ship, not because they match how windows are actually built or how plants actually grow.
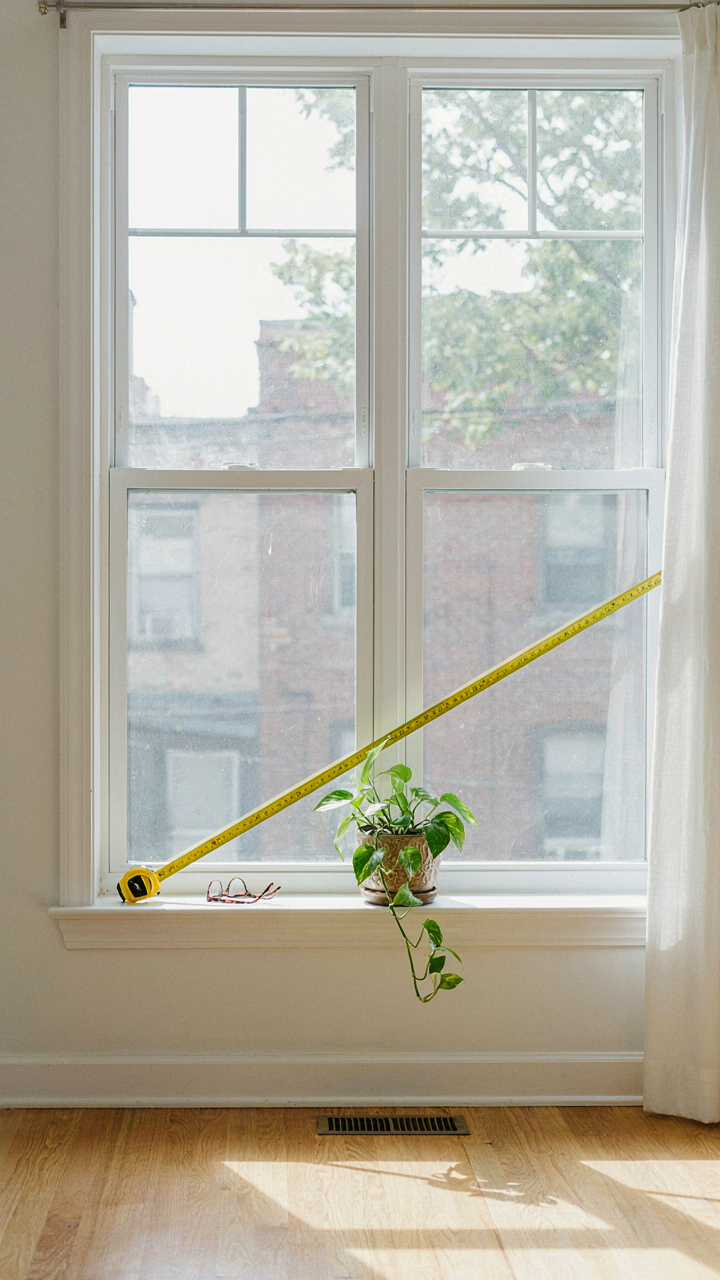
Generic sizing advice ignores the load-bearing reality of your structure. A 36-inch box filled with soil and water weighs 80 to 120 pounds depending on material and moisture. Your window frame, bracket system, and mounting surface have specific weight limits that vary by construction method, material, and age. The common mistake: measuring the window opening and buying a box that fits it. The real mechanism: you must know your mounting surface capacity first, then work backward to the box size that won’t exceed it. Retailers never mention this because it requires assessment, not selling.
What Nobody Tells You About Conditions
Biology has a concept called carrying capacity: the maximum population an environment can sustain. Your window box operates the same way, and the mechanism is this: size determines water retention, root depth, and nutrient availability. A shallow box can’t hold enough soil to support mature plants through a growing season or special occasion display. A box too wide for its depth creates drainage problems and root rot regardless of how much you water. The common advice to “match your window width” is incomplete because it ignores the vertical plane entirely. A window 48 inches wide but a box only 6 inches deep creates an imbalanced system where plants fail predictably.
Light exposure, water cycle, and soil volume form a closed system. If your window faces north with three hours of direct sun, a large box holding excessive soil becomes a liability because that volume stays wet longer and promotes fungal issues. South-facing windows with eight hours of sun need deeper boxes because plants transpire faster and roots dry out quickly. Your box size must calibrate to the specific microclimate of your location and window orientation. Measure your actual sunlight hours before deciding dimensions, then match soil depth and width to that light condition, not to aesthetics or convention.
The Biomass Maximization Protocol For Window Planters
Soil Volume And Root Zone Optimization
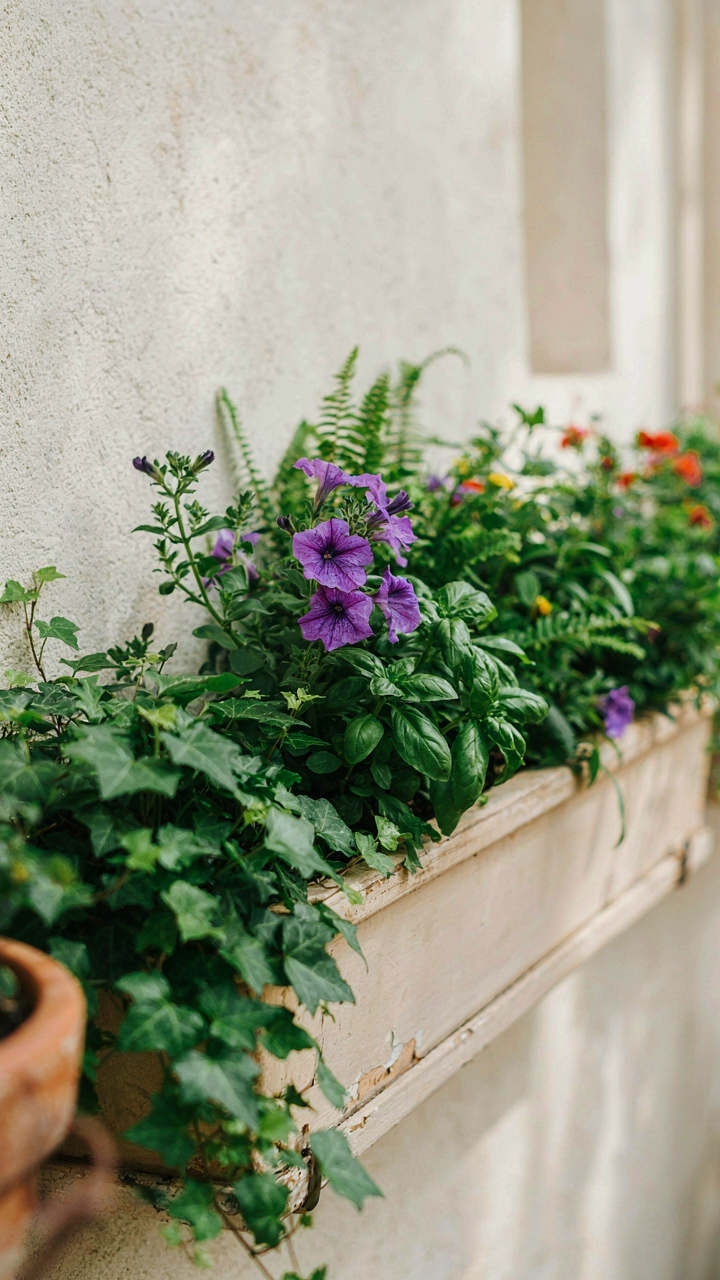
You want your window box to look full by July so people notice it from the street. That’s not happening without understanding the actual constraint: root zone depth determines how much water and nutrient availability your plants access, which directly controls growth rate. Treat soil volume like carrying capacity in logistics. A 12-inch-deep box with 8 inches of usable soil root zone will max out plant biomass around week six. Go shallow, and you’re fighting physics, not gardening.
Most people stuff boxes without calculating the math. A standard 24-inch window box needs minimum 8 inches of depth for perennials and 6 inches for annuals to sustain dense growth through a season. Fill from bottom: 2 inches drainage material, then potting mix to capacity. Soil volume directly correlates to how long plants stay hydrated between waterings and how many nutrients stay accessible. The deeper the root zone, the more forgiving your watering schedule becomes, which matters when you’re managing multiple boxes across different sun exposures.
Strategic Plant Selection For Dense Growth
Pick plant combinations that compete for the same niche rather than complement each other visually. Most advice says mix textures and heights. That’s filler thinking. Dense growth comes from stacking plants with similar water and light requirements into the same 2-foot length, forcing them to share resources efficiently. You want genetic density, not design diversity.
Trailing plants like calibrachoa and bacopa fill boxes faster than upright cultivars because their growth pattern exploits horizontal space. Pair them with one vertical anchor plant maximum. Avoid mixing sun-lovers with shade-tolerant species in the same box unless your window gets exactly 4-6 hours of direct light. Mismatched light requirements mean one plant always underperforms, wasting soil volume. Space plants 4-6 inches apart at planting, not closer. Crowding reduces air circulation and increases disease pressure, which cuts growth short before you hit peak biomass.
The Kinetic Energy Of Light: Positioning Your Window Planter Boxes

How Much Sun Does Your Box Actually Get
You want this section because you’re afraid your flowers will die and you’ll look negligent. Here’s what matters: photosynthesis requires specific wavelengths at specific intensities. Borrow a term from physics—photosynthetically active radiation, or PAR—and apply it to window box placement. Most people guess at sunlight. They don’t measure it. Your box needs either full sun (6+ hours of direct light daily) or partial shade (3-6 hours). East and west windows deliver different quality light at different times.
Measure before you buy plants. Observe your window at 9 AM, noon, and 3 PM on a clear day. Note which areas receive direct beam versus reflected light. Reflected light from buildings or pavement adds intensity. North-facing boxes rarely work for flowering plants. South-facing boxes get maximum intensity in winter but scorch tender seedlings in summer if unshaded. The angle of incoming light changes with season—this matters more than most guides admit, because it determines whether your box gets consistent energy or dramatic swings.
Angle Adjustment Stops Wasting Your Space
Conventional advice treats window boxes as static objects. Wrong. The box itself can rotate or tilt. If your window receives morning light at a low angle, a tilted box captures more photons per square inch than a flat one. Tilt the box’s long axis toward the sun’s average path during your growing season. Even a 15-degree adjustment increases light interception significantly. Metal or reinforced plastic boxes tolerate tilting better than fragile ceramic. The tilt also improves drainage, which accelerates root growth and nutrient uptake.
Document your box’s position and angle during peak growing season. Mark the angle on the box itself if it’s adjustable. Repositioning mid-season disrupts root systems, so lock in your angle based on three weeks of observation, not guesses. If light changes seasonally at your window, plan for that transition—move shade-tolerant plants to shadier positions before they fail, rather than replanting after failure.
Maximum Light Capture Per Inch
The surface area of your box matters less than light penetration into the soil. Dense planting blocks light from reaching lower leaves and soil. Spacing plants according to their mature width—not their current seedling size—prevents this self-inflicted shade. A 24-inch box holds three mature plants well, not six seedlings destined to choke each other. Reflective surfaces around the box amplify incoming light. A white wall or light-colored trellis behind the box bounces light back into the foliage. Dark surfaces absorb energy and waste it as heat. Position your highest-growth plants on the box’s north side to shield lower plants from afternoon scorch, not to shade them into weakness. Light is a resource you meter, not distribute equally.
Measure soil temperature with a basic thermometer. If soil exceeds 75 degrees consistently, afternoon shade clothe becomes necessary—heat stress shuts down photosynthesis even with abundant light. Install shade cloth on the south or west side only. Full daily light plus adequate root temperature produces faster growth than maximum light with heat stress. The box’s material affects soil temperature: metal heats faster than wood or plastic. Choose box material based on your climate’s heat intensity, not aesthetics.
Precision Hydration: Water Dynamics In Window Boxes

How Water Moves Through Soil
You care about this because dead plants look like failure, and you want to avoid it. Here’s what matters: thermodynamics tells us water moves through soil via two mechanisms—capillary rise and gravitational drainage. In window box terms, capillary action is your enemy. It pulls moisture upward from the drainage holes, concentrating salts at the soil surface. This kills roots before you even see wilting. Soil depth determines how far capillary rise penetrates before it stops.
Smaller boxes suffer worse from capillary loss because the water column is shorter and evaporation hits a higher percentage of total moisture. A six-inch box loses water to salt concentration faster than a twelve-inch box with identical soil composition. The mechanism is pure physics: water molecules bond to soil particles and climb against gravity until evaporative pressure balances adhesive force. You can’t fight this. You manage it through drainage design and soil selection, not through watering technique alone.
Drainage Design And Moisture Control
The standard advice is wrong. Most guides say “add drainage holes and you’re done.” That ignores the reality: drainage holes alone don’t create a functioning system. You need a drainage layer that breaks capillary continuity. Gravel or broken pottery shards at the box bottom interrupts the capillary chain. Water pools there instead of wicking upward into root zones.
Box dimensions directly control drainage performance. Wide, shallow boxes drain faster than tall, narrow ones because water hits drainage holes sooner. A fourteen-inch wide by six-inch deep box moves water out differently than a six-inch wide by fourteen-inch deep box, even with identical soil volume. Moisture retention demands a moisture-holding layer above the drainage break. Coir or compost mixed into the middle third of soil holds water where roots access it, while gravel below stops capillary rise. Layer your soil deliberately: gravel base, then transition zone, then root zone.
How To Build A Flower Box For Window: Structural Integrity Beyond Aesthetics
Material Science For Load Bearing
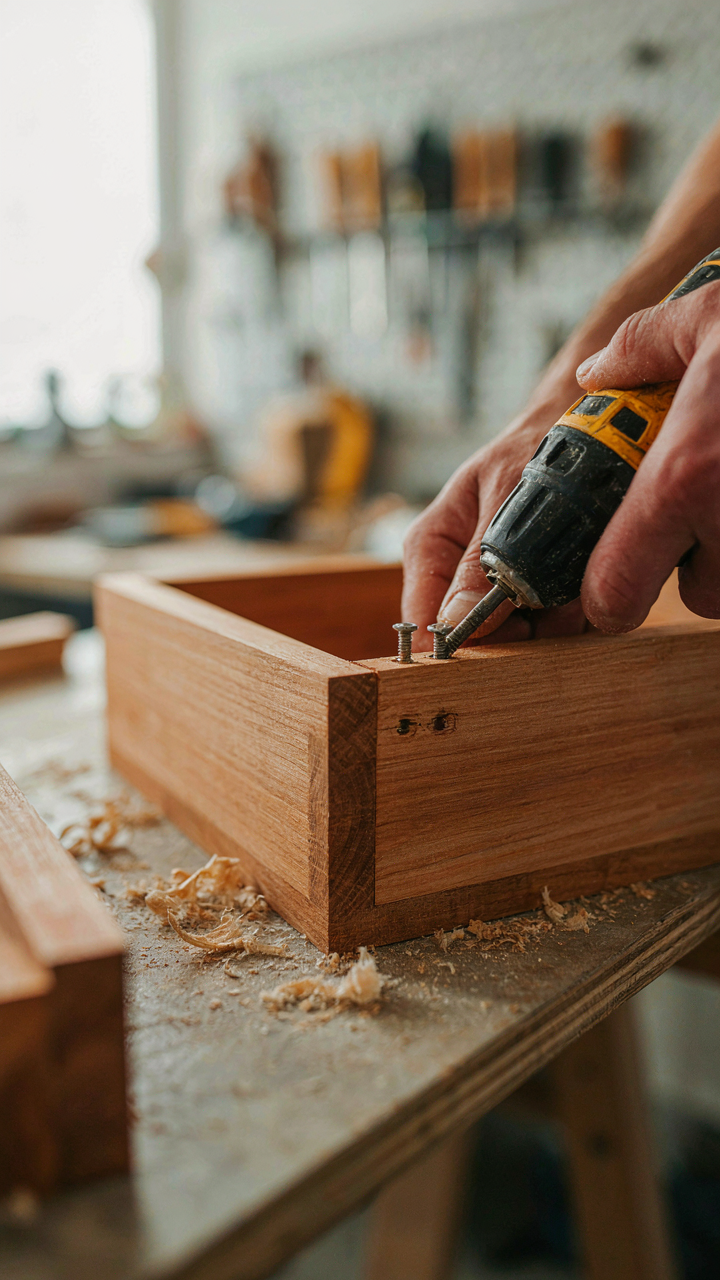
You care about this section because a collapsed window box kills your credibility faster than a bad photo. Here’s the mechanism: material science treats structural failure as a stress-strain relationship. In window box terms, stress is the combined weight of soil, water, and plants. Strain is how much the material bends before breaking. Wood absorbs moisture and loses tensile strength. Plastic degrades under UV exposure. Composite materials resist both but cost more. The material you choose determines how much weight the box actually holds before failure, not how it looks doing it.
Cedar and composite lumber outperform standard pine because they resist rot where water pools longest. Cedar contains natural oils that slow decay. Composites use plastic polymers bonded to wood fibers, eliminating the moisture absorption problem entirely. Galvanized steel brackets cost more upfront but eliminate rust at connection points. Most people choose materials by appearance alone, then discover structural failure after one heavy rain. The real decision hinges on local climate, watering frequency, and the total load you’re mounting.
Reinforcement Points And Mounting Security
The common advice about “securing it tightly” misses the actual failure point: the connection between box and wall, not the box itself. Buildings move slightly with temperature changes. Window frames flex under wind load. A rigid mounting system fails because it can’t absorb movement. Reinforcement works by distributing load across multiple points rather than concentrating it at two fasteners.
Locate reinforcement at corners where stress concentrates most heavily during wind loading. Use L-brackets rated for three times the estimated load weight, not just the box weight. Fasteners must anchor into structural framing or masonry, never into drywall or trim alone. Install lag bolts into wood framing at 16-inch intervals. For masonry, use expansion anchors rated for your wall material. Check all fasteners every 18 months and tighten any that have shifted.
The Evolutionary Advantage: Adapting Window Box Design For Microclimates
Wind Shear And Temperature Swings
You want your window box to look untouched by weather because exposure feels like failure. The real issue: wind shear and temperature fluctuations aren’t random inconveniences—they’re predictable forces you can engineer around. Borrowing from aerodynamics, think of your window box placement as a “pressure zone.” A box positioned in full wind tunnel receives three times the evaporative stress of one sheltered by architectural features.
Box dimensions directly determine how much thermal mass protects roots from temperature swings. Wider, deeper boxes (14+ inches deep) buffer against daily temperature shifts better than shallow designs. Narrow boxes on exposed walls lose soil temperature 40 percent faster than recessed installations. The mechanism: soil volume equals thermal inertia. Size your box depth proportional to how exposed your window sits to prevailing wind patterns.
Material Density And Heat Retention
Most advice treats window box material as aesthetic choice only. It’s not. Material selection determines whether your soil stays viable during temperature extremes. Concrete and ceramic boxes absorb and release heat slower than plastic or metal, creating a thermal battery effect for roots. This matters on special occasions when you can’t replace stressed plants mid-event.
Pair material density with box proportions: concrete boxes perform best at 12 to 18 inches deep on north-facing exposures. Metal boxes on south-facing walls need soil depths of at least 16 inches to prevent root cook-off in afternoon sun. The protocol: measure your wall’s sun exposure hours, then select box depth that matches: 8-10 inches for shade, 14-16 inches for partial sun, 18+ inches for full afternoon exposure.
How To Hang Window Boxes: The Counter Intuitive Anchoring System

Brackets Don’t Hold Weight The Way You Think
You want the brackets to look elegant because you’re hanging this where neighbors see it. Here’s the real mechanism: decorative brackets are load distributors, not load bearers. Architects borrowed this principle from structural engineering—load path is everything. A thin decorative bracket moves force laterally across your wall rather than down through the fastener. Most people buy brackets based on appearance, then wonder why the box sags after two seasons. The bracket’s job isn’t to be strong. Its job is to redirect weight into the fastening system behind the wall.
The common advice says “match bracket size to box size.” That’s incomplete. A heavy window box needs the fastener doing the work, not the bracket. Your bracket can be modest because it’s merely the messenger. What matters is what sits behind your siding. If your fastener isn’t rated for the combined weight of box, soil, and water, the bracket becomes decoration attached to failure. Pick your fastener first. Then choose a bracket that suits your aesthetic and can physically transfer that load pattern into the wall.
Industrial Grade Fastening For Real Conditions
- Lag bolts into studs: 3/8 inch diameter bolts screwed directly into framing provide the highest holding capacity. Minimum 2.5 inches penetration into solid wood. Works for boxes over 50 pounds when properly installed.
- Toggle bolts for hollow walls: Expansion anchors that grip from inside the cavity. Rated up to 25 pounds per bolt in drywall. Use two per bracket minimum for window boxes. Install perpendicular to studs only.
- Masonry anchors for brick or stone: Lead shields or concrete screws rated for your wall type. Drilling creates dust—wear a respirator. Test pull strength after installation to verify the anchor set properly in your specific wall.
- Stainless steel hardware throughout: All bolts, washers, and brackets corrode at different rates. Stainless prevents galvanic corrosion where dissimilar metals meet. Cost difference is minimal compared to replacing rotted installations.
- Double fasteners per bracket: Never hang a window box on a single anchor. Use two fasteners minimum, spaced 12 to 16 inches apart horizontally. This distributes load and prevents rotation when the box shifts with wind or growth.
Wind load matters more than people admit. A full window box catches air like a sail. Extreme weather—high winds, heavy snow accumulation on the box—demands fasteners rated for shear stress, not just vertical weight. Most residential fasteners are rated for static load only. Read the spec sheet. Match your fastener rating to your location’s wind zone and expected seasonal load. The installation protocol: mark studs with a stud finder, drill pilot holes at exact angles, insert fasteners with washers, then hang the bracket bracket hardware only after verifying each fastener is fully seated and immobile.
Window Box Plants: The Species Specific Selection Matrix
Root Depth Versus Box Depth
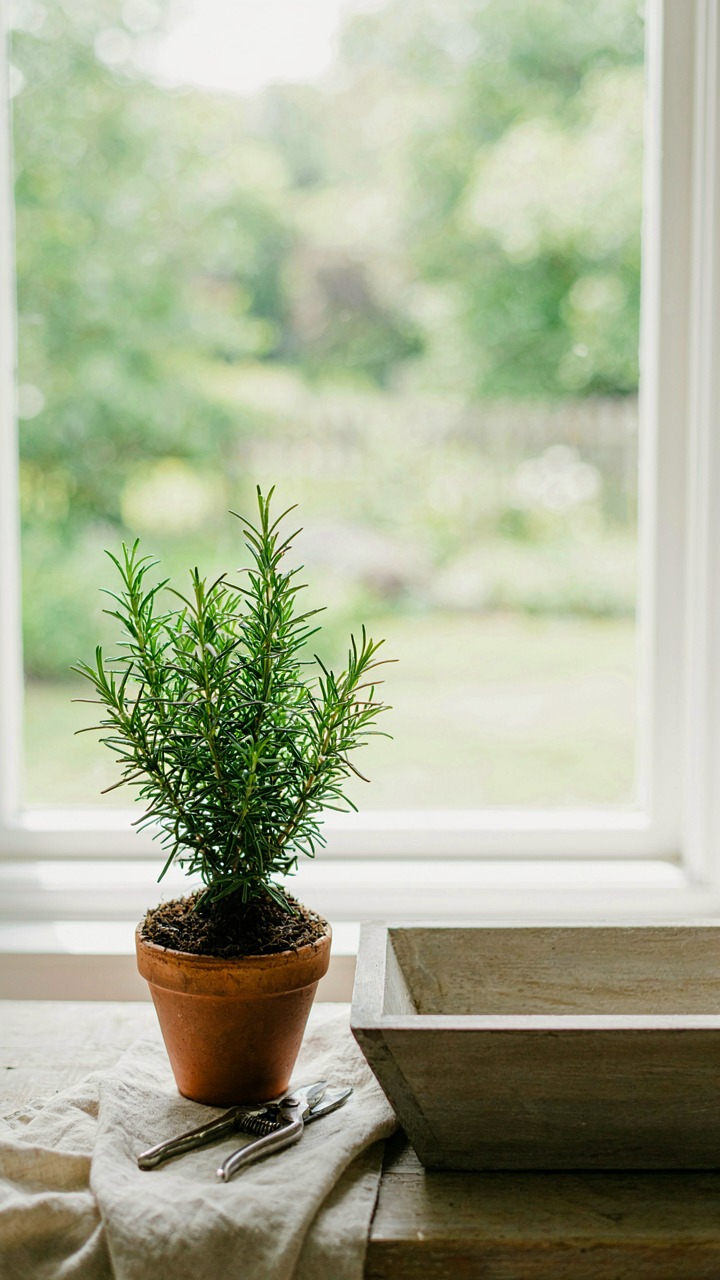
You want to look smart by picking plants that “work” in a window box, when really you’re afraid of killing them within two weeks. Here’s the mechanism: root architecture determines survival, not aesthetics. Borrow from horticulture the concept of “rooting depth”—the vertical distance a plant’s roots need to function. Shallow-rooted plants like petunias and violas tolerate 6-8 inch boxes. Deep-rooting species like rosemary and lavender demand 12+ inches or they’ll slowly strangle themselves. The box depth you choose filters which species survive the season, not the other way around.
Most people reverse this logic. They pick plants first, then squeeze them into whatever box they own. That’s backwards. Start with your box dimensions—especially depth, which most guides ignore entirely. A 4-inch-deep box eliminates 70 percent of viable options. Measure your actual box before shopping. Then cross-reference root depth requirements. This single step prevents the slow decline that looks like neglect but is actually physical impossibility. The plant didn’t fail. The container made failure inevitable from day one.
Species Mismatch In Microclimate Zones
The standard advice says “full sun plants need sun.” Accurate but useless. What matters is the specific light deficit your window creates and whether a plant’s physiology tolerates it. A north-facing box gets 2-4 hours of indirect light. Begonias handle this. Calibrachoa does not. Calibrachoa needs 6+ hours of direct sun and will yellow and stop blooming within weeks in shade, even with perfect watering and drainage. You haven’t failed at plant care. You’ve installed a plant built for a different microclimate.
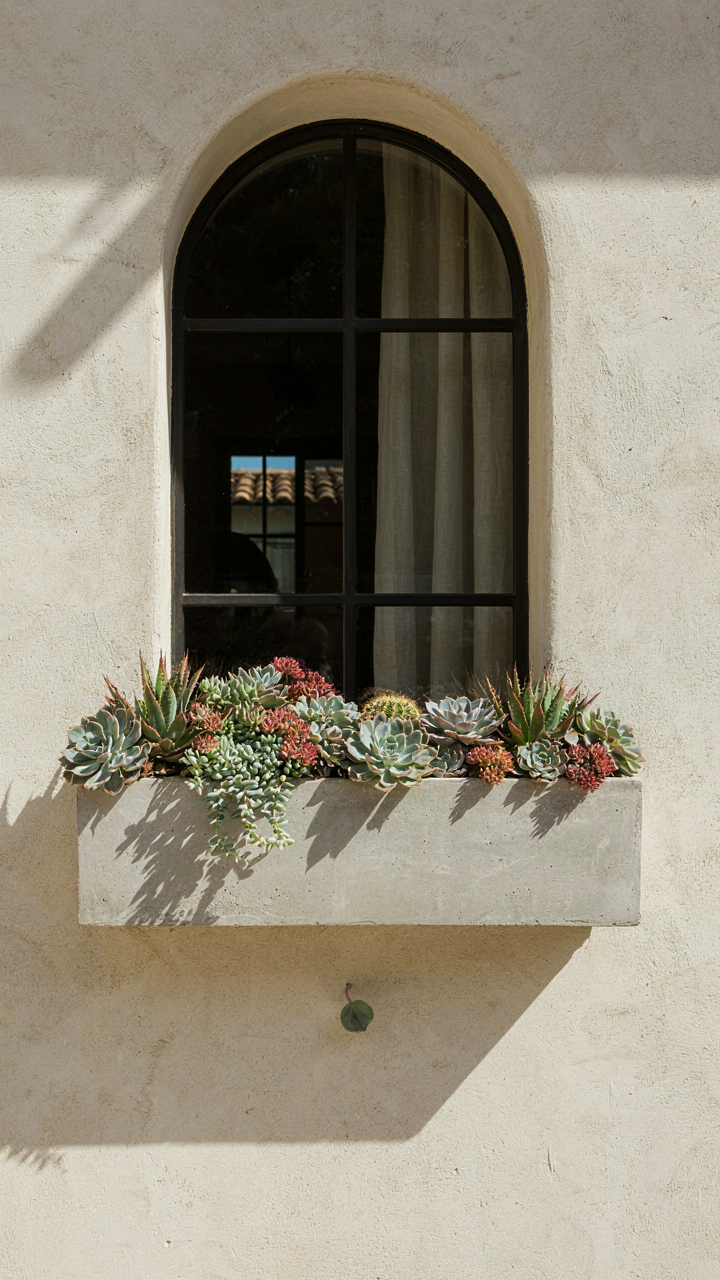
Drainage capacity is the second hidden mismatch. Sedums and echeveria thrive in fast-draining boxes because they evolved in arid conditions with minimal water retention. Hostas prefer consistent moisture. Put hosta in a sedge-draining box with aggressive watering schedules, and it declines from root stress despite “correct” care. The box material matters here—terracotta drains faster than plastic, which drains faster than wood. Assess your box’s actual drainage speed, then match it to plant water requirements. Misalignment between container drainage and plant physiology kills more window box plants than any other single factor.
The Real Limitation Isn’t Your Window; It’s Your Impoverished Imagination Of What A Box Can Achieve

You’ve been thinking about window boxes wrong. You measured your sill. You picked a size. You planted something safe. But a window box isn’t a constraint on your creativity—it’s a canvas that forces you to get ruthless about what matters. Pick one plant today. The one that actually excites you. Not the one that “goes with” your aesthetic. Ignore what works for everyone else because their window isn’t your window, and their vision isn’t your vision. The box size doesn’t limit you. Your willingness to commit to something bold does.



