Introduction
Welcome to your step by step resin crafts tutorial for beginners. If you have ever wanted to create your own jewelry, decorations, or art pieces using resin, this guide will show you how. Resin crafting is a fun and creative hobby that anyone can learn with the right instructions and materials.
In this tutorial, you will discover the basic tools and materials needed, the essential steps to prepare and pour resin, and helpful tips to get the best results. You will also learn about common techniques and ideas for your projects. Whether you want to make resin coasters, pendants, or paperweights, this guide will help you start creating today.
Understanding Resin Types And Their Uses
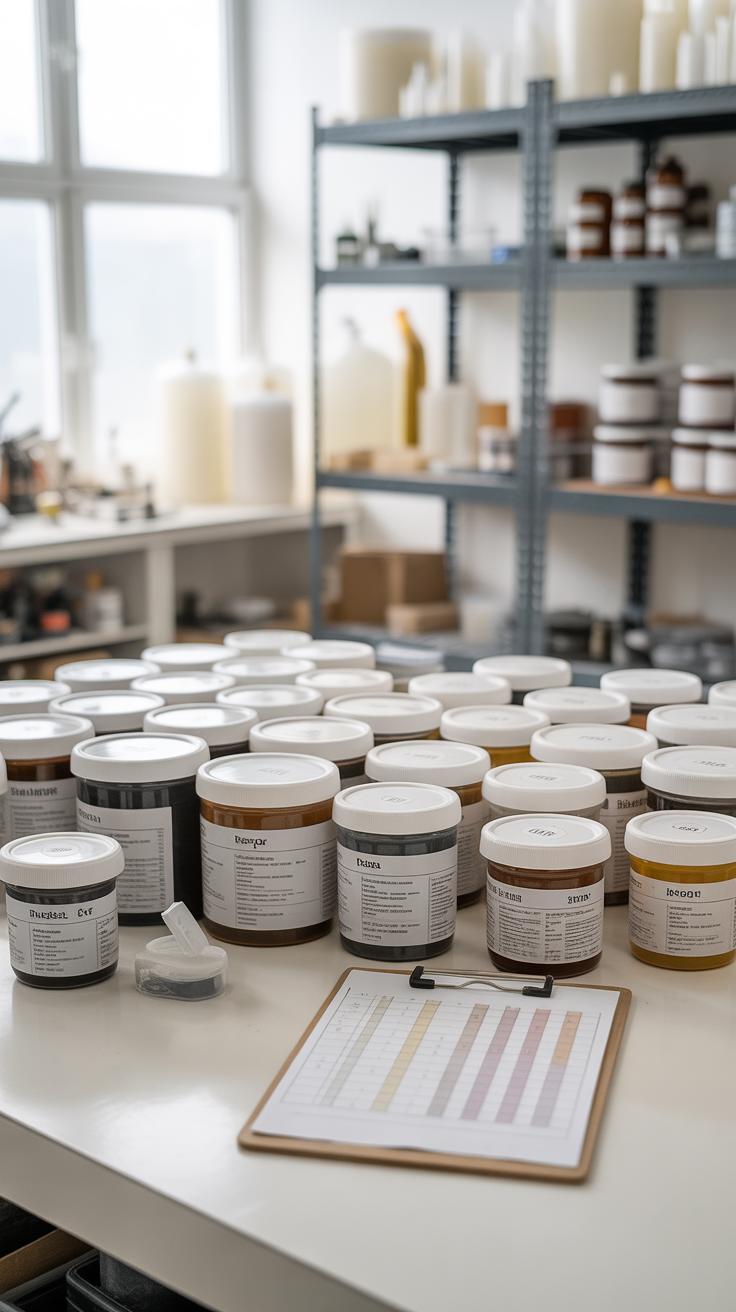
When starting with resin crafts, choosing the right type of resin can feel a bit confusing. There are a few common options you’ll encounter: epoxy, polyester, and polyurethane. Each has its own quirks and best uses, so understanding these can help you avoid frustration.
Epoxy Resin For Beginners
Epoxy resin is probably the go-to for many beginners—and for good reason. It’s clear, self-leveling, and cures slowly enough to give you time to work without rushing. I remember my first project where I just poured epoxy on a coaster mold, and even then, it looked quite professional. It’s easy to mix in pigments or embed small objects. It usually cures within 24 to 48 hours, which is manageable, and the smell isn’t too harsh. Plus, epoxy tends to have a low chance of yellowing over time if you pick the right kind—something that matters if you want lasting crafts.
Other Resin Options
Polyester resin is another popular type, but it’s a bit different. It cures faster, which might seem convenient, but it also means you have less time to fix mistakes. Polyester resin releases strong fumes, so good ventilation is a must. It’s often cheaper but can be trickier for beginners because of these factors and its brittle finish, depending on the project.

Polyurethane resin offers flexibility and durability, which can be great for items you want to bend or impact slightly. Yet, it’s less common in crafts because it can be sensitive to moisture during curing, and mixing ratios might be less forgiving. It’s also more prone to forming bubbles if you’re not careful.
So, while you might be tempted to try all kinds, epoxy often stands out as the friendliest option if you’re just dipping your toes into resin. But maybe you’ll find polyester or polyurethane better for specific projects after a bit of trial and error.
Gathering Essential Tools And Materials
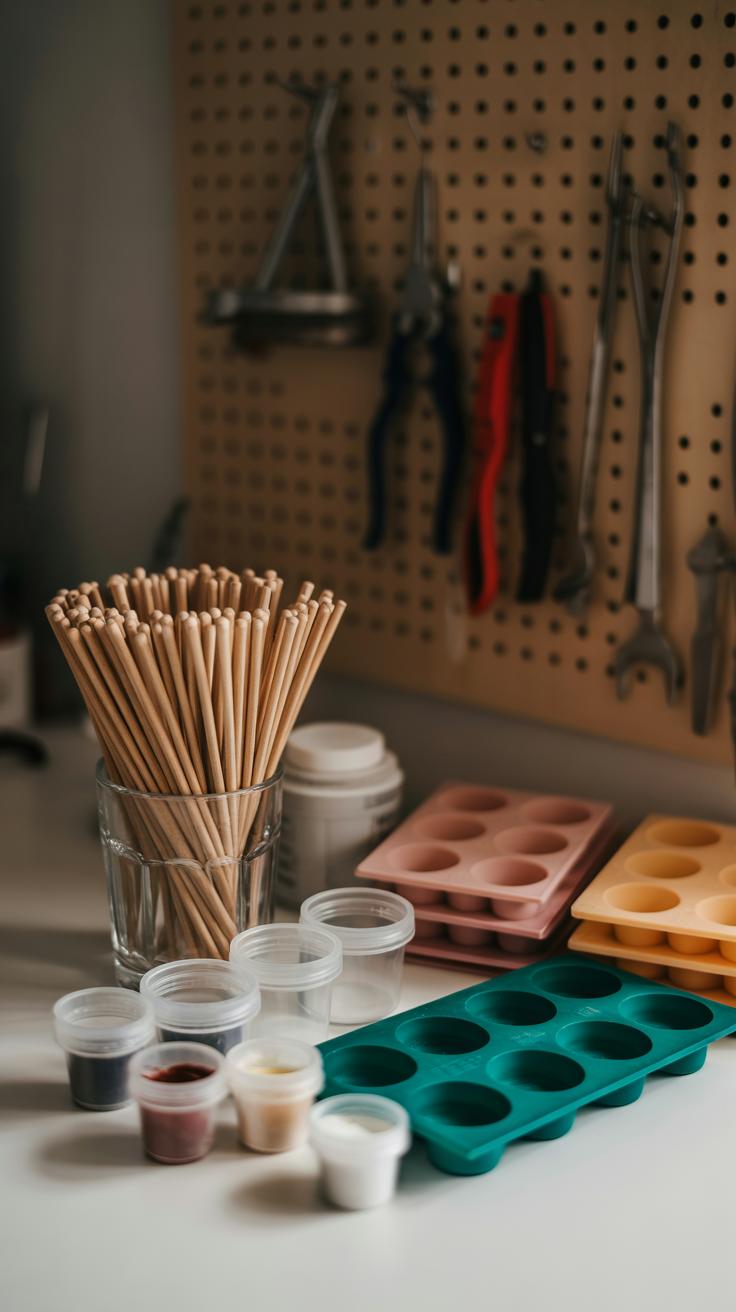
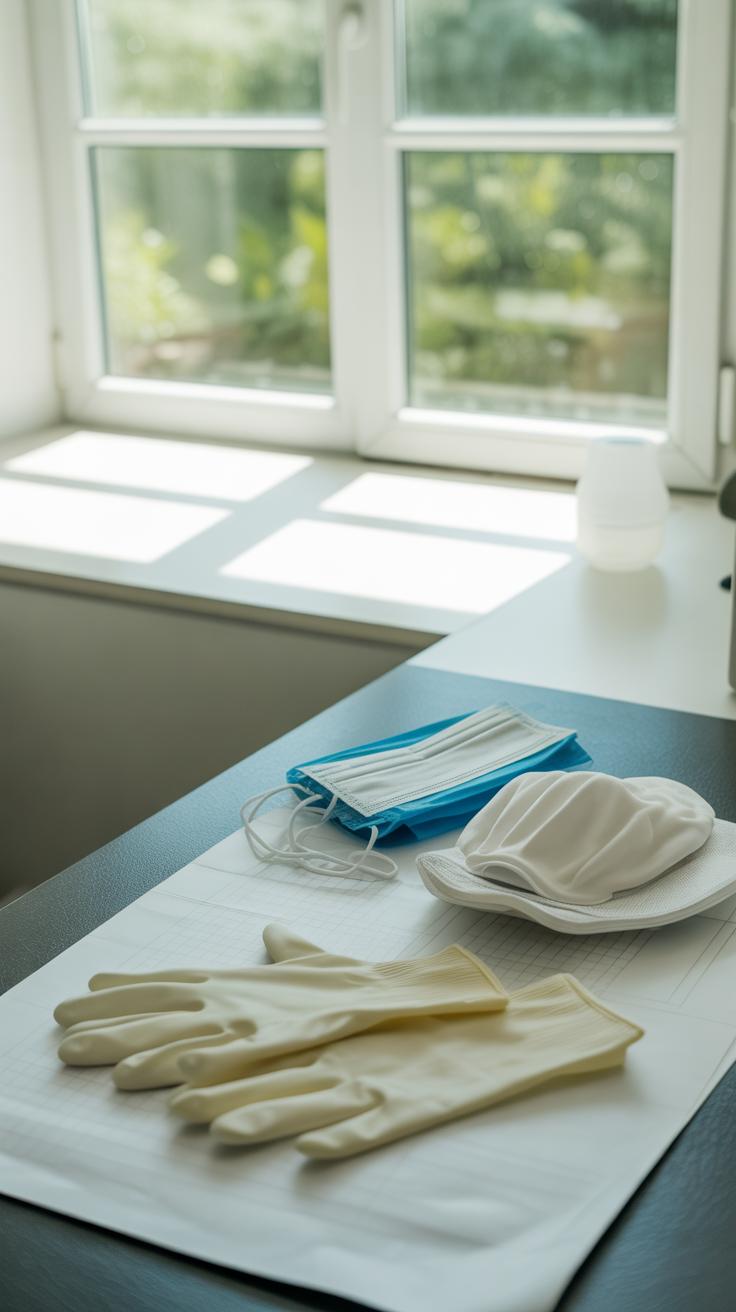
You’ll need a few basic tools before you dive into resin crafting. Start with clear measuring cups—preferably disposable ones. They help keep your ratios precise, which is crucial for resin to cure properly. Mixing sticks come next; wooden ones or plastic ones work fine, though wooden sticks are cheaper and easier to toss afterward. Gloves are a must. I say this because, even if you’re careful, resin can stick and irritate your skin. Don’t skip them—trust me on this.
Then, molds. Silicone molds are popular because resin doesn’t stick to them, making demolding easier. You can find molds in many shapes like coasters, jewelry, or even abstract forms. Last but not least: pigments and additives. Resin dyes or powders give you color; glitter, dried flowers, or even small charms can add personality. These materials let you play around and really make each piece your own.
Safety Gear For Resin Crafting

Gloves protect your hands, but that’s just one part of staying safe. Resin releases fumes while curing, so working in a well-ventilated space is non-negotiable. If you’re indoors, open windows or use a fan to keep air flowing. Some crafters wear masks—especially if sanding cured resin—because tiny particles can irritate your lungs. A mask with a respirator filter is ideal but even a simple dust mask is better than nothing.
Honestly, it can feel a little much at first, but once you get used to these precautions, they become second nature. Skipping them might save a minute, but you could pay for that later with skin reactions or respiratory issues. It’s better to be safe and avoid any guesswork.
Choosing Molds And Additives
When picking molds, consider what you want to make. Silicone molds are flexible, making them great for detailed shapes or jewelry. Rigid molds like plastic trays work better for flat coasters or larger items but can be tricky when removing your piece. You might try a few types to see what you prefer.
Additives offer a lot of creative freedom. Colorants come in liquid, powder, or paste forms; choose what mixes best with your resin. Glitter or metallic flakes can catch light and add sparkle—just don’t overdo it or it may cloud your finish. Dried flowers or leaves add a natural touch, but moisture can cause bubbles, so dry them thoroughly first.
Mixing and matching molds and additives allows you to develop a style that suits you. You might start simple, then get braver with layering colors or embedding objects. Does that sound like something you’d want to try?
Preparing Your Workspace
Protecting Surfaces
Setting up your resin crafting area means starting with a clean, protected space. Resin can be stubborn to clean once it spills or drips, so covering your work surfaces is a must. You might want to use plastic sheets, disposable tablecloths, or large silicone mats—anything that won’t soak up resin or let it seep through to the table beneath. Floors deserve some attention too, especially if you’re working in a small room or on carpet. Simple cardboard or old newspapers work for catching drips, and they can be tossed after use. Sometimes I thought a cloth would do, but resin sticks too well, so I switched to plastic instead, which makes cleanup quicker and less frustrating. Even a tiny drop can be a hassle later—so don’t skip covering the area just because it seems like a minor risk.
Organizing Tools And Materials
Once your surfaces are shielded, it helps to arrange everything so you can get to tools and supplies without interrupting your flow. Keep measuring cups, stir sticks, pigments, gloves, and molds close by. Using containers or trays to group similar items prevents misplacement and makes it easier to grab what you need next. I find that having my resin bottles and hardener side-by-side reduces the chance of mixing errors—I’m human, after all, and mistakes happen when things are all over. The goal is to avoid scrambling in the middle of working, so try setting things up so your hands move smoothly between steps. Sometimes I even label containers or shelves if I’m working on multiple projects at once. It’s maybe a little extra effort up front, but it makes the whole process feel less hectic. Do you find yourself losing track of small tools? Organizing can help with that too, making the whole craft less stressful.
Mixing Resin Correctly
Measuring Resin And Hardener
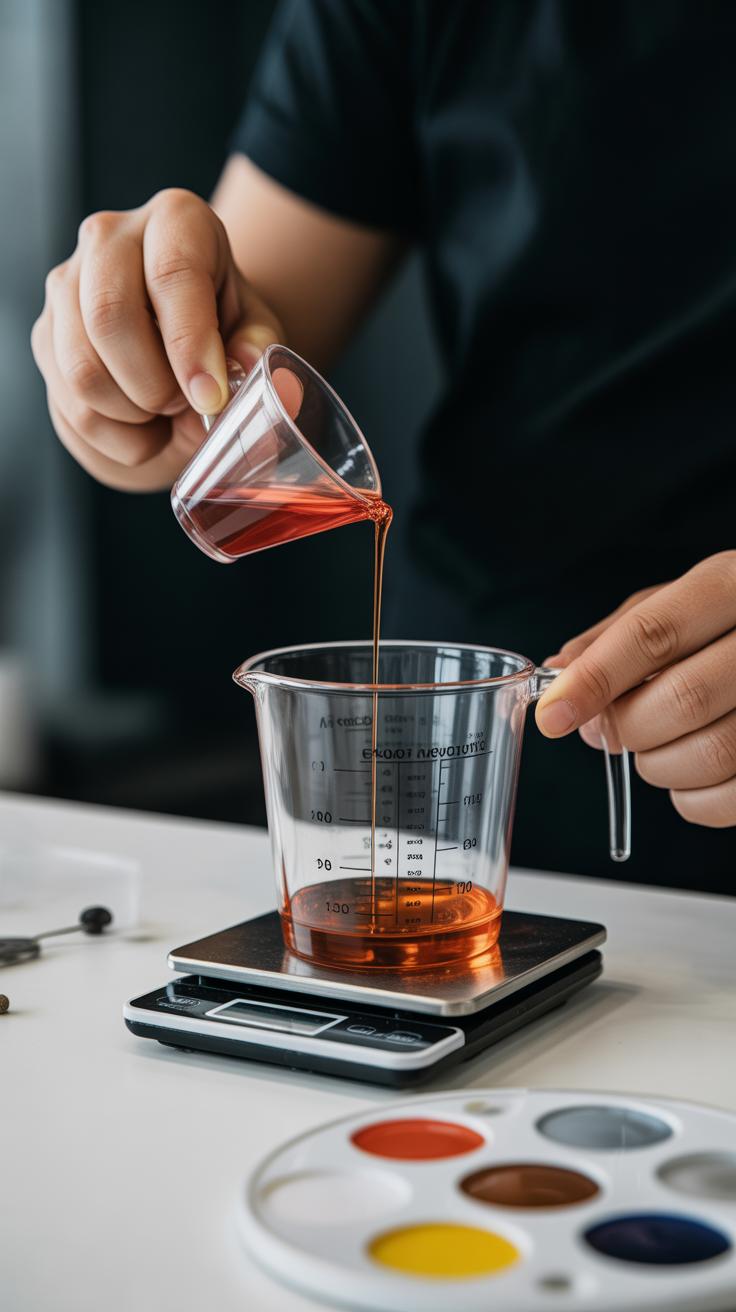
Getting your measurements right is more than a suggestion—it can make or break your resin piece. If you don’t mix resin and hardener in the exact ratio your product calls for, your resin might stay sticky or never fully cure. I know it sounds tedious, but trust me, this step saves you from frustration later on.
Use clear, graduated measuring cups for each component. Pour resin into one cup and hardener into another, following the manufacturer’s ratio—often 1:1 or 2:1 by volume. Measuring separately avoids guesswork. Then, combine them in a clean container. It sounds simple, but even a few drops off can cause problems, so take your time. Some people try to eyeball it, but if you want consistent results, thorough measuring is crucial.
Mixing Techniques
Once mixed, stirring isn’t just about blending resin and hardener—it’s about not trapping air. Stir slowly, not like you’re making pancakes. A gentle, steady motion helps minimize bubbles, but don’t slack off; stirring too fast or too little leaves your resin blotchy or bubbly.
Scrape the sides and bottom of the mixing cup frequently to ensure everything is fully combined. Stir for two to three minutes. It may feel like too much, but rushing usually means your cure won’t be complete. If you notice bubbles, pause and let them rise before pouring, or you can carefully pop them with a toothpick if necessary.
Have you ever noticed how some batches feel sticky or cure unevenly despite careful mixing? Sometimes, temperature or humidity affects curing too, but focusing on your measuring and stirring techniques is the best way to increase your chances of success.
Adding Colors And Embellishments
When you’re ready to bring your resin project to life, adding colors and decorative touches can make a huge difference. You don’t have to settle for plain clear resin. Playing around with pigments, dyes, and little embellishments lets you create something truly personal. Sometimes, the simplest addition—like a pinch of glitter—can transform a basic piece into something eye-catching.
Using Pigments And Dyes
Mixing pigments or dyes into resin works well if you want your colors to be consistent and rich throughout the piece. You can start with liquid resin dyes, powder pigments, or mica powders—it depends on the look you want. For example:
- Liquid dyes blend smoothly but a little goes a long way to avoid oversaturating.
- Powder pigments add opacity and sometimes a metallic sheen.
- Mica powders give subtle shimmer and depth.
Don’t rush mixing—add just a drop or a bit of powder at a time, then stir gently to avoid bubbles. You might think more color will make it better, but resin acts funny with heavy pigment loads, sometimes curing unevenly or staying sticky. It’s a trial-and-error process, really, the sort that improves when you keep notes on your batches.
Incorporating Objects Into Resin
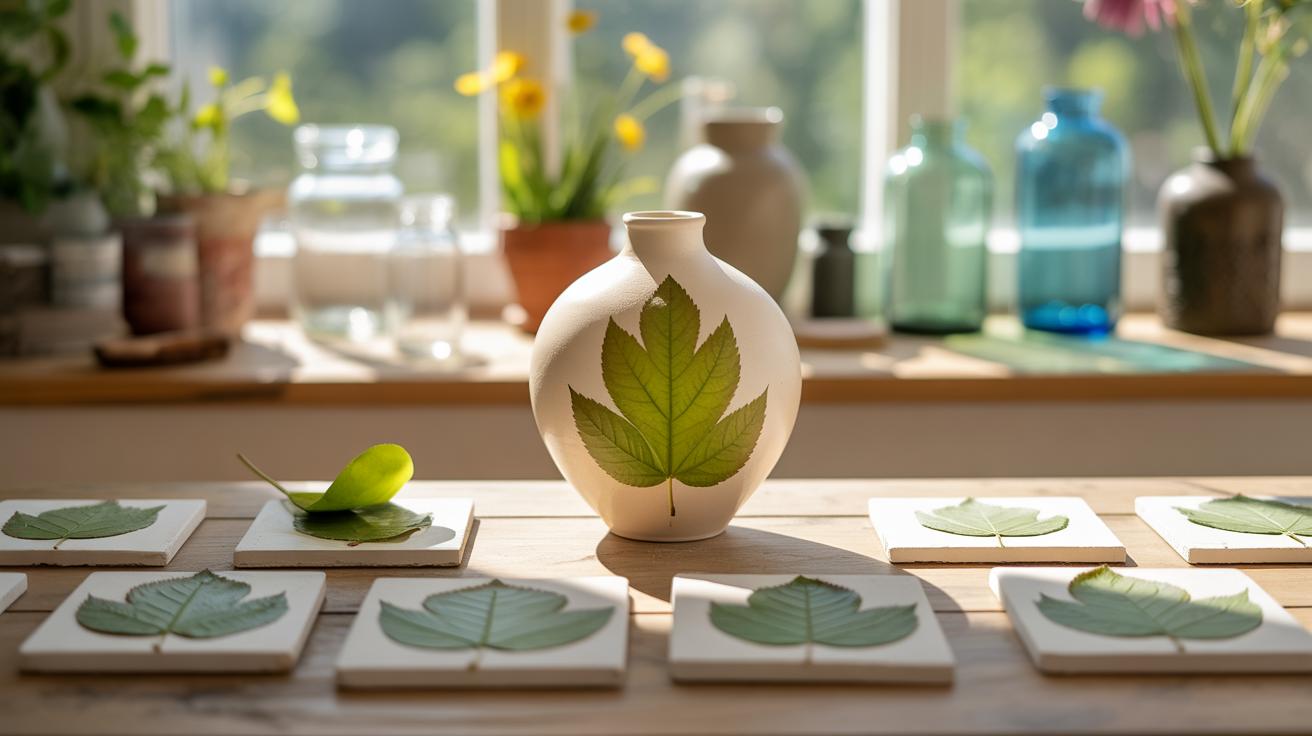
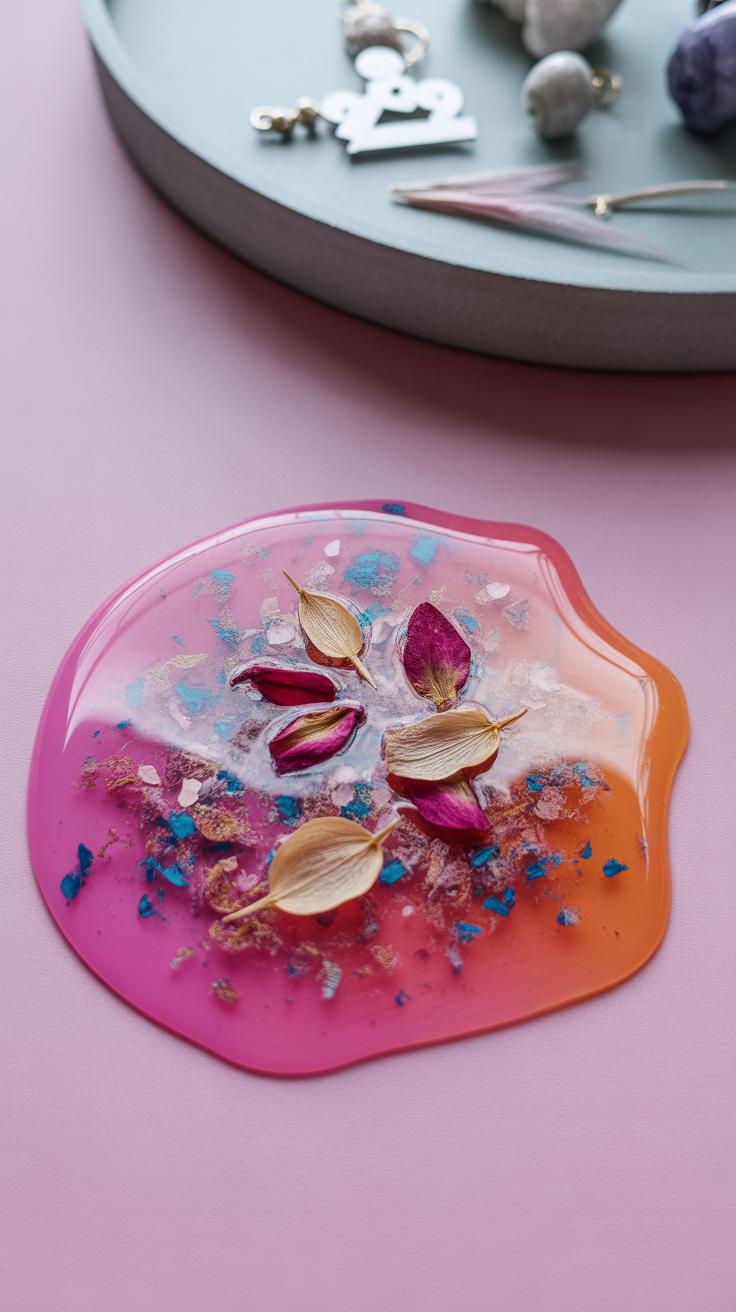
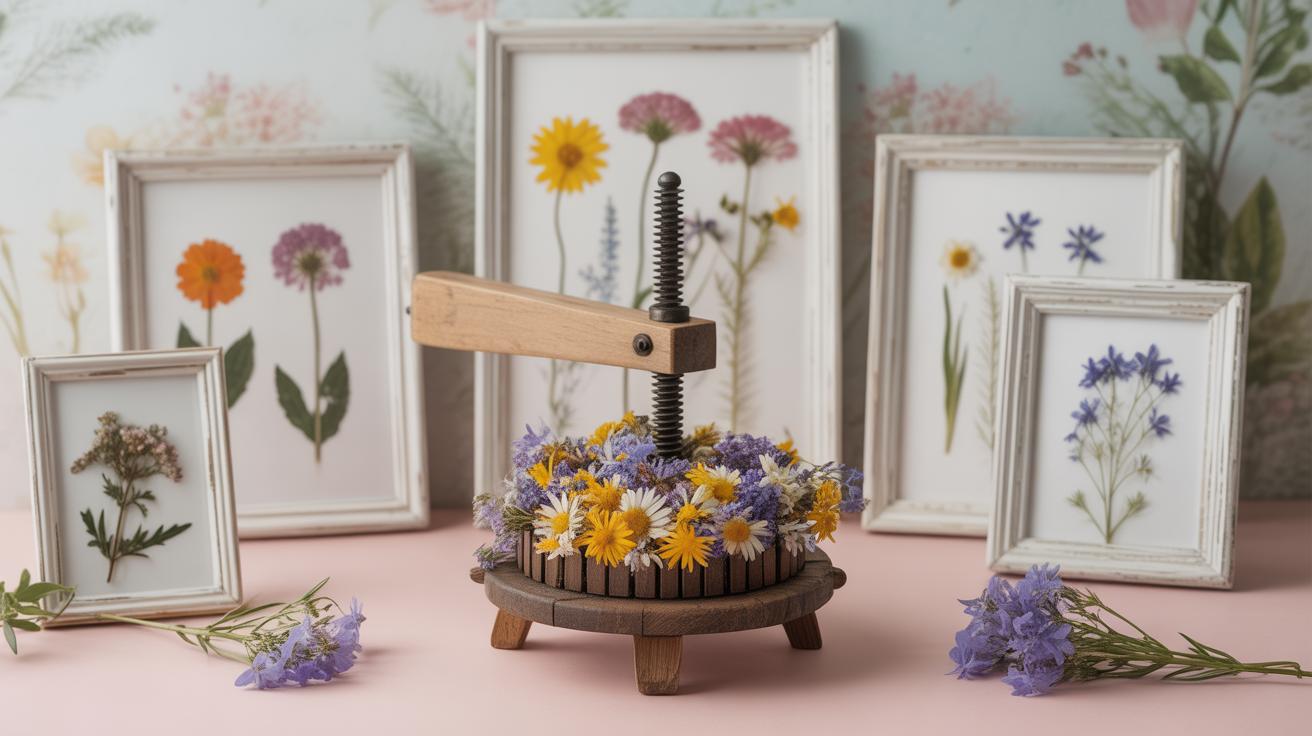
Embedding items in resin can personalize your craft beyond color. Dried flowers, little beads, or tiny trinkets fit perfectly inside molds to give texture and interest. Here’s a tip: arrange these extras carefully in the mold first, then pour resin slowly to avoid shifting them around.
Be mindful of the size and weight of objects; heavier pieces may sink or cause air pockets. I once tried pressing in some dried herbs for a coaster—some floated, some sank unevenly. It looked rustic but not perfectly neat, which I actually liked better than a flawless piece.
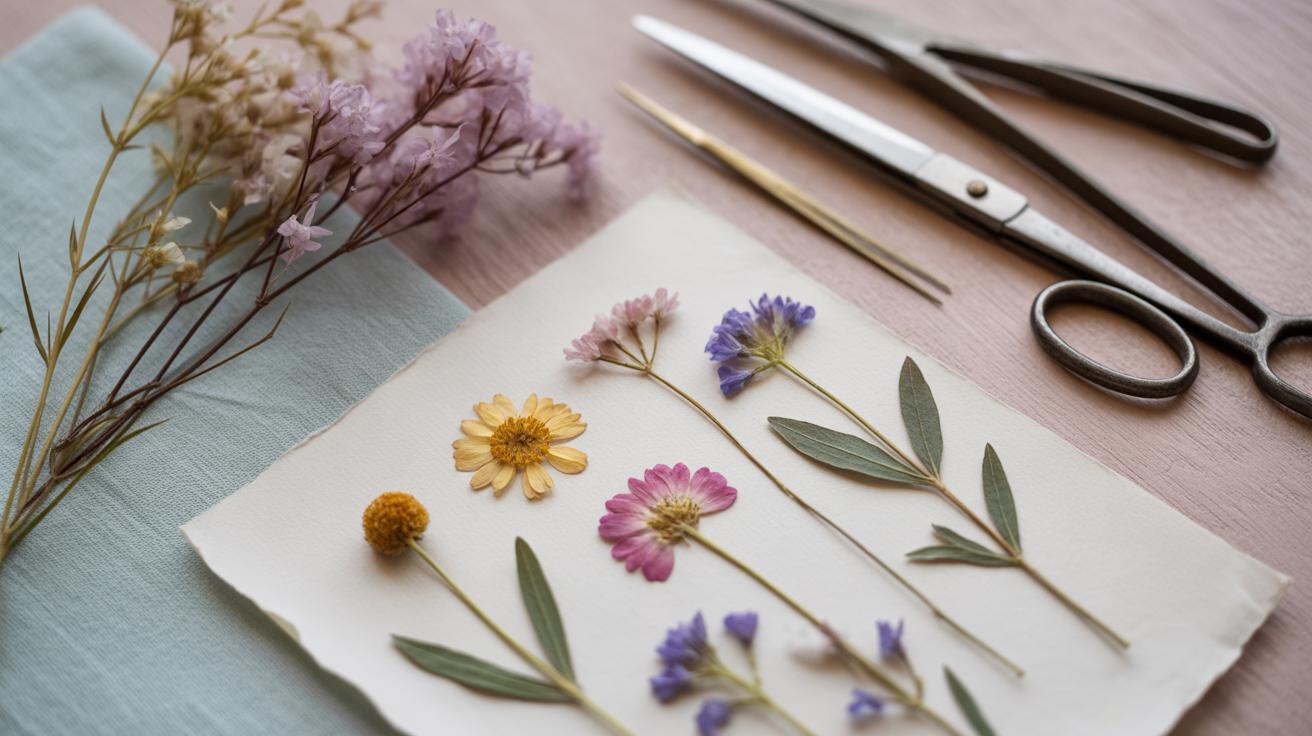
Think about layering your resin too—pour a thin base, add your objects, then top with more resin. This can help secure everything and avoid them wrecking the smooth surface. What small items do you have on hand that might be interesting to embed? Sometimes, the most unexpected bits make the best keepsakes.
Pouring Resin Into Molds
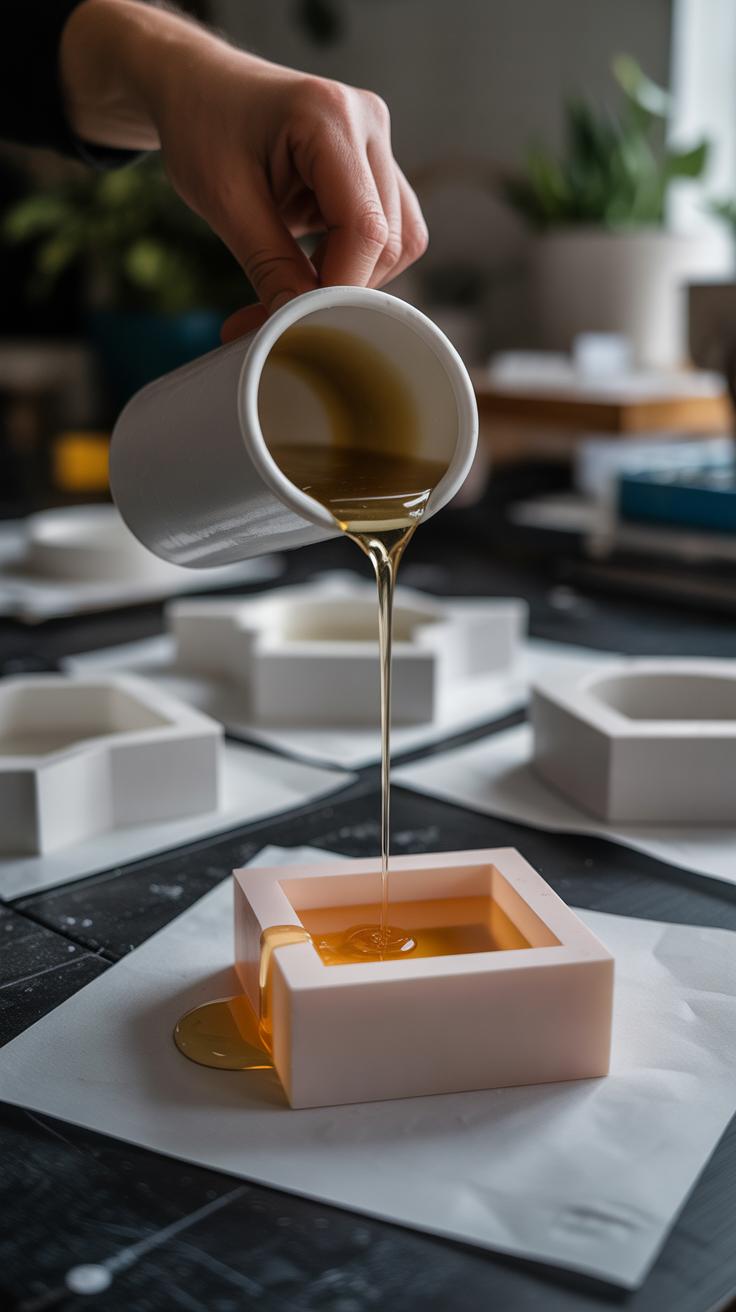
Pouring resin into molds is where the magic really begins—if you get it right. Pour slowly, steadily, and with a light hand. A quick pour often causes bubbles or spills that you don’t want to deal with later. Imagine trying to flood your mold all at once; it’s just asking for overflow or trapped air. Instead, aim to pour in a thin stream, letting the resin gently fill each corner.
Sometimes, it helps to pour close to the mold’s surface rather than from a height. This reduces splashing and keeps the flow controlled. If you notice resin crawling over the edges, pause for a moment. It’s better to pour a little at a time, giving it room to settle. Patience here pays off.
Pouring Techniques
Try these tips for a smooth pour:
- Keep your cup tilted slightly, pouring resin slowly along the mold’s wall to let it flow evenly.
- If you see bubbles forming while pouring, stop and give the cup a moment—sometimes resin bubbles escape if you slow down.
- A toothpick or skewer can help guide the resin into tight spaces without creating air pockets.
- If you’re filling a shallow mold, pour in multiple thin layers instead of one thick one; it helps reduce bubbles and unevenness.
Fixing Common Pouring Problems
Bubbles can still show up despite your best efforts. If that happens, try gently blowing over the surface or carefully using a heat gun on low setting from a distance. The heat helps pop bubbles but don’t linger too long or you risk disturbing the resin.
Uneven surfaces may happen when resin settles irregularly. You can sometimes fix this by lightly tilting the mold back and forth right after pouring or by using a small spreader to coax resin into those uneven spots.
And yes, sometimes resin seems stubborn—bubbles trapped deeper won’t surface, and you might have to accept a few. Each piece has its quirks. Do you think those tiny imperfections actually add character, or would you want to perfect every detail? It’s a question every crafter will answer differently over time.
Curing And Demolding Your Resin Craft
Curing Times And Conditions
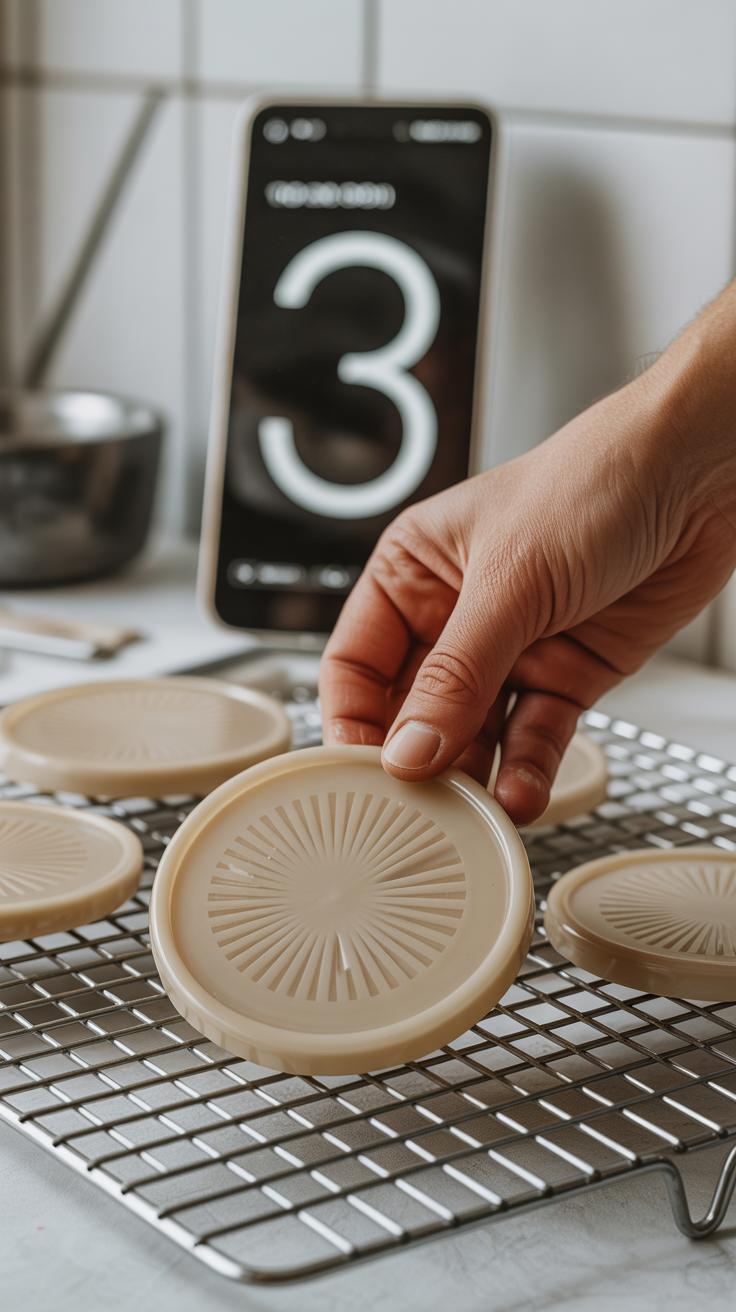
Resin usually takes anywhere from 24 to 72 hours to cure fully, but the time depends on the type of resin you use and the thickness of your pour. Thin layers might harden faster, while thick pours can take longer. Sometimes, even after 48 hours, the resin feels a little tacky on top. That’s when patience becomes key—rushing to demold too early risks ruining your piece.
Temperature plays a big role too. Resin likes a warm, stable environment—ideally around 70 to 75 degrees Fahrenheit. Cooler spaces can slow curing dramatically. Humidity affects it as well, though mostly in extremes. If it’s too humid, you might notice a foggy surface or cloudiness. A well-ventilated room helps, but avoid drafts that can cause uneven curing.
How To Remove Resin From Molds
Peeling your resin craft out of the mold can feel a little nerve-wracking the first few times. The trick is to be gentle but persistent.
- Wait until the resin is fully cured; pressing or bending a soft piece often causes distortion or damage.
- Start by flexing the mold gently from the edges—silicone molds are forgiving and can stretch.
- Slowly push from the back of the mold toward the opening, almost like coaxing your craft out, rather than forcing it.
- If stuck, place the mold in a cool place for a short while. This can sometimes help contract the resin slightly, making release easier.
- Using a little soapy water around the edges sometimes eases the piece out—but avoid anything oily that could leave residues.
Every mold behaves a bit differently, and your touch will improve with time. I remember my very first project got stuck firmly—I panicked and nearly tore the mold. Now, I take my time and it almost feels like the mold wants to cooperate if you treat it right. Does your craft sometimes resist freeing? It’s okay—that’s part of the learning curve.
Finishing Touches And Polishing
Sanding Rough Edges
Once your resin piece has fully cured and come out of the mold, you might notice some rough or uneven edges. That’s totally normal, and smoothing them out is a key step to making your craft look polished and professional. Start with a coarser grit sandpaper—say 120 or 180 grit—to gently knock off any sharp bits or excess resin. Be patient; rushing here can scratch the surface or damage your piece.
After the initial sanding, move on to finer grit sandpapers. Try 400, then 800, and even up to 1200 grit if you want a super smooth finish. Wet sanding is often better at this stage—it helps keep the surface cool and reduces dust. You don’t need to be perfect right away. Sometimes, you’ll find certain spots need a bit more attention, or that the edges just aren’t quite even. That’s okay; part of crafting is figuring these things out as you go. Trust your hands and the feel of the piece.
Polishing And Sealing
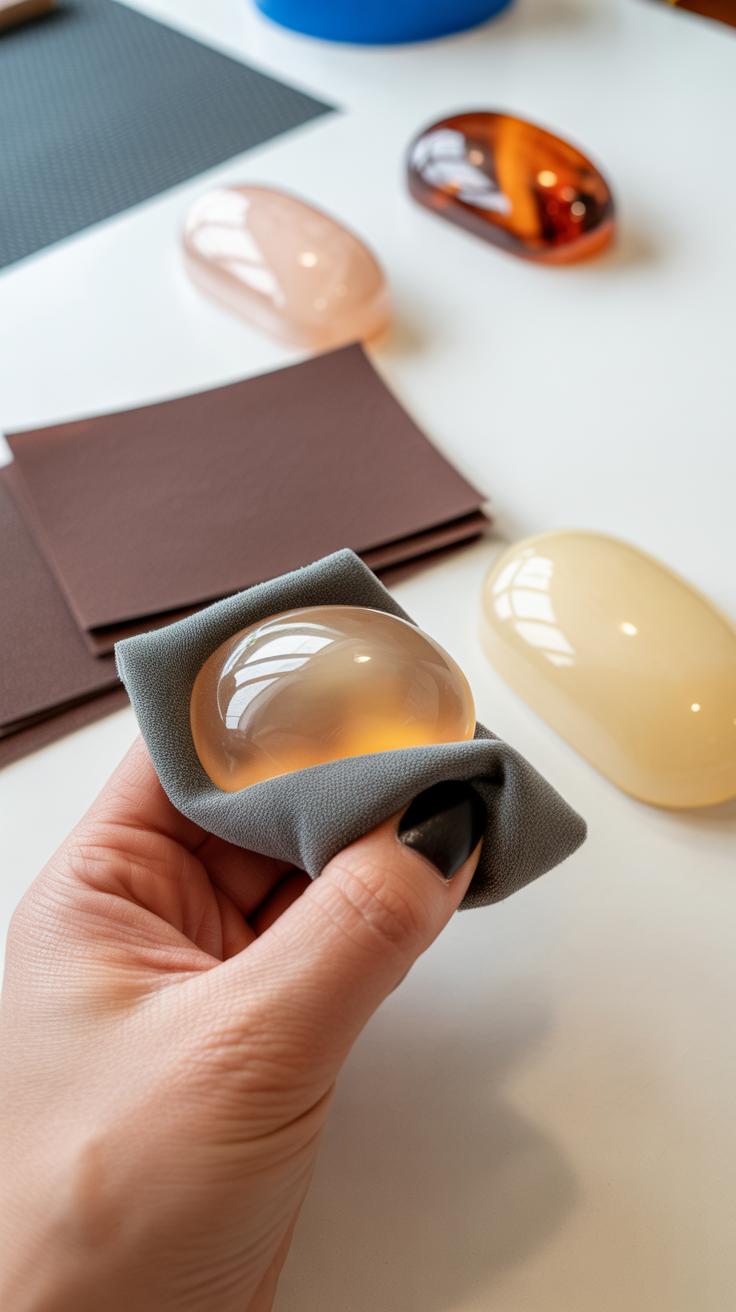
After sanding, polishing brings out the true shine in your resin piece. You can use a plastic polish or even a fine buffing compound, depending on what you have at hand. Apply it carefully with a soft cloth or a rotary tool with a buffing wheel. It’s tempting to polish aggressively, but gentle circular motions usually work better and keep the surface clear of new scratches.
Sealing your resin craft can protect it from scratches and help maintain that glossy appearance over time. A clear resin spray or a thin layer of polyurethane works well here. Just be sure your piece is thoroughly cleaned and dry before sealing—any dust or residue can get trapped and ruin the finish. Sometimes I wonder if sealing always adds value versus just polishing well. Try both ways and see what feels right for your projects. Remember, the finishing steps can take some experimenting, but the difference they make is worth the time.
Creative Project Ideas For Resin Beginners
Starting with resin can feel overwhelming, but simple projects help you get the hang of basic techniques without stress. Think about making coasters, jewelry, or paperweights—these allow you to practice mixing, pouring, and embedding objects. You won’t need fancy tools, just patience and experimentation.
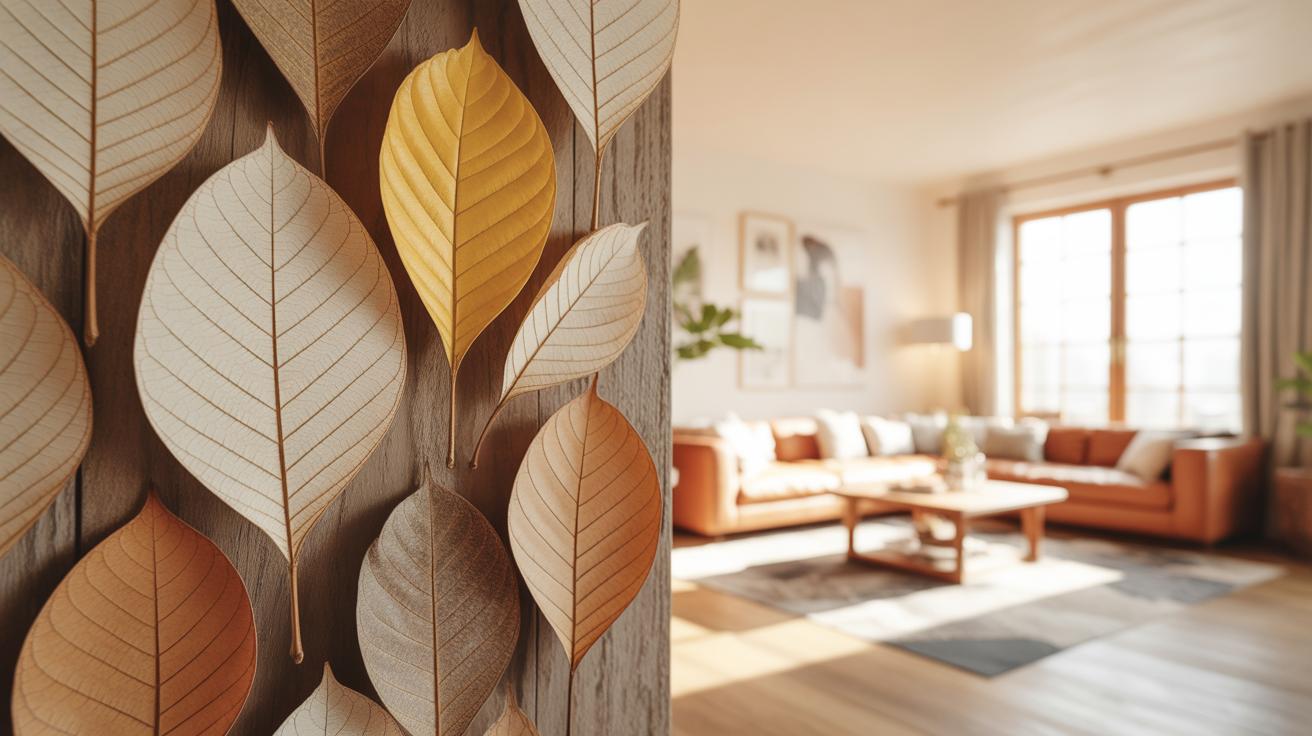
For example, coasters are great because they’re functional and forgiving. You can try mixing colors in layers or adding small leaves or glitter. Jewelry, like pendants or rings, sharpens your precision since the molds are small. Plus, adding decorations like tiny charms or dried flowers turns each piece into a personal statement.
Have you thought about paperweights? They’re bulkier and let you explore deeper pours and different additives. You learn how resin behaves when cured in varying thicknesses. Overall, pick what feels manageable but still a bit challenging. That’s where learning happens.
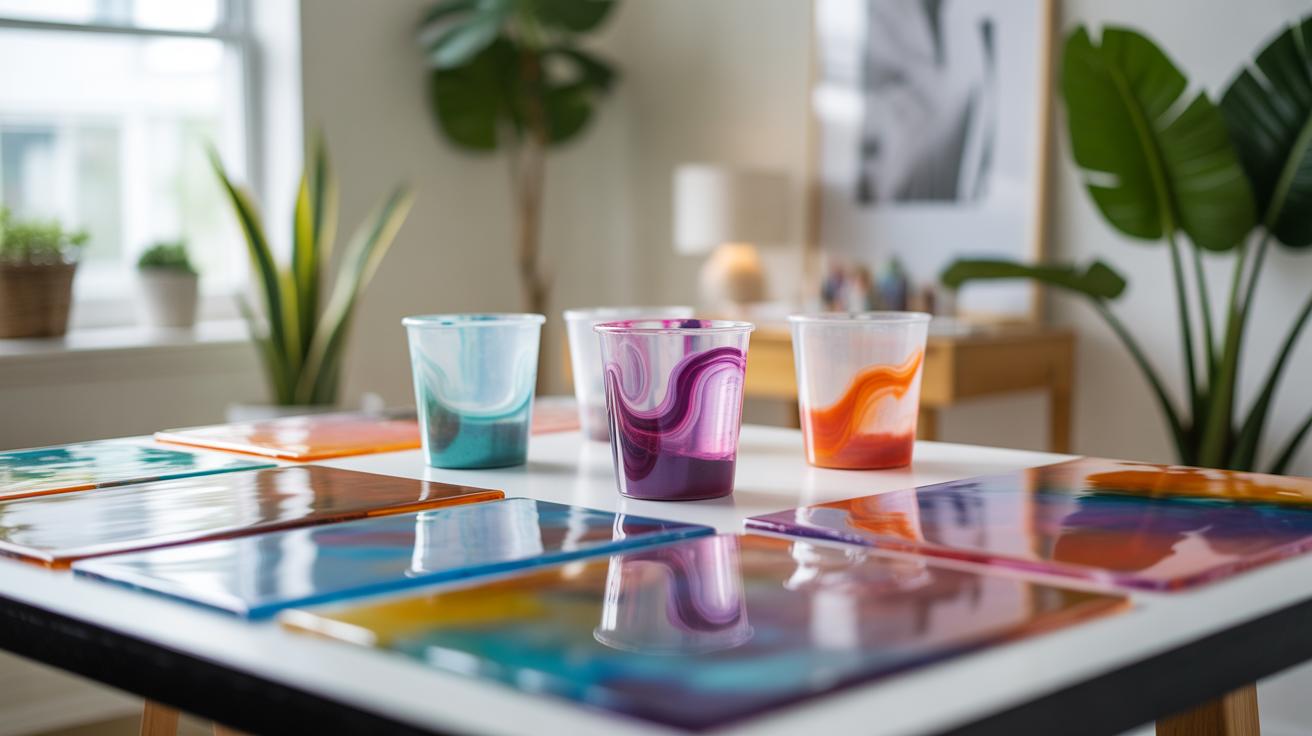
Easy Resin Coaster Project
Making a coaster is straightforward but offers room to experiment with color and texture. Start by preparing a silicone coaster mold—you can find these online or at craft stores. Mix your resin carefully, following instructions on ratios; rushing this step usually leads to mistakes.
Pour a thin base layer to avoid bubbles trapped beneath. Then, add designs or embed small items like glitter, coffee grounds, or leaves. Pour a second resin layer over, sealing your design. Wait for it to cure fully—usually 24 to 48 hours. It’s tempting to rush, but patience here pays off.
Once hardened, remove from the mold and sand edges if needed. You can apply a sealant or varnish for extra shine, though some prefer the natural glossy finish resin offers. You might find yourself mixing colors or patterns next time; this process is as much about exploration as the final product.
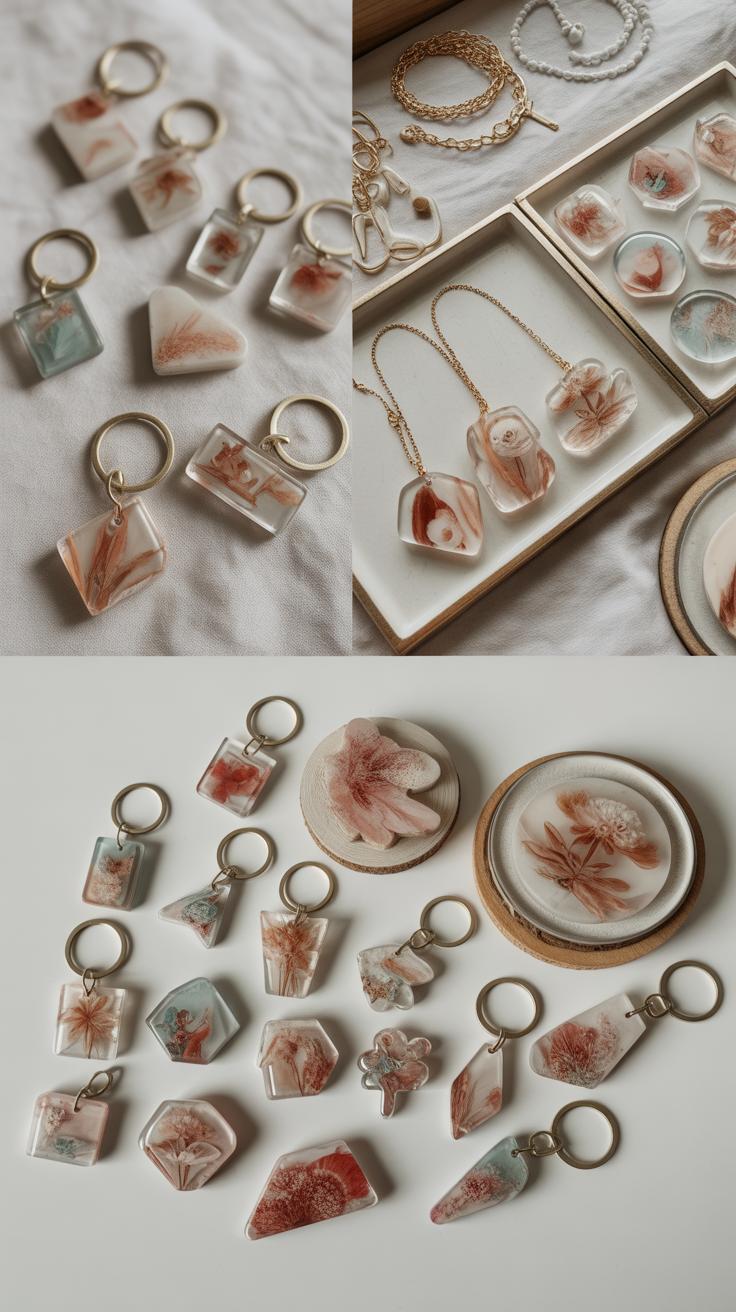
Making Resin Jewelry
Creating resin jewelry like pendants or rings sharpens your attention to detail. Begin with a small silicone mold designed for jewelry shapes. After mixing the resin, pour a small layer and wait a few minutes for an initial cure to reduce bubbles.
Add tiny decorations—think dried flowers, glitter, or small metal charms—arranging them carefully with a toothpick. Pour resin over to seal the pieces. You’ll want to cure in stages if layering colors or items.
Once cured, pop the piece from the mold and sand edges if rough. Attach metal findings to turn your piece into wearable art. Jewelry demands patience but rewards with pieces that feel personal and unique. Have you thought about mixing pigments for unexpected color effects? Sometimes those unplanned swirls become the best parts.
Conclusions
Now that you have learned the step by step process of resin crafts, you can begin your own projects with confidence. Practice makes perfect. Don’t be afraid to try different molds, colors, and objects inside the resin. Each project will teach you something new and improve your skills.
Remember to always work carefully and follow safety tips to avoid hazards. Resin crafting can be a rewarding way to express your creativity and make unique handmade items. Enjoy your crafting journey and explore the endless possibilities of resin art.


