
Introduction
Botanical Showcase Pressed Flowers Frame Design brings the natural beauty of flowers into your home in a uniquely creative way. This art involves pressing and drying flowers, then arranging them in frames to preserve their delicate structure and colors. The technique is rooted in a tradition called oshibana, which started in Japan in the 16th century and has grown popular worldwide.
You will learn how to select the best flowers, press them effectively, and design your frame for lasting beauty. This guide walks you through each part of the process, focusing on practical steps and tips that make your project simple and enjoyable. Whether you want to decorate your space or make a thoughtful gift, pressed flowers offer a charming, hands-on experience.
The History of Pressed Flowers Art
Pressed flower art traces back to 16th century Japan, where it started as more than just decoration. It grew from the practice called Oshibana, focusing on patience and connection with the natural world. Beyond the simple act of flattening petals, it was a form of meditation and personal discipline. This isn’t something you hear often, but pressing flowers had a quiet power—it helped people slow down, notice details, and find calm.
Over time, the art spread, traveling beyond Japan’s borders, eventually reaching Europe. Early botanists saw it as a practical method for preserving plant specimens. It wasn’t just for personal reflection anymore; pressed flowers became a tool for studying and sharing knowledge. The intersection between science and craft makes this tradition quite intriguing.
You might wonder how something so delicate served such serious purposes. Yet, pressed flowers bridged the worlds of artistry and science, making nature both a subject and a canvas.
Oshibana Tradition in Japan
In Japan, the samurai took pressed flower art seriously—not just as a pastime, but as a way to cultivate discipline. The Oshibana tradition taught patience, requiring one to carefully select and arrange petals with focus. The process encouraged harmony between the practitioner and the natural elements.
This wasn’t merely about gentle manipulation of plants. It demanded mindfulness, qualities vital for samurai beyond battle. Some accounts suggest samurai found it calming, almost like a slow, deliberate practice to balance the sharpness of their swords with inner tranquility.
Working with fragile flowers forced attention to detail and acceptance of impermanence. It’s almost paradoxical—an art about preserving nature, yet embracing its fleeting beauty. That paradox, I think, is why this tradition still resonates centuries later.
Pressed Flowers in Victorian Europe
Pressed flower art gained notable popularity in Victorian Britain, becoming somewhat of a cultural obsession. Women collected blossoms during leisurely walks, pressing them into albums or framing them to decorate homes. It served as both a hobby and a sentimental practice, connecting people to memories and places.
One curious example involves souvenir books from the Holy Land, where travelers pressed and preserved local flowers as keepsakes. These collections offered a personal link to distant lands and spiritual journeys, blending art, memory, and travel.
The art didn’t fade with the Victorian era; it saw revivals in the 20th century, adapting through changing tastes. Today, it offers a window into history—each preserved petal holds stories of people, places, and emotions.
Selecting Flowers for Pressing
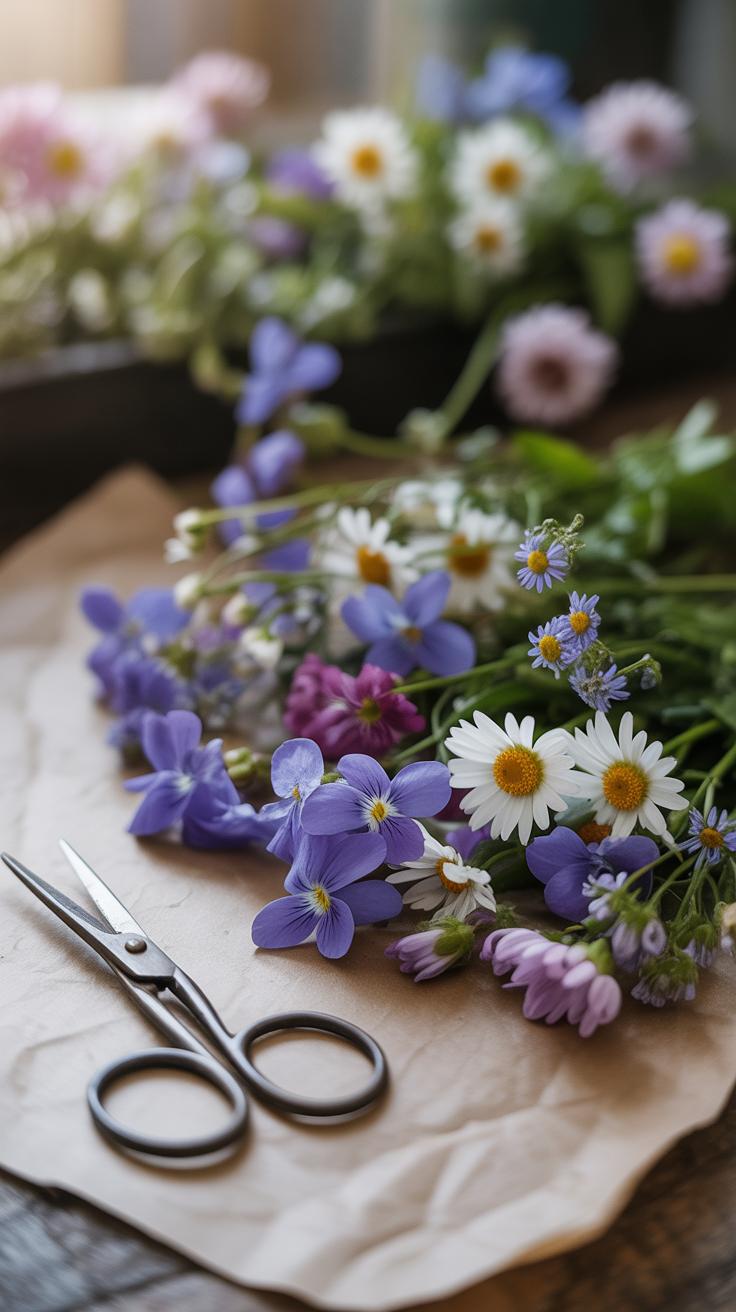
Choosing the right flowers for pressing can really influence the final look of your framed art. When you select flowers, think about their size, shape, and how well they keep their color after drying. Smaller flowers tend to press better—they lay flat more easily and don’t bulk up the frame. But don’t rule out slightly larger blooms; those with sturdy petals often hold their shape nicely, even if a bit thicker. Shapes that are naturally flat or fairly symmetrical work best, since odd angles can lead to unpredictable results once pressed.
Color retention matters a lot too. Some flowers lose brightness or turn brown quickly; others keep vibrant hues even when dried. You might find, for example, that bright yellows fade faster than deep purples, but this can depend on the flower species and how fresh it is when picked. If you’re like me, you might experiment with a few types to see which ones surprise you by holding their color better than expected.
Best Flowers and Leaves to Use
Not all flowers and leaves press the same way. Some favorites that work nicely include:
- Pansies – their petals are thin yet colorful and hold shape well.
- Violets – small and delicate but surprisingly resilient in drying.
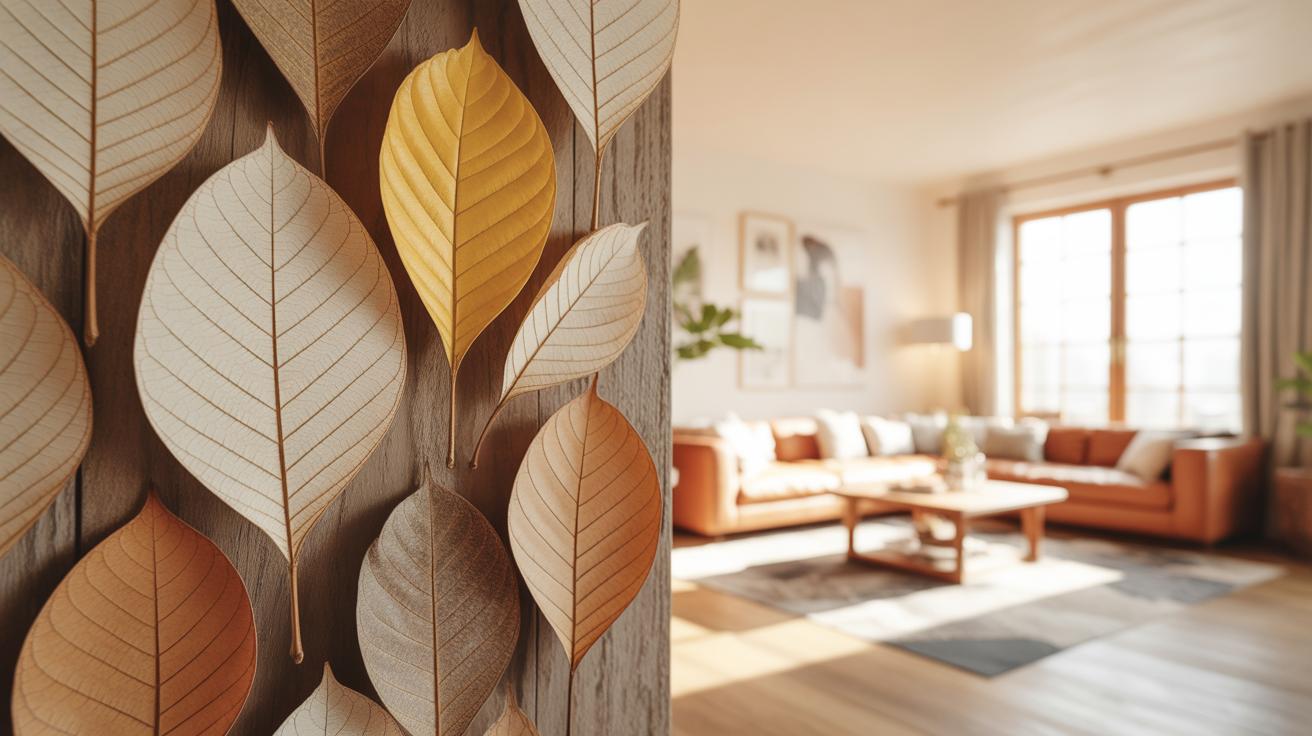
- Fern leaves – their intricate patterns stay visible and add texture.
- Daisies – fairly flat with simple shapes, good for layering.
- Hydrangea petals – though fragile, they flatten beautifully and keep pastel tones.
These choices stand out because they usually maintain both detail and color. I found once that even tough leaves like maple can press into dramatic shapes, although they darken somewhat. So, sometimes the effect depends on what mood you want your frame to convey.
Timing Your Flower Collection
The moment you pick your flowers influences how they press. Ideally, you want to gather them in the morning after the dew has dried. Flowers hold more moisture at this time but are less fragile than midday when the sun can make petals wilt. Collecting when flowers are dry reduces the risk of mold later during pressing. If you pick them while damp or after rain, the dry-out process can take longer and sometimes cause discoloration.
Also, flowers just before full bloom usually press better. Too tight, and they might not open flat; too old, and petals could have started to curl or wither. The best time to pick might feel a bit tricky at first, but over time, you’ll get a sense for when your favorite flowers are ‘just right’ for pressed frames. It’s a small habit but one that often makes a difference in the final result.
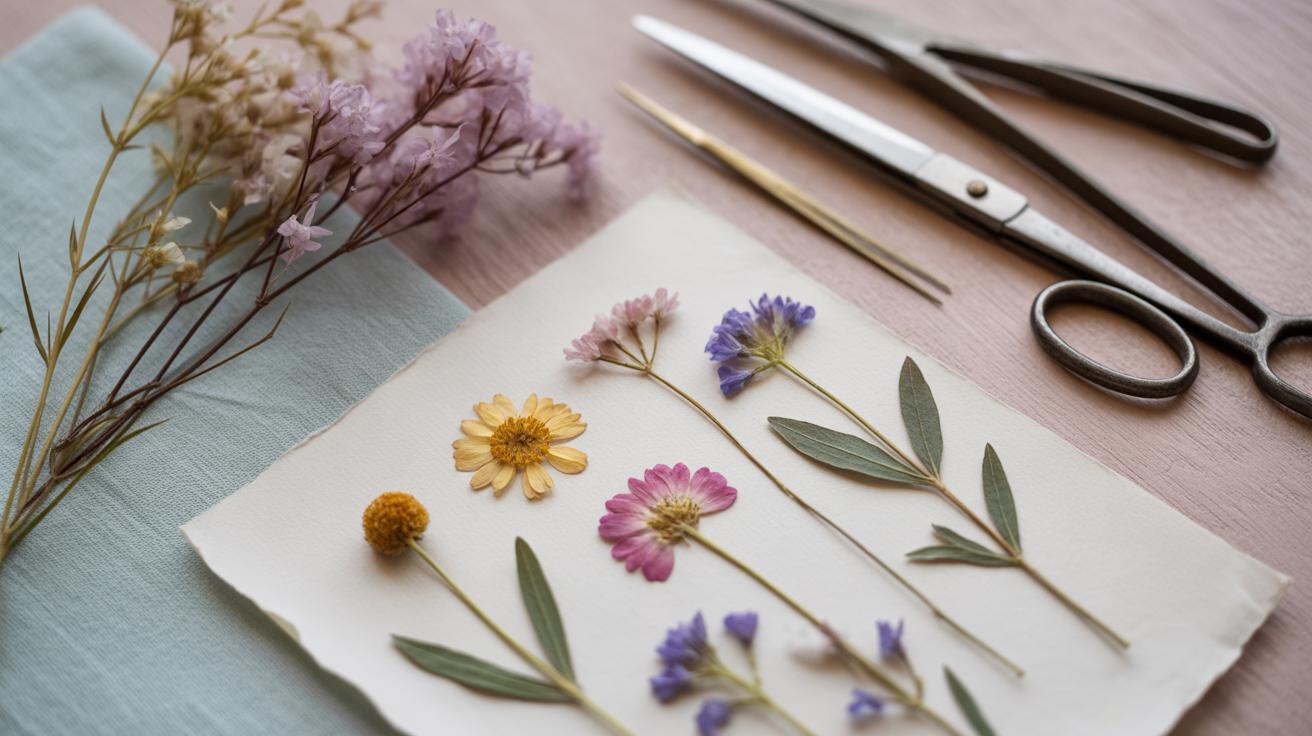
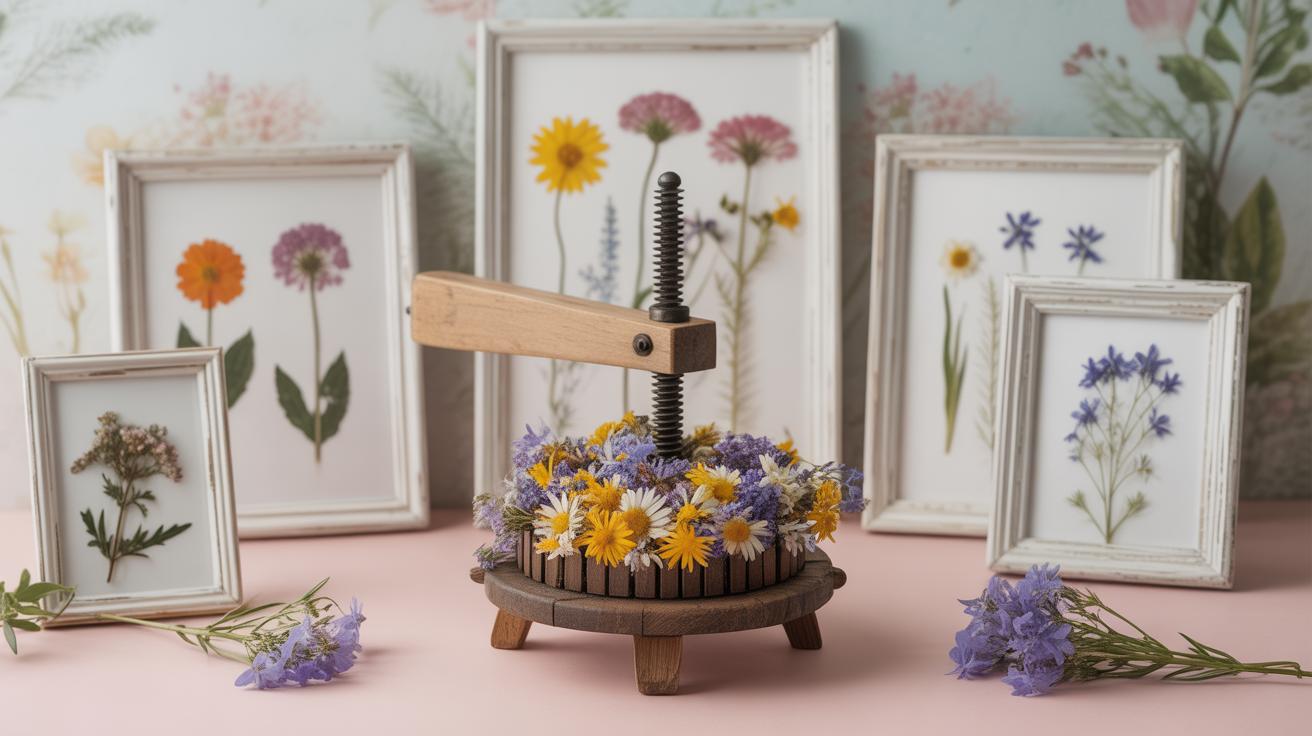
How to Press Flowers Effectively

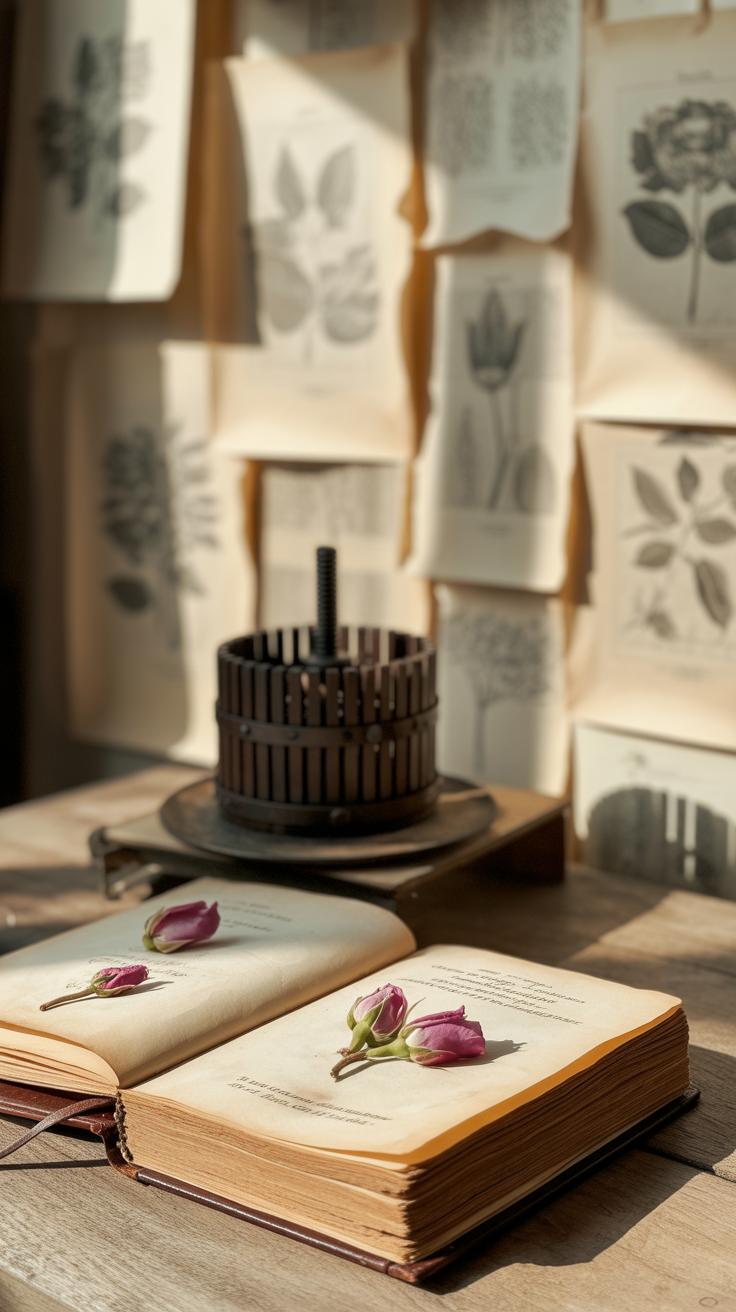
Pressing flowers is a simple craft, but getting it right can take some trial and error. If you have a traditional flower press, start by selecting your flowers and leaves carefully. Place them flat between sheets of absorbent paper—blotting or parchment work fine—and then sandwich those between the press’s wooden frames. Tighten the screws steadily to squeeze out moisture without crushing the details. It might seem straightforward, but keep in mind that overly tight pressure can sometimes flatten textures too much. I’ve learned to check after a few days, just to make sure nothing’s going brittle or cracking.
If you don’t own a flower press, plenty of household items can step in. One popular method involves pressing flowers inside a heavy book. Lay your blooms between plain paper or paper towels, then close the book and stack more books on top. This method relies on steady weight and time. You probably want to leave them for a full week or more. Patience is key here. Also, placing paper towels between flowers and pages helps prevent moisture damage to your favorite novels, if you ask me.
Another quick way is using the microwave. Yes, it sounds odd, but microwaving flowers between paper towels for short bursts—around 20 to 30 seconds—can flatten and dry them fast. You have to watch closely; too long and they turn crispy or darken. On the other hand, this is a handy way to dry forget-me-nots or pansies in a flash when you’re in a hurry. Just remember this isn’t for delicate or bulky blooms—they might lose their shape or color.
- Layer flowers evenly between absorbent papers to avoid wrinkles.
- Adjust pressure carefully; don’t overtighten the press.
- For books, choose thick and sturdy ones to provide enough weight.
- Microwave drying works best with smaller, thinner flowers.
- Check progress regularly to avoid over-drying or damage.
So, whether a traditional press or some heavy books on your shelf, pressing flowers well requires a bit of care and timing. What flowers will you try pressing first?
Preserving Flower Colors and Texture
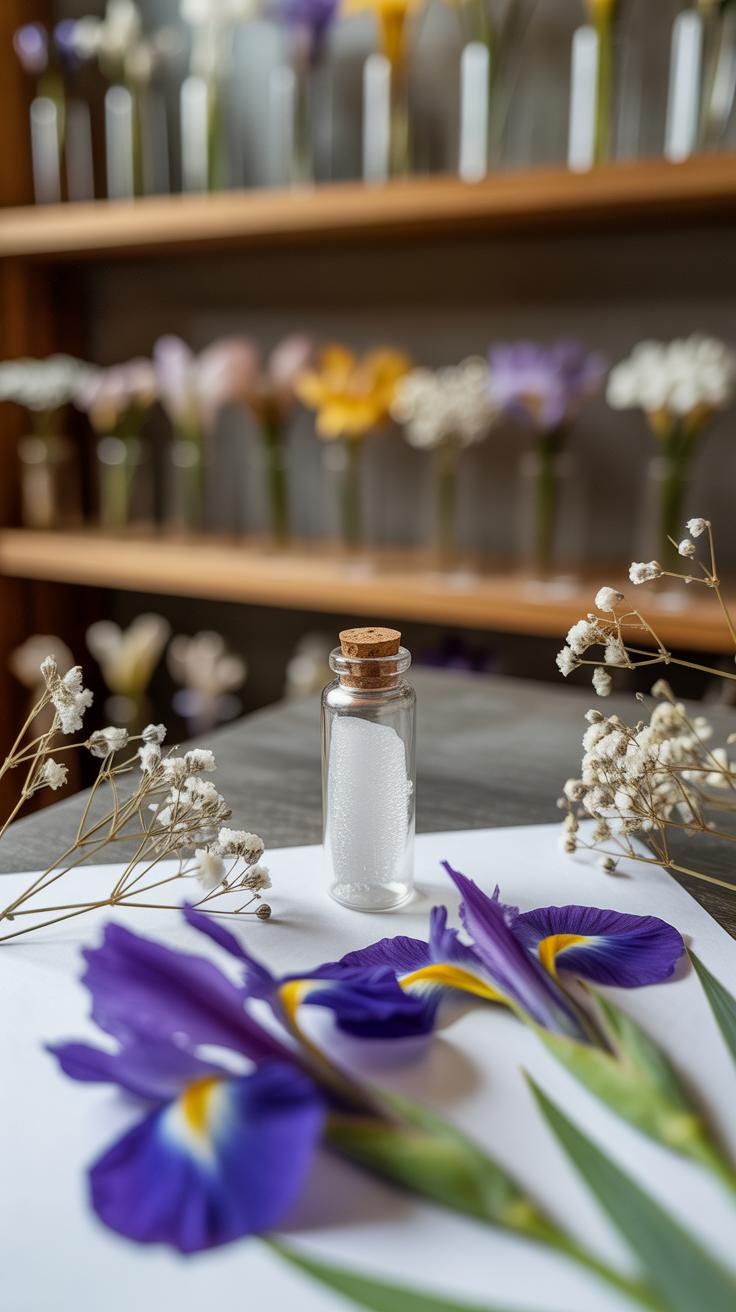
Moisture control plays a big role in keeping pressed flowers looking their best. If your flowers retain even a hint of dampness, they risk developing mold, which can quickly ruin your work. To avoid this, make sure to dry flowers thoroughly before framing. Using a flower press with absorbent papers, like blotting or parchment, helps wick away moisture evenly. Also, replacing these papers after a day or two can speed up drying and reduce mold risks.
Besides drying, the texture of pressed flowers can be surprisingly delicate. I’ve noticed petals sometimes become brittle or curl after extended time, which is frustrating. Storing pressed flowers in a dry, cool place before framing helps preserve their form. Some people use silica gel packets near their pressed flowers to maintain low humidity, which might be worth trying.
When it comes to color, flowers naturally fade with time, but there are tricks to keep them closer to their original hue. One simple method involves placing desiccant papers during pressing—they draw out moisture without stripping pigment too harshly. Also, vacuum sealing pressed flowers can lock in both color and shape by limiting exposure to air and moisture, though the technique demands careful handling to avoid crushing delicate petals.
Have you ever wondered if occasional exposure to light might help flower colors stay true, or does it speed up fading? Some suggest low, indirect light is acceptable, but strong sunlight can cause discoloration fast. Balancing light exposure is tricky, but thoughtful storage and framing choices can make a difference over time.
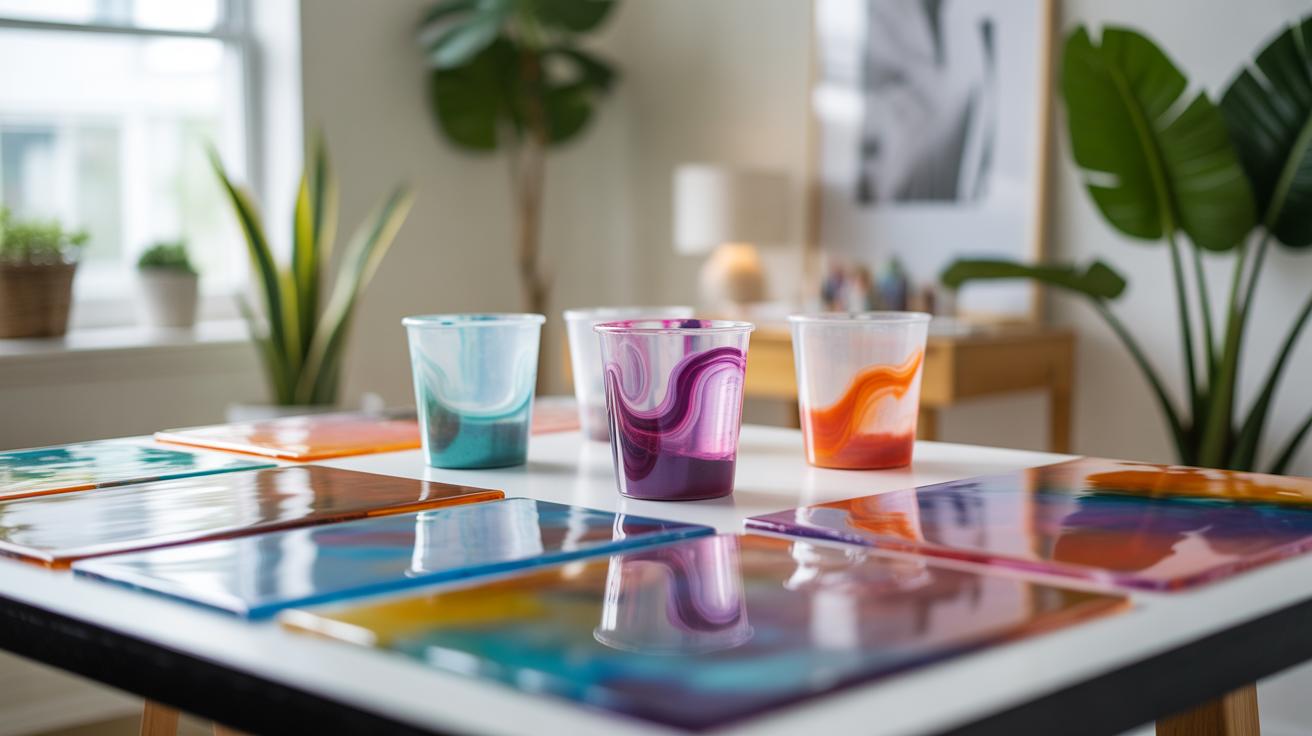
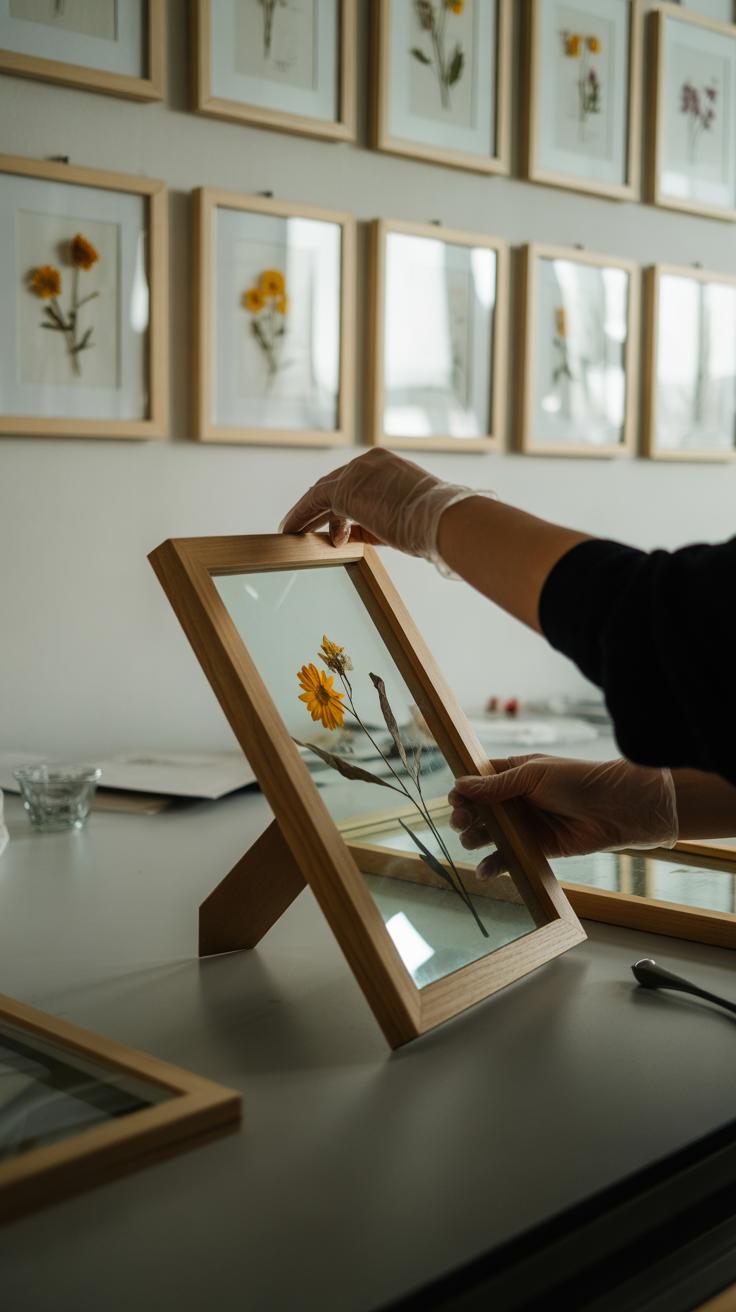
Choosing Frames and Backgrounds
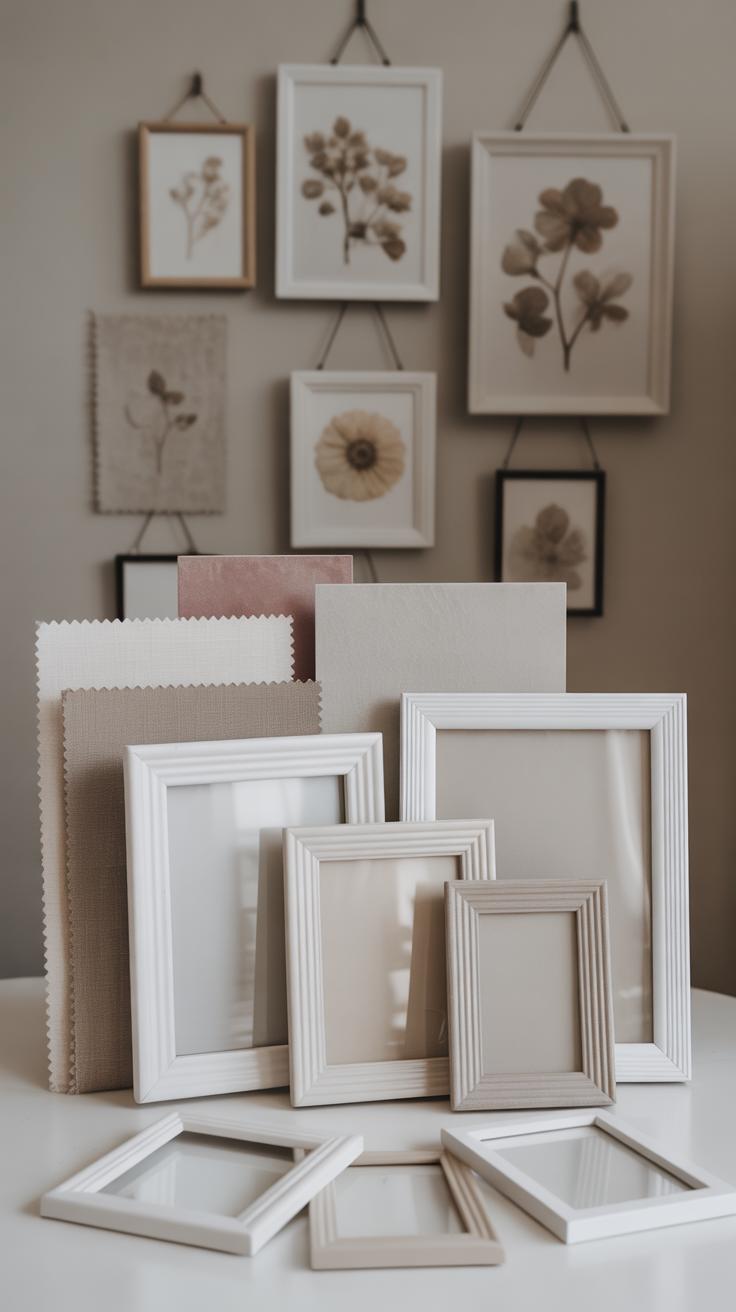
Picking the right frame for pressed flowers is more than just a protective measure—it shapes how your art lives on the wall. You might find yourself torn between a few types. Shadow boxes catch attention because they add depth and keep flowers from being squashed. They give breathing room, but take up more space.
Glass frames are straightforward and showcase every detail. They’re great if you want a sleek look, yet sometimes the flatness can make flowers seem pressed too tightly, removing a bit of their delicate nature. Sealed vacuum frames might feel like overkill to some, but they lock in freshness longer and prevent fading. If you’re holding onto those blooms that mean something, they’re worth considering.
Backgrounds can enhance or distract. Handmade paper brings subtle texture and a natural feeling—imperfect yet charming. I once used a slightly rough cotton fabric as a backing, and it gave the design a warmth I didn’t expect. Watercolor-washed paper lets you pick hues that gently echo the flower colors or contrast softly, adding a hint of mood without overwhelming the piece.
Think about what your final piece says. Should the flowers float on a simple white sheet or nestle against soft fabric? Your choices will guide that, and it’s okay if you’re unsure at first. Sometimes experimenting on scraps reveals surprising ideas.
Arranging Your Pressed Flowers Creatively
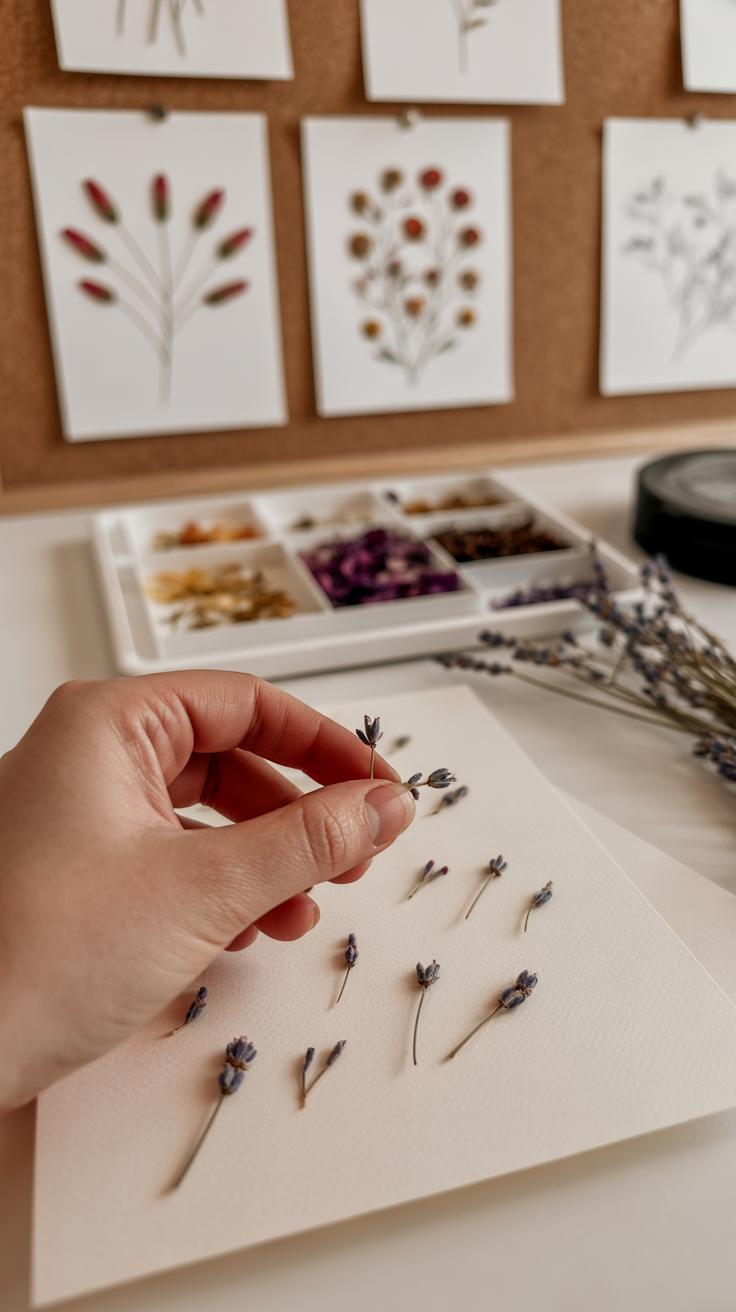
When it comes to composing your pressed flowers within the frame, thinking beyond just placing them flat can really change the feel of your piece. I find it helps to decide what kind of mood or story you want the arrangement to tell before starting. Do you want something calm and orderly, or perhaps a bit more whimsical and freeform?
Balance is key, but not every arrangement needs to be perfectly symmetrical. You can play with:
- Symmetry for a sense of calm and control—placing flowers evenly on either side.
- Asymmetry to add a bit of tension or movement.
- Layering—placing some elements slightly on top of others, creating subtle depth.
- Spacing—don’t be afraid of empty areas that give breathing room.
Spacing especially can be overlooked but adds a lot. Think of it as visual silence amidst the floral melody.
Try using different plant parts beyond just the blooms. Leaves can stretch or curl in ways that suggest shapes or directions. Thin stems might form delicate lines like tree trunks or branches. Petals scattered with care can mimic waves or clouds. You could even assemble parts to make something recognizable—a little tree, a winding path, or a sun fading behind hills.
Does it make sense to combine tiny bits from several plants to create a bigger image? I think it does, but it’s also fine to keep it abstract if you prefer—sometimes less “literal” can be more intriguing.
Gluing and Securing Pressed Flowers
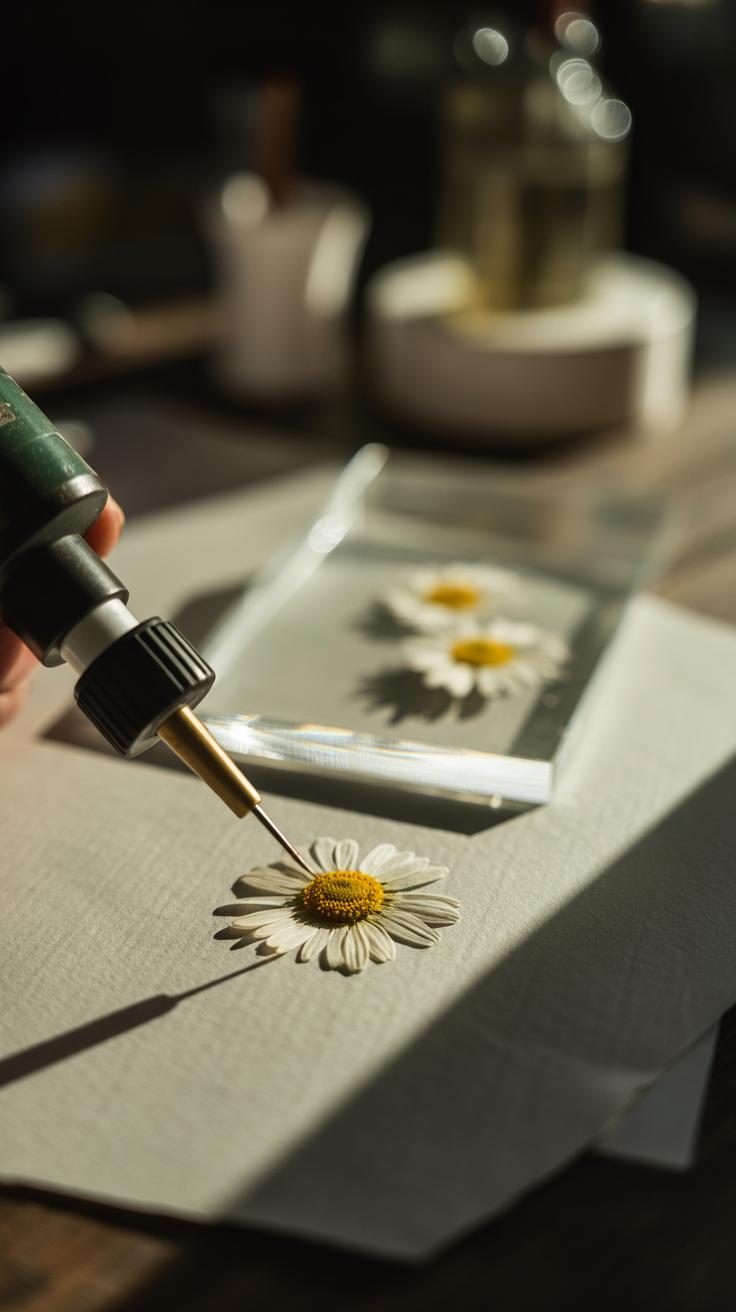
Choosing the right adhesive for your pressed flowers can be tricky. You want something that holds firmly but doesn’t harm those delicate petals and leaves. Clear-drying craft glues often work well because they’re gentle and invisible once dry. I’ve also had some success using glue dots, especially for smaller pieces or when you want to avoid liquid glue altogether. Each has its quirks; for instance, glue dots provide little mess, but they might not stick as permanently as a liquid glue.
When applying glue, less is truly more. It’s tempting to add a generous amount, thinking it’ll keep the flower perfectly in place. But too much can seep out, causing stains or wrinkles you can’t easily fix. Using a fine-tipped brush or even a toothpick to apply tiny amounts of glue helps a lot. Take your time—press the flower gently after placing it to ensure good contact but avoid squishing. Some people advise laying a sheet of wax paper over the flower and lightly pressing, which can help flatten any tiny wrinkles without smudging glue.
One thing to consider—it might be worth testing glue on a spare petal first. Sometimes, what’s fine for one type of flower might discolor another. Patience here pays off and saves you from regretting a rushed stick-on. Have you tried mixing adhesives for different effects? I think that’s something a lot of crafters experiment with once they get comfortable. Still, starting simple will let you focus on the art, not the disaster repairs.
Protecting and Displaying Your Frame
Framing Techniques for Longevity
When it comes to preserving your pressed flower frame, the glass you choose plays a bigger role than you might think. UV-protective glass helps shield delicate petals from harmful light that can cause colors to fade over time. It’s not just about protection, really—it can make the difference between a bright bloom and a dull shadow in a few months. Some artists go a step further, using sealed or vacuumed frames. These limit air exposure and moisture, which can otherwise invite mold or brittleness. It’s a bit more of an investment but often worth it, especially if you’re planning to cherish the piece long-term. I’ve seen pieces last for years simply because someone took the time to seal them properly.
Also, consider how tight the frame holds the artwork. A loose fit allows dust to sneak in or humidity to linger, causing gradual damage. A well-crafted frame keeps everything locked in place.
Where to Place Your Pressed Flower Frame
Choosing the right spot for your frame can be trickier than it sounds. Direct sunlight is a no-go. It might be tempting to show off your handiwork in a sunlit room, but this speedily fades colors and can warp petals. Humidity is another enemy. Bathrooms and kitchens, despite being cozy spaces, often have fluctuating moisture levels—definitely not ideal for pressed flowers.
On the other hand, dry, shaded spots tend to work better. I like placing mine in hallways or rooms that get soft natural light but stay cool and dry. Places where air circulates gently but won’t subject your flowers to sudden temperature or moisture shifts. Does that mean you should hide your art away? Not at all. It’s about finding a balance—somewhere visible but protected.
Ultimately, think of your pressed flower frame not just as decoration, but as something delicate that needs a little thought on where it lives. That little extra care often means your flowers keep their charm longer than you expect.
Creative Uses for Pressed Flower Frames
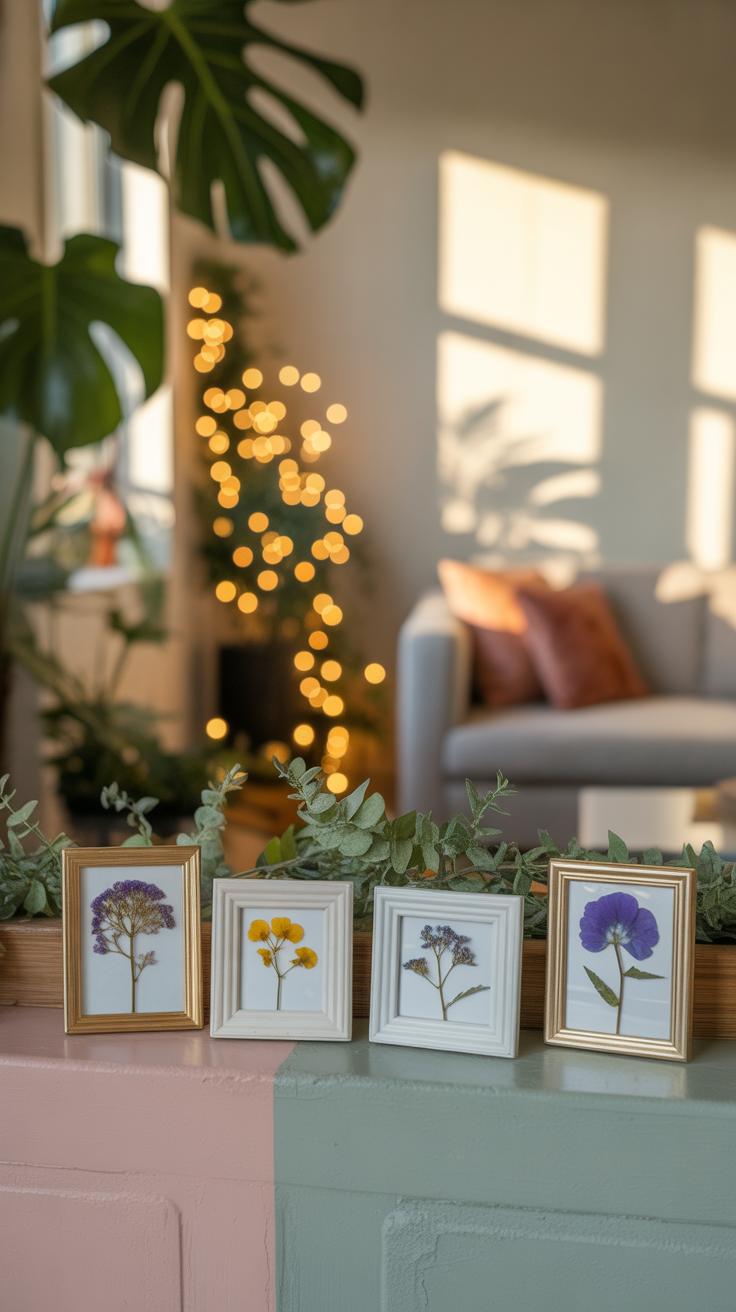
You might think pressed flower frames are just for walls, but they can do more. Gifts wrapped in pressed flower art, for example, have a personal touch that many other presents lack. Birthdays, anniversaries, weddings—they all work well. Even a simple “thank you” gets a little more meaning when you add a frame with delicate blooms inside. Maybe you include a tiny note or a favorite quote alongside the flowers. That adds a layer of thoughtfulness that can make the gift stand out, though not everyone needs that extra detail.
Using these frames around the house brings warmth, far beyond the usual hanging gallery. Imagine a collection of small framed flowers arranged on a side table or built into a bookshelf display. You could even use them as unique table centerpieces, pairing them with candles or vintage items for interesting textures and colors. Some people try combining frames with other crafts, like woodworking or embroidery, which can be fun if you don’t mind a bit of trial and error.
What about personal keepsakes? You might preserve a flower from a special day or place inside a frame—something to revisit quietly. It’s a kind of small private story told in petals and stems, waiting in plain sight. So yeah, pressed flower frames don’t have to be just pretty pictures. They can be gifts, decor, stories—and they invite you to think beyond the frame itself.
Joining Pressed Flower Communities and Learning More
Getting involved with other pressed flower enthusiasts can really change how you approach your art. There’s something about sharing ideas, successes, and even mistakes that helps you grow, maybe faster than working solo. Groups and societies offer chances not just to learn but to challenge yourself with competitions or workshops. For example, the International Pressed Flower Art Society is well-known for bringing artists from all over together. They hold events, publish newsletters, and provide guidance that can be surprisingly practical.
Locally, there might be guilds or clubs where people gather to swap techniques or simply admire each other’s work. Sometimes these smaller groups feel more personal and less intimidating, especially if you’re just starting. I once joined a weekend workshop through a local club, which was a game changer. Even if you don’t find one near you, these organizations often operate online too.
International and Local Organizations
Here are some resources you might consider looking into:
- International Pressed Flower Art Society – great for worldwide networking and annual contests.
- Local flower guilds or craft societies – often smaller, hands-on, and built around casual meetings.
- National craft councils or botanical art groups – sometimes they include pressed flower categories in their shows.
Joining these groups can open doors to exhibitions or swaps that you might never hear about otherwise. Plus, if you feel a bit unsure of your skills, seeing others’ work up close often shows you how much room there is to experiment.
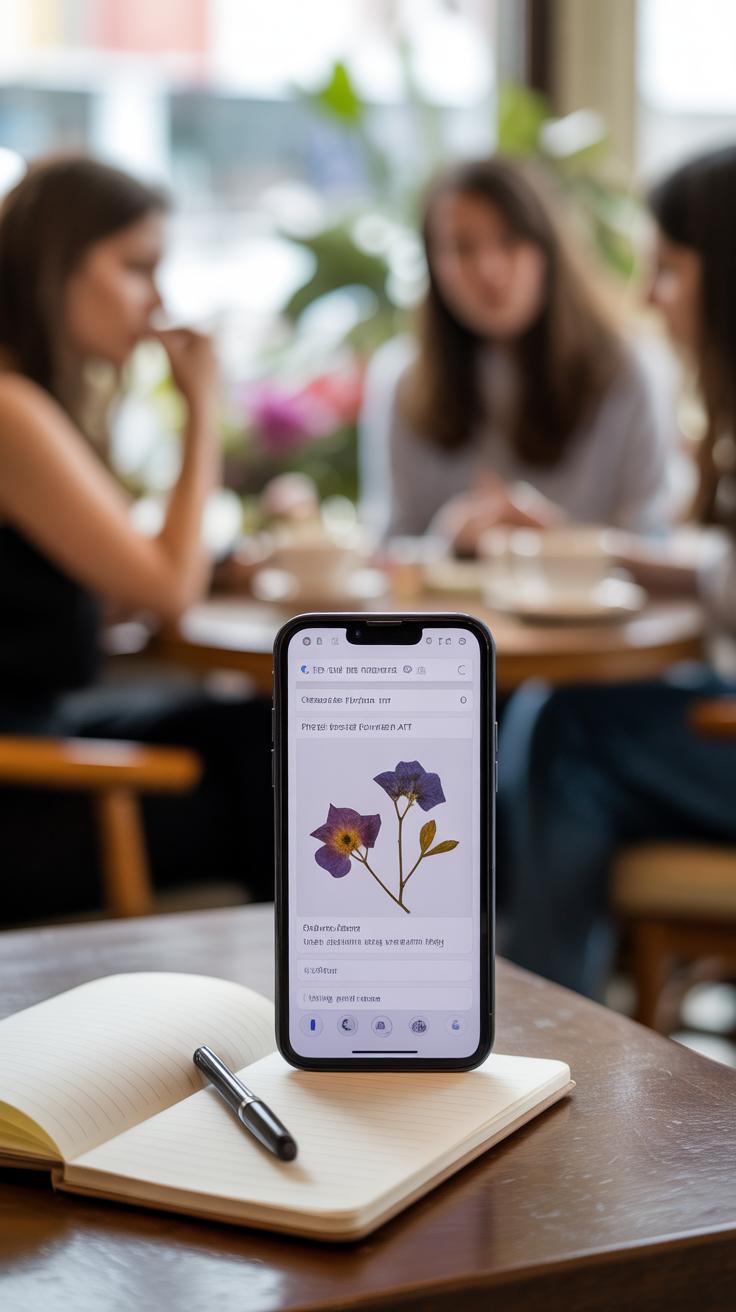
Online Resources and Tutorials
The internet offers endless tutorials, though the quality varies quite a bit. You’ll find some fantastic step-by-step videos demonstrating pressing techniques, frame assembly, and design ideas. A good place to start is YouTube channels dedicated to botanical arts. Some of these creators share detailed processes, from drying flowers to framing them carefully, which can save you a lot of trial and error.
Books can also be helpful, though I think they work better as references once you’ve gotten your hands dirty a bit. Look for titles that focus on both the art and the craft—ones that aren’t afraid to show mistakes or challenges. Websites like the Pressed Flower Art Network gather articles, community posts, and tips that anyone can access. The key is to blend learning from different places so you find your own style and pace.
Have you considered joining a forum or social media group? Sometimes, just posting a question or sharing a photo can lead to unexpected advice or encouragement. It’s like having a little team cheering you on, which might be just what you need when a project gets tricky.
Conclusions
Pressed flower framing is a timeless craft that connects you with nature while letting your creativity shine. You now know about the history, methods of pressing flowers, and how to design your frames with care. Each step contributes to a piece that celebrates the beauty of plants and your personal touch.
Try incorporating flowers from different seasons and explore new arrangements for your next piece. This art form can grow with you, offering fresh ways to decorate your home or share memorable gifts. Enjoy the process and pride in your unique botanical showcase.


