Introduction
Pressed flower crafts have a rich history dating back to the 16th century in Japan, where the art form was known as Oshibana. This craft involves drying and pressing flower petals and leaves to create flat, decorative pieces. Over time, the appeal of pressed flowers spread worldwide, inspiring various creative projects. Vintage charm pressed flower crafts are a unique way to connect with nature and add a personal touch to your art.
In this article, you will discover fascinating aspects of how pressed flower crafts started and evolved. You will learn practical techniques for pressing flowers and see ideas for making your own artwork, cards, and decorations. These ideas will help you bring the beauty of flowers into your home in a way that lasts.
History of Pressed Flower Crafts
The art of pressed flower crafting traces back centuries, starting notably in 16th century Japan with the practice known as Oshibana. This technique, which involved carefully pressing flowers to create delicate images, was more than decoration. For the samurai, it offered a chance to slow down—an exercise in patience and appreciation for nature’s fleeting beauty. They cultivated a quiet discipline through this craft, almost like a form of meditation. It’s fascinating how something so delicate was intertwined with such a stoic warrior culture.
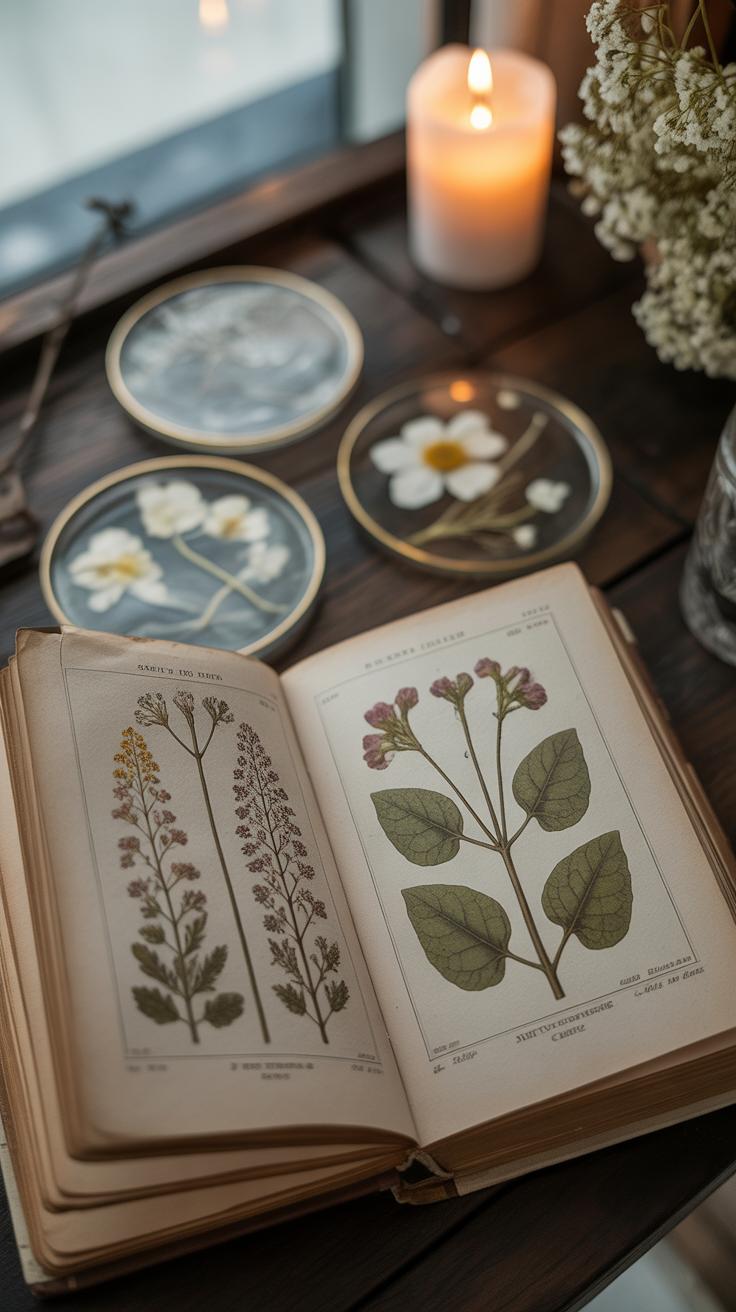
Later, pressed flower art found fertile ground in Europe during the Victorian era, especially in Britain. Here, it transformed into a popular pastime among women who saw it as both artistic expression and a way to preserve memories. Victorian pressed flower albums, greeting cards, and framed pieces became common in parlors. This hobby caught on partly because flowers symbolized emotions and social messages during that time, making the crafts deeply personal. You might wonder if the Victorian enthusiasm for pressed flowers was driven by sentiment or simply the urge to connect with nature during rapid industrial changes.
Both traditions—Japanese and European—reflect a shared human impulse to hold onto nature’s beauty, even as the world changes around us. Though developed in very different cultures, pressed flower crafts show how a simple act of pressing petals bridges time and geography in surprising ways.
Materials Needed for Pressed Flower Crafting
Choosing the Right Flowers and Leaves
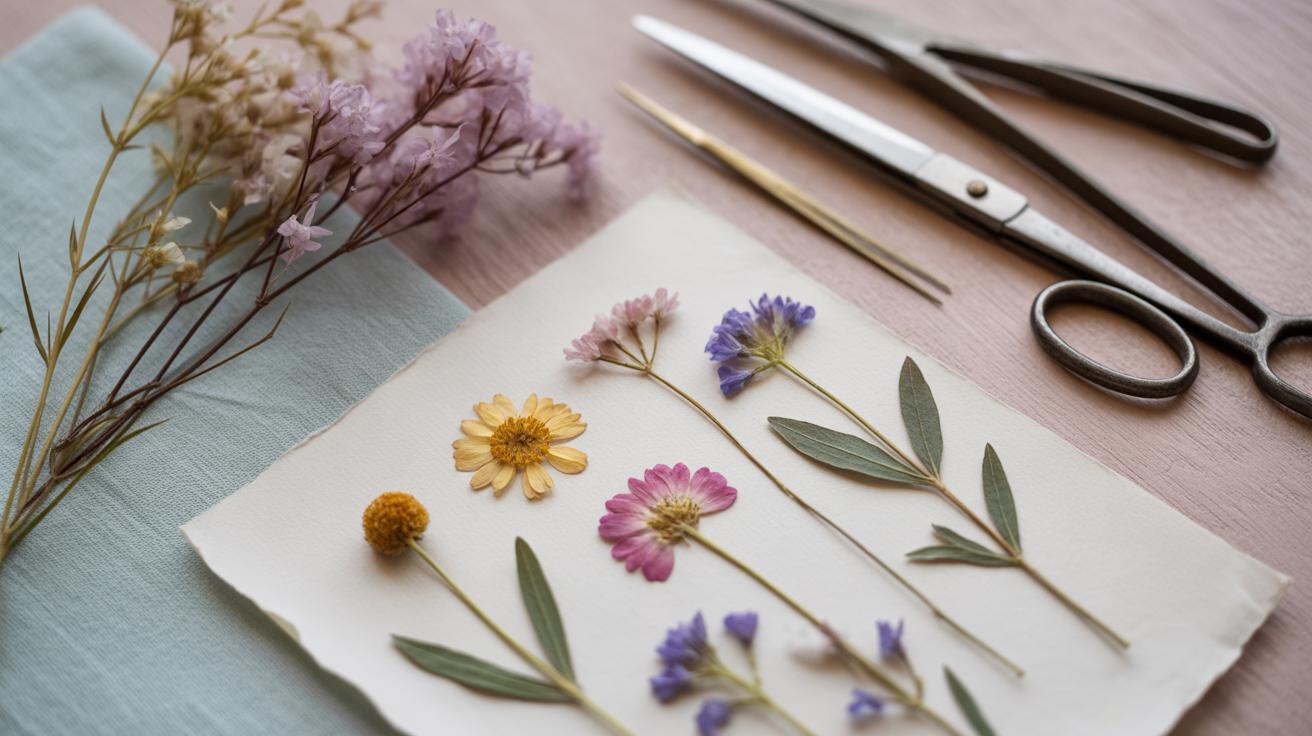
Picking the right flowers and leaves for pressing can feel a bit like a puzzle. Not every bloom or leaf responds well to the process. Generally, flatter flowers with less moisture—like pansies, violets, and ferns—press better. Bulky or thick petals may dry unevenly or become brittle. Flowers that are freshly picked and not yet fully opened tend to hold their color longer during pressing, though you might experiment with partially open buds if you prefer subtle color changes.
Leaves with interesting textures—such as oak or maple—press nicely, offering a sturdy skeleton that doesn’t crumble easily. Freshness matters too; wilted or bruised leaves rarely give the desired result. When harvesting, try to pick on a dry day, preferably before the sun becomes too harsh. Sometimes I’ve grabbed flowers too late in the afternoon only to have them shrivel quickly in the press.

Think about what you want your finished piece to express. Are you after vibrant colors or delicate silhouettes? Your choices might differ, and getting to know your local flora personally often helps.
Tools and Supplies for Pressing
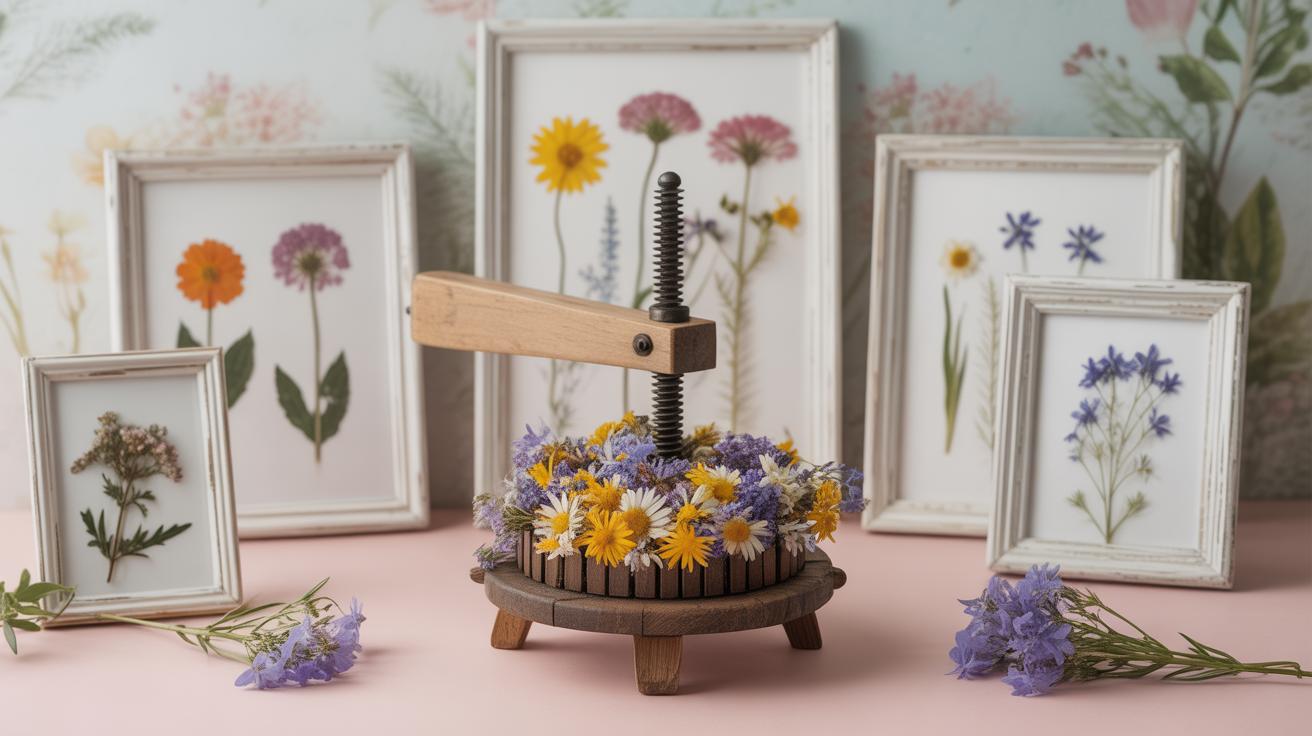
At the heart of pressing flowers, you’ll find the flower press. Traditional wooden presses use adjustable screws to apply steady pressure—simple and effective. Some crafters prefer heavy books layered with absorbent paper. Both work, though presses tend to give more control, while books can be a bit less predictable.
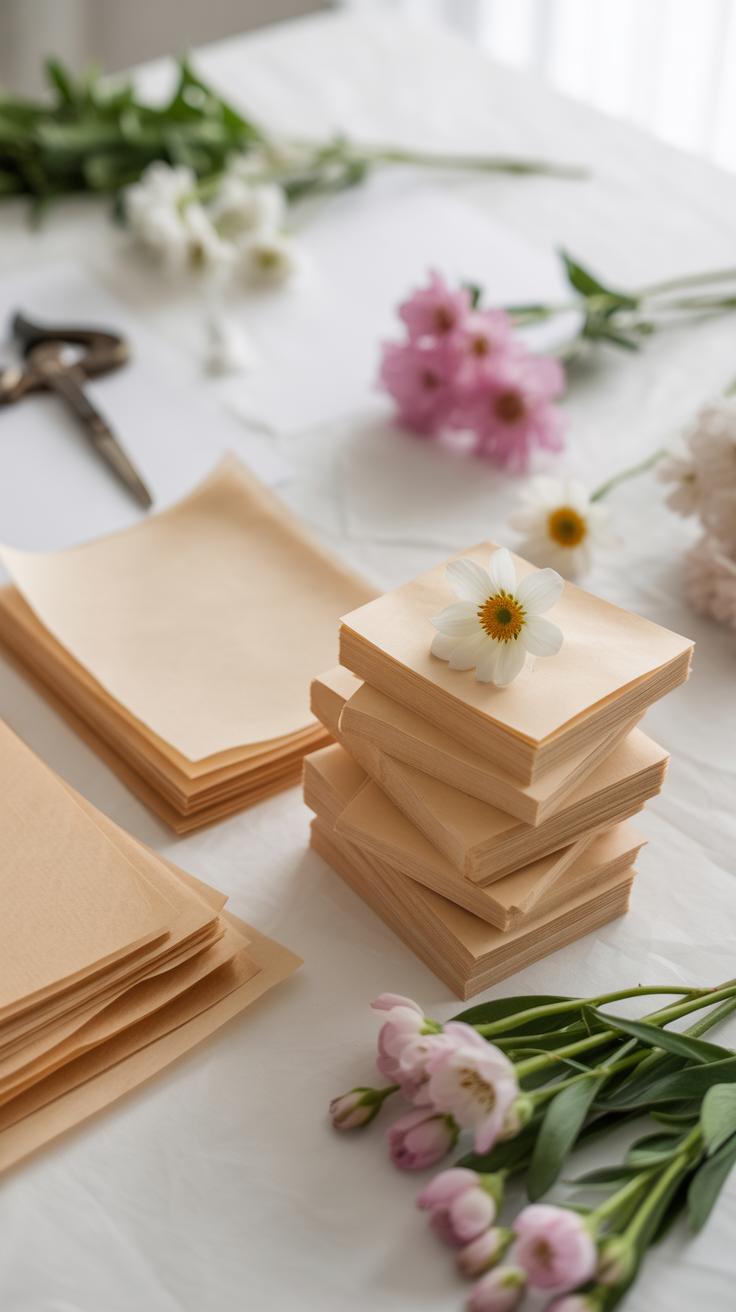
You’ll need absorbent, acid-free paper—blotting paper or parchment sheets work well. These protect the flowers from moisture and discoloration. Changing the paper every few days if you’re pressing for more than a week can help prevent mold, a detail I learned the hard way.
For assembling your finished craft, transparent glue works best since it dries clear without yellowing over time. White glue often clouds pressed petals. Framing supplies are next—the simplest option is a glass frame to protect your delicate work from dust and light. If you want to get fancy, shadow boxes offer depth to display slightly thicker arrangements.
Don’t overlook tweezers or a fine brush for carefully positioning fragile blooms. Sometimes, it’s the small tools that save a piece during assembly.
How to Press Flowers
Using a Traditional Flower Press
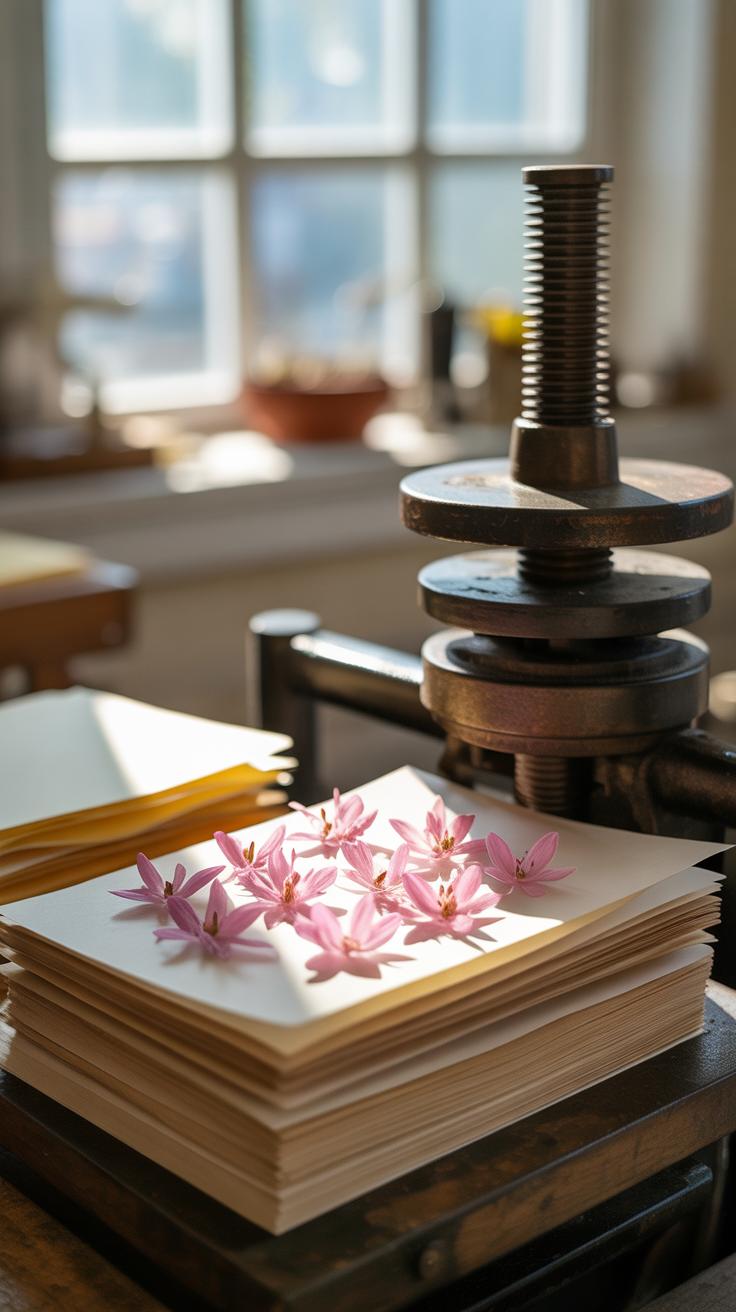
Pressing flowers with a traditional flower press is pretty straightforward, though you might find the process takes a little patience. First, pick fresh flowers that aren’t too thick or wet—thin petals work best. Place them carefully between two sheets of absorbent paper, like blotting paper or plain printer paper. Then sandwich these between the wooden frames of the press.
Tighten the screws evenly but not so much that you crush the flowers. The goal is to flatten without breaking. Leave the press in a dry, airy spot for about one to two weeks. I’ve noticed some flowers take longer; sometimes, I peek in at a week to see if they’ve dried well or need more time. When ready, the flowers should feel dry and papery.
Alternative Pressing Methods
If you don’t have a flower press handy, everyday objects can do the trick. One common method is using heavy books. Place the flowers between clean paper sheets, then sandwich these inside a thick book. Stack more books or heavy items on top for extra pressure. This method can take up to two weeks as well, but it’s surprisingly effective.
Another option is ironing. Sandwich the flowers between two pieces of paper and gently press with a warm, non-steam iron. It’s quick, maybe a minute or two, but riskier—you must watch closely to not burn the flowers. I’ve tried this when I needed flowers pressed fast but feel it’s less reliable for preserving delicate details.
Each method has its quirks. You might find one suits your style or the type of flower better. It’s a bit of trial and error, honestly. What works for daisies may not suit roses at all.
Preserving Color and Shape
Keeping pressed flowers looking fresh for a long time can feel tricky, but some simple habits really help maintain their color and shape. Traditional methods often rely on speed—quickly pressing or drying flowers right after picking limits the chance for colors to dull.
People have long found that drying flowers away from light, in a dark, airy spot, keeps their hues closer to the original. Sunlight tends to fade colors, so storing pressed flowers in a closed book or drawer makes sense. I’ve noticed that certain delicate petals, like violets, hold color better this way than more robust blooms.
Yet, even with careful drying, some fading is almost inevitable over years. That’s where newer techniques can be worth exploring.
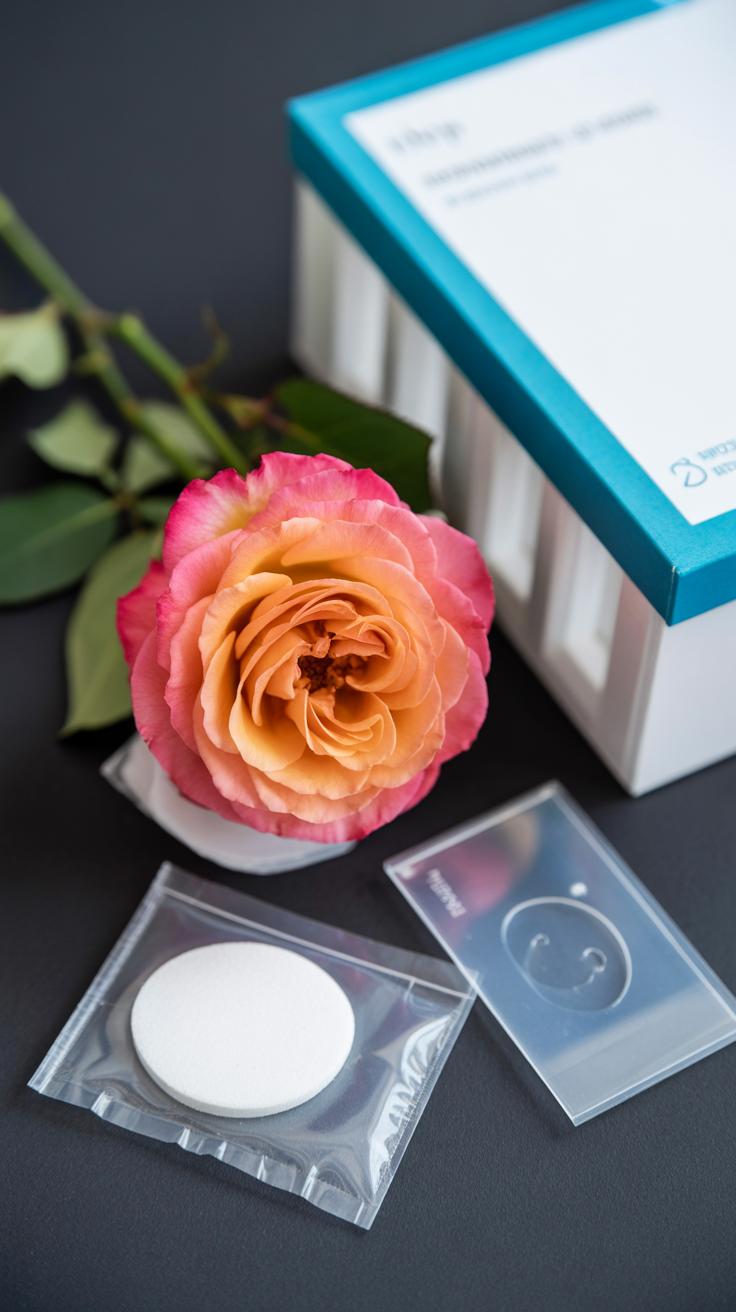
Vacuum sealing, for instance, removes air that causes oxidation and color loss. Using small vacuum bags or enclosing pressed flowers between glass panes with airtight edges can slow down deterioration dramatically. It feels a bit like preserving them in time. Some crafters swear by silica gel packets alongside this for humidity control, though that’s not always necessary.
Other methods include laminating flowers, but that sometimes changes their texture or flattens them excessively, so it depends on your project’s needs. Most of all, combining old and new ways seems best—quick press, keep flowers away from direct light, and then seal or frame them carefully.
Would you rather keep flowers in their purest state, or explore how preservation changes them? It’s a bit of a personal choice—and part of the charm is seeing how flowers evolve with time and care.
Designing with Pressed Flowers
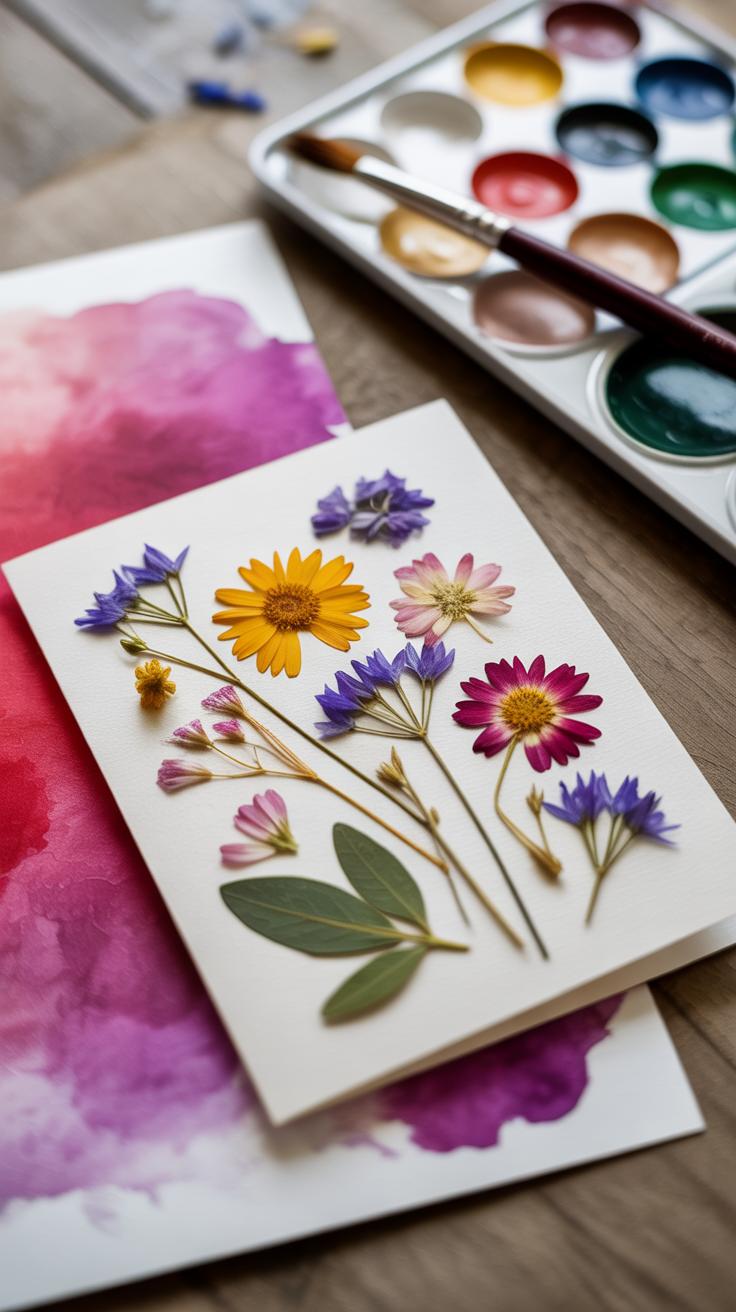
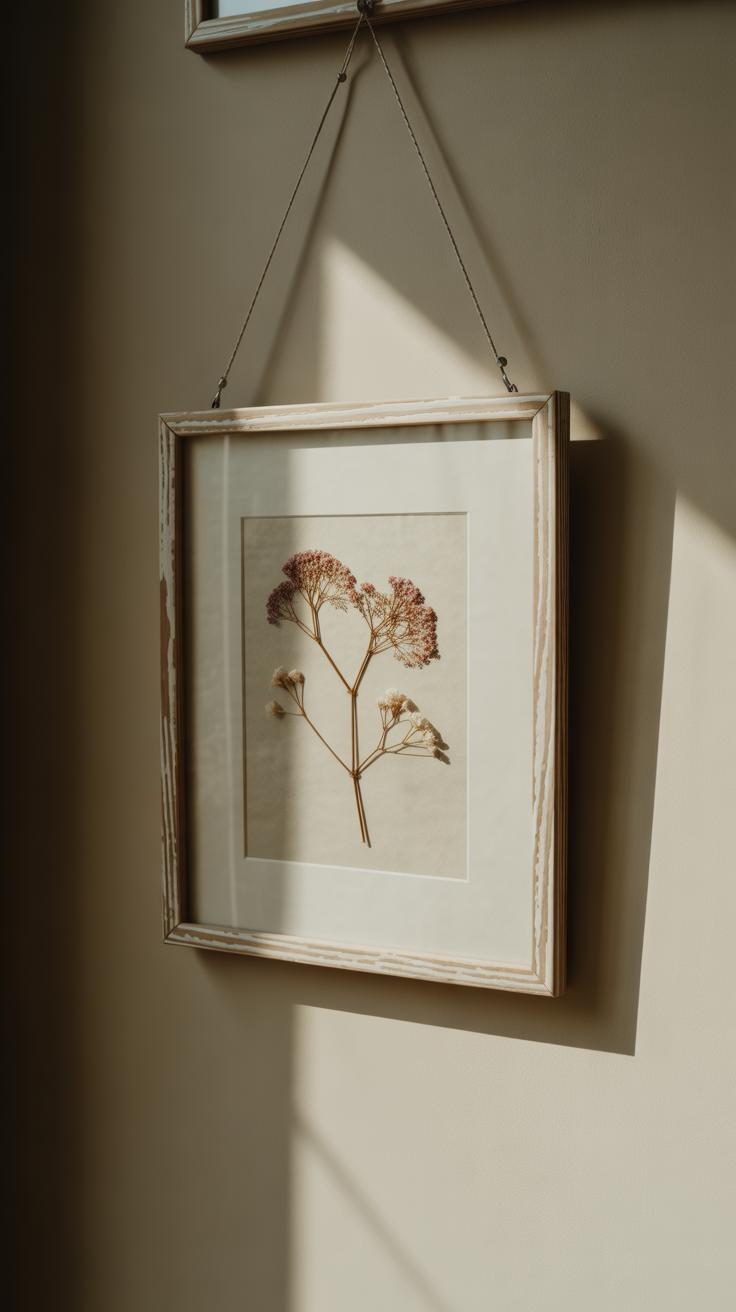
When it comes to working with pressed flowers, the way you arrange and design them can change everything. If you’re just starting, simple projects like greeting cards or framed pieces let the flowers’ delicate shapes and natural colors speak for themselves. Imagine a single, well-placed bloom on a clean white card—sometimes less is more, right? Or try grouping a small cluster of petals and leaves in a minimal frame to create a charming display without overwhelming the eye.
For those willing to push boundaries a bit, more elaborate compositions can be really rewarding. Mixing different flower shapes and colors lets you craft tiny scenes or even floral portraits. It’s a challenge, no doubt. You might arrange tapered petals to mimic grasses or combine round blossoms with slender leaves to create a sense of movement. These layered designs require patience and a steady hand, but seeing the elements come together can be quite satisfying.
Think about the mood you want to convey—soft pastels for calm, vivid reds for energy. And remember, sometimes accidental combinations lead to the most interesting results. Have you tried pairing contrasting shapes or colors just to see what happens? It’s worth experimenting with, even if it feels a bit random at first.
Using Different Backing Materials
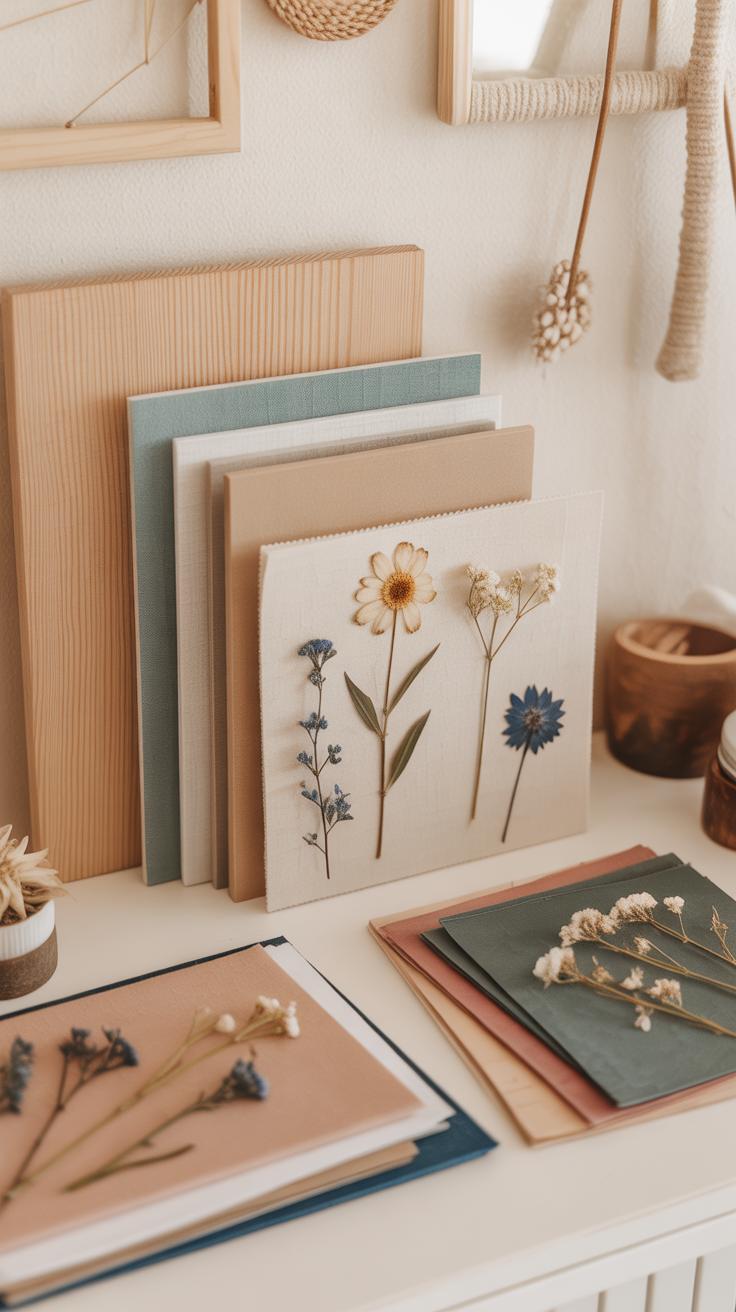
The surface you select for mounting pressed flowers shapes how your craft feels and looks—sometimes subtly, sometimes in ways that surprise you. Paper, for instance, is a classic choice, but even within paper, the varieties carry different moods. Handmade papers bring texture and slight irregularities, which can make the flowers appear more alive, more connected to nature’s imperfect beauty. Ingress paper feels smooth and slightly chalky, giving a refined edge, almost like an old illustration book. Japanese paper—thin and translucent—lets light interact with the petals differently, sometimes making them glow or seep softly into the background.
Fabric backings change the game. Velvet lends a softness, almost a luxury that contrasts with the delicate crispness of dried blooms. Linen adds a calm, approachable touch, a sort of rustic honesty. And then there’s decoupage on wood, which introduces another dimension entirely—solid, tactile, and a bit unexpected. Each surface invites a different relationship with the flowers, influencing how you might arrange them, or even what kind of flowers you choose. I’ve noticed velvet sometimes swallows lighter colors, while Japanese paper highlights them, but that’s just my experience. Have you found any surprising effects with different bases?
Framing and Displaying Your Craft
Basic Framing Tips
When it comes to framing pressed flower art, protection matters just as much as presentation. UV glass is usually the go-to choice because it filters harmful light that can fade your delicate flowers over time. It might feel like an extra expense, but I think it pays off, especially if you’re planning to keep your work for years.
Mats aren’t just there for decoration. They create space between the glass and the flowers, preventing moisture from getting trapped—and that’s a real risk if plants stay pressed too close to the glass. Choose acid-free mats, as they stop discoloration and degradation that acidic materials might cause. Sealing the frame tightly is another bit that often gets overlooked. Gaps can let dust and humidity sneak in, so take care to secure the back with strong tape or frame clips. I once rushed this part and ended up with some tiny spots on my flowers—annoying but totally avoidable.
Creative Framing Ideas
Why stick to flat frames only? Shadow boxes offer extra depth, letting you include textured elements like bits of dried moss with your flowers. They add a small 3D dimension that changes how light plays on your art. Layered frames work well too—imagine a thin inner frame that holds the flower piece and a wider outer frame for a dramatic effect.
You might even consider floating the pressed flowers between two glass panels. This method gives a modern twist and lets you see the backing material from both sides. It’s a little trickier to seal properly, though, and maybe less protective compared to glass with UV filtering. But it’s worth experimenting if you like your displays unusual. Have you thought about combining different frame styles for a gallery wall? Mixing traditional and shadow box frames can keep things visually interesting without looking too deliberate.
Incorporating Pressed Flowers in Everyday Items
Pressed flowers can turn ordinary household objects into something quite personal and unexpected. You might find yourself surprised how a few delicate petals can change the feel of an everyday item. There’s a quiet charm in that, don’t you think? It’s almost like giving everyday things a small story to tell.
Decorating Furniture and Objects
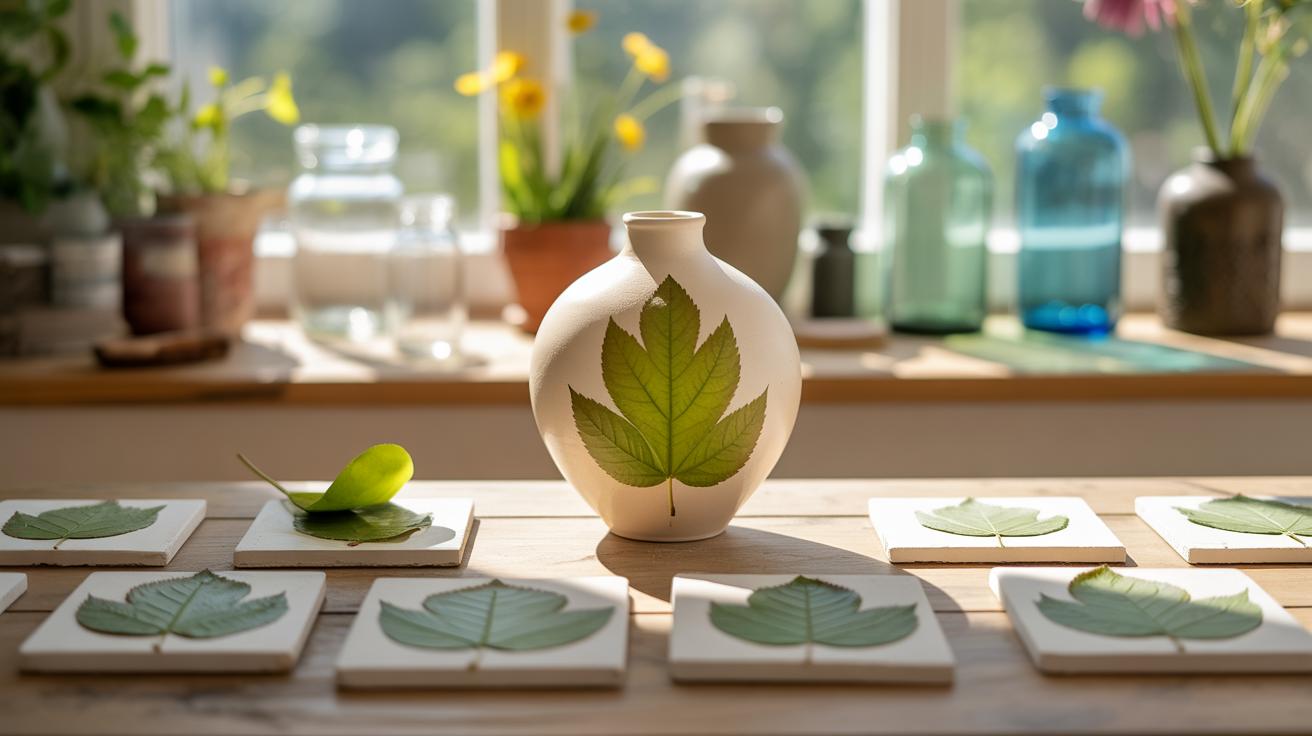
Using pressed flowers with decoupage techniques on furniture or small objects creates a subtle but lasting effect. For instance, you could spruce up a tabletop by placing pressed blossoms beneath a layer of clear varnish. The flowers seem almost suspended in time, trapped beneath a shiny surface. Wooden boxes or coasters offer similarly great canvases. You don’t need much, just a few well-chosen flowers arranged thoughtfully. The process is quite forgiving, so you can experiment without worry. It’s fun, especially if you like the idea of blending nature into your home environment.
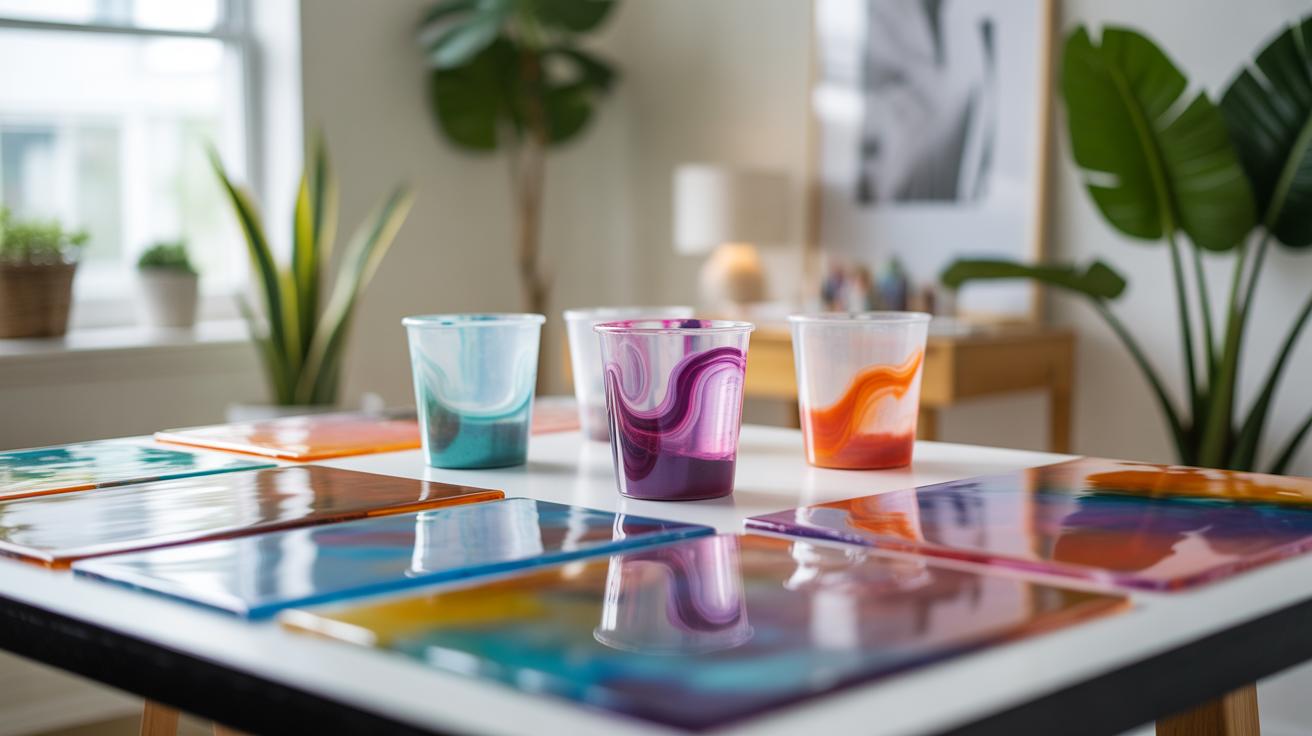
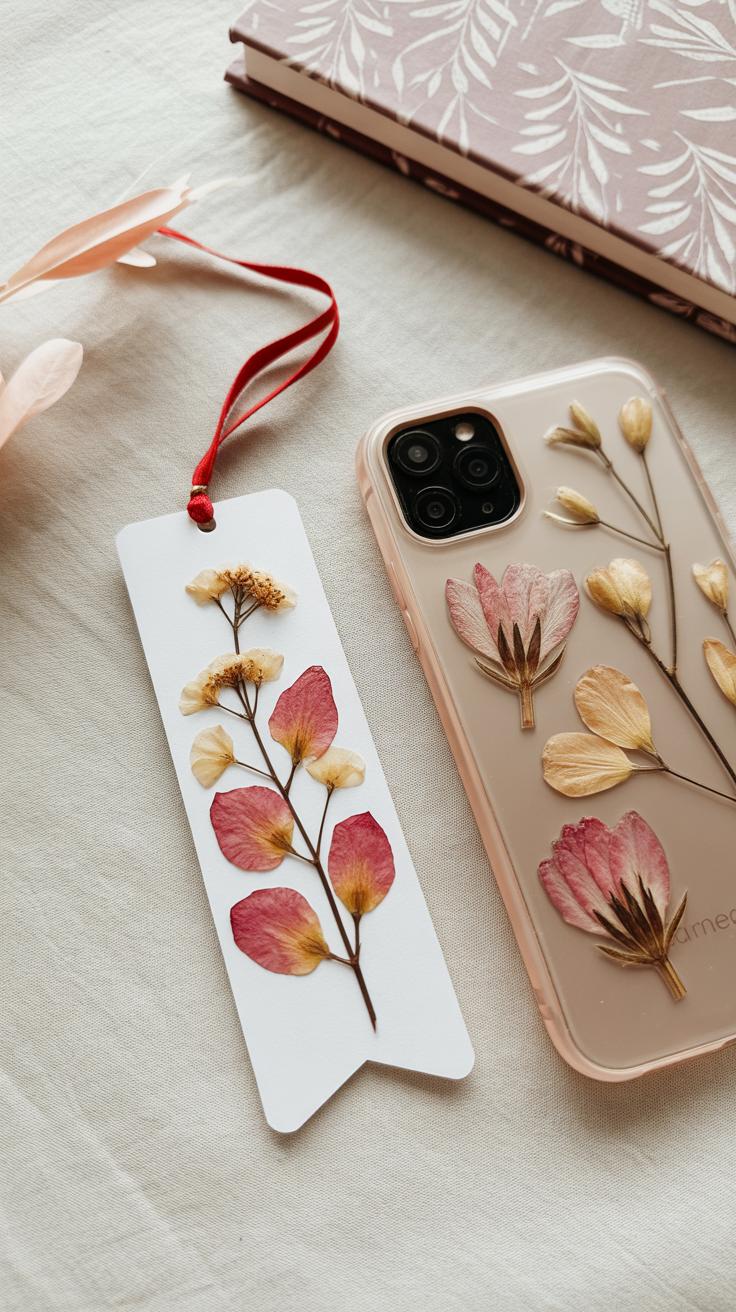
Creating Wearable Art
Pressed flowers also work well for small, wearable crafts. Tiny blooms or petals fit nicely into clear resin jewelry—pendants, earrings, or even brooches. I remember making a bookmark this way once, slipping a slender pressed stem between a pair of laminated sheets. It felt like carrying a little piece of spring everywhere. Such pieces often become conversation starters. Plus, they make meaningful gifts. You can craft these easily at home, with only a bit of patience and some basic supplies. It’s oddly satisfying to see something so fragile become part of daily wear or use, isn’t it?
Caring for Your Pressed Flower Art
Avoiding Damage
Pressed flower crafts are delicate by nature. Protecting them from sunlight is key. Direct light can cause colors to fade, sometimes quicker than you expect. Placing your art away from windows or using UV-protective glass makes a difference. Moisture is another enemy. Even a slight dampness can mold or warp the petals. Keeping your pieces in a dry environment helps maintain their shape and vibrancy. You might want to avoid displaying them in bathrooms or kitchens, where humidity tends to linger. Also, be mindful of physical harm. Those fragile flowers can crumble if touched too roughly or bumped often. Think of your pressed flowers like fragile heirlooms, deserving careful placement where pets, kids, or frequent handling won’t cause damage.
Cleaning and Repairs
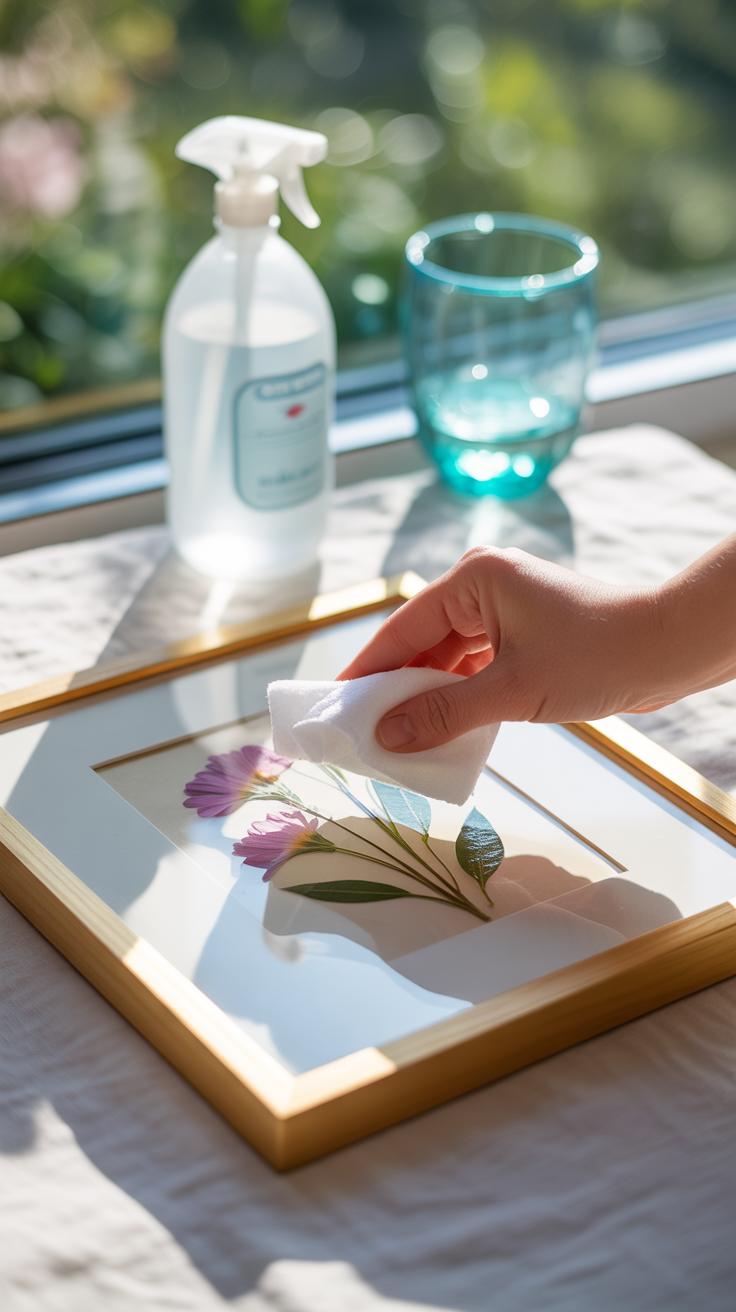
Cleaning your frames is usually straightforward. A soft, dry cloth works well to dust off any buildup. Be cautious with liquids near the pressed flowers themselves — even water spills can ruin your work. For glass surfaces, a gentle glass cleaner sprayed on the cloth (never directly onto the frame) helps keep it clear and bright. If you notice small cracks or undone petals, don’t rush to fix things aggressively. I’ve found that tweezers and a tiny drop of clear-drying glue work wonders for reattaching loose bits. Yet, sometimes, a small flaw adds character rather than detracts. So, think twice before “perfecting” every detail—maybe it’s part of the charm after all.
Joining the Pressed Flower Community
If you’ve spent some time with pressed flower crafts, you might feel a pull to share your work or just swap tips with others who get it. Connecting with fellow enthusiasts can sometimes feel a bit daunting—but honestly, it’s surprisingly easy once you know where to look.
Local and Online Groups
Local craft clubs or botanical societies often have sections or meetings dedicated to pressed flower art. Finding one nearby might take a quick search or a call to community centers, but many people find face-to-face meetings rewarding—there’s something about passing around delicate petals and comparing techniques that really clicks. On the other hand, online communities can be a lifeline, especially if you don’t live near such groups. Platforms like Facebook, Reddit, and dedicated forums host vibrant pressed flower sections where people share photos, troubleshoot problems, and suggest supplies.
These groups aren’t just for beginners. Even if you’ve worked with pressed flowers for years, joining helps you stay inspired and occasionally challenges you to try new styles or tools that others recommend. I’ve seen some artists there offer live sessions or step-by-step tutorials that feel a bit like sitting next to a friend, experimenting in their cozy studio.
Competitions and Exhibitions
Want to push yourself further? Entering competitions or local exhibitions might be the way. Some craft fairs and botanical gardens hold contests specifically for pressed flower art, judging on creativity and technique. It’s not about winning, really, but the motivation to prepare something special and the chance to expose your work to an audience can feel rewarding.
Displaying your creations in galleries or coffee shops might seem intimidating. Yet, many local businesses encourage artists to feature seasonal or thematic crafts. It’s a low-pressure way to get feedback and maybe even connect with potential buyers or collaborators. Have you ever wondered how your pressed flower pieces read in different lighting or settings? Exhibiting can surprise you in that sense, opening up new ways to appreciate the craft.
Conclusions
Pressed flower crafts offer a wonderful opportunity to explore creativity using natural materials. You can create personalized artwork and meaningful gifts by preserving flowers and leaves from your own garden or walks. The techniques of pressing, arranging, and mounting flowers open endless possibilities.
By practicing these crafts, you connect with a meaningful tradition while adding your own style. You do not need special tools, only patience and care. Vintage charm pressed flower crafts provide both a calming hobby and a source of beautiful creations for yourself and those you care about.


