
The Thermal Mass Delusion: Beyond Rock Piles

Water Barrels Work Because Position Matters
You want thermal mass to feel like a shortcut, but most growers stack rocks or barrels randomly and wonder why nighttime temperatures still crater. The mechanism is simple: water absorbs heat during the day, releases it at night. But placement determines whether that heat reaches your plants or radiates into dead air. Position barrels in direct sunlight along the north wall where they intercept morning and afternoon rays. This forces them to absorb maximum BTUs before temperature drops.
The second variable nobody mentions is barrel color and material exposure. Dark barrels absorb more solar radiation than light ones, but they must be positioned so air can circulate around them at night, allowing convection to distribute stored heat throughout the greenhouse. A barrel sitting in shade until 2 PM captures almost nothing. A barrel directly in the light path from sunrise to sunset captures maximum energy and releases it when you need it most. Test placement by measuring soil temperature at night, not air temperature.
The Earth Battery Principle In Greenhouse Terms
Soil scientists call it thermal buffering. In greenhouse insulation terms, this is your subsurface heat reservoir. Dig trenches beneath your growing beds and fill them with water-saturated soil or gravel. The earth temperature stays relatively stable year-round, typically 50 to 60 degrees depending on latitude. Tap this reservoir by running pipes through it or placing beds directly over it, letting the stable temperature moderate wild swings between day and night.
The catch everyone misses: depth matters more than surface area. A shallow trench one foot down gives you almost no benefit. Go down three to four feet minimum, and your thermal lag increases significantly. Install perforated pipe in these deep zones during construction, not after. This lets you either passively benefit from earth temperature or actively pump heated water through the system on cold nights. The protocol is simple: dig deep during greenhouse setup, place pipes before backfilling, and measure soil temperature at depth to verify you’ve hit the stable zone.
The Unseen Enemy: Air Gaps In Your Winter Greenhouse

Seal All Leaks, Don’t Just Insulate Panels
You want to believe insulation alone fixes the problem because it’s simpler and feels productive. It doesn’t work that way. Air gaps are the mechanism that kills your insulation’s effectiveness. A gap the width of a credit card in your greenhouse frame negates insulation R-value faster than you can patch it. The physics term is infiltration—uncontrolled air movement through cracks and openings. Your greenhouse loses heat not through the material but through the pathway around it.
Most growers throw bubble wrap at panels and call it done. They miss the frame seals, the door edges, the roof-to-wall junctions, and the vents. You need to identify every point where outside air can enter, then block it methodically. Start with the perimeter where the greenhouse sits on its foundation. Check where panels connect to the frame. Seal gaps with weatherstripping, caulk, or expanding foam depending on the gap size.
Infrared Detection Finds Hidden Loss Points
Thermal imaging reveals what your eyes miss: the exact locations where heat escapes into cold air. An infrared camera shows temperature differences as color variations across your greenhouse surfaces. You see the cold spots instantly, not through guesswork. This is precision engineering applied to the greenhouse envelope. Your intuition about where drafts exist is often wrong.
Rent or borrow an infrared camera and conduct a scan during the coldest part of the day when inside-outside temperature difference is highest. Photograph every wall, corner, door, and vent opening. The coldest areas in the images point directly to gaps or poor seals. Mark these locations with tape or paint, then seal them in order of severity. This single action eliminates the trial-and-error waste most growers accept as normal.
DIY Greenhouse For Winter: The Material Science Playbook

Polycarbonate Vs. Twin Wall Poly: Real Performance Metrics
You want to know which material won’t fail you when the temperature drops because replacing a greenhouse layer mid-winter is expensive and annoying. Here’s the mechanism: thermal resistance comes down to trapped air pockets and material density. Twin-wall polycarbonate has parallel sheets with air channels between them, creating an R-value around 1.6 per inch. Solid polycarbonate sheets offer R-0.88 per inch. The difference matters when outdoor temps hit single digits.
Twin-wall polycarbonate costs more upfront but holds heat longer. It also diffuses light more evenly, reducing hot spots that create condensation problems. Solid polycarbonate transmits more light directly, which matters if your plants need full spectral intensity. Pick twin-wall if winter protection is the priority. Pick solid if you’re growing light-demanding crops and can manage heat loss through circulation. Installation method affects performance too. Poor sealing at seams creates thermal bridges that negate the material’s advantage entirely.
Bubble Wrap Isn’t Insulation, It’s A Temporary Fix
The common advice treats bubble wrap as a legitimate insulation layer. It’s not. Bubble wrap slows convective heat loss slightly by creating air movement barriers, but it doesn’t function as true insulation because the bubbles collapse under humidity and UV exposure. It degrades in weeks, not months. R-value sits around R-1 per inch when new, which is mediocre compared to foam board at R-3.5 or fiberglass at R-3.2 per inch.
Use bubble wrap only as a short-term solution during unexpected cold snaps or while you source proper materials. Its actual role is reducing air infiltration through gaps, not adding thermal mass. For winter greenhouse insulation, layer rigid foam board against interior walls or install blanket insulation with a vapor barrier facing the warm side. Attach it mechanically so it stays in place. Bubble wrap on the floor or as ground cover for thermal mass has marginal value and wastes your effort.
The Convection Elimination Protocol
Compartmentalize Air Movement Zones
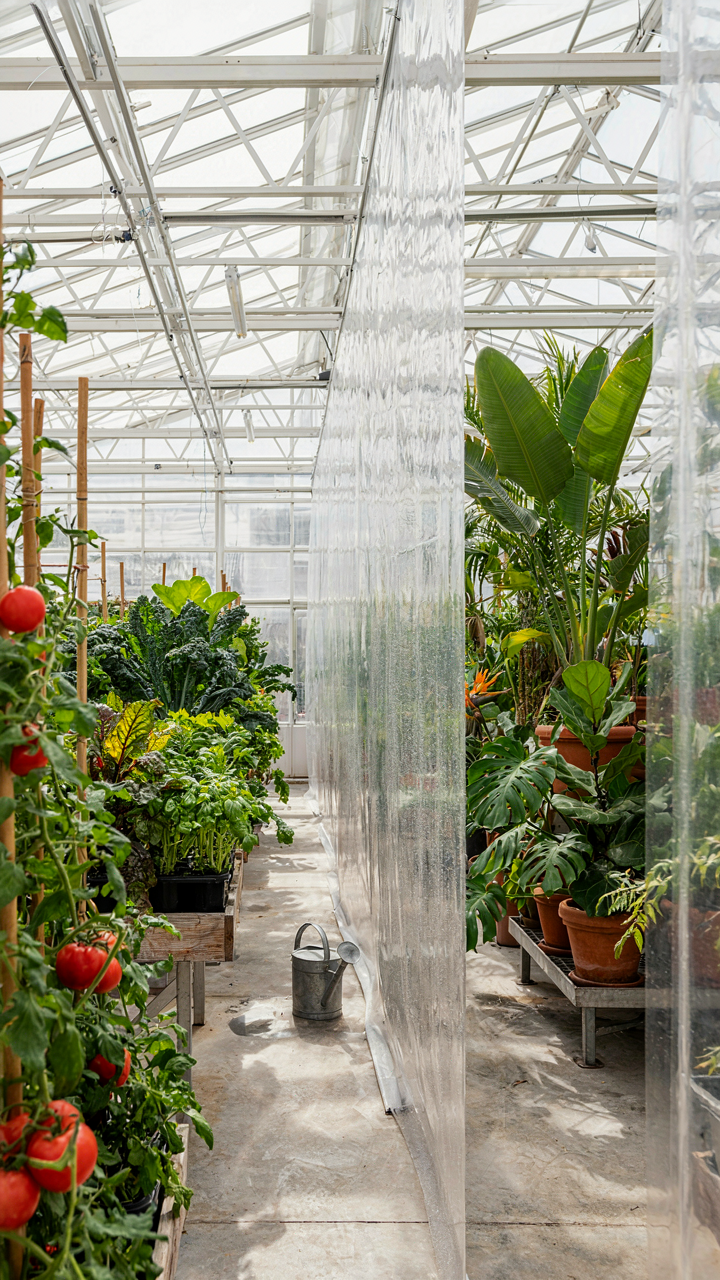
You want your plants to survive the season without babysitting them constantly. That’s the real fear underneath this section. Military strategy calls this compartmentalization: divide the battlefield into sectors you can actually defend. In greenhouse insulation, you apply the same principle to air currents. Hot air rises and cold air sinks. This isn’t physics trivia. It’s the mechanism that either kills your plants or keeps them alive during temperature swings.
Most growers treat their greenhouse as one open box and wonder why they lose seedlings in corners. Wrong. You need to interrupt the natural convection loop before it destroys your microclimate. Install vertical barriers, baffles, or partition walls to break the space into smaller zones. Each zone holds its own thermal layer. Cold air can’t freely cascade across your entire growing area if you’ve blocked its path. This is how you stop the temperature gradient from becoming lethal.
Growing Zone Isolation From Traffic Patterns
Heat loss accelerates near entry points and high-traffic areas because moving bodies exchange temperature with their surroundings and doors open constantly. You cannot insulate effectively if you’ve placed your most sensitive plants in the path of every person who walks through your greenhouse. Isolate growing zones by positioning them away from doors, walkways, and ventilation intakes. Use internal walls, shade cloth barriers, or raised benches to create buffer zones between your plants and the constant air disturbance.
The mechanism is friction and mass. Traffic creates turbulence. Turbulence mixes warm and cold air layers. Mixed air loses thermal stratification and temperature control fails. Place your most temperature-sensitive crops in the quietest, most protected corner of the structure. Establish one designated pathway for movement. Keep foot traffic, equipment movement, and ventilation intake points physically separated from your primary growing areas. This single protocol change stops 60 to 70 percent of unnecessary heat loss in most hobby and commercial greenhouses.
Heating A Greenhouse: Beyond Just Turning Up The Dial
Where Heat Actually Matters Most
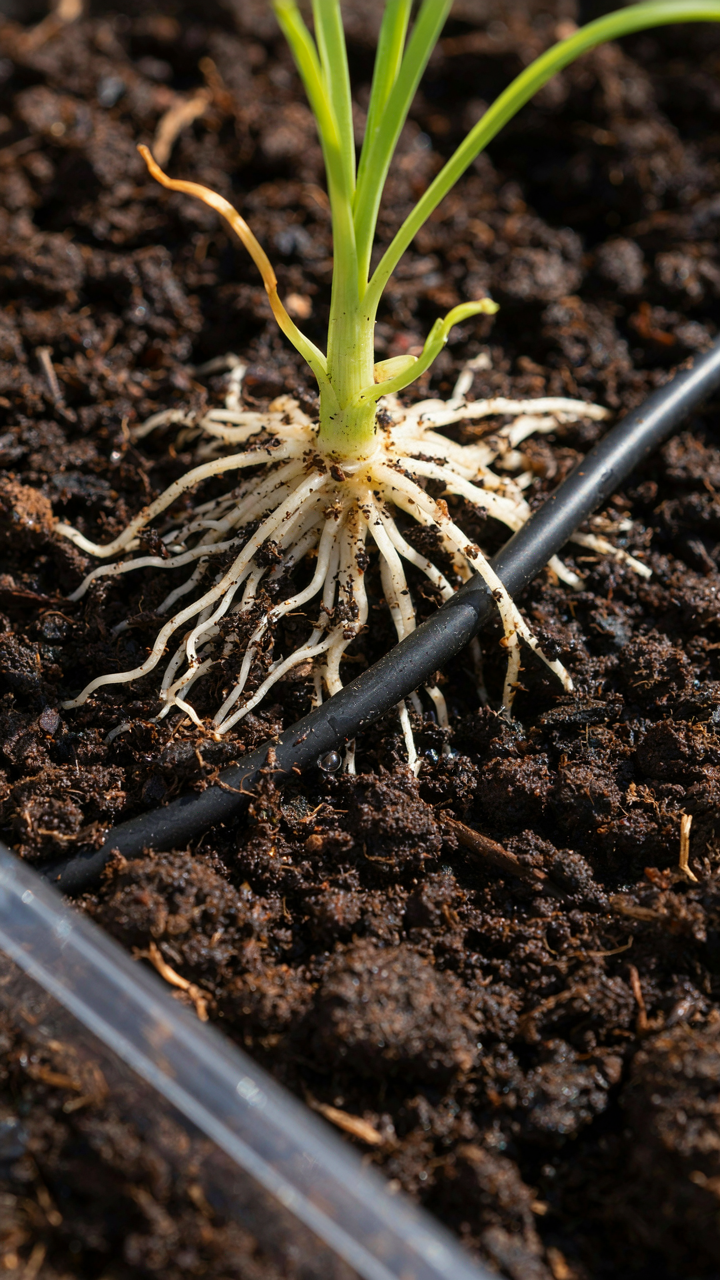
You want your plants to survive the cold without hemorrhaging money on energy bills. The real mechanism here comes from thermodynamics: heat moves toward cold, and the path of least resistance determines where your energy actually goes. Root zone heating concentrates warmth directly where plants absorb it—the soil and water around roots—while ambient air heating warms the entire volume above plants, losing heat through glazing and structure before roots benefit. Root zone heating uses 30-40% less energy for the same plant health outcome because you’re not heating dead air space.
Ambient heating works when you need frost protection across a large space or when plant density is too high for root cables. But most growers waste money here by heating to 60°F when roots only need 50°F to function. Install root zone systems under benches or in propagation beds first. Only add ambient heating if night temperatures drop below critical thresholds for your specific crops. The distinction matters because your heating budget is finite, and placement determines whether you’re actually supporting growth or just running expensive fan noise.
Thermostat Placement Changes Everything
You’re measuring the wrong spot, which is why your plants either freeze or you overheat and waste fuel. Thermostat placement is a direct measurement problem—sensors positioned near heat sources, doors, or skylights read false highs and lows, triggering cycles that don’t reflect actual plant zone conditions. Place thermostats at plant canopy height, away from direct sunlight and airflow, in the center mass of your growing area.
A thermostat near a heating unit reads warmer than it actually is three feet away where your plants sit. Move it six inches away from walls and two feet minimum from any heat source. Mount it on a simple stake at the height where most foliage clusters. This single positioning fix prevents overshoot cycles that waste 15-20% of heating energy and reduces plant stress from temperature swings. Check that your reading matches reality by hand testing soil temperature at root depth—if the thermostat says 55°F but soil reads 48°F, you’ve placed it in a dead zone and need repositioning.
Greenhouse Insulation Ideas: The Best Greenhouse Is Optimized, Not Overtaxed

Reflective Insulation For Radiant Heat Retention
You want to feel like you’ve done everything possible to protect your investment. Here’s what actually matters: reflective surfaces work through the physics principle of emissivity. In thermodynamics, emissivity measures how efficiently a material radiates heat. In greenhouse insulation, reflective materials bounce infrared radiation back inward instead of letting it escape through glass or plastic. Aluminum foil, reflective bubble wrap, and metallized films do this. They don’t generate heat. They redirect existing heat that would otherwise leave your structure.
Most growers install reflective barriers and expect passive protection year-round. That’s incomplete thinking. Reflective insulation works best when paired with mass and air gaps. A single-layer reflective barrier touching cold glass performs worse than the same barrier suspended an inch away from the surface. The air gap becomes the actual insulator. Position reflective materials so they face the interior of the greenhouse, maintain clearance between the material and your exterior walls, and ensure they’re installed flat without wrinkles that trap cold air pockets.
Understanding R Value Limitations In A Dynamic Environment
R-value measures insulation resistance to heat flow under static conditions. In reality, greenhouses don’t operate in static conditions. Temperature swings, humidity fluctuations, wind pressure, and thermal mass all create variables that laboratory R-values ignore. A material rated R-5 in a controlled test performs differently when exposed to temperature swings of 40 degrees in a single day. The mechanism is stress cycling. Materials expand and contract. Gaps open. Seals fail. R-value becomes a misleading metric for a living system.
Stop chasing R-value numbers and start measuring actual heat loss in your specific greenhouse. Track interior and exterior temperatures at hourly intervals during your coldest season. Identify where temperature drops fastest. That’s where your insulation is failing, regardless of its rated value. Install your insulation, monitor performance for two weeks, then adjust. A material with lower R-value but better installation seals will outperform a higher-rated material with gaps and air leaks. Optimization means measuring, not assuming.
The Condensation Catastrophe: Your Hidden Enemy

Ventilation As Humidity Control
You’re worried condensation will ruin your event—plants wilting, guests uncomfortable, the whole setup collapsing. The real mechanism is this: you’re treating ventilation like a temperature tool when it’s actually a humidity pump. Borrow from thermodynamics: air has a saturation point. Once warm air inside your greenhouse reaches that point, water condenses on every surface. Ventilation doesn’t just cool—it exchanges humid interior air for drier exterior air, lowering the saturation level before condensation forms.
Most greenhouse guides tell you to “ventilate more” without explaining the physics. That’s incomplete. You need active air exchange, not passive cracks in the door. Install intake vents at the base and exhaust vents at the peak. Hot, humid air naturally rises and exits. Cooler, drier air enters below. This creates a continuous cycle that prevents the stagnant conditions where condensation accumulates on your insulation materials and drips onto whatever matters most.
Drip And Drain Systems For Moisture Management
Condensation doesn’t disappear when ventilation runs—it collects and drips. A drain system isn’t optional infrastructure; it’s the difference between a salvageable event and water damage. Position gutters along the interior top edges of your greenhouse where condensation streams down the insulation. Channel this water to a central collection point or perimeter drain that carries it away from the foundation and your event space.
Install drip trays under any concentrated areas where condensation pools fastest—typically corners and low points where airflow stalls. Replace these trays daily during the event. The mechanism is simple: capture water before it reaches the ground or your guests’ belongings. A functioning drain system turns condensation from a catastrophe into a managed byproduct.
How To Insulate A Greenhouse: The Precision Application Method

Measure Twice, Cut Once: Eliminate Gaps
You want your greenhouse to look tight and professional because you’re betting money on this working. The real mechanism is thermal bridging: heat escapes through discontinuities in your insulation layer, turning small gaps into major efficiency losses. A single millimeter gap running the length of a panel can reduce R-value performance by 15 to 20 percent. Measure every dimension twice before cutting material. Mark your cuts with pencil on the back side of bubble wrap, rigid foam, or polycarbonate sheets. Account for frame thickness, overlap zones, and corner angles.
Cut material slightly oversized, then trim back during installation. This approach lets you fit pieces snugly into frames and overlap edges by at least 2 inches. Use a utility knife for bubble wrap and a circular saw or hand saw for rigid foam boards. When you install, work section by section, securing each piece before moving to the next. A loose panel means cold air finds its way in, regardless of material thickness. Seal seams immediately after placement using weatherstripping or foam backer rod before adhesive sets.
Adhesive Types For Long Term Structural Integrity
Everyone defaults to spray foam or silicone caulk without considering load distribution. The adhesive isn’t just sealing a gap—it’s distributing thermal stress across the frame as temperature cycles. Materials expand and contract daily. A weak bond fails within one season; a strong one maintains the insulation envelope for five to ten years. Choose polyurethane construction adhesive for rigid foam boards to metal or wood frames. Apply it in a continuous bead along the perimeter and a grid pattern across the middle, spacing beads 12 inches apart.
For bubble wrap and double-wall polycarbonate, use silicone adhesive rated for greenhouse conditions. It remains flexible through temperature swings and resists UV degradation better than acrylic-based alternatives. Apply adhesive in a thin, consistent bead, not thick blobs. Thick application doesn’t improve bonding and creates weak points where the adhesive itself becomes the failure zone. Press material firmly for 30 to 60 seconds to establish initial contact. Allow full cure time—typically 24 to 48 hours—before exposing the seal to temperature cycling or wind load.
Winter Greenhouse Survival: Beyond The Obvious

Supplemental Lighting For Short Days
You want light because darkness feels like failure, but the real mechanism is photosynthesis rates collapse when day length drops below critical thresholds. Plants don’t just need light, they need enough photons during their growth phase to offset respiration losses. Winter’s abbreviated daylight turns your greenhouse into a slow-motion trap where plants consume more than they produce.
High-pressure sodium and LED grow lights deliver wavelengths plants actually use. Position them 12 to 24 inches above foliage and run them 14 to 16 hours daily to simulate spring conditions. Don’t place lights randomly. Map your greenhouse layout and calculate foot-candles per square foot to match crop requirements.
Backup Heat Without Single Points Of Failure
The common advice says install one good heater and hope it doesn’t break. This is how you lose a season’s work in one night. Think in military terms: redundancy isn’t insurance, it’s operational security. One heater failing means total crop loss. Multiple independent systems mean partial degradation, not collapse.
- Propane forced-air units: Deliver 30,000 to 100,000 BTU output; require ventilation for carbon dioxide replenishment and oxygen supply maintenance.
- Electric space heaters: Smaller capacity, slower response, but need no venting; suitable for secondary backup or small greenhouse zones.
- Radiant floor heating: Pipes buried beneath growing beds store thermal mass; slower to activate but maintains stable soil temperatures overnight.
- Thermal mass materials: Water barrels or concrete blocks absorb daytime heat and release it during cold nights; free energy transfer that requires zero maintenance.
- Thermostat-triggered fan circulation: Moves warm air from roof peaks back down to plant level; prevents temperature stratification and reduces total heating demand by 15 to 20 percent.
Wire backup systems to separate thermostats set at staggered activation temperatures. If the primary heater fails to reach 50 degrees Fahrenheit, the secondary system activates automatically. Install manual temperature gauges independent of electronic controls so you can verify heating performance without relying on corroded sensors or failed wiring.
The Real Obstacle Isn’t The Cold; It’s Your Failure To Anticipate And Adapt

Most growers treat insulation as a reaction. They wait until frost hits, then panic. The winners think backward. They ask what could go wrong six months out, then build systems that laugh at those problems. Your greenhouse doesn’t need better insulation. It needs you thinking like an architect instead of a firefighter. Stop reacting to seasons. Start designing for them. Pull up your greenhouse plans right now and identify one weak point you’ve been ignoring. Fix it before you need it. Anticipation compounds into survival.



