
The Unspoken Truth: Most Greenhouse Ideas Are Overkill

Simple Beats Complicated Every Time
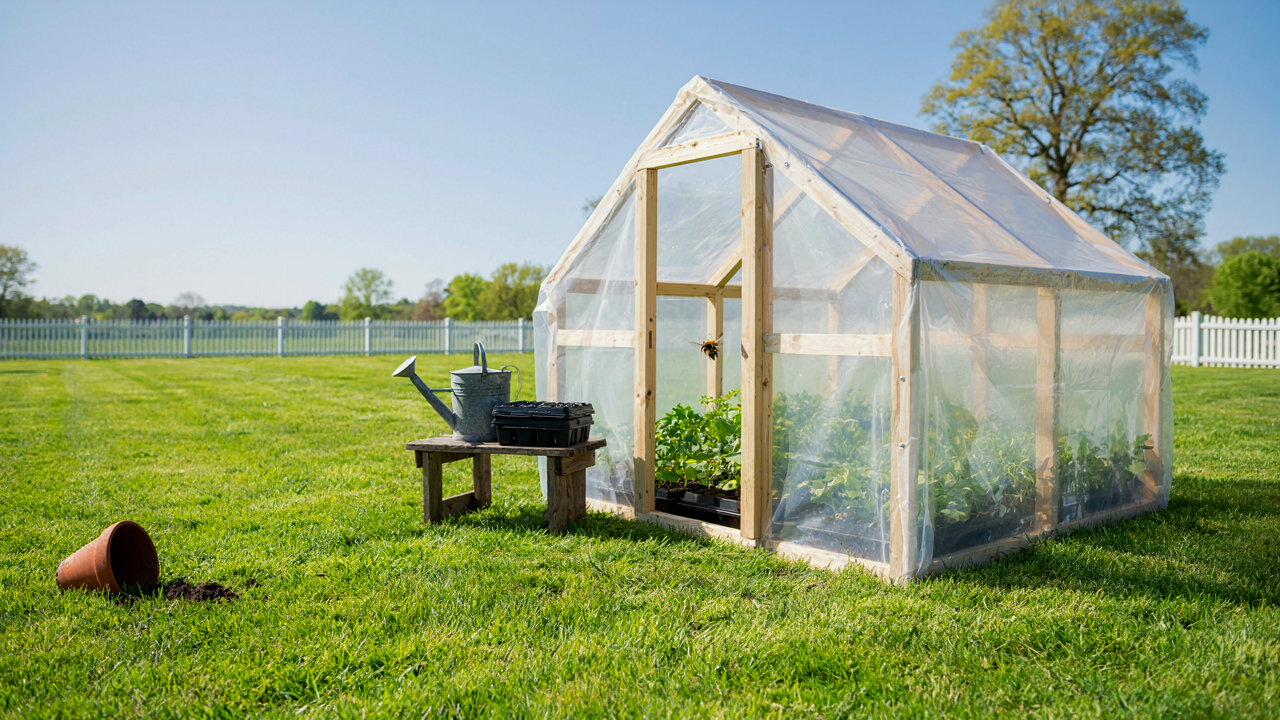
You want a greenhouse because you’re afraid you’ll fail without one, or worse, that you’ll look like you don’t know what you’re doing. The real mechanism is this: complexity introduces failure points. Every added feature—automated vents, heating systems, humidity sensors—becomes something that breaks, requires maintenance, or distracts you from what actually matters: seeds, soil, water, and light. A beginner with a basic cold frame outperforms someone with a tricked-out greenhouse who doesn’t check on seedlings daily because the setup feels like it’s “handling things.”
The data backs this up. Commercial growers use minimal greenhouse infrastructure for early propagation. They rely on consistent watering schedules and stable temperature ranges, not gadgets. A plastic-covered frame with proper ventilation, a moisture-retentive growing medium, and attention to hardening off seedlings produces stronger plants than an over-engineered system that breeds complacency. Start with one variable you can control manually, master it, then add complexity only when you hit a real bottleneck—not when a catalog makes something sound necessary.
Marketing Hype Versus Actual Limits
The gardening industry profits from your uncertainty. Heated propagation mats, grow lights on timers, misting systems—these solve problems you don’t have yet. A greenhouse for seed starting needs to solve exactly three problems: prevent temperature swings that kill germination, allow air circulation so seedlings don’t damp off, and provide enough light so plants don’t stretch. Stop there. Everything else is optional until you demonstrate you need it.
Ask one question before buying anything: What specific problem am I solving right now? If your answer is “just in case,” don’t buy it. If you can’t name the mechanism—”seedlings are stretching because they lack light from south-facing windows”—you’re buying based on fear, not necessity. A sunny windowsill, a basic frame, and consistent watering solve ninety percent of beginner seed starting. Build incrementally only after you’ve proven you’ve maxed out the previous tier.
The Cold Frame Advantage: Your First Propagating Plants Hack
Build Your Frame On A Budget
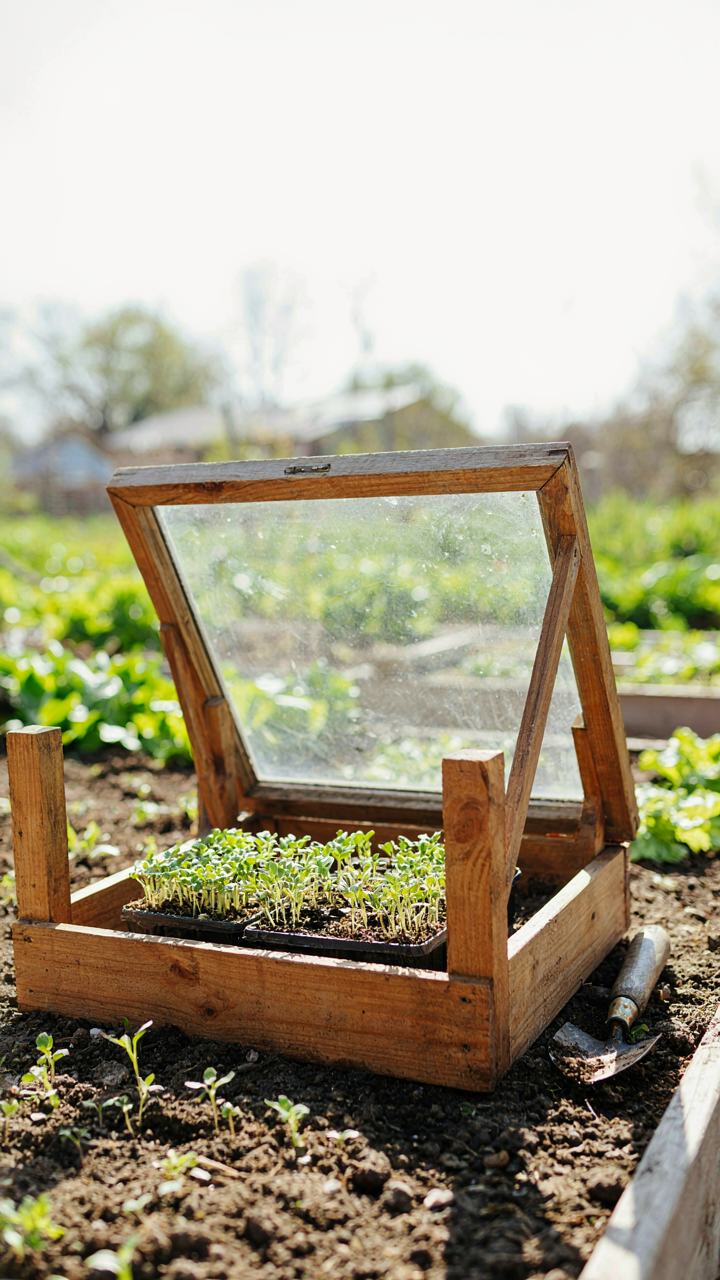
You want to start seeds without dropping money on equipment you’re not sure you’ll use. A cold frame solves this by using thermal mass and air trapping—the same physics principle greenhouses rely on—to hold heat where seedlings need it. The mechanism is simple: sunlight enters transparent material, bounces off soil, converts to infrared, and gets trapped because the barrier won’t let it escape.
Cold frames work because they cost almost nothing to build. You need a box, a transparent top, and soil. The box holds heat. The top lets light in and traps warmth. That’s the entire system.
- Wooden frame: Build from untreated 2×12 boards or reclaimed wood. Creates a four-sided box without a bottom, sitting directly on soil to access ground heat.
- Old windows or clear polycarbonate: Repurposed windows are free if you source them locally. Polycarbonate sheets cost fifteen to thirty dollars and last five years minimum.
- Soil base layer: Fill the frame six to eight inches deep with compost or potting soil. Acts as thermal mass that absorbs day heat and releases it at night.
- Hinged or removable top: Mount the transparent cover on hinges for easy access. Design it to open during high heat to prevent seedlings from cooking.
- Location against a south or east wall: Position frames where they receive six to eight hours of direct sun. Walls reflect additional heat into the frame on cold nights.
Most people buy expensive seed-starting kits before testing whether they actually need them. A cold frame lets you validate the concept with ten dollars of materials and labor you already have.
Regulate Temperature Without Electricity
Temperature swings kill seedlings faster than most growers realize. The real problem isn’t cold at night—it’s that soil temperature fluctuates thirty to forty degrees between sunrise and sunset inside an unvented frame. You need thermal regulation, not just insulation.
A water-filled container inside the frame absorbs excess heat during the day and releases it during temperature drops at night. Dark plastic jugs or old milk containers work. Fill them with water and position them on the north side of the frame so they don’t shade seedlings. This acts as a heat battery. One gallon of water buffers roughly four square feet of frame space by five to ten degrees.
Ventilation is where most setups fail. Crack the top open on days above fifty-five degrees. Venting removes moisture buildup that causes damping off—the fungal disease that collapses seedling stems at soil level. Close the frame before dusk when temperatures drop. This daily cycle requires two minutes of attention but prevents ninety percent of seedling losses.
The Seed Starting Micro Climate Protocol
Heat And Humidity For Germination
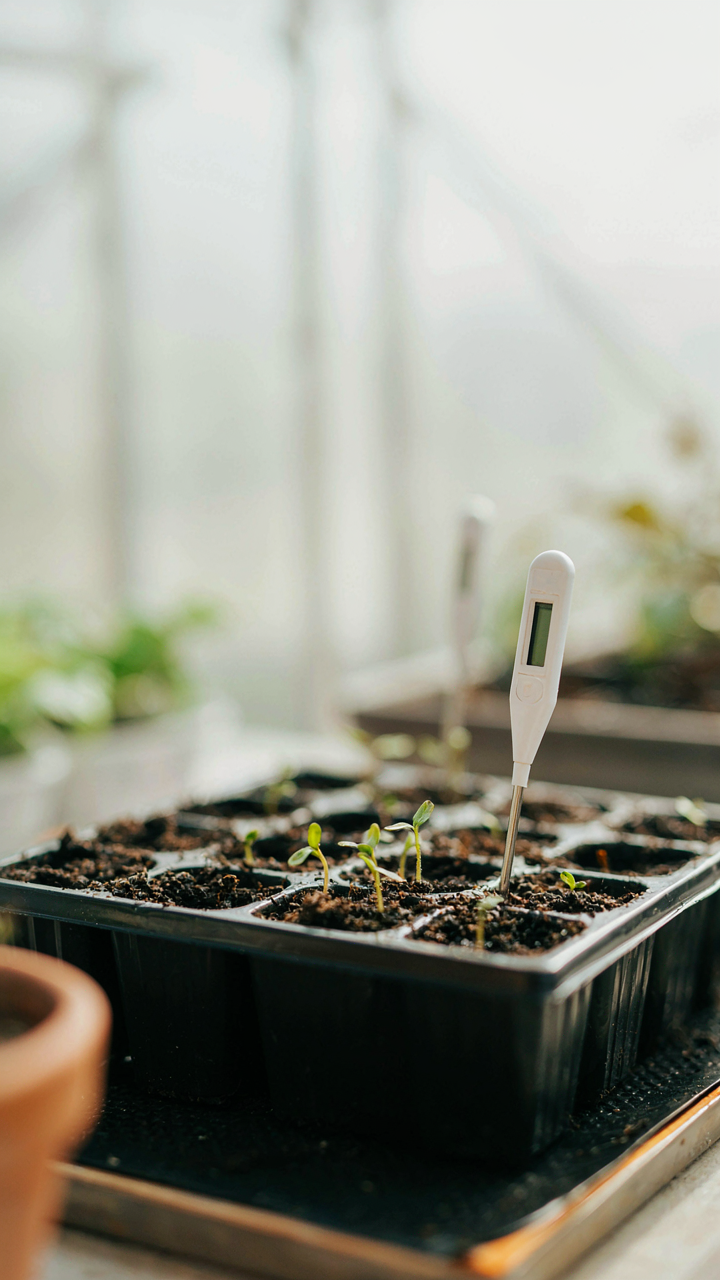
You want this section to work because you’re tired of dead seeds and wasted money. Here’s what actually happens: germination is a thermodynamic process, not magic. Seeds need specific temperature ranges to activate enzymes that break dormancy. Your greenhouse isn’t just a box—it’s a thermal battery. Too cold and nothing happens. Too hot and you cook the embryo. The mechanism is simple: soil temperature, not air temperature, triggers germination.
Most seeds germinate between 65 and 75 degrees Fahrenheit. Bottom heat accelerates this. A seedling heat mat under your trays creates a microclimate that the air temperature alone cannot achieve. Humidity matters because germinating seeds need moisture contact with soil particles, but not waterlogging. Greenhouse plastic traps this moisture naturally. The real protocol: measure soil temperature with a thermometer, not guesswork. If your greenhouse stays above 50 degrees at night and below 80 during the day, you’re in the window. Add a heat mat only if your soil stays below 60 degrees consistently.
Stopping Damping Off Before It Starts
The common advice about damping-off is incomplete garbage. You hear “use sterile soil” and “don’t overwater.” Both true. Both useless if you miss the actual cause. Damping-off is a fungal infection that thrives in three conditions: standing moisture, poor air circulation, and temperature swings. You control all three. It’s not about the soil being dirty—it’s about creating conditions where fungi outcompete your seedlings.
Sterilized seed-starting mix prevents the spores from being there initially, but fungus spores exist everywhere in the air. Prevention comes from airflow and drying cycles. Run a small fan on low speed inside your greenhouse for two to three hours daily. This keeps leaf surfaces dry and prevents the film of standing water where fungi colonize. Water seedlings in the morning only. This gives the soil surface hours to dry before nightfall when fungal activity peaks. Check soil moisture by touching it, not by appearance—overwatering happens because people see dry topsoil and panic.
Beyond Rustic Greenhouses: Leverage Environmental Control
How Heat Retention Actually Works
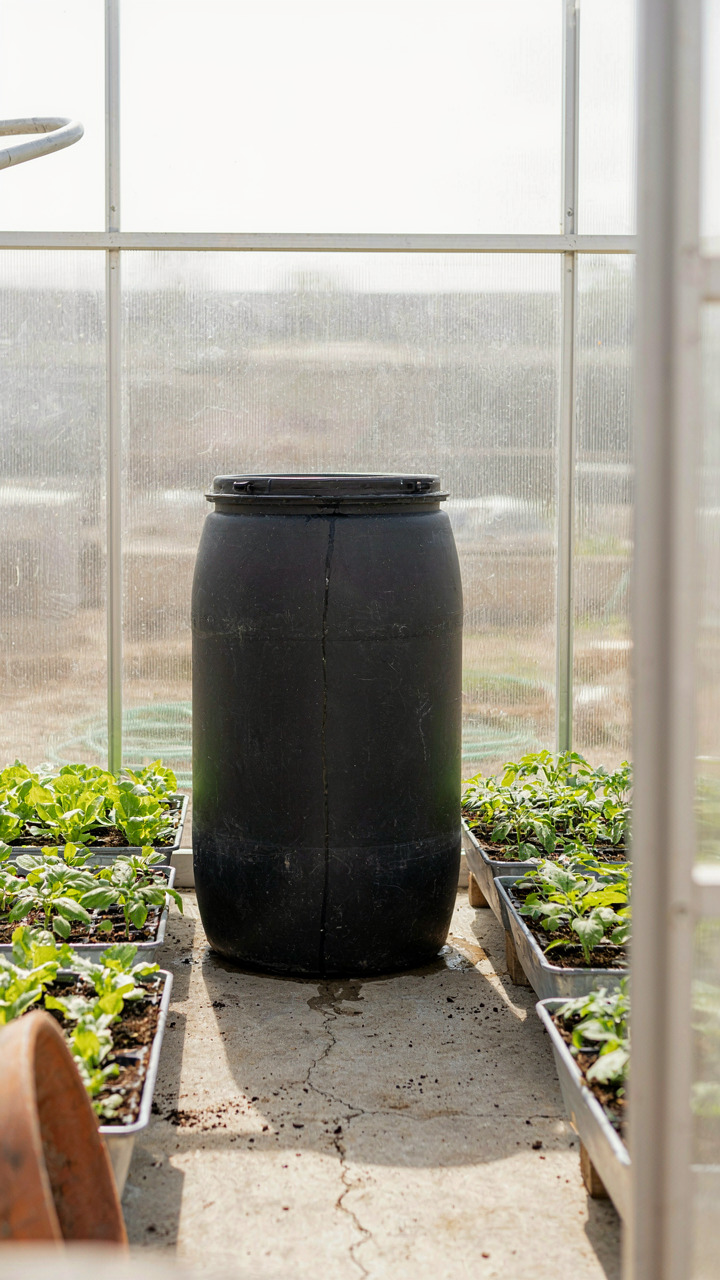
You want a greenhouse that feels like you engineered something instead of just buying plastic. Here’s the mechanism: heat retention is a physics problem, not a gardening problem. Thermal mass absorbs solar radiation during the day and releases it at night. The greenhouse envelope traps this energy by preventing convection. Water, stone, or soil inside your structure stores more heat than air alone. Without deliberate thermal mass, your seedlings freeze the moment the sun sets.
Most beginners skip this step because it feels optional. It’s not. A 55-gallon drum filled with water positioned where direct sun hits it will raise your nighttime temperature 5 to 10 degrees Fahrenheit. Paint it black to increase absorption. The water releases heat slowly over 12 hours. Polycarbonate or double-layer plastic walls reduce heat loss through the envelope itself. Single-layer plastic loses heat three times faster. Position your thermal mass where it receives unobstructed sunlight from 9 AM to 3 PM for maximum charge and discharge cycles.
Airflow Movement Prevents The Rot Trap
Fungal and bacterial disease spreads in stagnant, humid air. Biology teaches us that pathogens exploit stable environments. In greenhouse terms, that’s your “disease vector”—stagnant humidity creates the exact conditions seedling pathogens need to colonize. Still air allows moisture to accumulate on leaf surfaces. Wet leaves develop damping off, powdery mildew, and root rot within days.
Install passive vents at the base and ridge of your structure. Hot air rises, pulling cool air through lower vents. This creates continuous circulation without electric fans. If your greenhouse runs 8 feet by 10 feet or larger, add one small oscillating fan on low speed during humid periods. Run it for 30 minutes after watering, then shut it off. The goal is movement without drying plants faster than their roots can absorb water. Measure humidity with a cheap digital meter. Keep it between 50 and 70 percent. Above 75 percent, disease accelerates exponentially.
The Minimalist Greenhouse Set Up Ideas: Essentials Only

What Actually Makes Seeds Germinate
You want permission to buy less stuff. That’s the real reason you’re reading this section. Here’s the mechanism: seeds need three things—moisture, warmth, and light. Everything else is distraction. From a biological standpoint, think of seed germination like a lock and key system in botany. Your seed has specific trigger requirements. Meet those three variables and the embryo wakes up. Miss one and nothing happens, no matter how much equipment surrounds it.
A basic wooden or plastic frame, transparent covering, soil, containers, and a heat source handle all three triggers. Most beginners buy heating mats with digital thermostats, humidity monitors, grow lights on timers, and ventilation fans before they’ve ever grown a single seedling. The frame and covering alone control humidity through condensation. A south-facing window or basic LED shop light solves light. A seedling heat mat keeps soil between 70 and 75 degrees Fahrenheit for most vegetable seeds. That’s your entire system.
Stop Buying Gadgets You Don’t Need
Common advice says you need a seedling station with shelving, multiple grow lights, humidity domes, soil thermometers, and a misting bottle. This is wrong. People sell equipment based on what sounds professional, not what works. A single clear plastic storage container with drainage holes, placed on a windowsill or under one cheap LED shop light, starts seeds successfully. The plastic lid creates a humidity dome automatically through condensation. You check soil moisture by touch, not with a meter.
Strip the setup down to frame, covering, soil, containers with drainage, and optional warmth. A seed starting heat mat costs thirty to fifty dollars and accelerates germination by roughly one to two weeks depending on seed type. Without it, seeds still germinate—just slower. If your home stays above 65 degrees, skip the mat entirely. Test soil moisture by pressing your finger one inch into the soil. If it feels dry, water from below by placing containers in a shallow tray of water for fifteen minutes, then remove them. This single protocol eliminates the need for misting bottles, moisture meters, and constant guesswork.
Small Backyard Greenhouse: The Strategic Placement Principle

Where Your Greenhouse Faces The Sun
You’re placing a greenhouse to feel like you’ve solved the problem, not to actually solve it. Sun exposure determines seedling quality—weak light creates leggy, worthless plants before you even transplant. This is a physics problem: light intensity and duration are non-negotiable inputs. Your greenhouse orientation isn’t decorative.
Map your site’s sun path using the actual arc of the sun at your latitude during your seed-starting season, typically late winter through spring. South-facing placement in the Northern Hemisphere captures maximum winter and early-spring light when the sun sits low. East-facing works second-best, giving morning warmth and light without afternoon heat stress. West and north faces underperform—don’t place there unless physical constraints force it. Document shadows from trees and structures at 9 AM, noon, and 3 PM during your intended growing window. This takes one hour of observation and prevents months of regret.
Shielding From Wind And Building Heat Retention
Most beginners waste money on heating when the real lever is protecting against heat loss through wind exposure. Wind accelerates evaporation and strips warmth faster than any temperature metric suggests. Thermal mass—solid materials that absorb and release heat slowly—is your insurance policy against overnight temperature swings that kill seedlings.
Position your greenhouse on the leeward side of existing structures or plant dense windbreaks like evergreen shrubs or fences to the north and west. Water barrels, concrete blocks, or stone inside the greenhouse act as thermal mass, moderating temperature swings by 10-15 degrees Fahrenheit on clear days. A windbreak reduces heat loss by 25-30 percent compared to an exposed site. Place thermal mass where morning sun hits it directly, never in shade. This combination—wind protection plus passive heat storage—beats active heating equipment for most backyard operations.
Green House For Plants: The “Set And Forget” Watering System
Capillary Action Does The Work
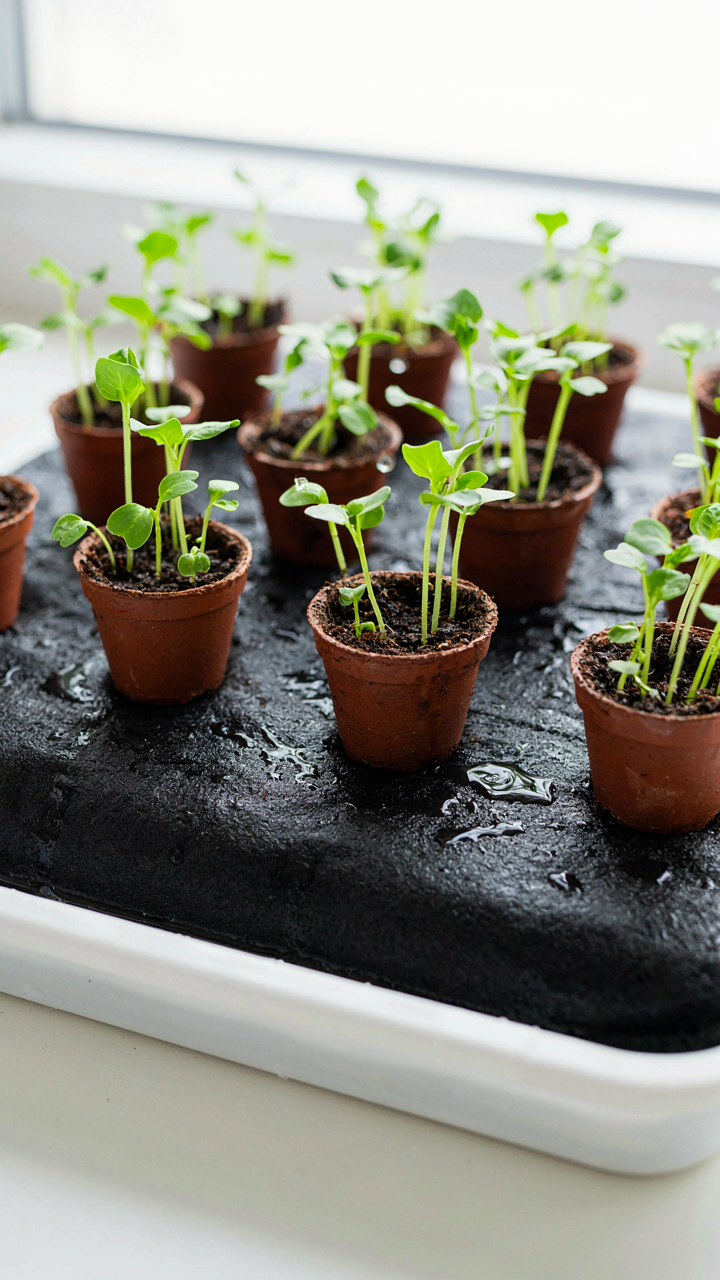
You want automation so you stop thinking about seedlings. That’s not lazy—it’s smart. The mechanism here is capillary action, borrowed from physics: water moves upward against gravity through small spaces in soil. Capillary mats exploit this by sitting in a water reservoir. Roots absorb moisture as needed, not on your schedule.
Self-watering trays work the same way. A wick or mat connects soil to standing water below. The soil wicks up moisture continuously, creating consistent hydration without daily intervention. This is different from hand watering, where you control timing and amount. With capillary systems, the plant controls intake.
Breaking The Wet And Dry Cycle
Most growers kill seedlings by swinging between drowning and drying them out. This happens because hand watering lacks feedback—you either overcompensate or forget. Capillary mats prevent this by maintaining steady moisture at the soil level where roots live. Overwatering stops because roots can’t absorb more than they need. Underwatering stops because water sits available in the mat.
Set your reservoir depth at one to two inches. Check it every two days. Refill when the water level drops. Your seedlings now experience the same moisture conditions daily, which is what they actually need to grow predictably. This consistency beats guesswork every time.
The Seed Starting Greenhouse Illusion: Light Is Not Enough

Temperature Controls Germination Rate
You think light matters most because that’s what you see. Temperature is what actually works. Germination is a biological process driven by enzyme activation, and enzymes respond to heat before they respond to photons. Most seeds don’t care about light until they’ve already cracked open.
Different species have different thermal thresholds. Tomatoes germinate reliably between 70 and 80 degrees Fahrenheit. Below 65, germination slows to a crawl or stops entirely. Above 85, you risk fungal infection and weak seedlings. The mechanism is simple: warmth triggers metabolic processes. Get the soil temperature right, and seeds pop. Get it wrong, and light becomes irrelevant because nothing’s happening underground.
Light Spectrum Builds Structural Strength
Beginners confuse brightness with spectrum. You can have a bright greenhouse and still grow leggy, weak seedlings that snap under their own weight. The issue isn’t lumens, it’s wavelength. Plants use red and blue light differently. Blue light triggers compact, sturdy growth. Red light drives photosynthesis but allows stretching.
A greenhouse with only natural window light skews toward red wavelengths, especially in winter. This produces tall, thin stems searching for more light. Supplemental grow lights matter, but only if you match the spectrum to the growth stage. Seedlings need blue-heavy spectrum for the first three weeks. Add more red once they’re established. The outcome changes when you shift the light spectrum you deliver, not when you simply add more of whatever light is already there.
The Advanced Beginner’s Regimen: From Seed To Transplant

Hardening Off Seedlings The Gradual Acclimatization
You want your seedlings to survive transplant without looking like you failed. The real mechanism here is stress tolerance, borrowed directly from physiology: your greenhouse creates a controlled environment that your seedlings adapt to, and the outside garden is a shock they haven’t trained for. Hardening off builds that tolerance systematically.
Seedlings grown indoors under consistent conditions lack the physical stress that outdoor wind, temperature swings, and direct UV provide. When you move them straight to the garden, they wilt or die because their cell walls haven’t thickened and their stomata haven’t learned to regulate water loss efficiently. Hardening off forces these adaptations before permanent transplant happens.
- Start 7 to 10 days before transplant: Move seedlings to a sheltered outdoor spot with partial shade for 2 to 3 hours daily, then bring them back inside.
- Increase exposure daily: Add one hour of outdoor time each day, and gradually introduce direct sunlight in the final three days.
- Monitor soil moisture closely: Wind and sun dry containers faster outside. Water seedlings before moving them and check soil when they return.
- Watch for purple or reddish foliage: This signals cold stress. Pull plants back indoors if temperatures drop below 50°F at night during hardening.
- Use a cold frame or low tunnel: Position seedlings inside an unheated structure for partial protection while they acclimate to outdoor conditions.
The common mistake is rushing this phase. People think two days outside is enough. It’s not. Your seedlings need time to thicken their cuticles, strengthen their stems, and adjust their photosynthetic machinery to unfiltered light. Skip the gradual approach and you’ll lose 30 to 50 percent of your seedlings to transplant shock within a week of planting.
Timing Transplants For Maximum Garden Shock Reduction
Most gardeners time transplants by the calendar. That’s lazy and wrong. The actual lever is soil temperature, not air temperature. Seeds germinate and seedlings grow on a biological clock set by soil warmth, not the date you marked on your kitchen calendar.
Soil temperature controls root development and nutrient uptake. If you transplant seedlings into cold soil, their roots stop growing even if air temps are warm. The seedling sits there, stunted, vulnerable to disease and pests, while you assume it’s adjusting. You need a soil thermometer, not a guess. Most cool-season crops transplant when soil hits 50°F minimum. Warm-season crops need 60°F or higher. Check soil temperature three to five days in a row before transplant to confirm stability, not a single warm day.
The second timing variable is seedling age. Transplant too early when true leaves are still forming, and the plant lacks energy reserves to establish roots. Transplant too late when the seedling is root-bound and stressed, and recovery takes weeks. The optimal window is when seedlings have two to three sets of true leaves and fill their cells without circling roots. This varies by species and light conditions in your greenhouse, so observe your specific plants, not generic advice. Measure soil temperature daily, then transplant when soil stays warm enough and your seedlings reach the right developmental stage.
Beyond Instagram: The Only Metrics That Matter
What Actually Determines Success
You want proof your greenhouse works because showing beautiful seedlings online validates the investment. Here’s what matters instead: germination rate and seedling vigor are the only outputs that predict whether your plants survive transplant and produce. Aesthetics are noise. A greenhouse that produces weak, leggy seedlings under poor light conditions will fail regardless of how clean the staging looks.
Germination rate measures the percentage of seeds that sprout within the expected window for that species. Seedling vigor measures stem thickness, leaf color, root development, and the plant’s ability to recover from stress. Both are observable, testable, and tied directly to transplant success. Track these two metrics across every seed batch and greenhouse condition change you make. This generates the data that separates guessing from knowing.
Iteration Beats Aesthetics Every Time
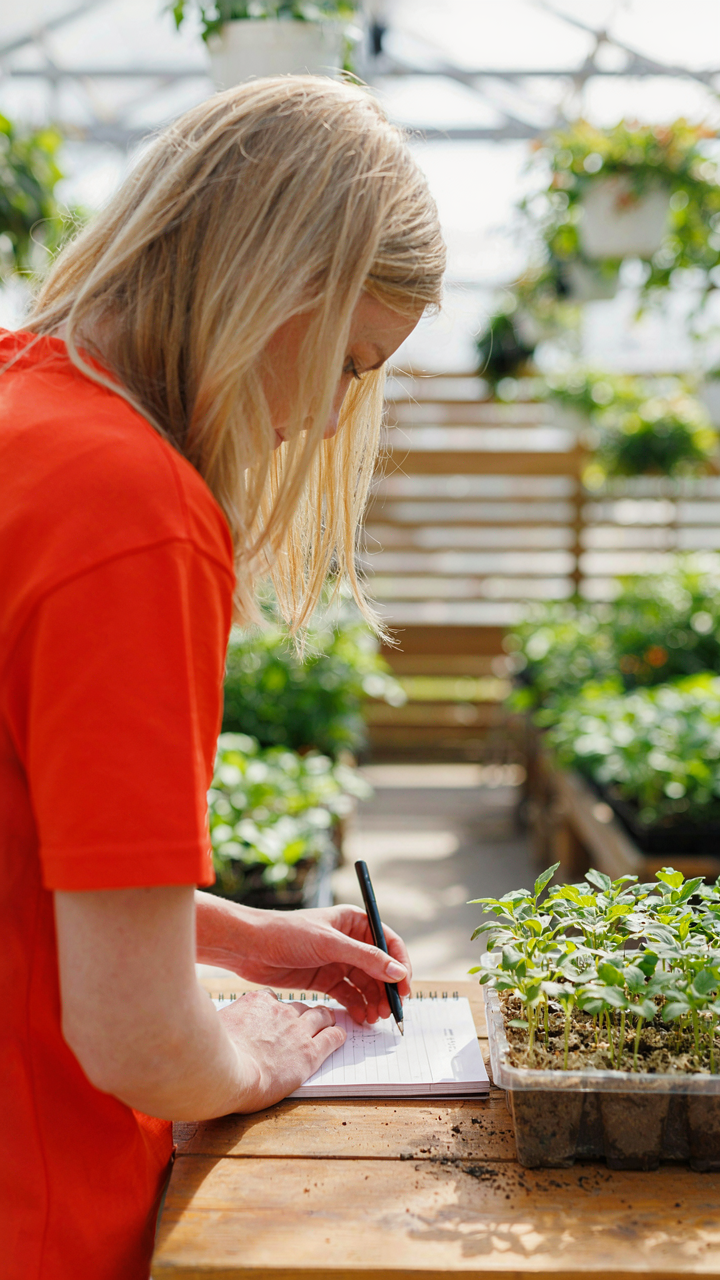
The common advice is to keep a garden journal. That’s incomplete. You need a system that isolates variables so you can see what actually changed your results. Biology demands this kind of precision. In agricultural systems, we call this “trial design”—running controlled experiments where one variable shifts while others stay constant.
Document seed variety, sowing date, soil mix, light hours, temperature range, humidity, and water frequency for each batch. When germination rate drops, you’ll see which variable shifted. When seedlings strengthen, you’ll know exactly why. Build a simple spreadsheet or notebook template. Review results every two weeks. The greenhouse that improves by one percentage point in germination rate per month compounds into dramatically better yields by season’s end. That’s the real competitive advantage.
The Real Obstacle Isn’t Your Green Thumb, It’s Your Addiction To Overcomplicating Simple Systems

Most beginners kill seedlings not because they lack knowledge but because they add too many variables. A greenhouse for seed starting works because it removes decisions, not multiplies them. Stop researching humidity sensors and misting schedules. Buy a basic cold frame or plastic shelf cover today. Start seeds tomorrow morning. You don’t optimize a system you never built, and you don’t grow plants you never planted.



