Introduction
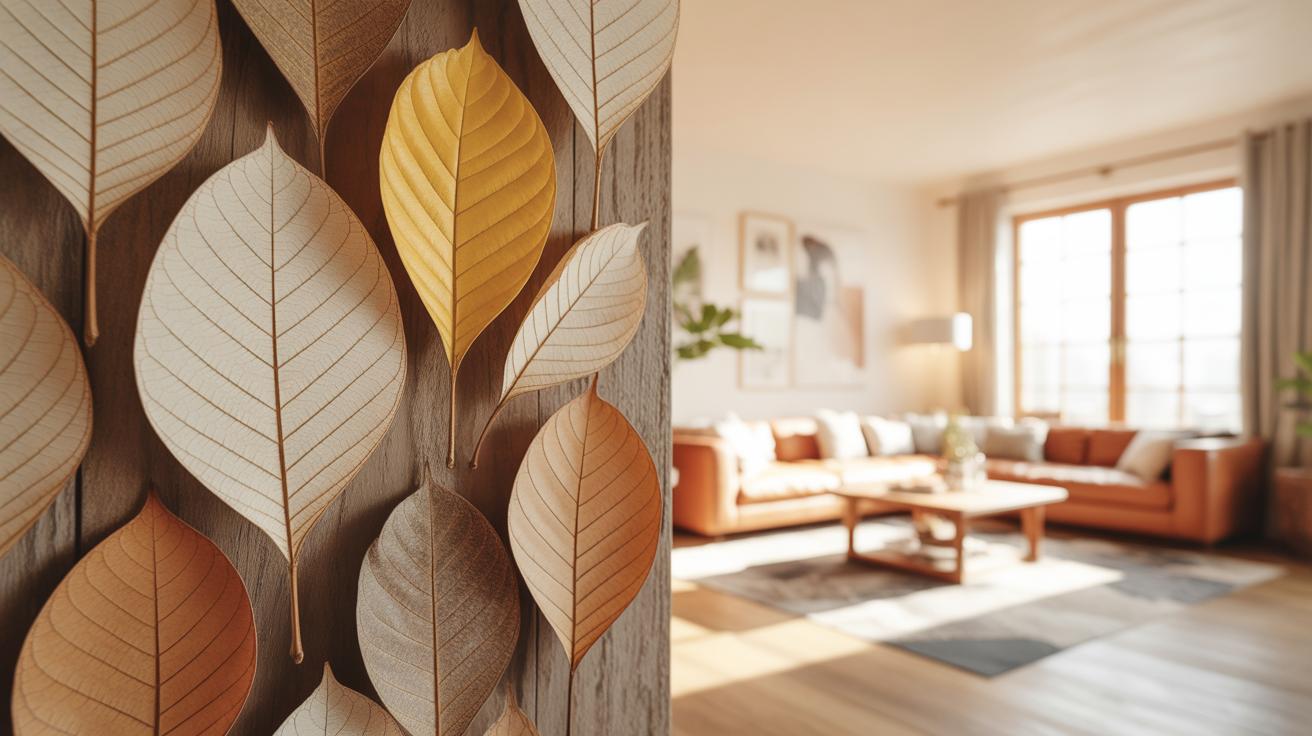
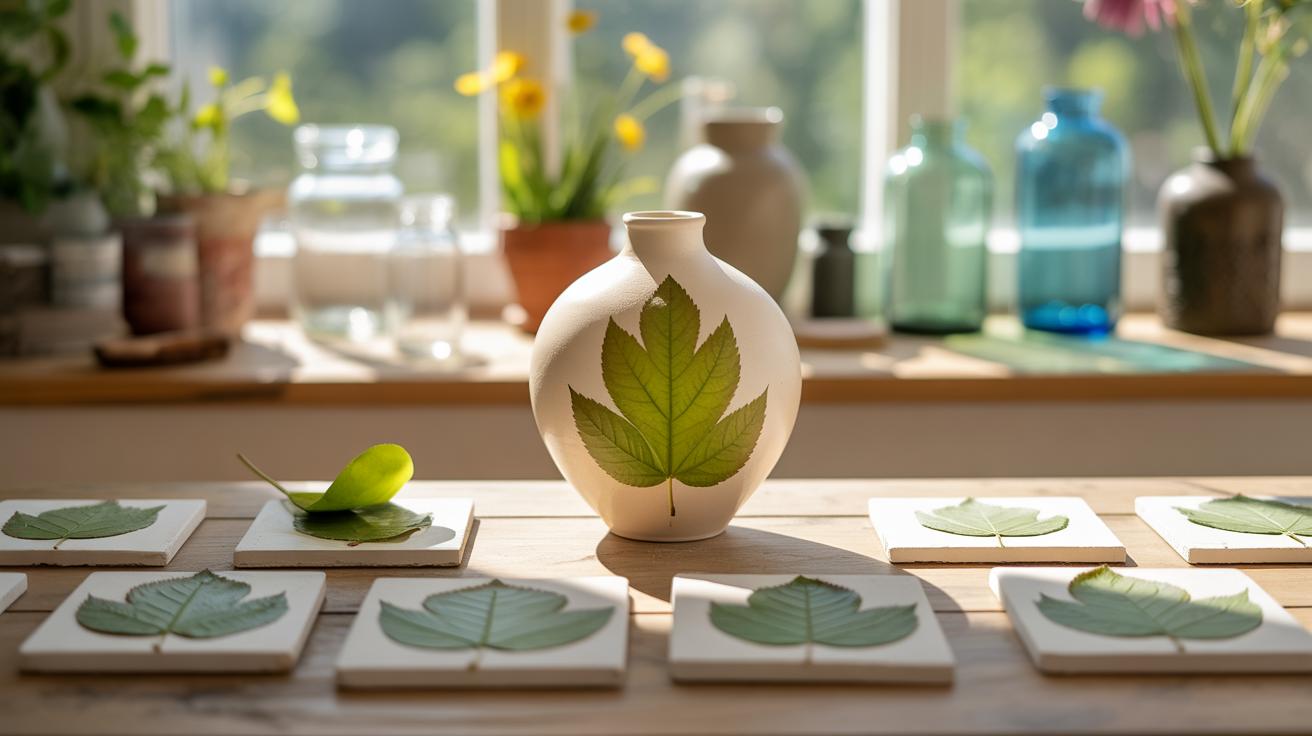
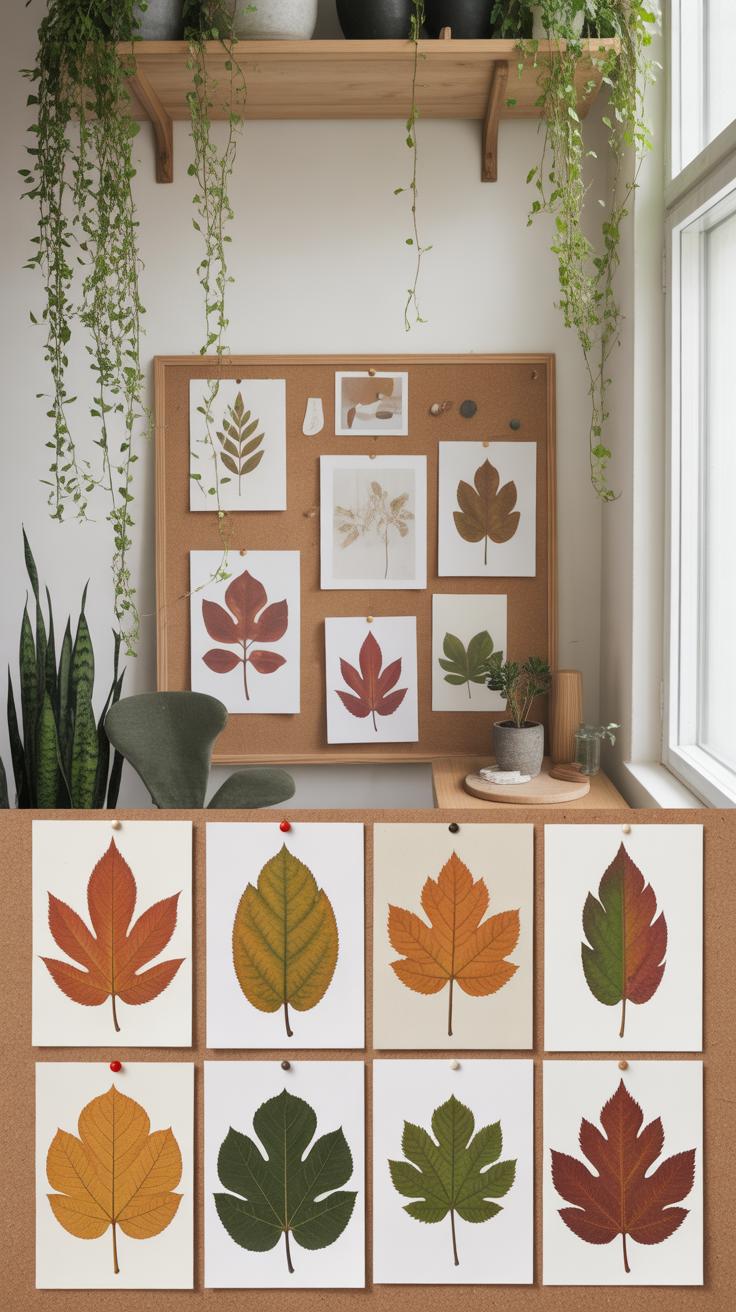
Rustic Elegance Dry Leaf Art Wall Display offers a unique way to bring natural beauty indoors. This art form uses dried leaves as the main material to create stunning wall decorations. These pieces bring a touch of nature’s simplicity and charm into any space.
In this article, you will learn how dry leaf art is made, what materials you need, and how to create your own wall display. You’ll discover tips on selecting leaves, preserving them, and styling your wall art for a rustic, elegant look. Let’s explore how you can use dry leaf art to decorate your home beautifully.
Understanding Dry Leaf Art
Dry leaf art involves using naturally fallen or collected leaves that have been dried and preserved, transforming them into creative wall displays. It’s not just about gluing leaves onto paper; it’s an exploration of texture, shape, and the subtle variations in color that happen as leaves dry. The practice has roots that are a bit scattered — from traditional folk crafts in various cultures to more modern decorative arts that emphasize natural, sustainable materials.
At its core, dry leaf art emphasizes the natural beauty of leaves themselves. You might find styles ranging from intricate leaf mosaics to simple single-leaf displays where the leaf’s veins and edges tell a story. Sometimes artists paint or emboss leaves before arranging them, adding layers of detail while still celebrating the organic elements.
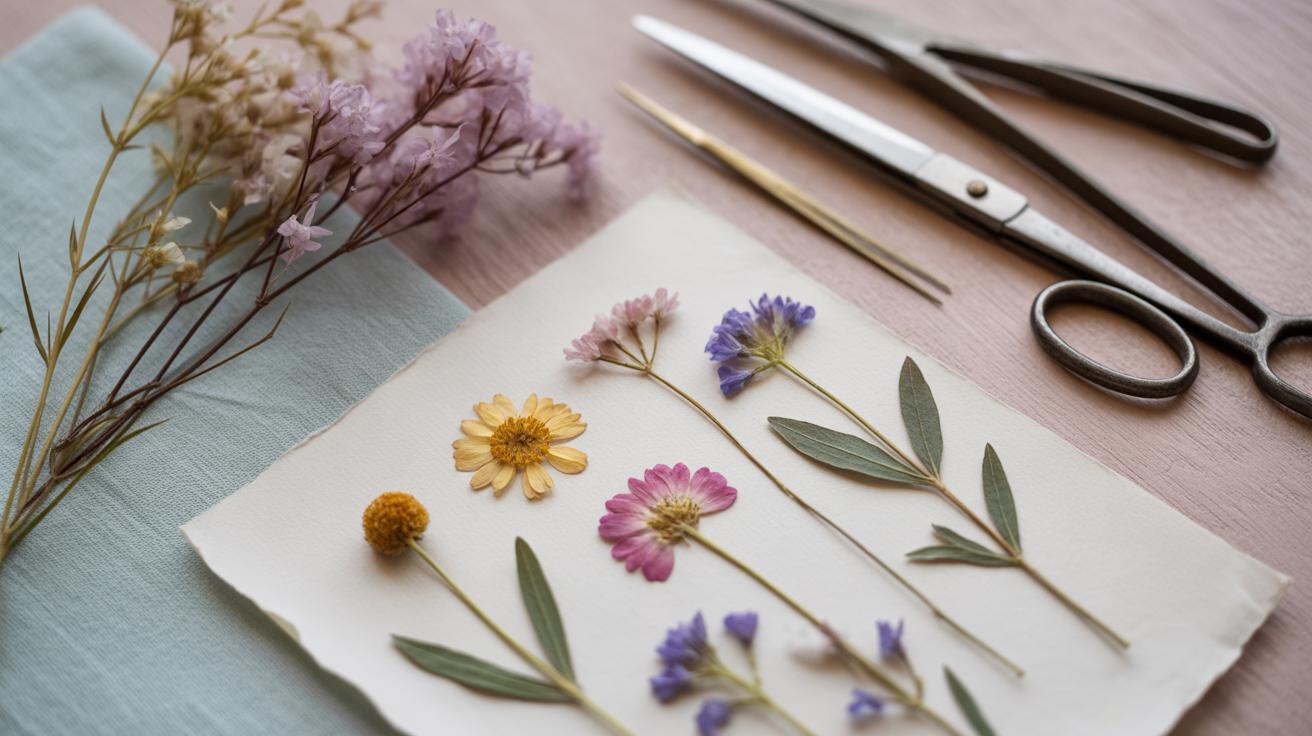
To begin, you need more than just a collection of leaves. Common materials include:
- Dried leaves: Different types, sizes, and colors depending on your vision.
- Adhesives: Clear-drying glue or sprays that won’t discolor your leaves.
- Frames and backing: Usually glass frames to protect the delicate leaves, with a sturdy backing like cardstock or wood.
- Tools: Tweezers, scissors, brushes, and sometimes a press for flattening leaves.
Working with dry leaves requires patience because they’re fragile and sometimes unpredictable. Still, the results often feel warm and grounded—bringing the outdoors inside in a way paint or prints simply can’t replicate. Does the appeal lie more in the textures or the fleeting nature of leaves? Maybe it’s both, but that’s exactly where dry leaf art holds its quiet charm.
Selecting the Right Leaves

Choosing leaves for dry leaf art can feel surprisingly personal. Not every leaf works well, and the differences in shape, color, and texture truly affect how your display will turn out. For instance, leaves with clear, defined shapes usually hold up better when dried—they don’t just flatten into a dull blob. Oval or heart-shaped leaves have a classic charm, while more jagged edges, like maple or oak, add intricate details that catch the eye.

Color is another tricky factor. Bright autumn leaves, especially reds and yellows, often keep some of their richness after drying, though they fade a bit. I’ve noticed that leaves harvested too early tend to lose their vibrancy, turning brown instead of keeping that warm glow. Texturally, waxy leaves, like magnolia, resist curling and cracking, which might suit you if you want a more polished look.
When it comes to types of leaves, broad leaves generally create a stronger visual impact on your wall. But you might want to mix in colorful fall leaves for contrast—something like a crisp red maple combined with a wide, matte green sycamore works nicely. It really depends on whether you want subtlety or boldness in your artwork.
Timing and location are often overlooked. Collect leaves on dry days; moisture invites rot and makes drying tougher. Late morning can be a good time—they’ve dried a bit from the morning dew but aren’t parched. Parks and wooded areas usually have more diverse selections, but watch for pollution or fungus, which can damage leaves quickly. Sometimes, leaves picked right off the tree hold their shape better than those found on the ground, even when they look a bit less ‘perfect.’
Have you noticed how some leaves, despite their flaws, bring character to a piece? Maybe it’s that slight curl or a tiny hole. So, don’t stress too much about every detail—you can let nature’s imperfections surprise you.
Preparing Leaves for Art
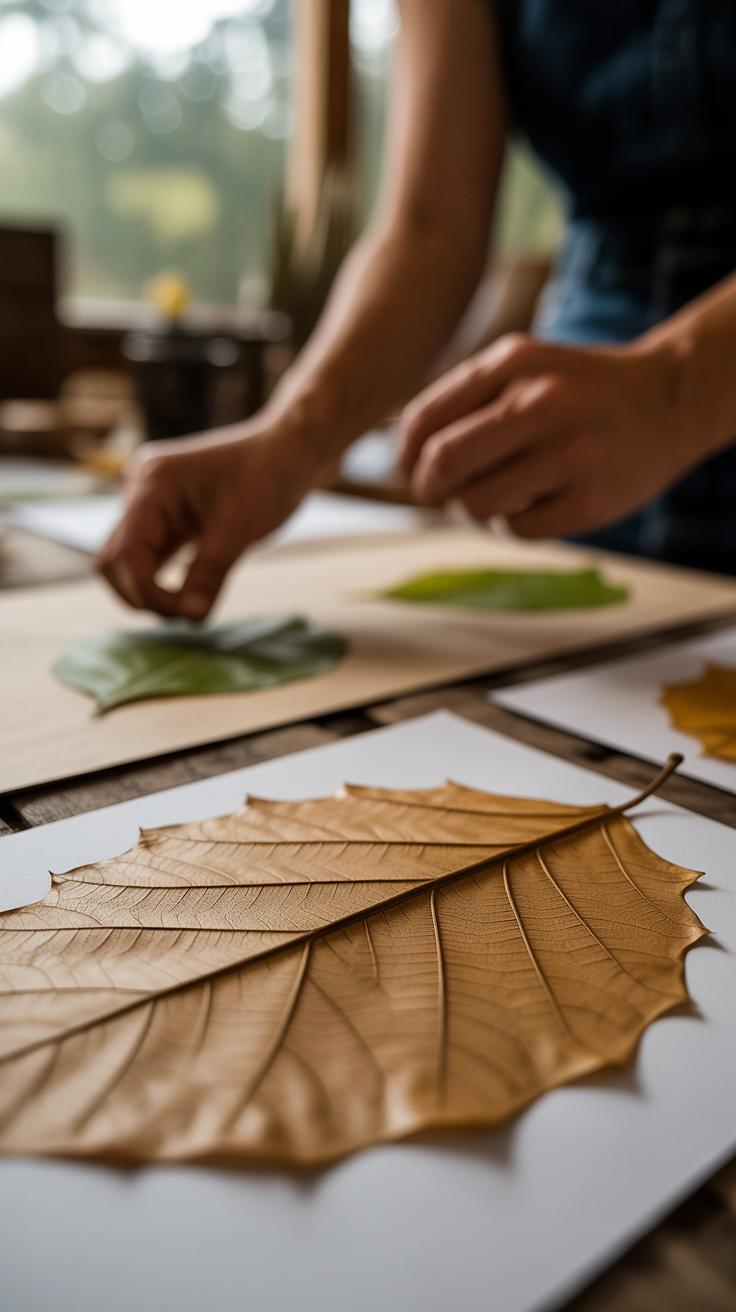
Getting leaves ready for your dry leaf art takes a bit of patience and care. The goal is to keep them as close to their natural color and shape as possible, which can be tricky since leaves tend to curl or fade once picked.
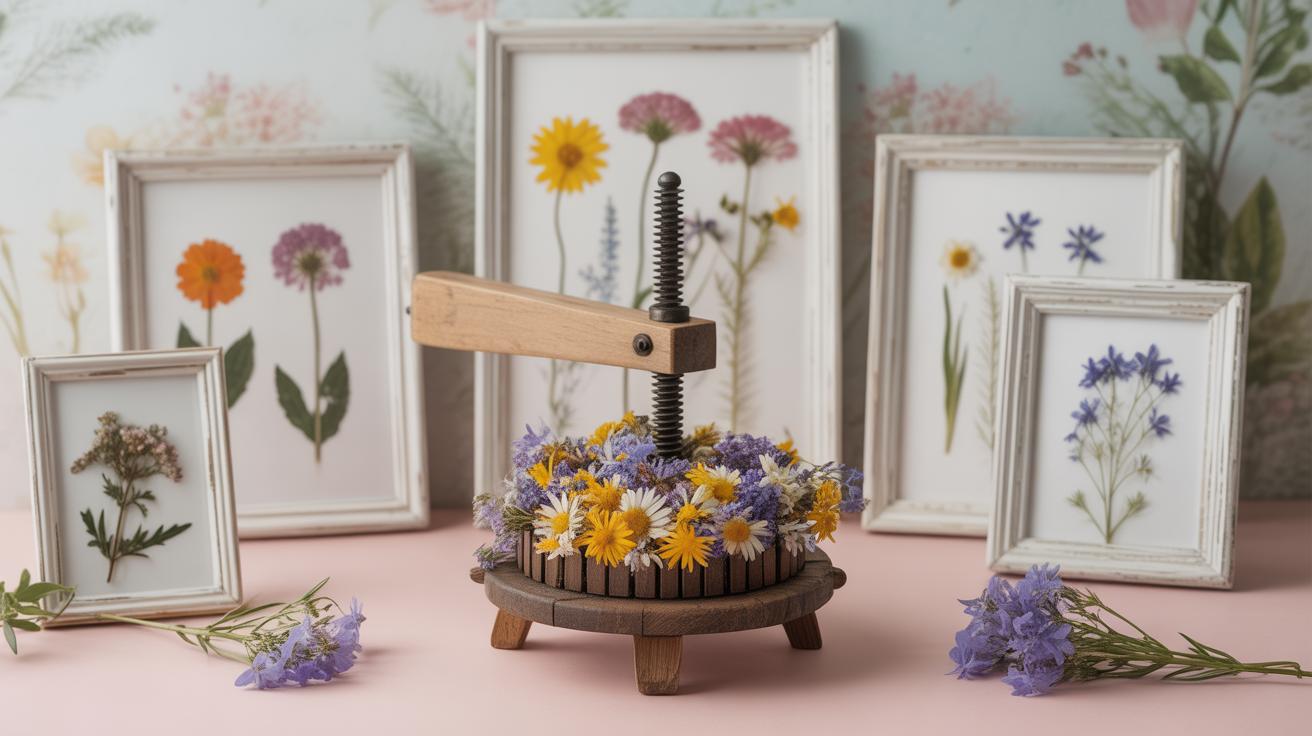
You’ll want to dry leaves soon after collecting them. One common way is pressing: place the leaves between sheets of absorbent paper, then press them inside a heavy book or under a flat weight. This method flattens the leaves nicely and usually retains a good amount of their original color. I’ve found it helps to change the paper every couple of days to prevent moisture build-up.
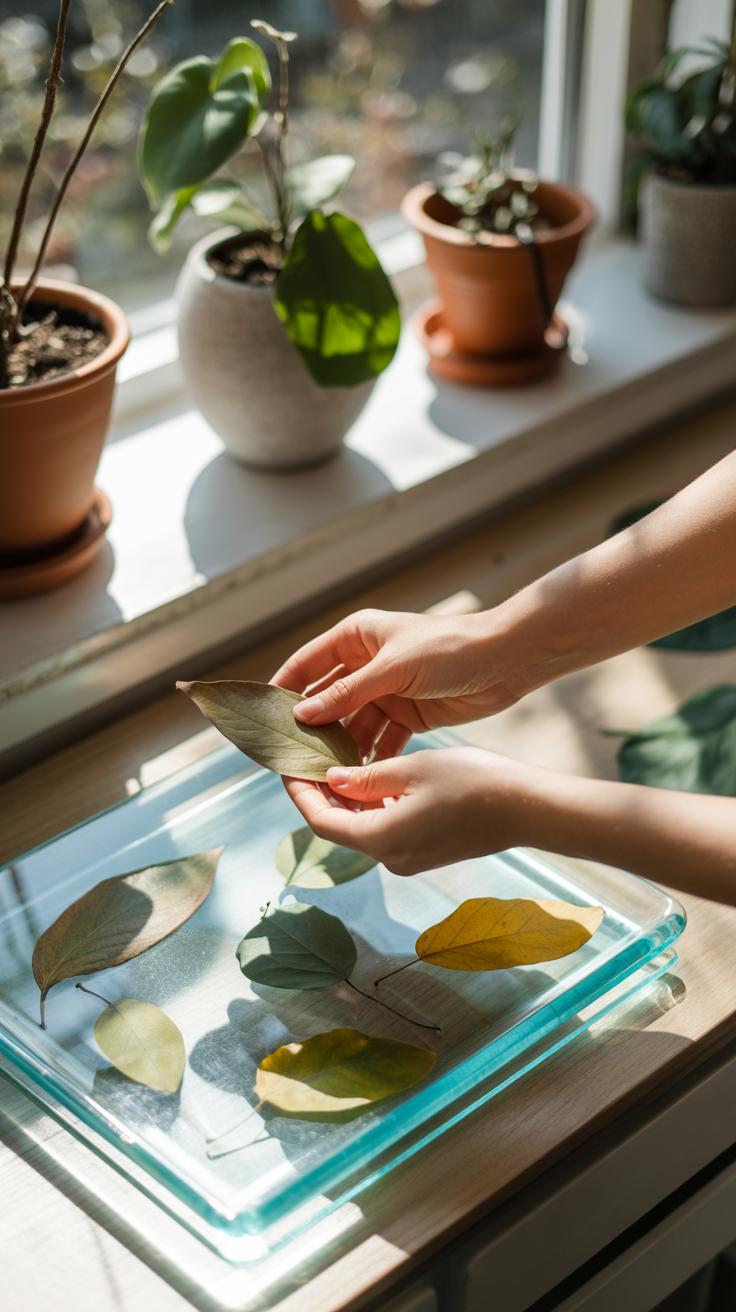
Air drying is another route—simply lay leaves out in a single layer on a dry surface away from direct sunlight. It’s slower and might not preserve the vibrant colors as well as pressing, but the leaves keep more of their texture and 3D form. Some people use a fan or gentle heat to speed it up, but I tend to leave them be for a few days and check regularly.
Once dry, preserving the leaves is key to keep your art looking fresh. Light sprays of clear acrylic or a specialized botanical sealant help seal in color and shield the leaves from crumbling. You might try gentle brushing too, but spraying feels more even. Just be sure to test on a spare leaf first—the coatings sometimes darken the leaf slightly or make it shiny, which may or may not be what you want.
Can dried leaves really last for years without losing their charm? With careful preparation, yes, but it’s a bit of trial and error. What works best might depend on your climate, the type of leaf, or even your display environment. So, you might find yourself tweaking techniques as you go, which is—and can be—a bit part of the creative process.
Designing Your Dry Leaf Art
Planning Your Layout
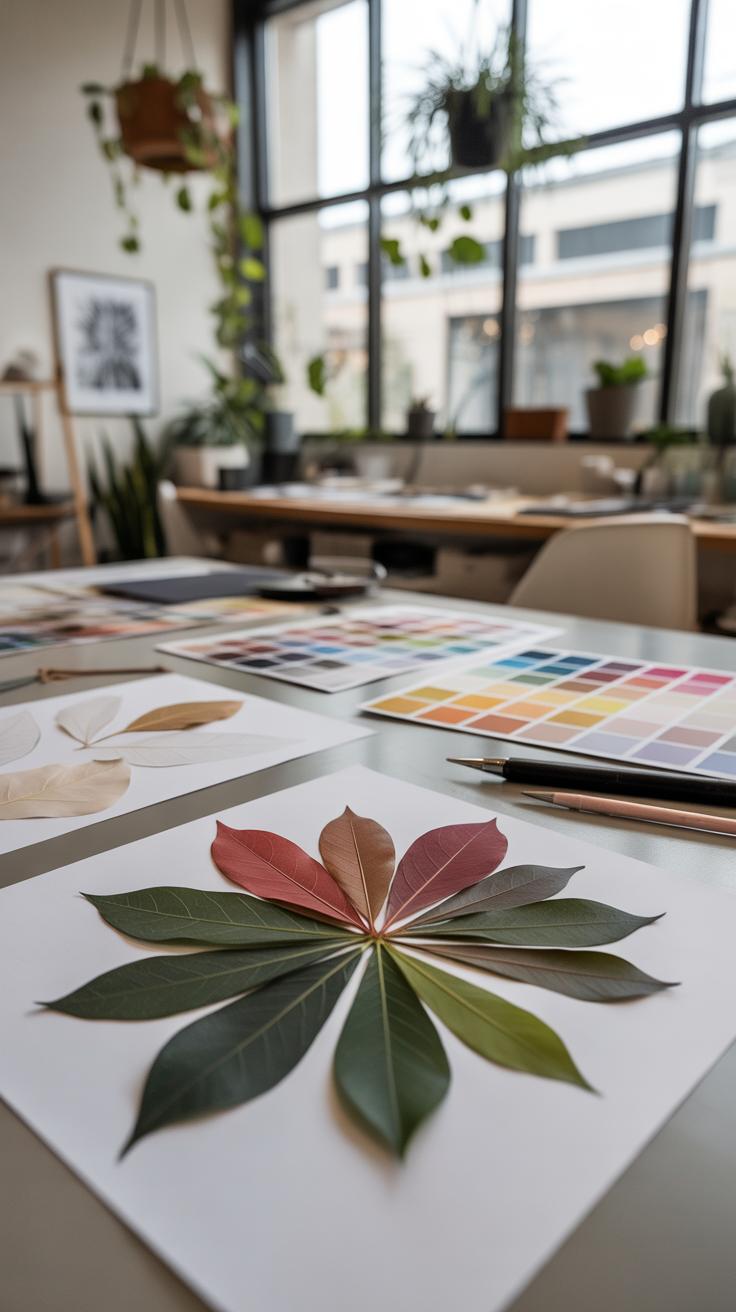
Before you start assembling, take some time to sketch your ideas on paper. Even rough outlines help a lot—don’t worry about being perfect. I’ve found that just doodling different leaf positions sparks new thoughts. Try to think about how the leaves will flow together, where the eye naturally moves, and where you want the focus to be.
Consider spacing. Should leaves overlap, or remain separate? Will you have a center point or a free form? It’s tempting to jump right in. But a simple plan prevents frustration later, especially if your leaves vary in size or color. Sometimes, just rearranging cut-outs can reveal surprising options.
Choosing a Theme
Picking a theme gives your work direction, but you don’t have to lock into it rigidly. Maybe you want something minimal—just a few carefully selected leaves—or perhaps a denser, natural look. You might lean towards autumn tones or a more eclectic mix of shapes and textures.
Think about your space, too. A calming, symmetrical pattern might suit a bedroom, while a bold, chaotic cluster could fit a lively living room. Themes can be as simple as “fall harvest” or as abstract as “textures of nature.” Don’t hesitate to blend ideas, or switch midway if something feels off. It’s your art, after all.
Creating the Wall Display
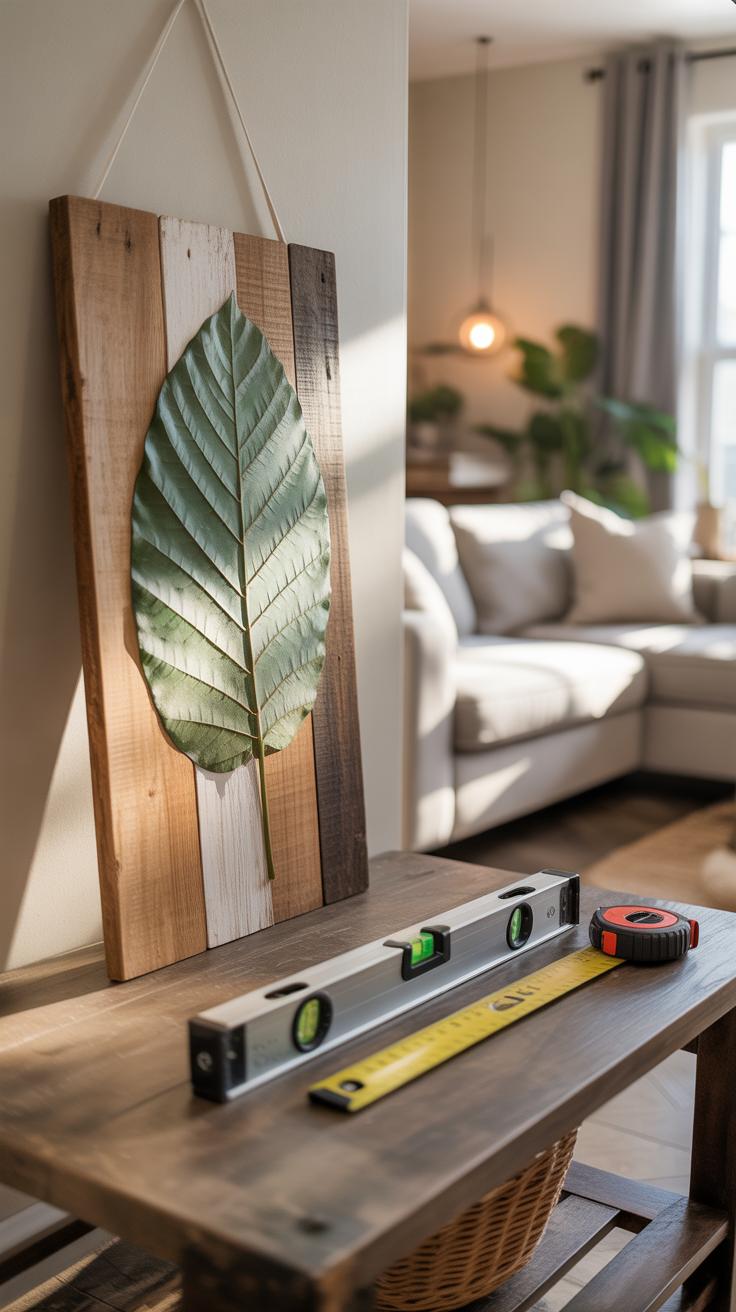
Once you’ve planned your leaf arrangement, it’s time to bring it to life on a sturdy backing. Start by selecting a base that suits your style—wooden panels offer warmth and texture, foam boards give lightweight support, and canvases bring an artistic touch. Each choice affects not just the look but how you’ll attach the leaves.
Attaching leaves securely is tricky; leaves can be fragile and prone to curling or cracking. You might try clear-drying glue applied sparingly—too much, and the leaf darkens or wrinkles. Double-sided tape works well for smoother, flatter leaves but might lose grip over time. For a different approach, fine floral wire threaded carefully through the leaf’s veins holds it steady without damage, though it requires patience and a steady hand.
Assembling your display requires patience. Place a leaf, secure it lightly, then adjust if needed before final gluing or wiring. Small weights, like glass pebbles or clipboards, can keep leaves flat as the glue dries. Don’t rush this; the drying time matters for the leaf’s shape and color retention.
Finally, framing—choose frames that offer both protection and aesthetic appeal. Glass frames shield from dust and humidity but can cause reflections that distract. Shadow boxes give depth and let leaves keep their natural contours. Consider the background color too; a dark matte works well to highlight lighter leaves, while a neutral tone lets vibrant autumnal colors pop. Your choices here affect not only preservation but how viewers interact with your art piece over time.
Styling Your Display in Your Home
Ideal Wall Locations
When deciding where to place your dry leaf art, think about natural light first. Rooms with soft, indirect sunlight work well—living rooms with east-facing windows or bedrooms that receive morning light come to mind. Bright, direct sunlight can fade the natural tones over time, so you probably want to avoid spots right by a south-facing window. But a bit of gentle daylight helps those textures and subtle colors pop.
Hallways can be surprising choices too. They often get overlooked but can offer enough light without overwhelming the piece. And since these art pieces invite close viewing, placing them at eye level in spaces where you linger makes sense—like near seating areas or on a wall opposite your favorite chair.
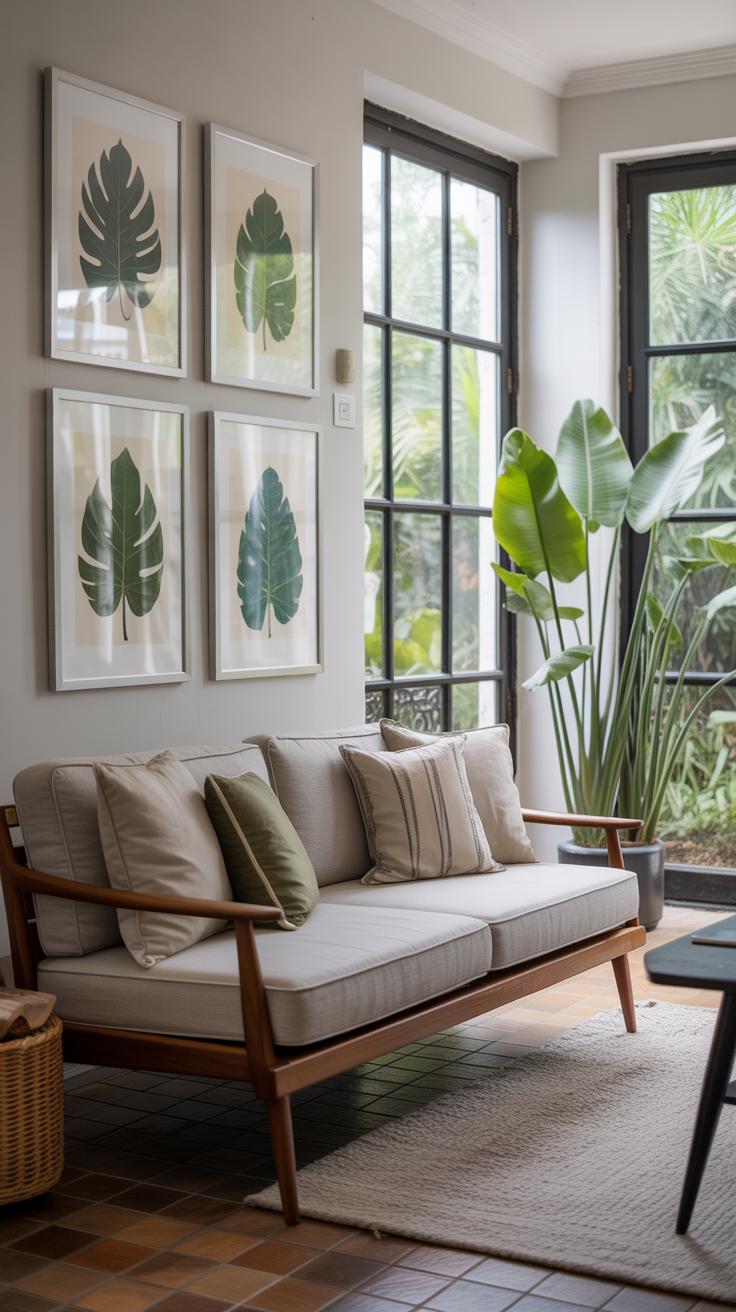
Combining with Other Décor
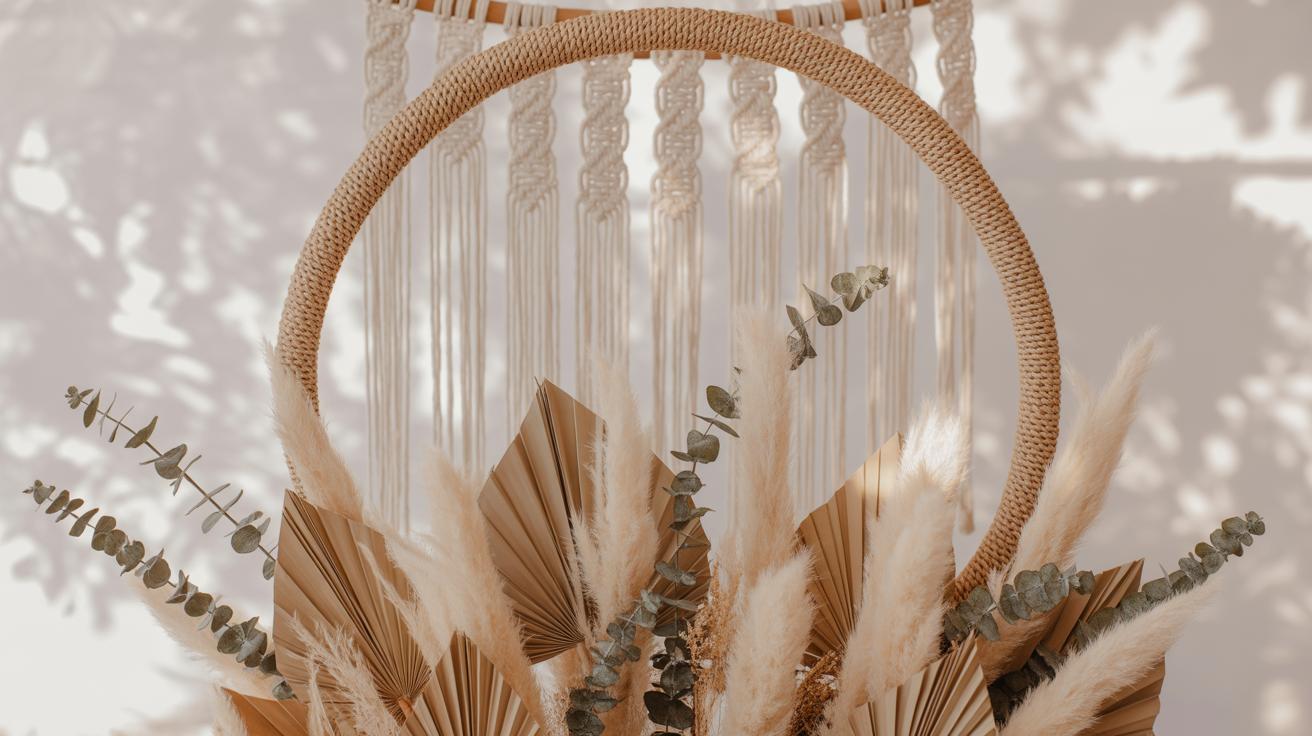
Styling around dry leaf art calls for some care, especially if you already have a lot going on in the room. The natural vibe of the leaves pairs nicely with wooden furniture or woven textiles. Think about grouping your art with simple frames or shelving in neutral tones to let the leaves stand out without feeling cluttered.
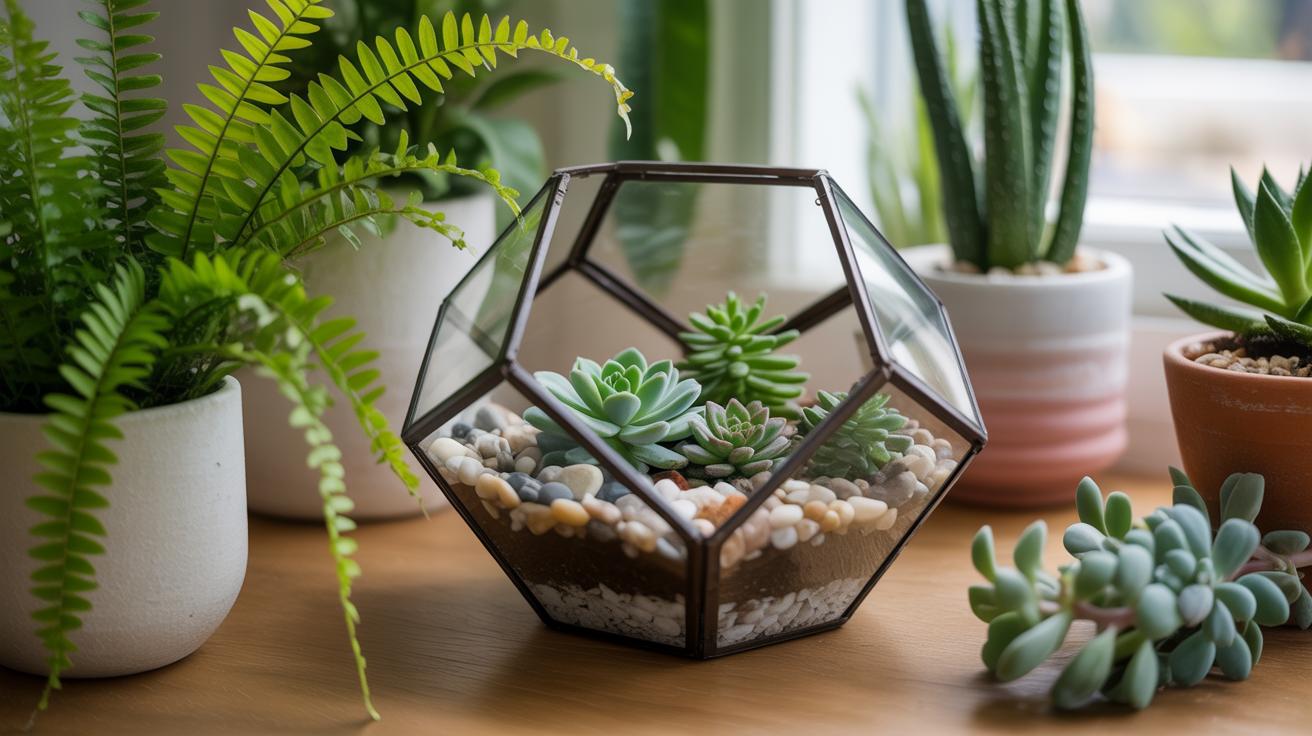
You might want to layer your display with small potted plants or terracotta pieces. It echoes the earthy aesthetic without competing for attention. Oddly enough, mixing metallic accents can also work — a brass lamp or muted gold vase nearby can add warmth without overshadowing the subtle fragility of the leaves.
Also, try to avoid heavy, busy patterns too close to the art. The delicate structure of dry leaves needs some breathing room. Sometimes less really is more, even if that means rearranging a few things. That said, balancing your layout is tricky; don’t stress too much about perfect symmetry. Trust your eye—it’s often the best guide.
Maintaining Your Dry Leaf Art
Taking care of dry leaf art demands a gentle hand and some patience. The leaves are fragile, so cleaning them isn’t as simple as wiping down a canvas. You might be tempted to use a cloth or brush aggressively, but that can easily cause tears or crumbling. Instead, try using a soft, dry paintbrush or a can of compressed air held at a distance. These help remove dust without putting pressure on the delicate surfaces.
Sometimes, you might notice tiny specks that seem stubborn. I’ve found that lightly tapping the art frame upside down can shake loose loose particles, though you have to be careful not to jostle the leaves too much. It’s a bit of trial and error.
Cleaning Tips
Here are a few practical ways to clean without risk:
- Use a soft artist’s brush to gently dust each leaf.
- Compressed air from a small distance can blow away lighter dust.
- A gentle vacuum with a brush attachment on very low setting, held away carefully, might work if you’re cautious.
- Avoid water or any liquid cleaners that can warp or darken the leaves.
Avoiding Damage
Preservation is just as much about environment as cleaning. Dry leaves react badly to sunlight. Direct rays cause fading and brittleness, so placing your art in shaded or indirect light is a wiser choice. You might think a window display is lovely, but over months, the colors can dull significantly.
Then there’s moisture, which is tricky. Even humidity in the air can cause leaves to absorb moisture and eventually get moldy or deteriorate. Keeping the artwork in a climate-controlled room helps, especially in damp or seasonal climates. Avoid spots like bathrooms or kitchens.
Finally, pests can sometimes be a problem, especially in warmer regions. Leaves can attract tiny insects or mites. You might consider a simple deterrent spray around the frame—but not on the leaves themselves—or enclosing the art behind glass. That can stop pests but might create humidity issues, so balance is key.
Exploring Advanced Techniques

Once you’ve got the basics of dry leaf art down, it’s tempting to push a bit further. One way to bring new life to your pieces is by adding paint or markers. You might want to highlight veins or add subtle patterns that don’t overpower the natural texture. Using soft acrylics or watercolor pens works well since they don’t saturate the leaf too much, which can cause curling or cracking. I’ve tried fine-tip markers to outline edges—it adds a delicate frame that draws your eye without shouting.
Another approach is layering leaves to create depth. Think of stacking thinner leaves over thicker ones or placing a few partially overlapping to create shadows and shapes. It’s almost like sculpting with paper, but natural. Sometimes I hesitate about how many layers to add; too many and it looks cluttered, too few and it feels flat. But playing around with placement—trying different angles or textures—can give you surprising effects, a kind of three-dimensionality that pure flat art lacks.
Adding dimension this way invites questions—how much is enough? Should you let some leaves peek out with wear, or keep everything pristine? The balance feels personal. Ultimately, these advanced techniques are not rules but suggestions that encourage experimentation. What’s certain is that your leaf art can become richer when you dare to go beyond just pressing and arranging.
Inspiration and Ideas for Your Next Project
Dry leaf art offers a surprising range of possibilities, especially when you think about seasonal shifts. For instance, autumn’s deep reds, burnt oranges, and golds can inspire warm, cozy designs. Imagine arranging crisp maple leaves around a rustic frame—that almost feels like bringing a bit of the outdoors inside. Spring, on the other hand, invites fresher, lighter palettes. Tender green leaves combined with tiny blossoms can brighten any room with a gentle burst of life.
There’s more than just seasons to consider, though. You might want to try minimalist styles, maybe focusing on the delicate veins of a single leaf, mounted on simple white or neutral backgrounds. Or go for layered compositions, mixing various species and shapes to create both texture and depth.
Personalizing your art adds a unique dimension to these projects. Why not include a favorite photograph or a handwritten quote next to your leaves? It can create a more intimate story—almost like a keepsake or a memory captured in nature’s own script. I once saw a piece where someone included a snippet from a letter alongside pressed leaves, and it just made the whole display feel like a quiet conversation.
Would you want your next piece to reflect a particular feeling, a memory, or maybe just the simple beauty of a season? Trying some of these ideas might help you find your own style—or maybe even surprise yourself a bit along the way.
Conclusions
Dry leaf art wall displays combine creativity and nature to create elegant decorations. They are easy to make and add a calming, rustic feel to your space. Using leaves collected from your surroundings, you can design a unique piece that tells a story of the season and nature’s beauty.
By following simple steps to preserve and arrange dried leaves, you can bring this art into your home. Try your hand at dry leaf art and enjoy the process of making personalized wall displays. It is a rewarding way to connect with nature and decorate your living space.


