Understanding The Fundamentals Of Resin Artistry Tips

Choosing Between Epoxy And UV Resin For Projects
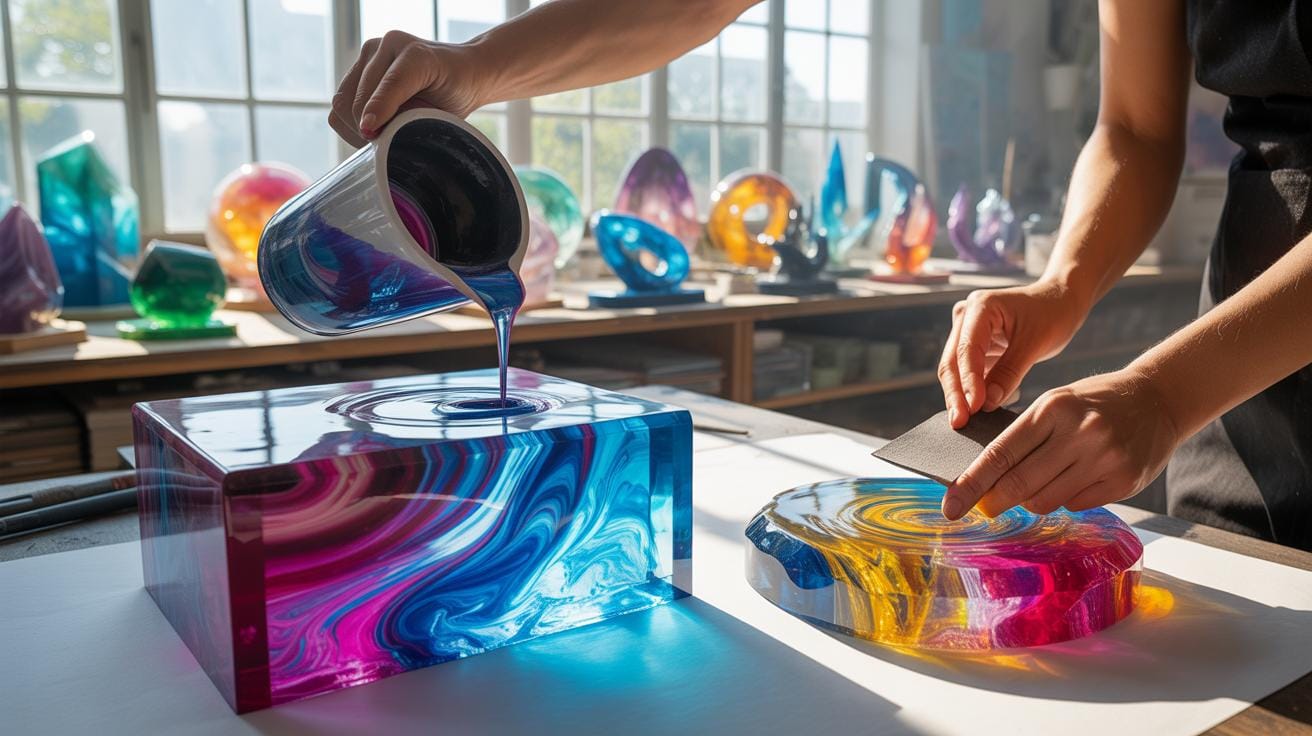
Epoxy resin and UV resin are two main types used in resin artistry. Epoxy resin uses a two-part system that you mix together. It cures over time, usually taking 24 hours or more. UV resin hardens when exposed to ultraviolet light, making it faster. Each type has different strengths and works better for certain projects.
Your choice depends on what you want to create. Epoxy resin works well for large pours and thick layers. It also works for pieces that need time to settle and remove bubbles. UV resin is best for small items and detailed work. It cures in minutes, not hours. Understanding these differences helps you pick the right resin artistry tips for your next creation.
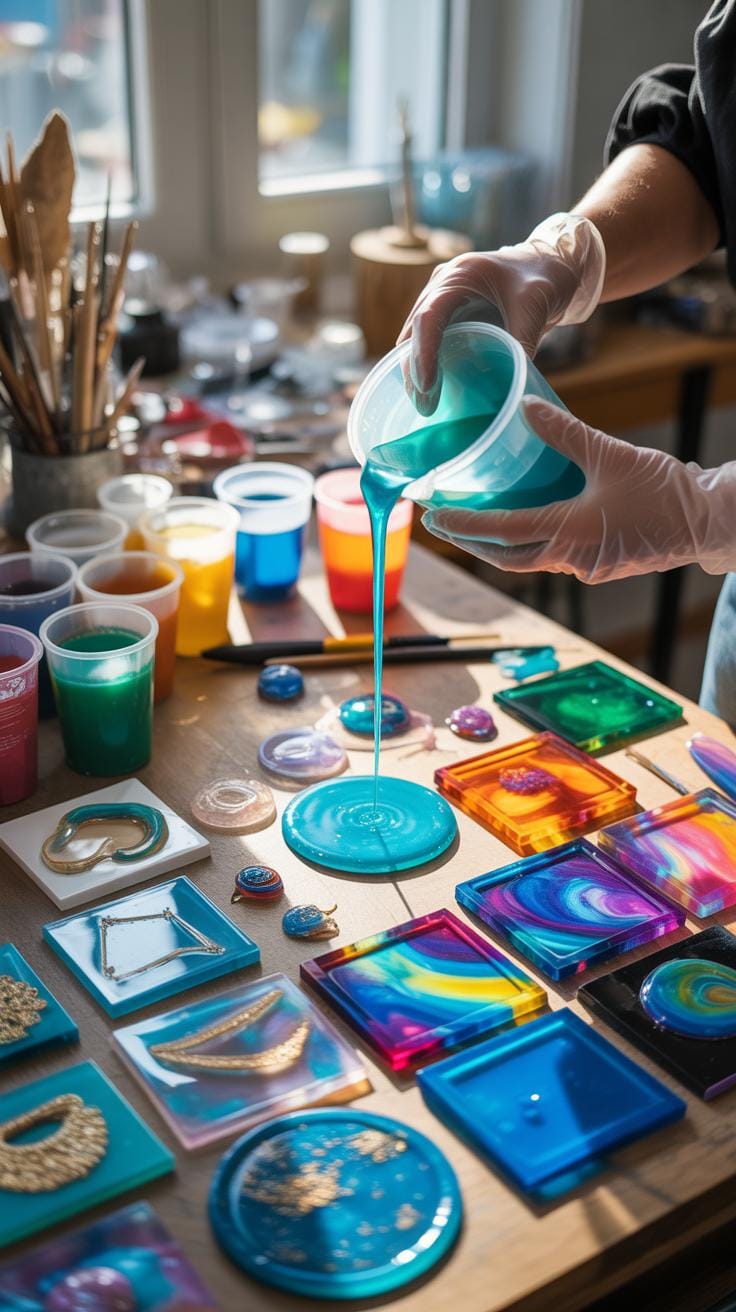
Essential Safety Gear And Workspace Ventilation
Working with resin requires proper protection for your health and safety. Wearing nitrile gloves keeps resin off your skin. Safety glasses protect your eyes from splashes. A respirator mask filters out harmful fumes that resin releases. Closed-toe shoes and clothing that covers your arms add extra protection.
Your workspace needs fresh air moving through it all the time. Open windows or use a fan to push fumes out. Work outdoors when possible for the best ventilation. A well-ventilated area keeps you safe while creating. Good air flow also helps your resin cure properly and prevents dust from settling on your work. These resin artistry tips protect you and improve your final results.

Mastering The Perfect Mix For Flawless Results
Achieving Accurate Volume Ratios For Proper Curing
Getting the ratio right is the foundation of successful resin work. Most epoxy resins use a two-part system. You mix the resin and hardener in specific amounts. Common ratios are 2:1 or 1:1, depending on your product. Always check your manufacturer’s instructions for the exact ratio. Using a scale helps you measure precisely. Even small mistakes can ruin your project. Accurate measurements ensure your resin cures properly and hardens correctly.
Volume ratios matter more than you might think. When you use the wrong proportions, your resin stays sticky or becomes brittle. Sticky resin means it never fully hardens. Brittle resin cracks and breaks easily. Resin artistry tips include always double-checking your measurements before mixing. Use a dedicated measuring cup for resin work only. Keep a reference card near your workspace showing the correct ratio for your specific product. This simple habit prevents costly mistakes.
Effective Stirring Techniques To Minimize Micro Bubbles
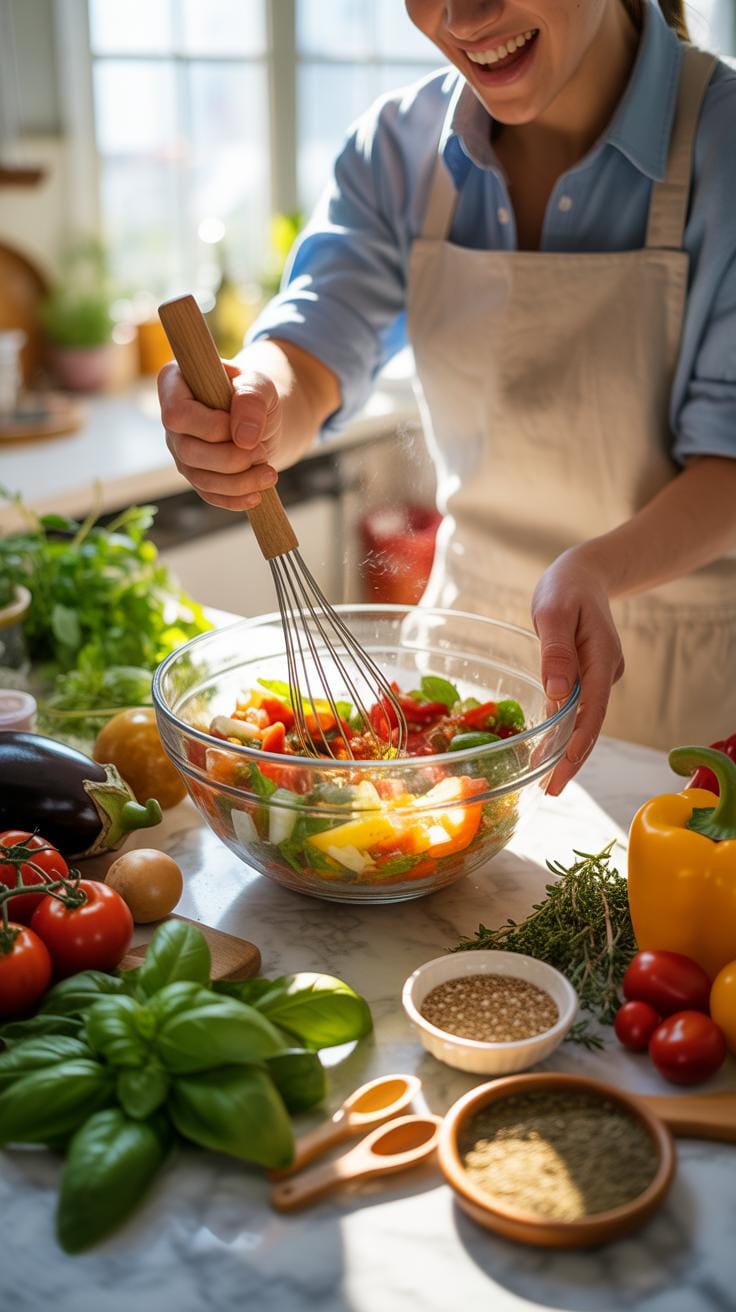
Stirring your resin requires patience and the right method. Stir slowly and deliberately for about two to three minutes. Quick or aggressive stirring traps air bubbles inside your mixture. Use a wooden stick or plastic stirrer, not metal. Metal can react with resin and cause problems. Stir in figure-eight patterns rather than circles. This motion helps combine the two parts evenly without creating excess bubbles. Good resin artistry tips stress the importance of a slow, methodical approach.
- Slow circular motions: Use steady, gentle movements around the bottom and sides of your mixing container to blend ingredients smoothly.
- Figure eight patterns: This technique prevents whirlpool formation and reduces the chance of trapping air pockets throughout the mix.
- Scrape the container edges: Push resin from the sides toward the center to ensure complete blending of both components.
- Let it rest briefly: Allow your stirred resin to sit for thirty seconds before pouring to let remaining micro-bubbles rise to the surface.
- Use a heat source carefully: Gently warming your mixture can help bubbles float away, but avoid overheating your resin.
After stirring, let your mixture rest for half a minute. This waiting period lets small bubbles escape. Some bubbles will rise and pop naturally. Your resin is now ready for pouring into molds. The time you invest in proper stirring shows in your final piece.
Color Theory And Pigmentation In Liquid Landscapes Balancing Resin Artistry Tips
Differentiating Between Alcohol Inks And Mica Powders
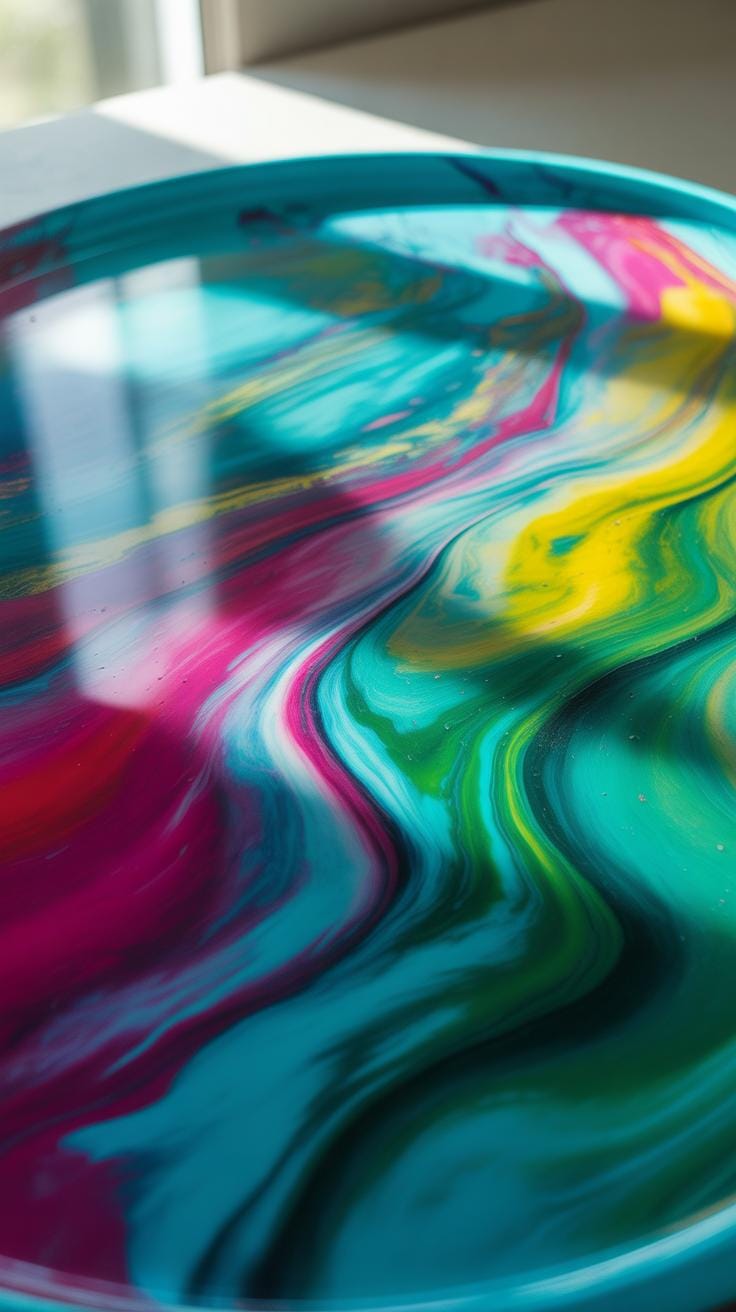
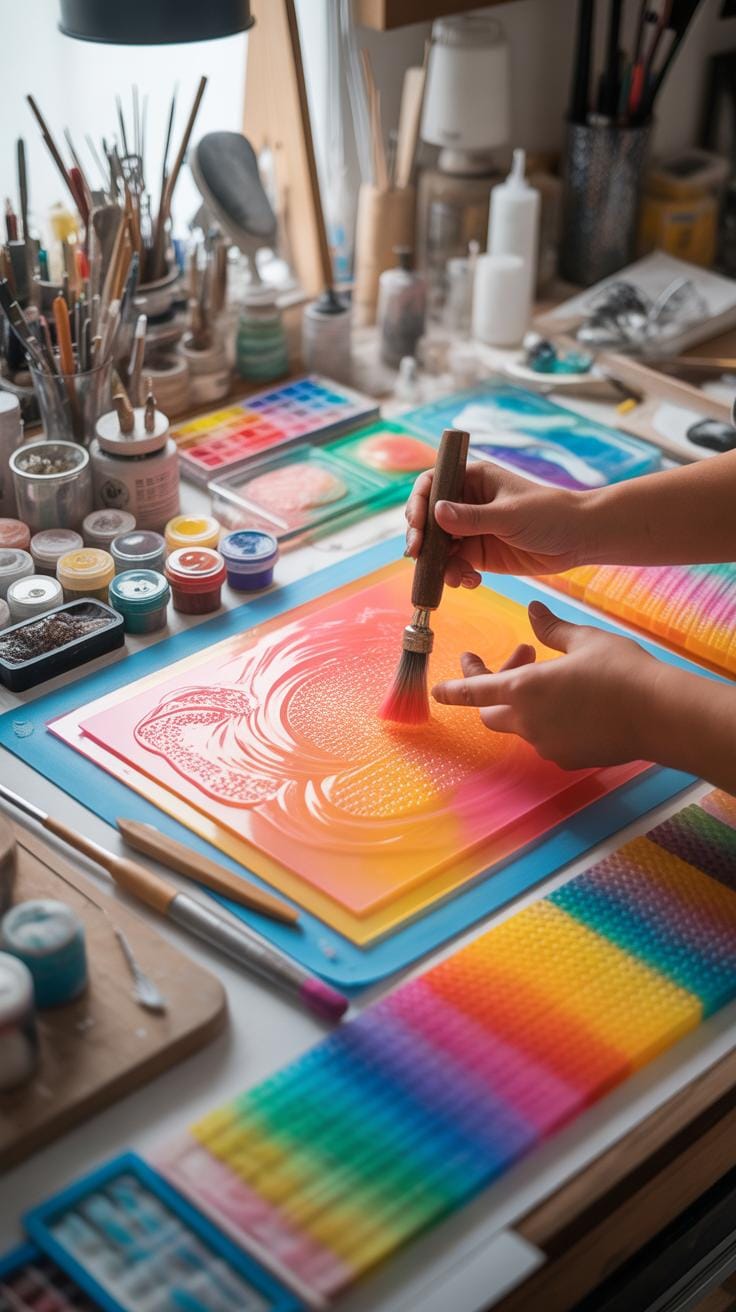
Alcohol inks and mica powders serve different purposes in resin artistry. Alcohol inks are liquid colorants that flow and blend smoothly when dropped into wet resin. They create vibrant, translucent swirls and organic patterns. Mica powders are dry pigments that sit on the resin surface or mix throughout for solid color coverage. Understanding which tool works best helps you achieve your desired effect.
- Alcohol inks: Create flowing, feathered patterns with transparent color that moves across resin surfaces
- Mica powders: Provide opaque coverage and metallic finishes that maintain solid appearance in finished pieces
- Mixing ability: Alcohol inks blend readily with each other while mica powders need proper dispersion before use
- Curing speed: Inks evaporate during curing while powders stay suspended in resin layers
- Cost factor: Mica powders typically cost less per application than quality alcohol inks for most projects
Resin artistry tips suggest testing both materials on sample pieces first. Each pigment behaves differently depending on resin brand and pouring temperature. Alcohol inks work best on glossy surfaces while mica powders excel in dimensional casting. Your choice depends on the mood and finish you want to create in your final artwork.
A rock pile ceases to be a rock pile the moment a single man contemplates it, bearing within him the image of a cathedral.
— Antoine de Saint-Exupéry
Preserving Color Integrity Against UV Yellowing Over Time
UV yellowing happens when sunlight breaks down resin and pigments over months or years. Darker colors and certain pigments yellow faster than lighter shades. Using UV-resistant resin formulas prevents most discoloration. Quality resin brands include UV stabilizers that protect your colors from fading or shifting to unwanted tones.
Resin artistry tips include keeping finished pieces away from direct sunlight when possible. Display your work in shaded spots or use UV-protective glass cases. Some artists apply UV-blocking varnish coats over cured resin for extra protection. Test pigments in small batches under light before committing to large projects with expensive materials.
Advanced Texturing Beyond The Silicone Mold
Incorporating Natural Elements Like Dried Florals And Stones
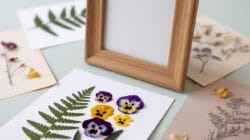
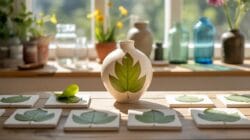
Dried flowers and stones bring real beauty to resin pieces. These natural materials stay preserved inside the clear resin forever. They add color, texture, and meaning to your work. Many artists use pressed flowers, leaves, and delicate botanicals. Stones like pebbles, crystals, and sand create visual interest too.
Resin artistry tips include preparing your natural elements properly before pouring. Remove excess moisture from dried flowers by storing them flat. Clean stones gently with a soft brush to remove dust. Place items strategically in your mold before adding resin. Work quickly once resin is mixed to position elements before it thickens.
Creating 3D Effects Using Multi Layered Pouring Methods

Multi-layered pouring creates depth and dimension in flat resin pieces. You pour resin in stages, letting each layer set partially before adding the next. This technique builds up the surface over time. Different colored resins or resin with different materials work well for this method. Each layer can hold unique elements like glitter, pigments, or objects.
Resin artistry tips for layering involve timing and patience. Wait until each layer reaches a gel stage before pouring the next coat. This prevents layers from mixing together into one blob. Use silicone molds with walls high enough for multiple pours. Plan your design before starting so you know what goes in each layer. This approach lets you build complex, eye-catching pieces with real depth.
Expert Degassing Strategies For Crystal Clarity
The Role Of Vacuum Chambers In Professional Resin Work
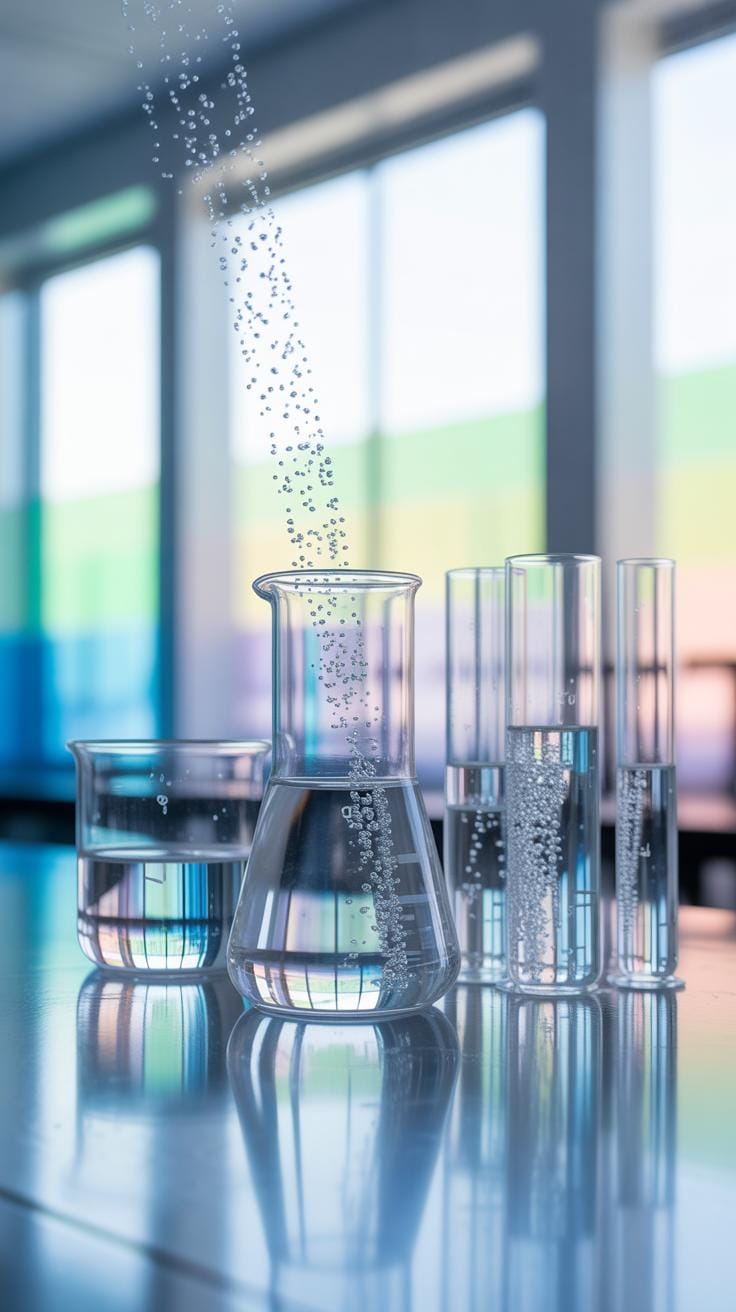
Vacuum chambers stand as the gold standard for removing air bubbles from resin. These sealed containers pull out trapped air and moisture before your resin hardens. Professional resin artistry tips often recommend vacuum chambers for achieving flawless, glass-like finishes. The process takes minutes and produces consistently clear results that hand-pouring simply cannot match.

Understanding how vacuum chambers work makes your resin projects better. The chamber creates a low-pressure environment that forces bubbles to rise and escape. You place your mixed resin inside, seal the lid, and activate the pump. Most professionals suggest pulling a strong vacuum for thirty to sixty seconds, then releasing the pressure slowly.
Quick Fixes Using Heat Guns And Blow Torches
Heat guns offer fast bubble removal without expensive equipment. You direct warm air across your resin surface after pouring, and the heat causes bubbles to pop and disappear. This method works well for small projects and quick fixes. Many artisans keep heat guns handy for last-minute surface corrections before resin fully sets.
Blow torches provide intense heat that removes stubborn bubbles quickly. Pass the flame over your resin work from several inches away, moving steadily to avoid overheating one spot. The heat reduces resin viscosity and allows trapped air to escape easily. These resin artistry tips prove invaluable when you need immediate results without waiting for equipment setup.
Sculpting With Resin Crafting Unique Freeform Shapes

Utilizing Wire Armatures For Vertical Resin Sculptures

Wire armatures serve as the backbone for tall resin pieces. They hold the weight and support your design as the resin cures. Aluminum and steel wire work well because they bend easily. Build your frame before pouring resin. This creates a strong internal structure for vertical sculptures.
These Resin Artistry Tips help you create bold, standing pieces. Wrap wire in loops and coils to add visual interest. The armature becomes part of your final artwork. You can leave it visible or hide it inside the resin. Plan your wire placement carefully before adding resin.
Manipulating Resin During The Gel Phase For Custom Formations
The gel phase happens after you pour resin but before it fully hardens. During this time, resin becomes stretchy and moveable. You can pull, bend, and shape it into unique forms. This window lasts from thirty minutes to several hours. The exact timing depends on your resin brand and room temperature.
Use tools to create custom shapes during the gel phase. Wooden sticks, silicone spatulas, and even your gloved hands work well. Pull the resin upward to form peaks and waves. Create valleys and ridges for texture. These Resin Artistry Tips let you make one-of-a-kind pieces that no mold could ever produce.
The Art Of Inclusion Positioning And Depth Control
Preventing Heavy Objects From Sinking To The Bottom
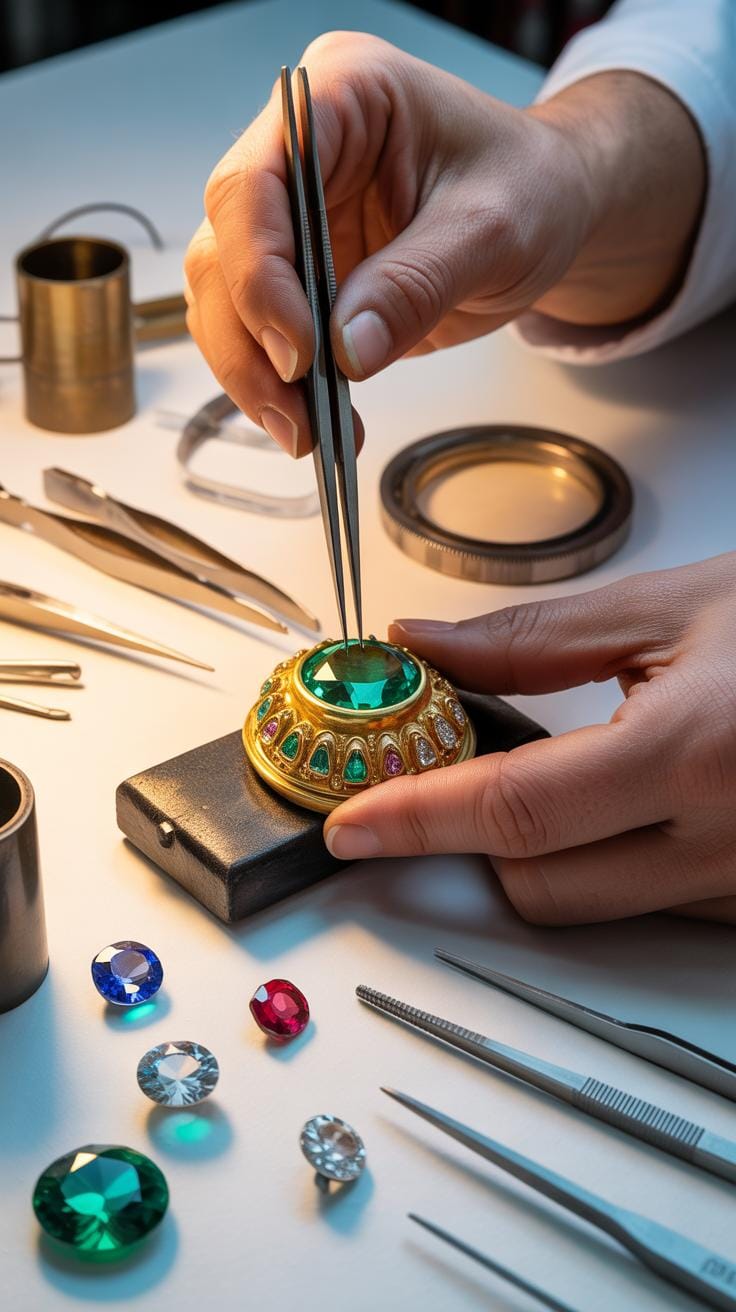
When you place heavy objects into liquid resin, gravity naturally pulls them down. This happens before the resin sets and hardens. Your carefully chosen beads, stones, or metal pieces end up at the bottom instead of where you want them. Resin artistry tips suggest planning your placement strategy before pouring.
You have several methods to keep items suspended at the right depth. Wait for the resin to partially cure before adding heavy inclusions. This creates a thicker base that supports objects better. You can also embed items in a thin layer of resin first, let it set, then pour more resin around it. Some artists use fishing line or clear silicone to hold objects in place during curing.
Sealing Porous Materials To Avoid Unwanted Air Bubbles
Porous materials like wood, cork, and natural stone absorb resin. This absorption pulls air out of the resin and traps it inside the material. The result is cloudy spots and bubble formations around your inclusions. Sealing prevents this problem before it starts.
Coat porous materials with a thin layer of resin or clear acrylic sealer before adding them to your main pour. Let this layer cure completely. This barrier stops the material from drawing moisture and air into your final piece. For resin artistry tips, remember that wood pieces need extra attention since they absorb quickly. Sand the surface lightly after sealing for better adhesion with your final resin layer.

Surface Finishing Sanding And Polishing To A High Gloss
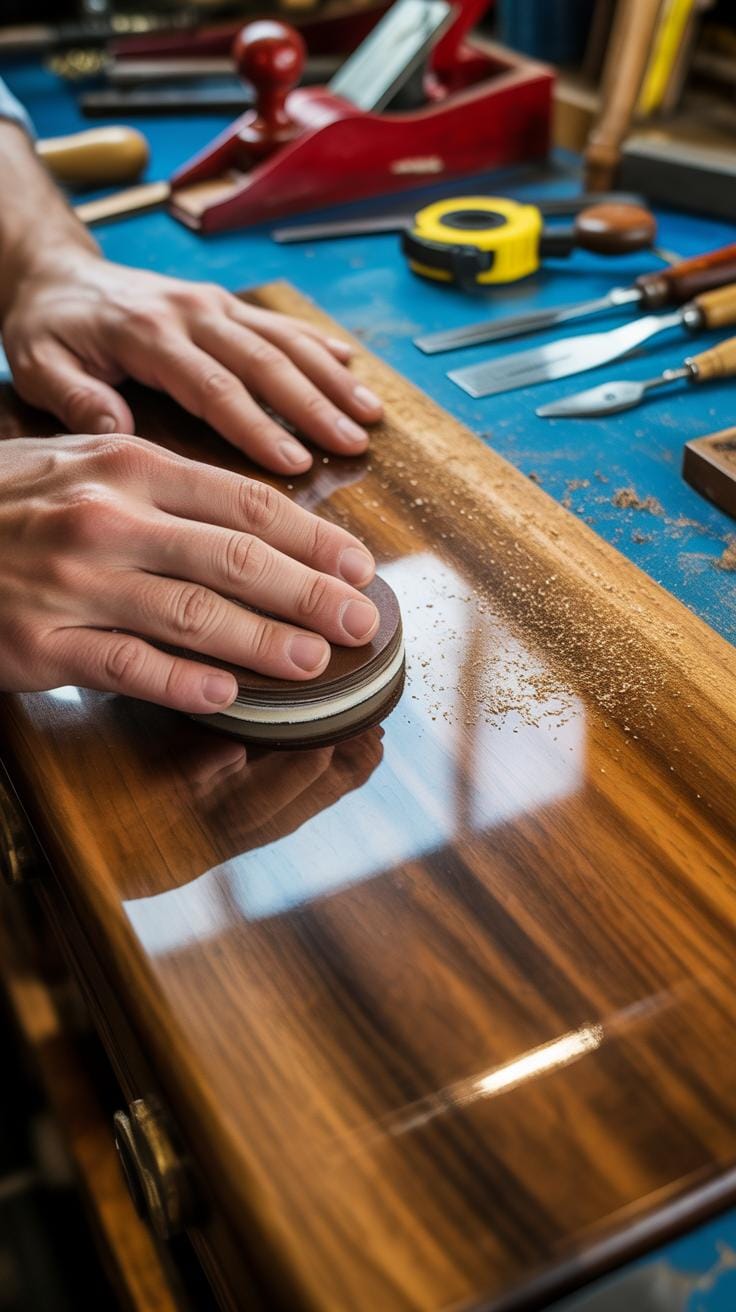
Progressive Grit Sanding Success For Smooth Edges
Starting with coarse grit sandpaper removes surface imperfections and rough spots from your resin piece. Begin at 80 to 120 grit to tackle major bumps and drips. Work slowly and use circular motions. This first step sets the foundation for all your resin artistry tips to follow successfully.
- 80 to 120 grit: Removes thick drips, dust nibs, and major surface flaws from your finished resin casting.
- 220 to 320 grit: Smooths out scratches left by coarse grits and prepares the surface for finer work.
- 400 to 600 grit: Creates an even texture and reduces visible sanding marks across your resin surface.
- 800 to 1000 grit: Brings out clarity and begins revealing the natural shine hiding beneath the surface.
- 2000 grit and higher: Final stage that produces a glass-like finish before polishing begins.
Progress through finer grits gradually to avoid creating deep scratches. Each grit smooths out marks from the previous one. Moving from 220 to 320 to 400 grit takes patience but rewards you with professional results. Your resin artistry tips should always emphasize this steady progression rather than jumping grits.
Buffing Compounds And Top Coating For Ultimate Shine
Buffing compounds work like invisible sandpaper for your hands. Apply a small amount to a soft cloth or buffing pad. Rub your sanded resin in circular motions for several minutes. The compound fills tiny scratches and brings out a natural luster that makes your piece glow beautifully.
Top coats protect your polished surface and add extra shine. Choose a resin top coat or clear polyurethane for best results. Apply thin, even layers using a brush or applicator pad. Each layer builds on the last to create depth and that coveted high gloss finish that brings your resin artistry tips full circle.
Troubleshooting Common Resin Artistry Challenges Resin Artistry Tips For Success
Fixing Sticky Or Tacky Surfaces After The Cure Time
Sometimes your resin piece feels sticky even after the full cure time has passed. This happens when resin doesn’t harden completely. The most common cause is mixing the resin and hardener in wrong amounts. Temperature also plays a role. Cold rooms slow down the curing process. Check your manufacturer’s instructions for exact mixing ratios and temperature requirements.
To fix sticky surfaces, try sanding the piece gently with fine-grit sandpaper. Wipe away dust with a damp cloth and let it dry completely. If stickiness returns, your resin may need more time to cure. Place it in a warm area for several more days. You can also apply a clear topcoat once the resin fully hardens. This seals the surface and prevents tackiness.
Dealing With Amine Blush And Environmental Humidity Issues
Amine blush appears as a whitish, waxy coating on your resin surface. This occurs when moisture mixes with uncured resin during the curing stage. High humidity speeds up this reaction. It’s a natural chemical process, not a defect. Amine blush is common in coastal areas or during rainy seasons.
- Wipe surfaces regularly: Clean your pieces every few hours during humid days to remove forming blush before it hardens.
- Use a dehumidifier: Keep humidity levels below fifty percent in your workspace for better curing results.
- Apply vinegar solution: Mix equal parts white vinegar and water, then gently wipe the affected area to dissolve the blush.
- Sand and polish: Use fine-grit sandpaper to remove blush, then buff with a soft cloth for a smooth finish.
- Cure in dry spaces: Choose indoor areas away from windows and doors where moisture levels are most stable.
Prevention works better than fixing amine blush after it forms. Control your workshop environment by monitoring humidity levels closely. Store your resin in cool, dry conditions before use. These Resin Artistry Tips help you avoid frustration and create beautiful, smooth finished pieces every time.
Transitioning From Hobbyist To Professional Resin Artist
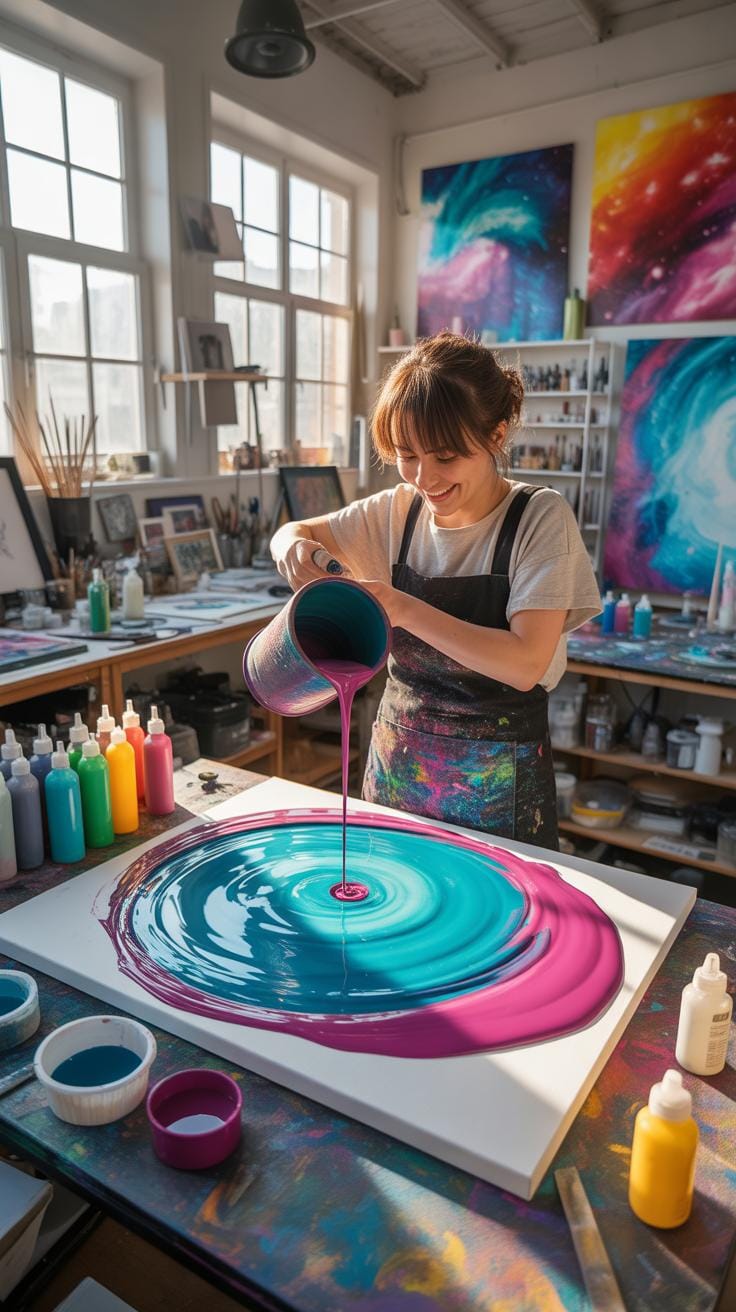
Documenting Your Creative Process For Portfolio Building
Your creative journey deserves to be recorded and shared. Take photos at each stage of your resin work. Capture the mixing, pouring, curing, and finishing steps. These images show potential clients your skill and attention to detail. Document how you solve problems during the creation process. This visual record becomes your strongest marketing tool.
Building a strong portfolio takes time and intention. Keep samples of your best pieces organized by style or technique. Write brief descriptions explaining your process and materials used. Include before and after photos when applicable. Share resin artistry tips you discovered while making each piece. This storytelling approach helps buyers understand your unique value and creative thinking.
Sustainable Disposal Practices For Resin Excess And Chemicals
Resin waste needs careful handling to protect the environment. Never pour uncured resin down drains or into soil. Collect excess resin in designated containers and let it fully cure. Cured resin can go into regular trash once hardened completely. Some local recycling centers accept hardened resin pieces for proper disposal.
Chemical cleanup requires responsible methods too. Use designated solvent containers to store used cleaning materials. Never mix different types of solvents together. Contact your local hazardous waste facility about proper disposal options. Many communities offer special collection days for chemical waste. Proper disposal protects groundwater and keeps your workspace safe and professional.
Frequently Asked Questions

What is resin artistry, and is it suitable for complete beginners?
Resin artistry is a captivating creative process where you mix liquid resin with pigments, dyes, or embeds to craft stunning, glossy pieces like coasters, jewelry, and sculptures. Yes, it’s perfect for beginners! Start with a basic resin kit, follow safety guidelines like working in a ventilated area, and practice simple pours. You’ll quickly sculpt your imagination into reality with minimal experience needed.
What are some essential resin artistry tips for getting a smooth, bubble-free finish?
For flawless results, master these resin artistry tips: Use a heat gun or torch to pop bubbles after mixing, pour slowly in thin layers, and let each cure fully before adding more. Work at room temperature around 75°F (24°C) to avoid issues, and seal your workspace with plastic. Demolding after 24-72 hours reveals professional-quality shine every time!
How can I start resin art on a tight budget without compromising quality?
Begin affordably by sourcing starter kits from dollar stores or online for under $30, using silicone molds from craft shops, and pigments from eyeshadows or mica powders. Reuse containers for mixing, and buy resin in bulk for savings. These accessible hacks let you dive into resin artistry tips and create gorgeous home decor without breaking the bank.


