Introduction
Studio Quality DIY Resin Art Projects At Home opens the door to creativity using resin, a unique material derived from natural and synthetic sources. Resin art involves using this material to make beautiful and lasting pieces, from jewelry to decorative items. You can achieve professional results by understanding resin’s properties and learning easy techniques for crafting at home.
This article explores resin art from basics to advanced projects. You will learn what resin is, how to prepare, combine colors, pour, and finish your art. By following clear and practical instructions, you can bring your ideas to life. Are you ready to discover how to make resin art that looks like it came from a studio?
What is Resin and Why Use It for Art
Origins and Composition of Resin
Resin is a sticky substance that comes from both natural and synthetic sources. Naturally, it oozes from certain trees—like pines and firs—as a protective measure against injury or pests. Chemically, natural resin is a mixture of organic compounds, often containing terpenes and other hydrocarbons. People have used it for thousands of years, from varnishes to adhesives and even in ancient jewelry. Synthetic resins, which many artists use today, are man-made polymers designed to mimic and improve upon natural ones. These can be epoxy, polyester, or polyurethane resins, each with slightly different chemical structures.
Why Resin is Popular for Art Projects
What makes resin appealing for art? It’s not just one thing, really—it’s a combination. First, resin can create a smooth, glossy finish that is tough and long-lasting. That shiny, glass-like surface often surprises beginners with how professional it looks. Then there’s the versatility: you can pour it, mold it, mix it with pigments or objects, and still keep detail crisp and clear. Durability is another draw. Resin resists scratches and water, so your art can hold up well over time. Still, working with resin needs some patience—curing times and potential bubbles can test your skills. But many who try it find that the outcome justifies tweaking and retrying.

For DIY artists, epoxy resin is probably the most common because it cures at room temperature, is relatively safe when handled carefully, and offers a good balance between clarity and strength. Polyester resin tends to be more budget-friendly but can be trickier due to fumes and odor. Polyurethane resins are faster curing but sometimes more sensitive to moisture. So, choosing resin often comes down to your project’s needs and your comfort level with the materials.
Preparing Your Workspace and Materials
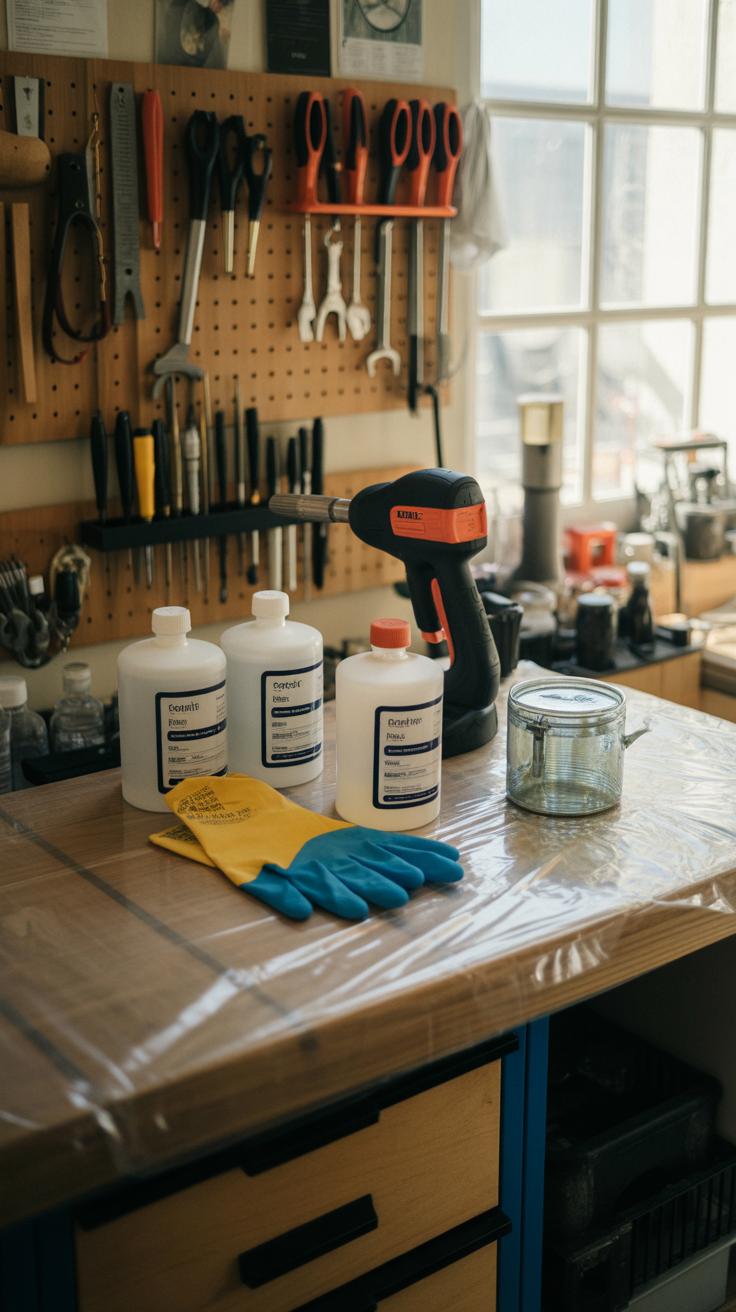
Setting up your space for resin art isn’t just about having a table and some good light. It’s about creating a place where you can focus without stress—and, well, avoid messy emergencies. Resin can be sticky, and it drips unexpectedly. So, think about protecting surfaces with plastic sheets, disposable paper, or even silicone mats that are easy to clean or toss when you’re done.
Tools are surprisingly simple but crucial. You’ll want:
- Measuring cups—clear ones, so you can see your resin and hardener amounts easily
- Mixing sticks—wooden or plastic, but definitely disposable unless you don’t mind cleaning up very sticky tools
- Gloves—nitrile preferred, since latex doesn’t hold up well with resin chemicals
- A respirator mask or at least a well-ventilated area, because those fumes aren’t great for long exposure
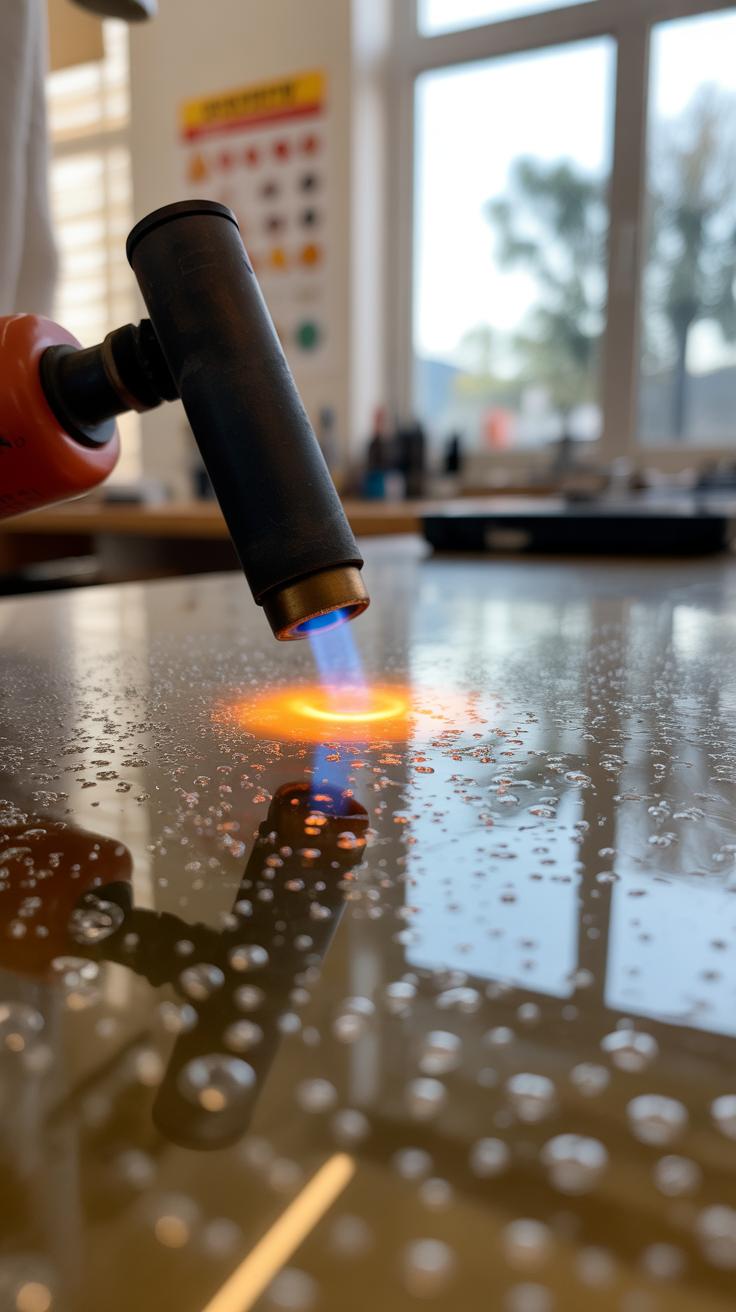
- A heat gun or a small torch to pop bubbles after pouring
- Protective aprons or old clothes, believe me, resin does get everywhere
Using these without proper care can be a gamble. I once underestimated the fumes from a poorly ventilated room and found myself coughing a bit longer than expected. Wearing gloves isn’t just about keeping your hands clean—it’s about avoiding skin irritation or allergic reactions. Think of these safety measures as a shield rather than a hassle.

Organization matters. A cluttered workspace does not make for happy resin art, or at least not for me. Try to put everything you’ll need within arm’s reach: your resin, hardener, measuring tools, gloves, and curing area. Keep some paper towels nearby, but don’t rely on them for cleanup if you spill resin—it hardens too fast.
One trick I use is designating one spot specifically for mixing, away from where I place finished pieces to cure. This cuts down mistakes and accidental bumps. When resin is curing, even a small dust speck can get trapped, so covering cured work with a simple box or container helps keep it pristine.
Before you dive in, ask yourself—do you have enough room to move freely? Will your tools be safe from accidental knocks? Preparing this way might seem tedious, but it’s something you’ll appreciate when the resin behaves—or mostly does—exactly as you want it to.
Mixing Resin and Hardener Correctly
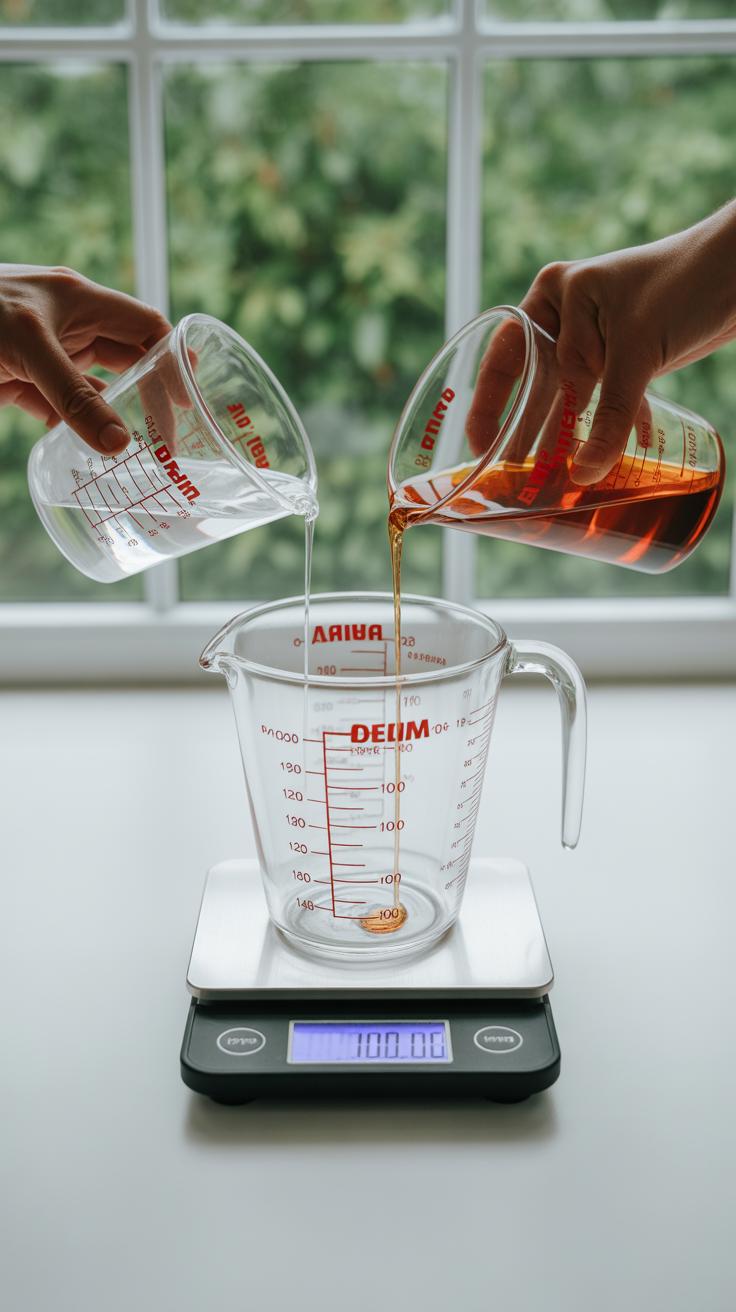
Getting the resin and hardener ratio just right can make or break your resin art piece. If you mess up the measurements—even by a little—you might end up with sticky spots or a cloudy finish. It’s not just about precision; it’s about reliability. When you measure, use a digital scale whenever possible. Cups can be misleading, especially if you’re mixing small batches.
Most resin kits follow a set ratio, like 1:1 or 2:1 resin to hardener, but double-check the instructions because it can differ. Mixing too much hardener means the resin cures too fast and might crack or become brittle. Too little hardener? Your project may remain tacky for days or never fully harden. I once tried eyeballing the mix and ended up wasting a whole batch—that was frustrating.
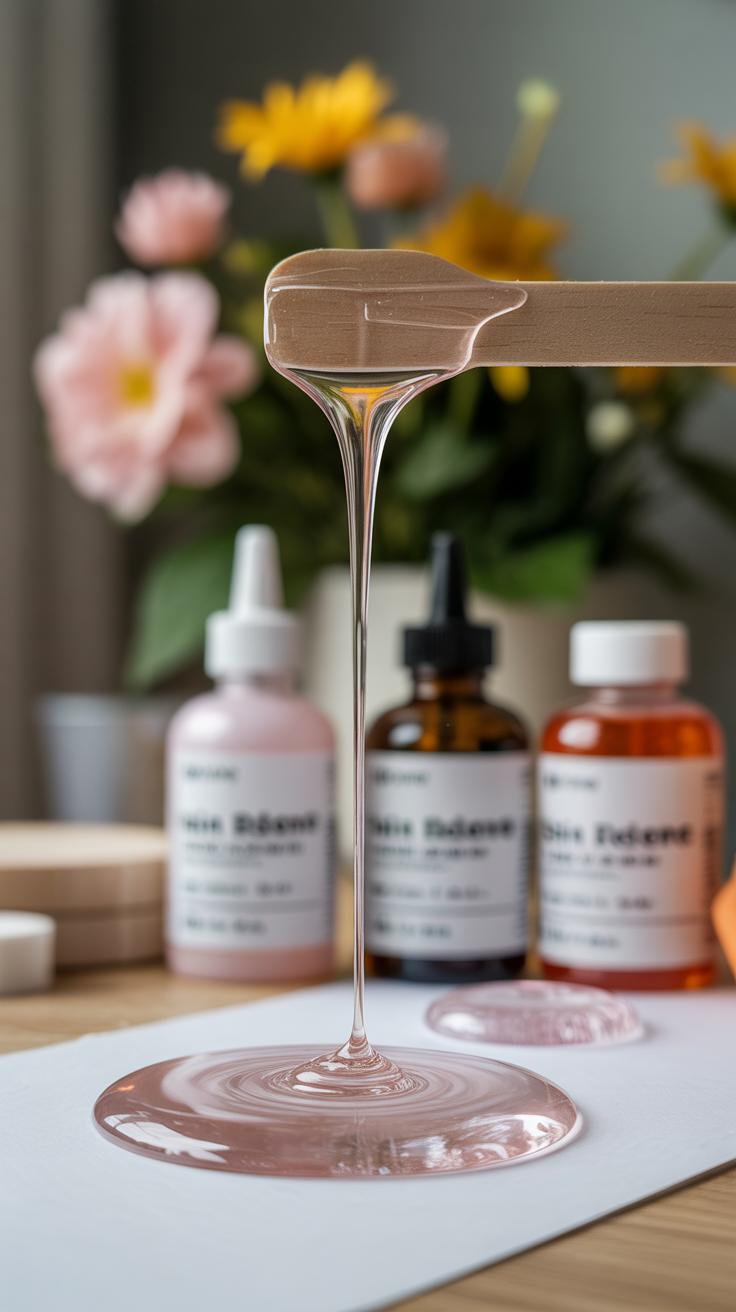
Mixing itself is another subtle art. Stir slowly and deliberately—you want to combine without creating tons of bubbles. I’ve found a gentle folding motion works better than furious stirring. If you mix too quickly or aggressively, bubbles will form and trap inside the resin. Sometimes tapping the container on your work table helps bubbles rise before pouring.
Another trick is warming your resin slightly before mixing; it becomes more fluid and lets bubbles escape easier. But too hot? You risk speeding up the cure too much, which isn’t great unless you want to race against time.
Have you noticed how the texture changes as you mix? That’s a cue to stop stirring and pour it out carefully. Patience here pays off in the final clarity and smoothness of your art.
Adding Colors and Effects to Resin

Choosing pigments for resin can feel a bit tricky at first. Not all pigments behave the same once mixed with resin, so picking the right type makes a huge difference. From what I’ve seen, powdered pigments and alcohol inks tend to work well. They dissolve or suspend nicely, offering smooth, even color. Oil-based paints don’t mix well and can cause curing issues, so it’s better to avoid those.
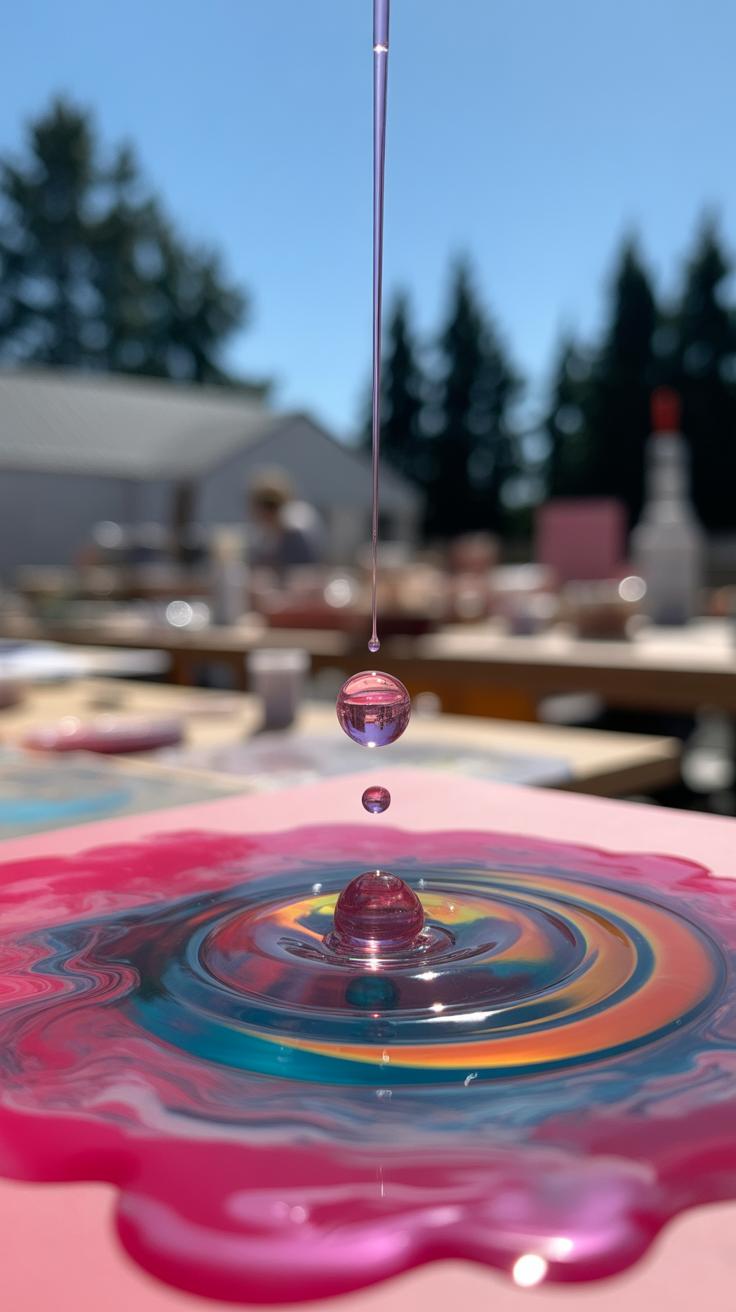
When adding pigments, start small—tiny amounts can yield strong color, and it’s easier to control. Mix thoroughly but gently to avoid bubbles. It helps to add a drop or two at a time, checking how the color develops. You might find yourself experimenting more than once, which honestly, is part of the fun.
Beyond pigments, creative effects come from extras like glitter, mica powders, or even tiny objects like beads or dried flowers. These elements add interesting texture and make your piece stand out. Glitter can be mixed into the resin or sprinkled on top before curing. Mica powders offer a pearlescent sheen that shifts with the light—something I never get tired of watching.
Think about how pieces might float or settle. Sometimes, objects sink unless you suspend them carefully. Layering resin with effects in stages helps bring out depth. It’s a bit of trial and error to find the balance, but when it clicks, it’s worth the effort. What if you tried mixing different glitters or pigments in separate pools before combining them? The possibilities feel endless.
Pouring Techniques for Different Art Styles

Pouring resin can be surprisingly simple but also open to many creative twists. You might start with a basic pour—just pour the mixed resin gently over your surface to create a smooth, glossy layer. This is often enough for a clean, polished look. When you want something a bit more interesting, try swirling the resin by lightly dragging a stick or making gentle circles while the resin is still wet. The movement adds subtle, elegant patterns without complicating things too much.
Layering brings a whole new level to your resin work. You pour one thin layer, let it partly cure, and then add another, maybe with some color shift or a little shimmer. The depth it creates gives your art a sense of dimension—something flat pours can’t quite match.
Embedding objects is even more playful. Think dried flowers, tiny stones, or even small keepsakes. You carefully place them between layers of resin so they seem to float inside. It requires some patience, especially when waiting for each layer to set enough to hold the items without any sinking or air bubbles.
Have you tried embedding something unusual in your resin? Sometimes unexpected objects catch the light in unique ways or tell an interesting story. It’s a delicate balance—too many layers or too much stuff can make curing tricky. But when done well, layering and embedding can totally transform your project from simple to personal.
Curing Resin and Handling Common Issues
How to Cure Resin for Best Results
Getting resin to cure right takes more than just mixing and pouring. The environment you work in plays a big role—a room that’s too cold or humid can slow the curing process or even cause cloudy spots. Ideally, keep your workspace around 70 to 75 degrees Fahrenheit with low humidity. This helps the resin polymerize properly and harden to that glass-like finish you want.
Time matters too. Most resins need at least 24 hours to cure enough to handle, but full curing sometimes takes up to 72 hours. Rushing it might leave you with a soft or sticky surface. It’s tempting to check early, but patience usually pays off here.
If you find your resin isn’t fully cured after the expected time, check the temperature or humidity again. A small heater or dehumidifier might save your piece. Sometimes curing longer, even a few extra days, does the trick without affecting the work.
Fixing Common Resin Problems
Air bubbles often show up despite your best efforts. Blowing gently with a heat gun or a small torch across the surface can pop them, but be careful not to overheat or scorch the resin. If bubbles persist, stirring slower and longer during mixing might help next time.
Sticky surfaces happen when resin doesn’t cure completely or there’s too much hardener mixed in. If that happens, you can lightly sand the tacky parts once mostly cured, then apply a thin resin coat as a sealant. Sometimes, a stickiness signals you need to adjust your mix ratio or check for expired resin.

Cloudiness can be trickier. It might result from moisture, incorrect mixing, or working in a cold environment. If your piece is cloudy, curing it in a warmer spot sometimes helps clear it up. Otherwise, sanding and polishing after fully curing can restore clarity.
Does your resin art always have a few surprises? That’s part of the process, I think—but learning these little fixes soon makes it less frustrating.
Finishing and Polishing Resin Art Pieces

Once your resin piece has fully cured, the final steps are crucial to achieve a studio-quality look. The surface might seem smooth at first, but often there are small imperfections or tiny bumps that need attention. Sanding is the key here. Start with a coarse grit—around 400—to even out any rough spots or sharp edges. It might feel like a slow process, but moving gradually through finer grits—600, 800, up to 1500 or even 2000—creates a smoother finish. Don’t rush it, or you could scratch the surface more than you want.
Polishing follows sanding and really transforms your work. Using a polishing compound and soft cloth, or a buffing wheel if you have one, brings out that deep shine. It’s surprising how much of a difference polishing makes, turning something that still looks homemade into a piece that rivals shop-bought resin art. Sometimes it takes a couple of rounds to get that perfect gloss, especially if you’re working on larger surfaces.

After polishing, sealants or topcoats protect your resin from scratches, UV damage, or dust settling in the crevices. Choosing a compatible coating matters; some resins react poorly with certain varnishes, so check what your resin brand recommends. Applying a thin layer with a soft brush or spray adds durability and enhances the depth of the colors underneath. You might wonder when the sealant is absolutely necessary — well, if your piece is going somewhere outside or will be handled often, it’s definitely worth the effort.
Does finishing resin art feel tedious sometimes? Sure. But these steps make all the difference. You’ll likely find that taking a little extra time here pays off by making your art look—and last—much better than you might expect from a DIY project.
Inspiring Projects to Start Your Resin Art Journey
Starting with resin can feel a bit overwhelming, but beginning small helps. You might want to try making simple jewelry like pendants or keychains first. These projects are manageable and quick to finish. You can experiment with embedding tiny objects—dried flowers, glitter, or even small charms. It’s satisfying to see how your ideas turn into shiny, wearable pieces without needing tons of materials or space.
Working on these smaller items builds your confidence and teaches important skills like mixing resin properly and avoiding bubbles. Plus, it lets you test color mixing on a tiny scale, which is kind of fun. If a project doesn’t turn out exactly right, well, you haven’t invested much time or resources, so it feels less frustrating.
Simple Jewelry and Keychains
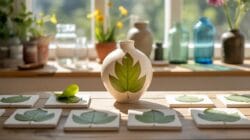
Try small molds shaped like circles, hearts, or geometric forms. Pour resin, add pigments or tiny decorations, then cure. You can attach key rings or jewelry findings afterward and have something personal or gift-worthy. The beauty is in the details—embedding a tiny photo or pressing a leaf inside resin creates a one-of-a-kind look.
These projects push you to master precise measuring and mixing since mistakes show quickly in a small piece. They also teach layering techniques, like pouring resin in stages to trap objects or create depth. You practice patience too because each layer needs curing before the next.
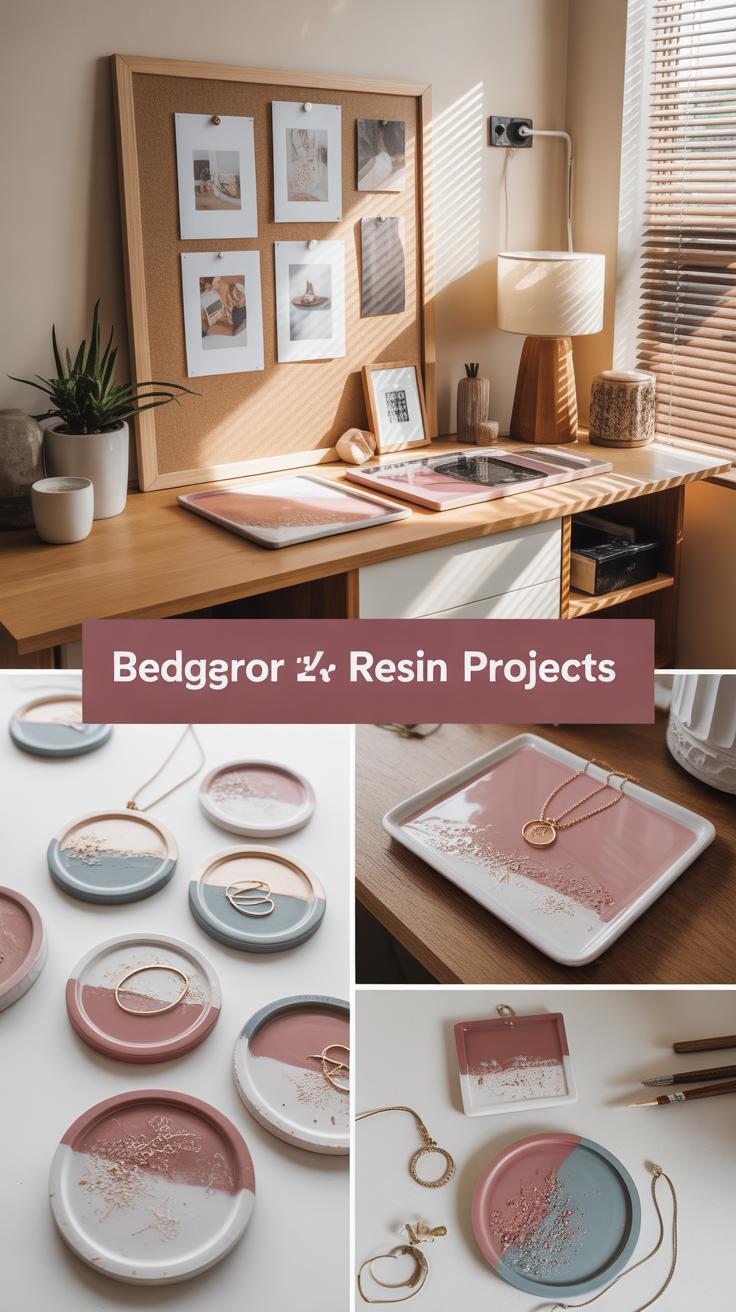
Decorative Coasters and Home Accents
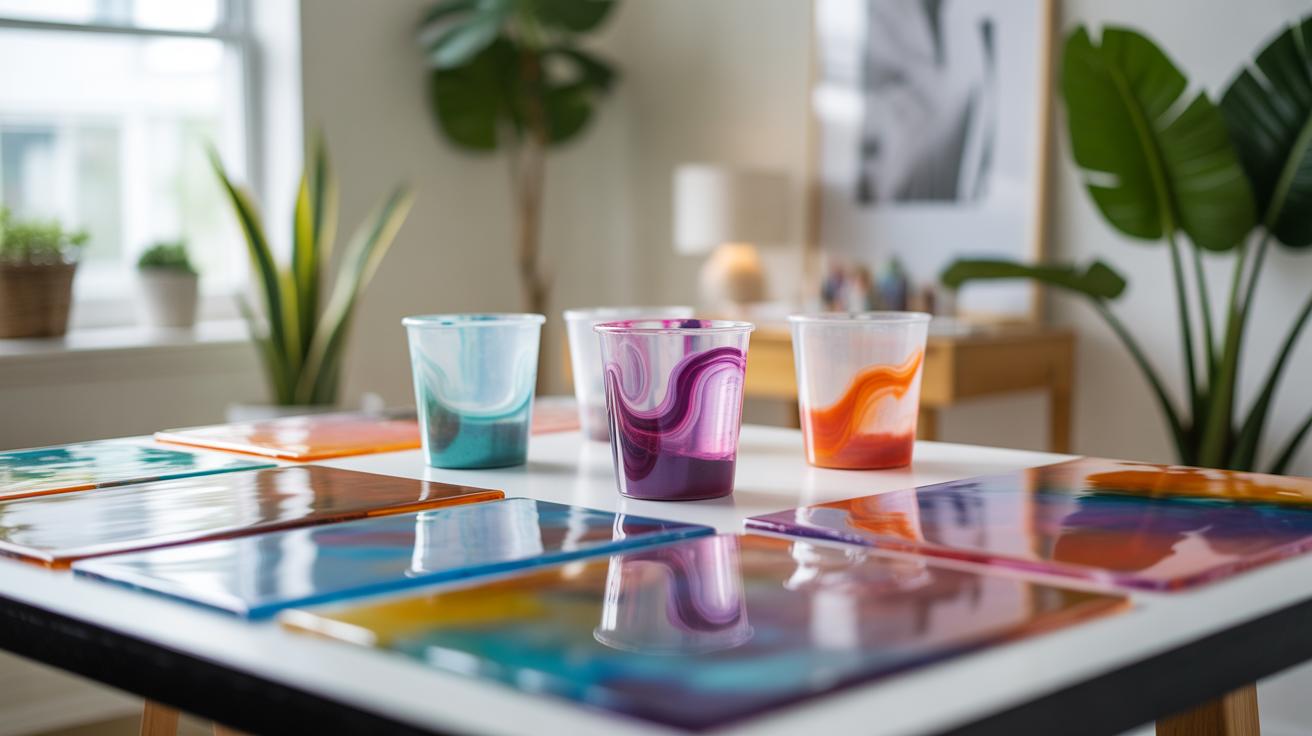
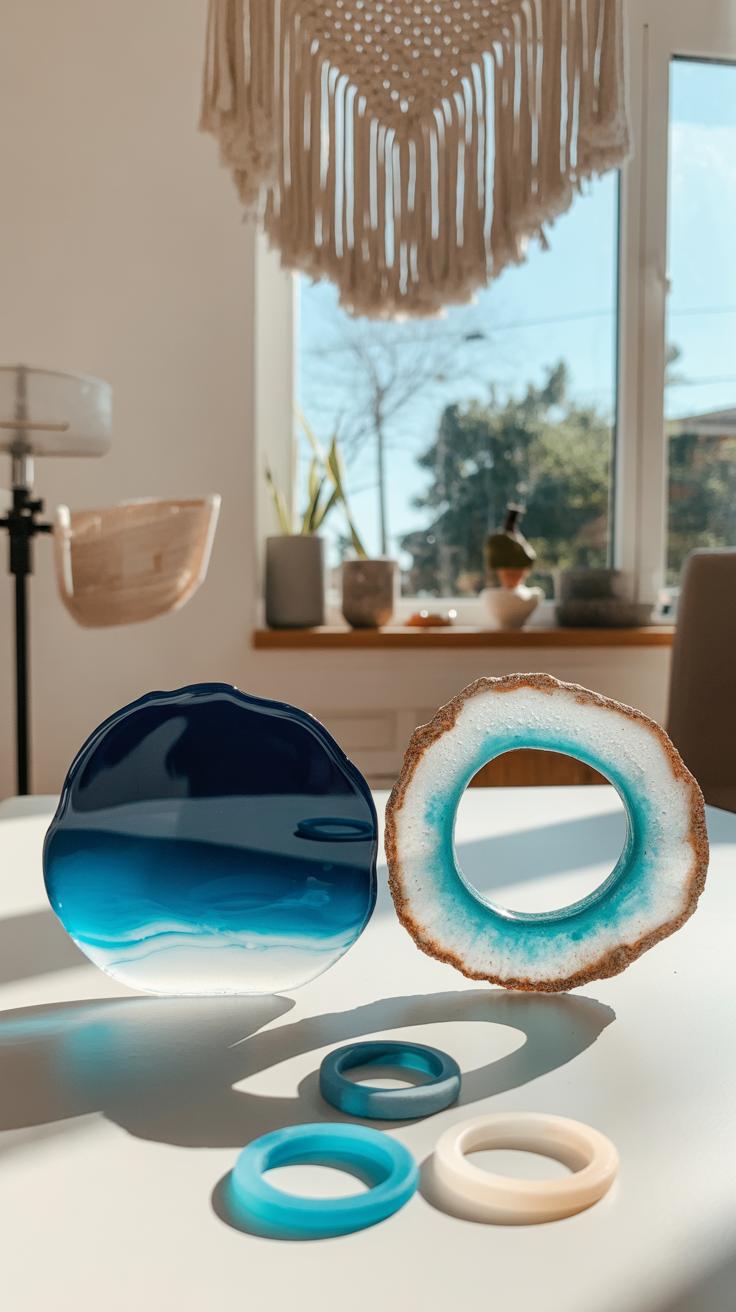
Once you’re comfortable, stepping up to coasters or small decorative trays brings more freedom with design and size. Coasters are perfect for playing with color blends, patterns, or even using resin to encase items like tiny stones or shells. You can turn a plain mold into a cool, personalized accent that livens up your space.
Working on coasters allows you to experiment with resin pours on a broader canvas. You get a feel for swirling colors or creating cells, which wouldn’t be as visible in tiny pieces. Plus, the curing time is longer, which means you learn to wait and observe how resin behaves over time.
Making small home accents is an inviting way to develop your technique. You might find yourself surprised how much detail and creativity fit into a single coaster. And honestly, these pieces usually get compliments, so it feels rewarding, even if you’re still figuring things out.
Conclusions
DIY resin art provides a rewarding way to express creativity while mastering new skills. You have learned about resin’s origins, how to safely work with it, and ways to add color and texture. Step by step, you can build your confidence and create unique projects that are both personal and professional in appearance.
By practicing the techniques shared here and experimenting with materials, your resin art will improve and impress. You don’t need special tools or expensive supplies. Just your imagination and dedication. How will you start your next studio-quality resin art project at home?


