Introduction
Pressed flower art captures the beauty of nature in a timeless way. This art form uses real flowers and leaves that are dried and pressed flat. The process removes moisture and preserves the natural colors and shapes. Botanical Time Capsule Pressed Flower Art Tutorial will guide you through the steps to make beautiful artwork that lasts.
You will learn about the origins of this craft, the best materials to use, and how to arrange and protect your pressed flowers. This guide offers practical tips and creative ideas to help you create your own botanical memories. Start your artistic journey with pressed flower art today.
Understanding Pressed Flower Art
What is Pressed Flower Art
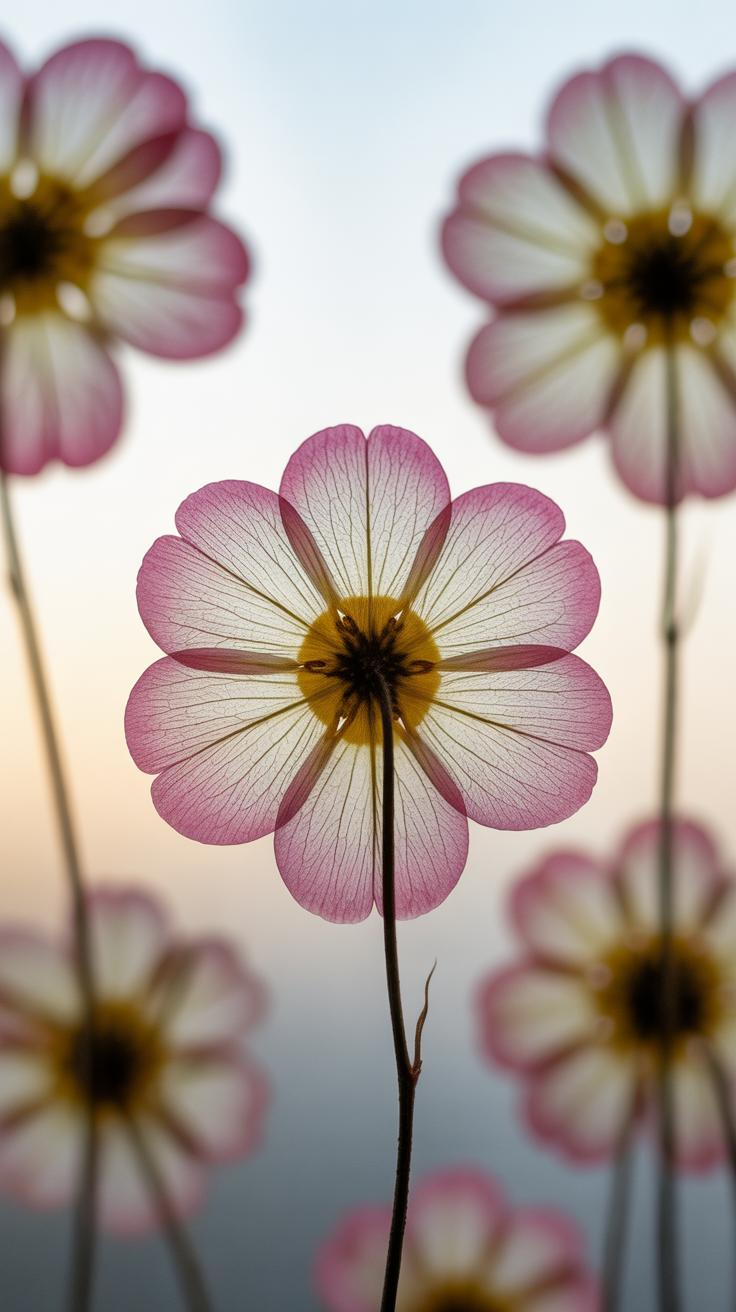
Pressed flower art takes delicate blooms and leaves, then flattens and dries them by pressing. This process removes moisture, turning the natural elements into something long-lasting but still quite fragile. The flowers lose their three-dimensional shape but reveal intricate details often hidden—veins, colors, and textures become more pronounced in a subtle way. It’s about capturing a moment in nature and making it static, creating art that speaks quietly but clearly.
When you press a flower, its form changes. Delicate petals, which might normally wilt quickly, are preserved like they’re frozen in time. The flowers become almost like paper themselves, easy to work with but still carrying the essence of their original life.
Why Press Flowers
One big reason to press flowers is preservation. Fresh flowers only last a few days. Pressed flowers can last years, even decades if cared for properly. It’s a way to hold onto a memory—maybe from a special event, a hike, or a gift—and keep the natural beauty without worrying about wilting or decay.
Pressed flower art also opens creative doors. You can arrange flowers into detailed patterns, cards, bookmarks, or framed art pieces. By flattening them, you bring flowers into new forms of expression—artificial arrangements where natural elements speak on their own terms.
There’s something quietly rewarding about watching flowers dry out yet still maintain their charm. Maybe it’s the gentle reminder that beauty doesn’t always need to be fleeting; sometimes, it just changes form.
History of Pressed Flower Art
Beginnings in Japan
Pressed flower art traces back to 16th century Japan, where it began as *oshibana*, the craft of pressing flowers into delicate designs. For the Japanese, this was more than simple decoration. It connected deeply with their appreciation of nature’s fleeting beauty and the Buddhist idea of impermanence.
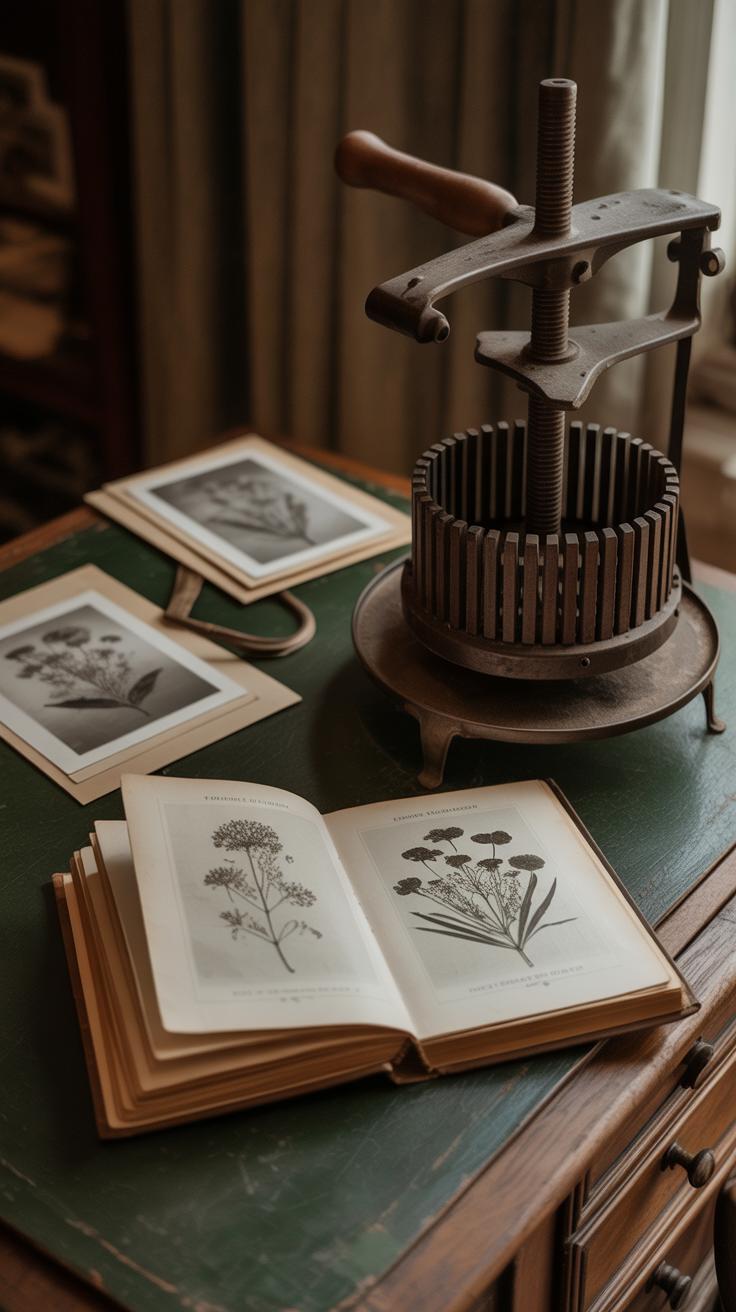
People carefully collected petals and leaves during their outdoor walks, pressing these specimens between heavy books or wooden boards. It wasn’t just about preserving flowers—it was a way to capture a moment, a feeling, or a memory. I think this cultural layer adds a quiet depth to pressed flower art, beyond what we might expect.
Oshibana was also used in poetry and letter writing, blending visual art with written words. You might wonder if this blend of nature and expression still influences today’s artists. It seems like the Japanese started something that’s both a craft and a meditation.
European Influence and Victorian Era
Pressed flower art crossed continents and appeared in Europe, taking root particularly in the Victorian era. The Victorians loved it—not surprising, given their obsession with botanical studies and elaborate floral symbolism. Flowers could carry secret messages, so pressing them felt like preserving a secret or a sentiment.
Many European women used pressed flowers to decorate cards, albums, and keepsakes. In some ways, this period made pressed flower art more social and accessible. It became popular among middle-class families, who often cataloged wildflowers from walks in the countryside.
Interestingly, sometimes Victorians were so meticulous that pressed flower art almost resembled scientific documentation rather than art. That’s a different vibe from the Japanese oshibana—but it shows how culture shapes the same practice in varied ways. Have you ever noticed how a simple flower can tell different stories depending on the context?
Choosing the Right Flowers and Leaves
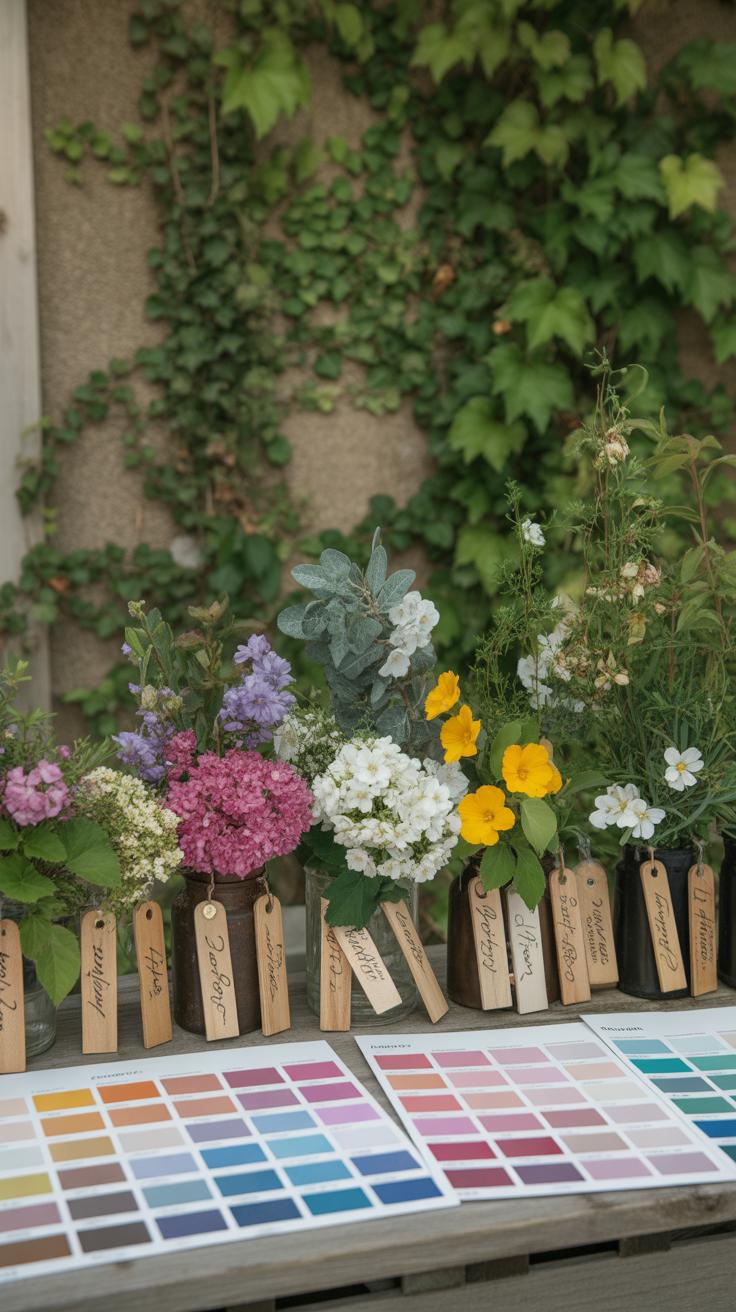
Picking flowers and leaves for pressing can feel a bit tricky at first. You want something that will keep its shape and color but also feels meaningful or beautiful to you—so guess what? There’s no one-size-fits-all rule here. Still, some plants do press better than others. Flowers with flat petals tend to work well because they dry evenly, avoiding that dreaded crumpled look.
Timing matters too. Flowers picked just before full bloom tend to be better—they’re not too soft, and their colors haven’t faded. If you wait too long, petals may wilt or darken, which changes the whole feel of your piece.
Best Flowers for Pressing
Some species are your best friends in pressed flower art:
- Violets – their small size and thin petals press beautifully, keeping bright purples intact.
- Pansies – lots of color variety and they stay quite flat once pressed.
- Baby’s Breath – delicate but surprisingly resilient when pressed.
- Clover – simple shapes and soft greens that don’t discolor much.
- Fern leaves – their intricate patterns hold up well pressed, adding nice texture.
- Hydrangea petals – though bulky, they retain good color if flattened carefully.
It’s tempting to pick large, fluffy flowers, but often these don’t press well at all, turning brown or wrinkly instead.
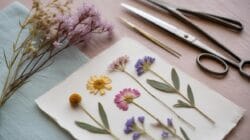
Gathering and Preparing Botanical Materials
When you collect your botanicals, try to pick on a dry day. Moisture invites mold during pressing—nobody wants that. Also, avoid plants from shady or damp spots; they may hold too much moisture inside.
Once picked, trim any thick stems or unwanted bits. Leaves should be clean and free of insects or dirt. Sometimes I find gently wiping leaves with a soft cloth before pressing helps keep them looking fresh.
Also, arrange items on paper or cloth to dry awkwardly curled leaves flat before pressing. Patience here pays off later because flattened, well-prepared pieces showcase better in your final art.
Techniques for Pressing Flowers

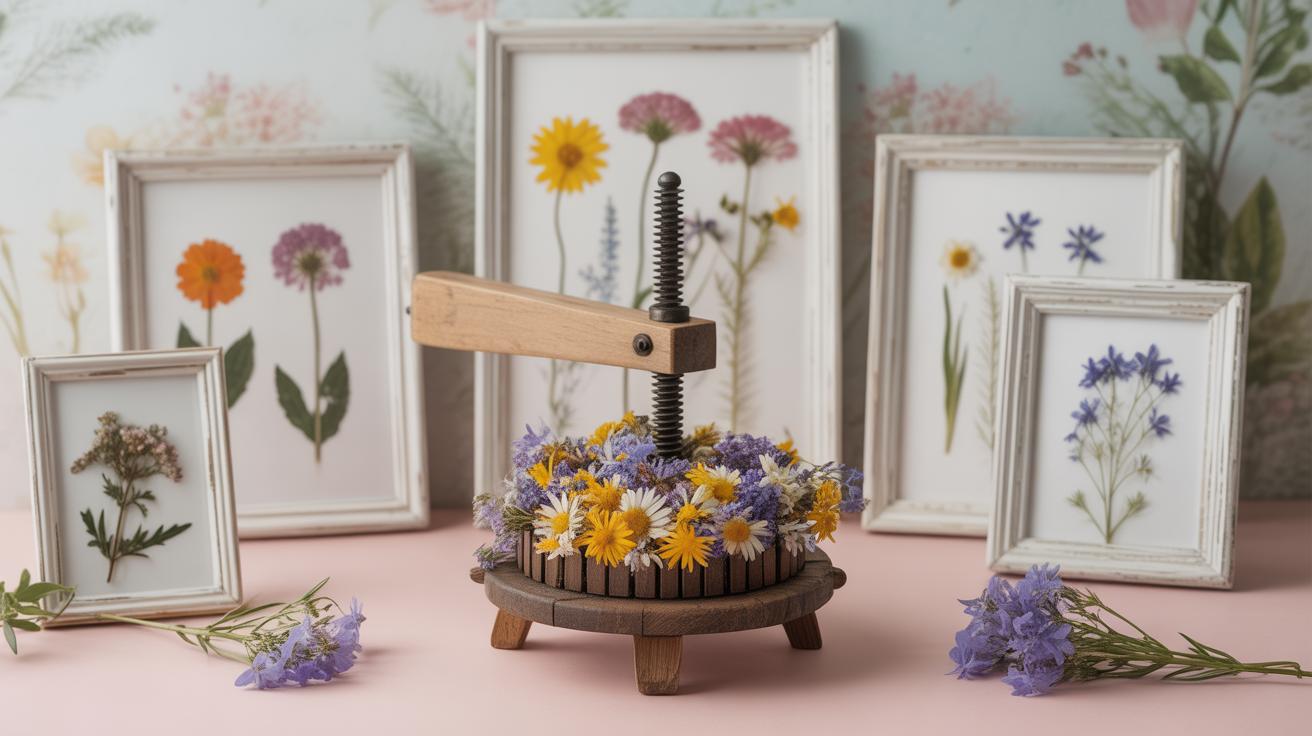
Pressing flowers might seem simple, but different methods bring out distinct qualities in your specimens. The classic way often involves a traditional flower press. This tool, usually made from two wooden boards with straps or bolts, keeps flowers flat and dry through steady pressure and airflow.
To use it, you place your flowers between absorbent papers—blotting paper or even coffee filters work fine—and sandwich them between the boards. Then, tighten the screws or straps just enough to flatten without crushing. Leave it in a dry spot for at least a week or so. You’ll want to check occasionally because moisture levels inside can vary, and drying times shift by flower type and thickness. Personally, I find small, delicate petals don’t take quite as long as thick blooms, which can surprise you if you’re in a hurry.
Alternatively, many turn to simpler household methods. Pressing in books is a popular go-to. Just slip your flowers inside the pages of a heavy volume. The weight and gradual drying do the trick, though you’ll want to pick a book you don’t mind dedicating to this purpose—there’s a chance petals might leave stains. Layering flowers between paper towels or parchment paper helps absorb excess moisture, too, and prevents ink transfers.

If time presses on you, the microwave method might be useful. You place flowers between two ceramic tiles or in a flower press designed for microwaving. Then, short bursts of 10-30 seconds dry the petals quickly. It feels like cheating sometimes—results vary, and it can easily over-dry or discolor petals if you’re not careful. Yet, it’s a neat solution for those impatient moments or last-minute projects.
Each method has its quirks. Choosing depends on your patience, flower type, and what texture or color you prefer preserved. Have you tried more than one? Sometimes, the slower presses reveal more natural tones, while quick methods yield brighter but slightly brittle blooms. What’s your priority? Speed or preserving every fragile detail?
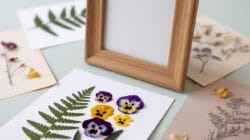
Creating Your Pressed Flower Artwork

When it comes to designing with pressed flowers, starting with a plan can really help, though sometimes spontaneous arrangements work just as well. Think about the mood you want to create. Do you want something dense and intricate, like a miniature garden, or sparse and airy, letting each flower tell its own story? Sketching a rough layout—even just loosely on scrap paper—can save you some frustration later.
Try grouping flowers by color or shape. For example, round leaves paired with small round petals give a soft, repetitive rhythm, while elongated leaves mixed with delicate blossoms create contrast. You might want to overlap some pieces slightly or leave space—both choices speak differently.
Once you’re happy, gently place your pressed flowers and leaves on your chosen surface without gluing first. Step back, squint a bit, and rearrange until it feels right, even if that takes time. It’s okay if your first idea shifts. That’s part of the process.
To attach your flowers, use a clear-drying glue suitable for paper or fabric. A thin layer works best; too much can damage delicate petals or cause wrinkling. Fine brushes or toothpicks help apply glue precisely—what I find handy is a small paintbrush for detailed spots. Press each piece lightly for a few seconds to make sure it sticks but avoid squashing fragile parts.
If working on fabric, fabric glue or even a fusible web can keep things in place, but remember fabric moves differently under glue than paper. Test on a scrap first, if possible. You might notice some flowers darken or become brittle when glued, so having extras is always a good idea—just in case.
Protecting and Framing Your Art
Sealing and Preservation
Once you’ve arranged your pressed flowers, preserving them becomes crucial. Left unsealed, delicate petals can absorb moisture from the air, leading to mold or fading over time. One common way to protect them is by using a clear sealant, like a UV-resistant spray. These sprays create a thin barrier over the surface, guarding against moisture while also reducing color loss from sunlight.
Some people prefer natural sealants, such as a thin layer of beeswax, which can add a gentle sheen and keep flowers supple. It’s a bit trickier to apply evenly but can be worthwhile if you want a more organic look. Alternatively, sealing with archival-quality adhesive sheets or laminating between glass keeps air out entirely—though laminating changes the texture somewhat, so it’s a choice you’ll want to test on scraps first.
In any case, make sure the flowers are fully dry before sealing. Moisture trapped inside will only accelerate deterioration despite your best efforts.
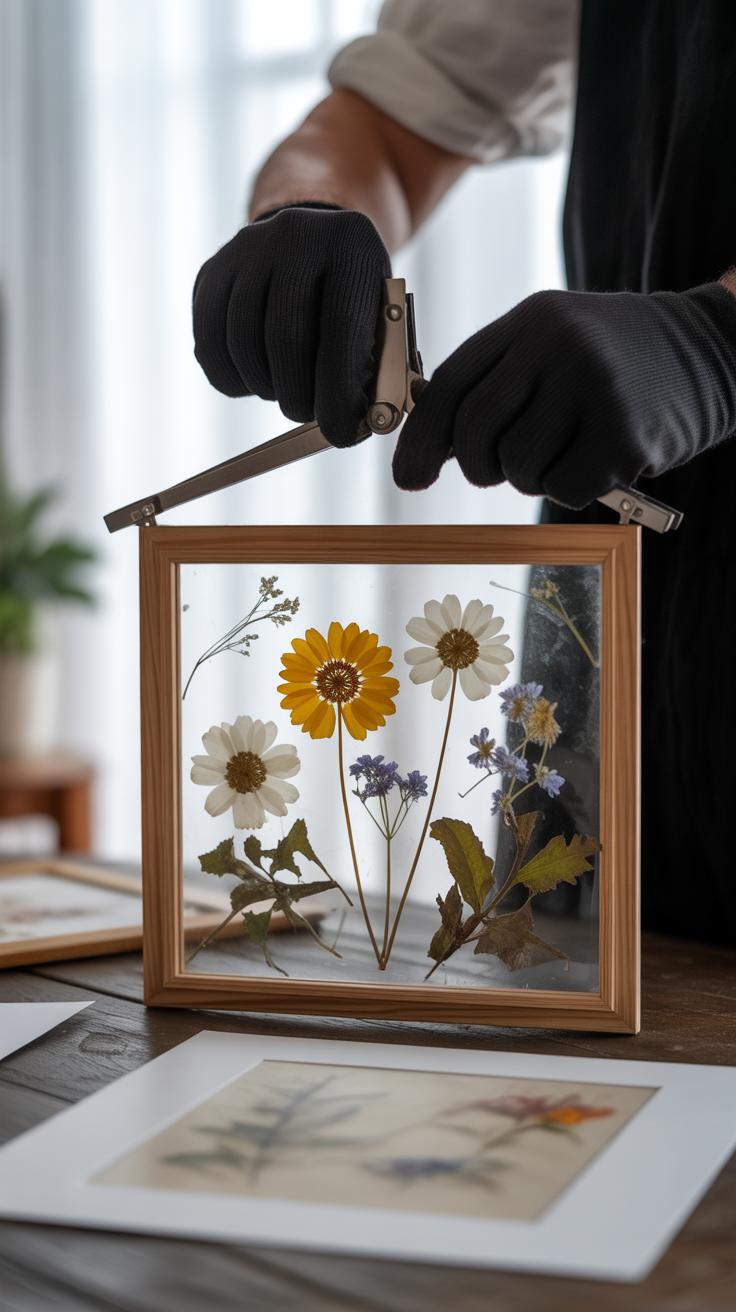
Choosing Frames and Glass
Framing your pressed flower art does more than simply showcase it. The right frame can protect fragile petals and keep dust from settling. When picking frames, think about depth—flowers aren’t perfectly flat, so a frame with enough space between the backing and the glass helps prevent damage.
Glass choice matters too. Regular glass might let in UV rays that fade colors faster. Opting for UV-protective or museum-quality glass can slow this effect down, preserving your piece for years. Some also use anti-reflective glass to minimize glare if your art hangs in a bright room.
Consider frames with secure sealing mechanisms to keep humidity out but that also allow occasional airing if needed, since pressed flowers aren’t totally inert. I remember trying a sealed frame once—after a few months, the flowers felt ‘stuffy’ and lost a bit of their vitality. A frame that balances protection with breathability seems best.

Frames come in all styles, so match it to your space and artwork without compromising care. Simple wooden or metal frames often work well and don’t overshadow the flowers themselves. When you get your framing right, it almost feels like the flowers live on, rather than just sitting behind glass.
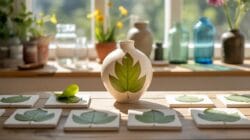
Creative Uses for Pressed Flowers
Pressed flowers are not just for framed art. Their delicate charm fits into a surprising range of projects, some you might not expect right away. Have you ever thought about using them to lift everyday items around your home? For instance, decorating furniture with pressed flowers can add a subtle natural touch—like embedding blooms under a layer of clear resin on a tabletop or drawer fronts. It’s a slow process, yes, but the effect is quite rewarding when you see nature preserved in such tangible form.
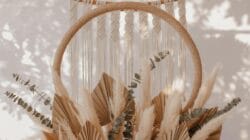
Walls, too, can benefit from pressed flower displays beyond traditional picture frames. Imagine creating a botanical collage directly on a canvas or mounting a cluster of flowers onto wooden panels for a rustic accent. It changes the vibe of a room, giving it a quiet freshness that synthetic decoration rarely achieves. Maybe you want to try attaching small blossoms inside lampshades or under glass cloches—a little experiment could surprise you with new dimensions.
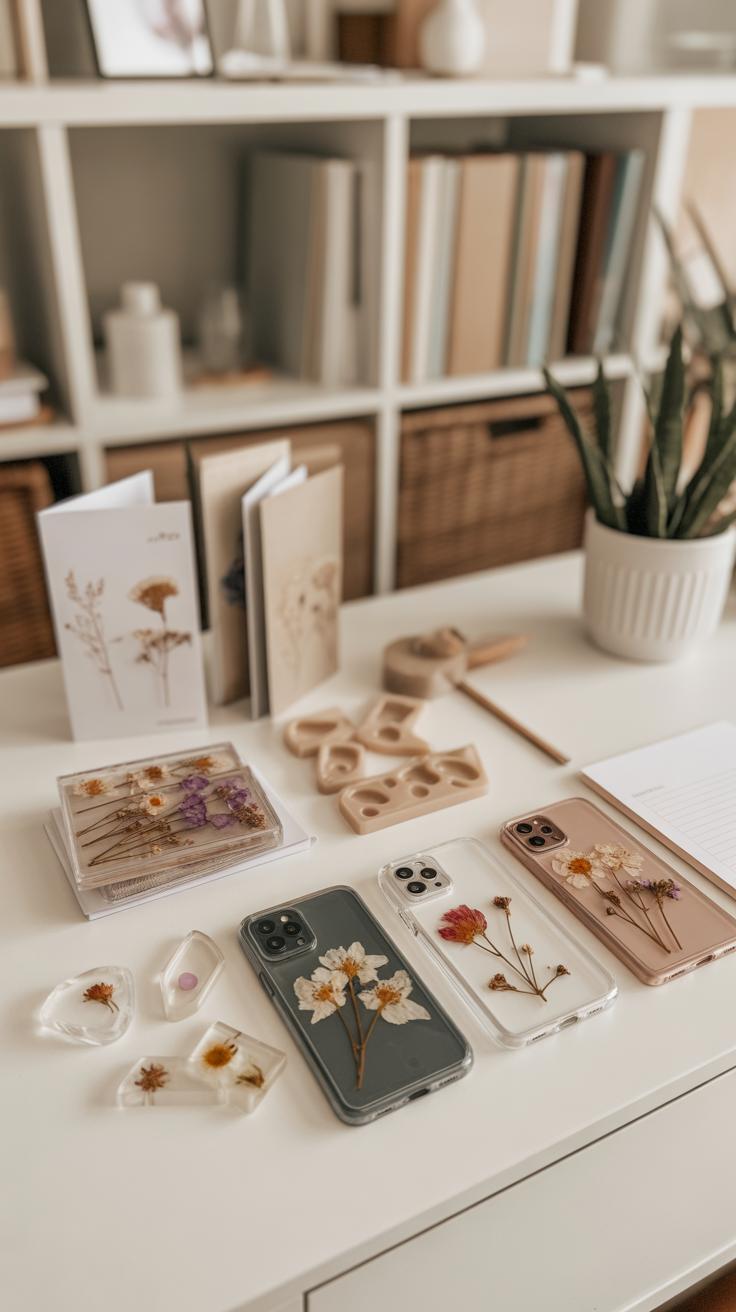
Personalized Gifts and Crafts
Using pressed flowers to make gifts feels more personal than picking something off a store shelf. Cards embellished with tiny petals or a whole leaf pressed flat bring a thoughtful surprise. Bookmarks are another favorite; they’re practical, lightweight, and easy to slip into a press before gifting. I remember once giving a friend a handwritten note with a flower tucked inside—the simplicity made it memorable, more than any expensive present might.
Other ideas? How about decorating jewelry boxes, phone cases, or small notebooks? Layering flowers within resin or clear adhesive can keep them safe and visible. The key is experimenting—don’t worry if things get messy or imperfect. Some flowers darken or curl unpredictably, which can be part of the charm. What personal touches might you add? Your own style can turn preserved petals into something uniquely meaningful.
Troubleshooting Common Issues
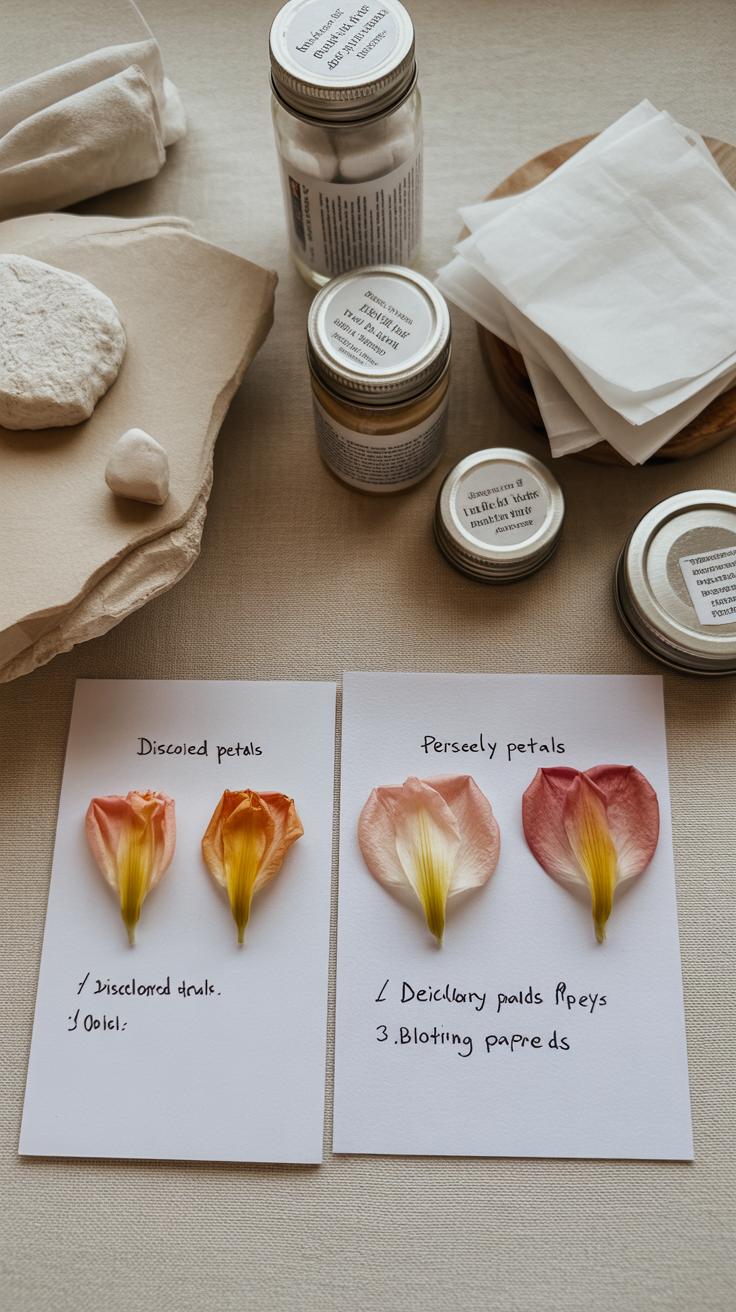
Color Fading and Damage
Colors in pressed flowers can fade, often because of exposure to light and moisture. Sunlight, even indirect, tends to drain the hues over time—especially reds and purples. Humidity is another culprit; it can cause petals to darken or develop mold. If you treasure the original vibrancy, store your pressed flowers away from windows and high-humidity spots. Sealing them under glass helps, but only if the seal is tight enough to keep moisture out. I once left a piece near a sunny window, thinking it would brighten the room—big mistake. The colors dulled in weeks.
To prevent damage, consider using acid-free paper when pressing and storing flowers. It slows down discoloration caused by acidic reactions. And don’t forget: the thinner the flower, generally, the better it presses and retains color. So choose wisely, especially when working with delicate blooms. Some flowers just won’t hold their vibrancy no matter what you do—like tricky yellows that somehow vanish over time.
Handling Fragile Materials
Pressed petals and leaves are fragile—sometimes ridiculously so. One wrong move, and they crumble. What’s tricky is they don’t always feel as fragile as they look until that sudden snap breaks your heart. Handle them with tweezers rather than fingers whenever possible. Your skin’s oils can weaken the petals or attract dust.
Support each piece on a flat, sturdy surface while you work. Avoid stacking flowers; pressing in batches can squash petals unevenly. When placing flowers in your design, don’t rush. It’s easy to over-adjust and damage them. I like to gently lift and reposition with a small brush rather than poking with fingers directly.
Also, humidity plays a sneaky role here again—too much moisture, and petals soften, making them more prone to tearing. Keep your workspace dry and organized. Does it feel tedious? Sometimes, but the pay-off is worth it. After all, patience preserves more than just petals; it preserves the beauty you want to share.
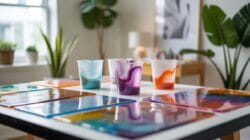
Advanced Techniques and Innovations
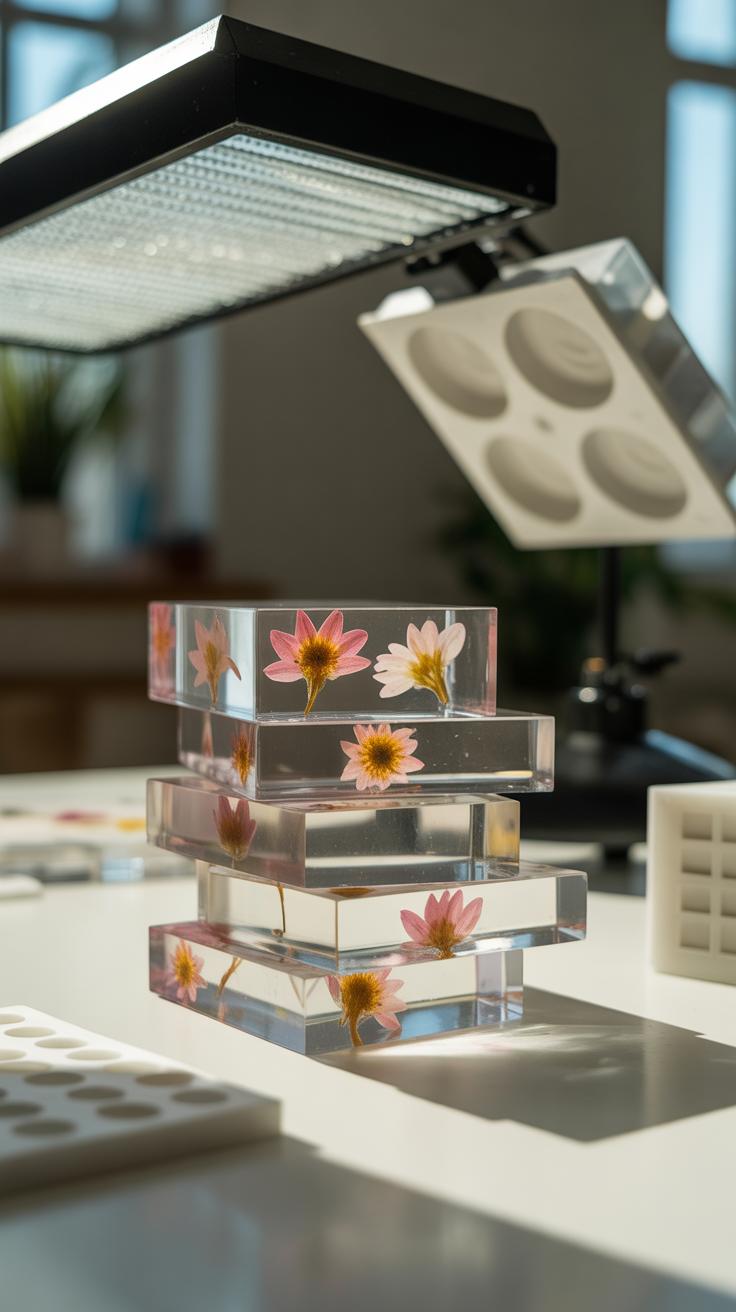
Pressed flower art has grown beyond traditional paper pressing; there’s a quietly unfolding wave of new methods shaking up how durability and appearance come together. For example, some artists now use light-curing resins to embed flowers, locking in vibrancy while creating a smooth, glass-like surface. These resins offer more than just protection—they let the petals keep their three-dimensional shape, which, frankly, can breathe more life into the piece compared to classic flattening.
When it comes to color, preserving that original bloom hue is tricky. Some try natural dyes or selective bleaching before pressing, while others apply gentle UV-protective sprays afterward to slow fading. I’ve noticed that a mild touch with glycerin-based solutions before drying can soften flowers and intensify color tones, though the results vary a lot depending on species and timing. So, it feels a bit like trial and error—one size rarely fits all.
The framing side of pressed flower art is evolving too. Vacuum-sealing frames, for one, show promise in extending longevity by removing oxygen and moisture. This reduces the slow decay that traditional frames don’t quite stop. On top of that, some artists build in anti-reflective glass and sealed silicone edges, adding layers of defense without distracting from the delicate work inside. It might seem a bit much for some, but when you’re investing hours into a single piece, these details could matter more than expected.
Joining the Pressed Flower Art Community
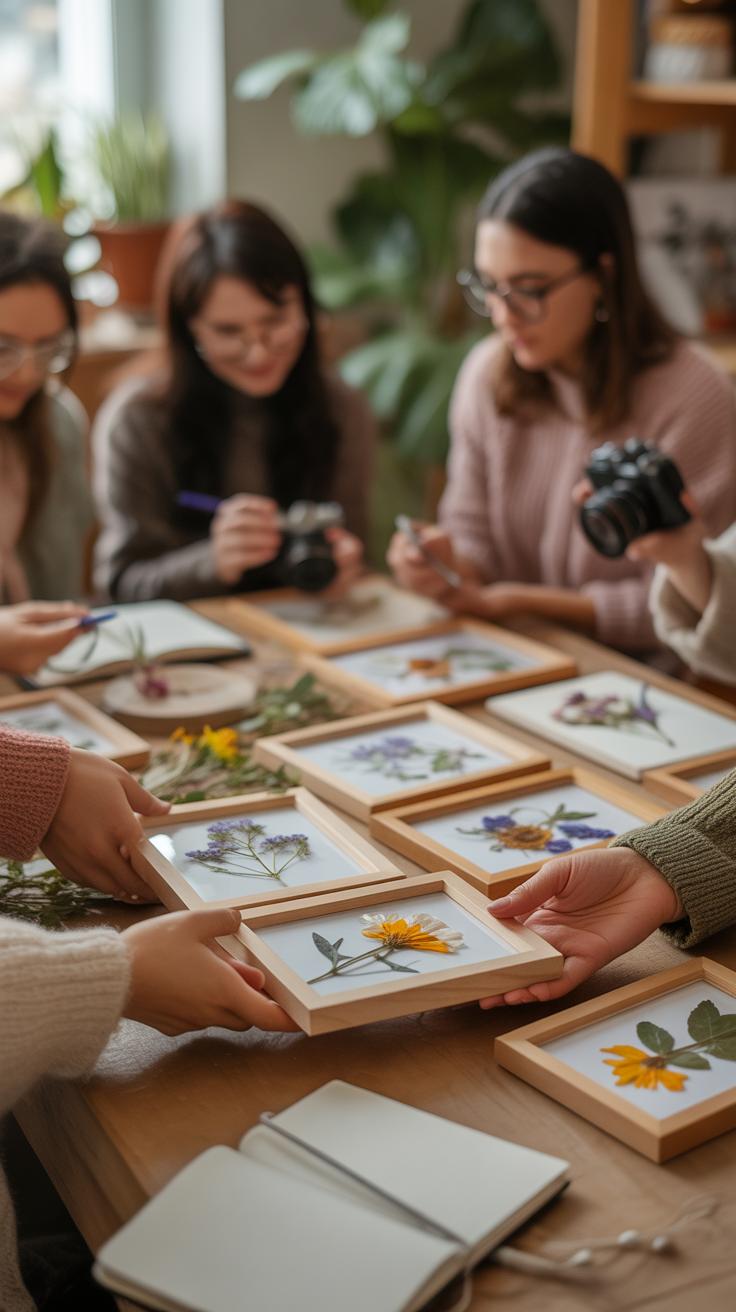
If you’ve grown curious about connecting with others who share your interest in pressed flower art, there are quite a few ways to get involved—online and offline. You might find it surprising how many groups and societies dedicated to this craft exist around the world. Sometimes it feels like you’re part of a small, secret club, but really, there’s a broad community eager to welcome newcomers.
Several international organizations actively promote pressed flower art, organizing exhibitions, workshops, and competitions. For example:
- The World Pressed Flower Art Federation, which hosts events and connects artists globally.
- The Japanese Pressed Flower Art Society, known for preserving traditional techniques and encouraging creativity.
- European groups like the UK’s National Pressed Flower Society, offering resources and challenges for all skill levels.
Joining these societies often opens doors to learning new methods and receiving feedback on your work. Sharing your projects isn’t just about showing off; it’s a chance to get inspired and to grow. You can enter contests to test your skills under gentle pressure, making it an interesting mix of fun and challenge. And honestly, entering competitions may seem intimidating at first—I’ve been there—but it pushes you to improve in unexpected ways.
Many groups maintain active forums or social media channels, which are great for asking questions or just admiring others’ creations. Sometimes, just scrolling through a gallery can spark ideas you never would have considered. So, if you’re wondering how to start, try posting your latest design or asking about techniques. Even if it feels a bit vulnerable, it usually leads to meaningful exchanges.
Conclusions
Pressed flower art is a simple and rewarding way to keep the beauty of nature alive. By following the steps and tips shared, you can create stunning pieces that tell a story. Each pressed flower holds a moment in time, making your art unique and personal.
Explore the techniques, experiment with designs, and enjoy the process. Your Botanical Time Capsule Pressed Flower Art can decorate your home or become thoughtful gifts. With patience and care, your pressed flower art will bring natural elegance to your life for years to come.


