

The Pigment Illusion: Why Store Bought Fails Your Vision

Generic Limitations Versus Custom Results
You want the colors to work the first time so you don’t waste money and look incompetent. Here’s what nobody tells you: store-bought resin pigments are formulated for mass production, not for your specific resin chemistry or application. The pigment base itself—whether it’s mica, iron oxide, or synthetic dye—gets engineered for shelf stability and ease of mixing across dozens of different resin types. This means the concentration and particle suspension are compromises, not optimizations.
The mechanism is simple. Pigment manufacturers blend for the broadest possible use case. Your resin has its own cure rate, viscosity, and UV sensitivity. When you force a one-size pigment into that equation, the color doesn’t fail because it’s bad—it fails because it was never designed for your exact conditions. The saturation drops, the transparency shifts, or the pigment settles unevenly during cure. Bespoke brilliance means matching the pigment formulation to your resin’s actual behavior, not hoping the generic version adapts.
Understanding Pigment Base Inconsistencies
Pigment base inconsistency is a logistics problem masquerading as a chemistry problem. Think of supply chain dynamics here: when a manufacturer sources iron oxide from different suppliers or adjusts particle size to manage costs, the pigment’s performance in resin shifts. The same product name on the bottle doesn’t guarantee the same result batch to batch. You can’t see this inconsistency until you mix and cure, which means you’re debugging after wasting material.
The real action step is to establish baseline tests for every pigment batch you buy. Mix a small sample with your exact resin formulation, note the cure time and temperature, measure color saturation at twenty-four and seventy-two hours, and document the results. Run this test before committing to large orders. This isn’t overthinking—it’s the only way to catch when a supplier changes their sourcing or manufacturing process. You stop chasing perfect colors and start chasing reproducible ones.
The Chroma Code: Decoding True Color Science
How Light Becomes Color
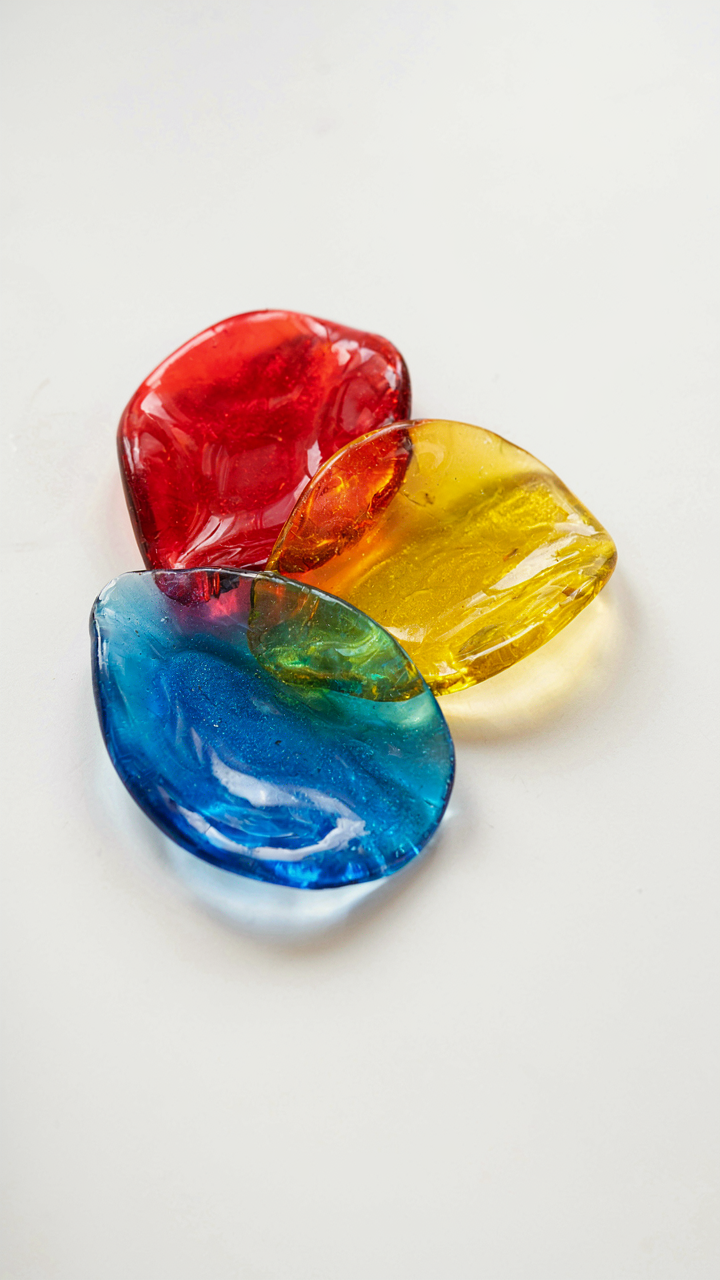
You want your resin flowers to stop traffic because color signals status, and you know it. Here’s what actually happens: light is energy. When light hits a pigment particle suspended in resin, that particle absorbs certain wavelengths and reflects others back to your eye. The wavelengths that bounce back determine what color you see. Pigments don’t create color. They destroy it by selective absorption.
Most guides skip this and jump straight to “mix these pigments.” That’s incomplete. Understanding absorption and reflection tells you why some pigment combinations muddy while others stay vibrant. A pigment that absorbs red wavelengths and reflects blue appears blue. Stack two pigments and they compound the absorption. This mechanism controls whether your final resin flower glows or looks dead.
The Three Color Frequencies That Matter
Color theory borrowed from painting has one gap: resin operates differently than canvas because light transmits through it, not just onto it. Think of resin as an optical medium, not a surface. Your pigment particles sit suspended in a translucent matrix. When light passes through, it encounters layers of absorption and reflection simultaneously. Primary colors in resin don’t behave identically to primary colors in acrylic paint because the medium changes the mechanism.
Red, yellow, and blue are the conventional primaries, but in resin, what matters is how each pigment’s absorption profile interacts with light passing through translucent material. Secondary colors emerge from mixing primaries: red plus yellow makes orange, yellow plus blue makes green, red plus blue makes violet. Tertiary colors split the difference between primaries and secondaries. Your pigment ratios determine which wavelengths survive the journey through the resin matrix to reach the viewer’s eye. Mix by mass percentage, measure consistently, and log every ratio that works.
The Viscosity Protocol: Achieving Perfect Resin Flower Color Pigments Dispersion
How Much Pigment Actually Works
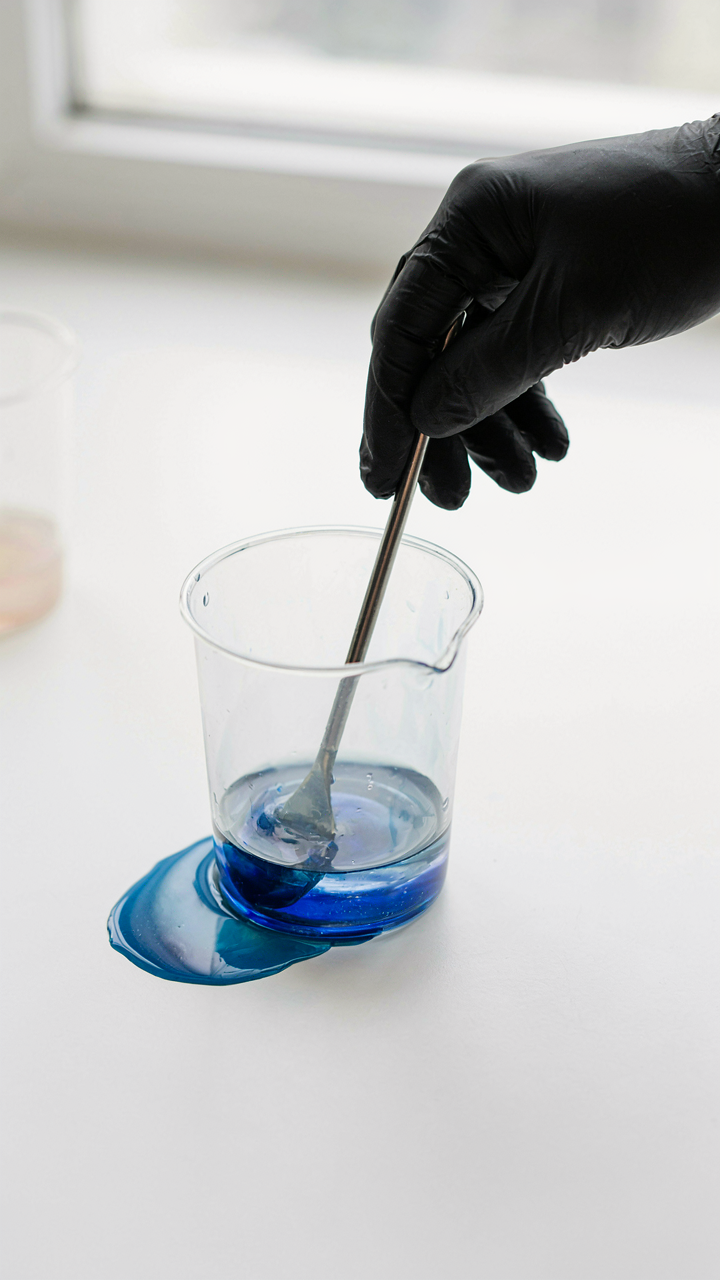
You want to know the exact ratio because uncertainty feels like failure. The real mechanism is simple: pigment load is determined by the resin’s ability to suspend particles before they separate. Most epoxy and polyester resins max out around 10-15% pigment by weight before you hit diminishing returns. Beyond that, you’re not adding color—you’re adding density that fights dispersion.
Start at 5% and test upward in small batches. Weigh your resin, multiply by 0.05, that’s your pigment amount in grams. This method reveals the threshold where your specific resin stops holding pigment uniformly. Don’t guess based on what worked for someone else’s resin batch.
Stopping Settling Before It Starts
The physics term is “sedimentation”—and your pigment particles behave exactly like sediment in water. Pigment settles when resin viscosity can’t keep particles suspended against gravity. The common advice of “just stir well” is incomplete. Stirring only works if your viscosity supports it.
Lower viscosity resin allows faster settling. Higher viscosity resin holds particles suspended longer. Use a viscosity modifier or heat the resin slightly to increase flow before mixing pigment in. Add pigment slowly while stirring, then maintain motion for 3-5 minutes after. Pour immediately after mixing, before particles have time to separate in the container.
Raw Power: Sourcing Unconventional Pigment Bases For Epoxy Resin Flowers
The Real Trade Off Between Natural And Synthetic Pigments
You want natural pigments because they feel pure, but that sentiment costs you consistency and depth. The mechanism is simple: natural pigments oxidize, fade, and shift hue unpredictably under UV exposure because they lack the molecular stability synthetics engineered into their structure. Synthetic pigments won’t degrade the same way your grandmother’s rose petals do. You get repeatable color, better light fastness, and higher saturation in smaller quantities.
Natural pigments excel where you need transparency and subtlety. They diffuse light differently through resin, creating depth synthetics can’t replicate without layering. The trade is control. You sacrifice batch-to-batch consistency for organic character. Most professionals use synthetics as their base and layer naturals strategically to add dimensionality. This isn’t compromise. It’s understanding what each material actually does instead of what marketing says it does.
Where To Source Mineral Botanical And Organic Bases
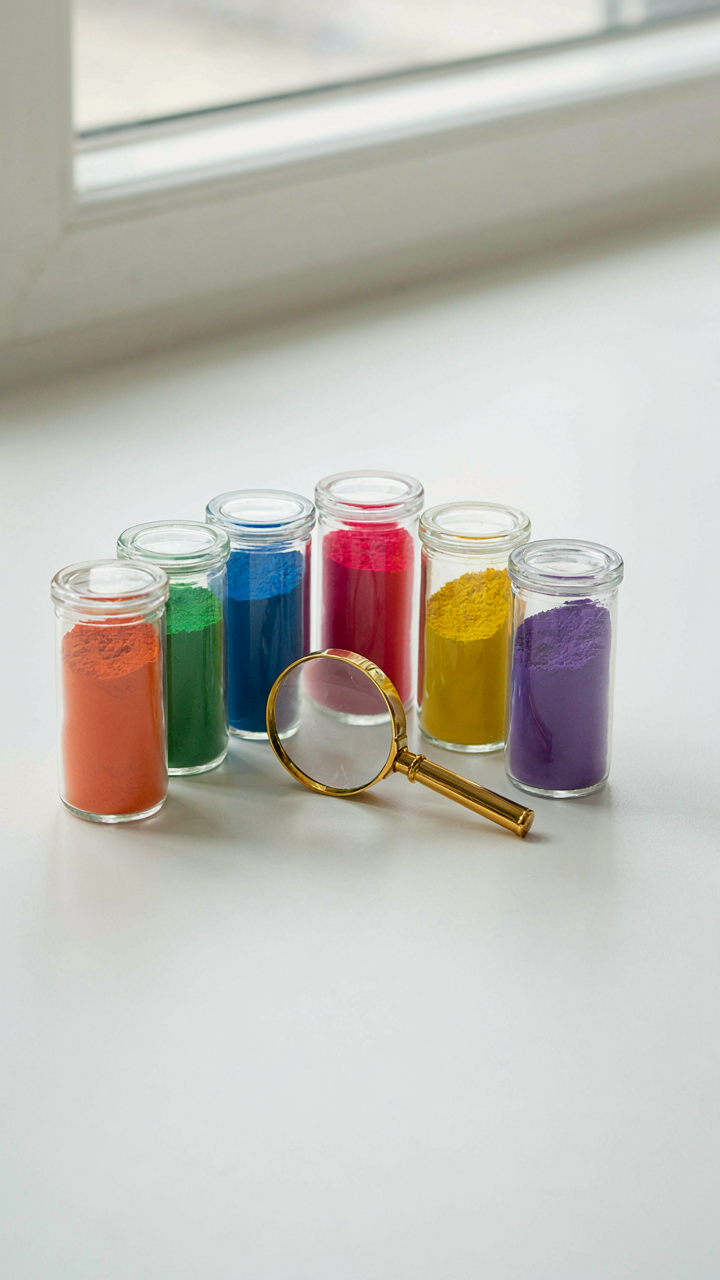
Mineral pigments come from crushed earth compounds: iron oxides from mining operations, ultramarines from lapis lazuli deposits, and titanium dioxide from industrial refinement. Botanical sources include madder root for reds, weld for yellows, and indigo from fermentation. Organic bases pull from insect sources like cochineal for crimsons and lac resin for warm oranges. The sourcing matters less than purity grade.
- Iron Oxides: Yellow, red, and black varieties from mining. Stable under UV. Cost effective for volume work. Mix predictably in epoxy without blooming or separation issues.
- Mica Powders: Mineral-based shimmer from mica sheets. Creates layered light effects. Won’t fully dissolve in resin, so stir constantly and work in thin dispersions.
- Ultramarines: Lab-synthesized lapis lazuli pigment. Deep blues and purples. Higher cost but exceptional light fastness. Use sparingly because saturation builds fast.
- Cochineal Extract: Insect-derived organic pigment. Produces reds and magentas. Prone to fading without UV inhibitors. Source food-grade versions for controlled purity.
- Activated Charcoal: Organic carbon source for blacks and grays. Creates matte finish when dispersed. Absorbs moisture, so store sealed and mix into resin immediately before the viscosity thickens.
Buy pigments in powder form from suppliers specializing in epoxy or cosmetics, not art supply stores. Art-grade pigments contain binders and fillers designed for paint, not resin. The purity difference determines whether your flowers maintain color saturation or dull into muddy tones after curing. Verify particle size specs before ordering: anything coarser than 5 microns will create texture instead of smooth saturation.
The Binder Breakthrough: Matching Pigments To Resin Chemistry

Epoxy Resin Types And Pigment Compatibility
You’re reading this because you’ve already wasted money on pigments that either separated, shifted color, or refused to cure properly. The real mechanism: epoxy resin chemistry operates like a lock, and pigment particles are keys. Not all keys fit all locks. Two-part epoxy systems cure through a chemical reaction between resin and hardener molecules. Pigment compatibility depends on whether those molecules can flow around the pigment particles without rejection or stalling.
Different epoxy formulations have different molecular structures. Some resins use bisphenol-A base chemistry, others use cycloaliphatic or specialty blends designed for UV resistance or flexibility. Organic pigments dissolve or swell in certain resin chemistries and remain inert in others. Inorganic pigments like iron oxides or titanium dioxide interact differently with resin chains than mica-based or synthetic organic colorants. The pigment must be physically compatible with the resin’s viscosity at application temperature and chemically stable enough that it doesn’t interfere with the epoxy-hardener crosslinking reaction.
Preventing Curing Inhibition And Discoloration
People say “use quality pigments and you’ll be fine.” That’s incomplete. The actual problem: certain pigments contain trace elements or surface coatings that inhibit epoxy curing by blocking the resin-hardener reaction. This isn’t always visible until 24 hours in, when your piece stays tacky or remains semi-liquid. Iron oxide reds and some ultraviolet-absorbing pigments carry the highest risk. You need pigments explicitly formulated for epoxy systems, not generic colorants meant for acrylics or watercolors.
Discoloration occurs through oxidation and pigment migration. Amine-based hardeners naturally yellow over time, and incompatible pigments accelerate this. The solution is straightforward: test pigment batches in your specific resin-hardener combination before committing to a full pour. Mix a small sample, measure cure time, check color after 48 hours and again after 7 days under natural and artificial light. Document which pigments maintain stability in your exact resin system so you can replicate results without guesswork.
The Opacity Spectrum: From Sheer To Opaque Resin Flower Art Tutorial
How Light Moves Through Pigment
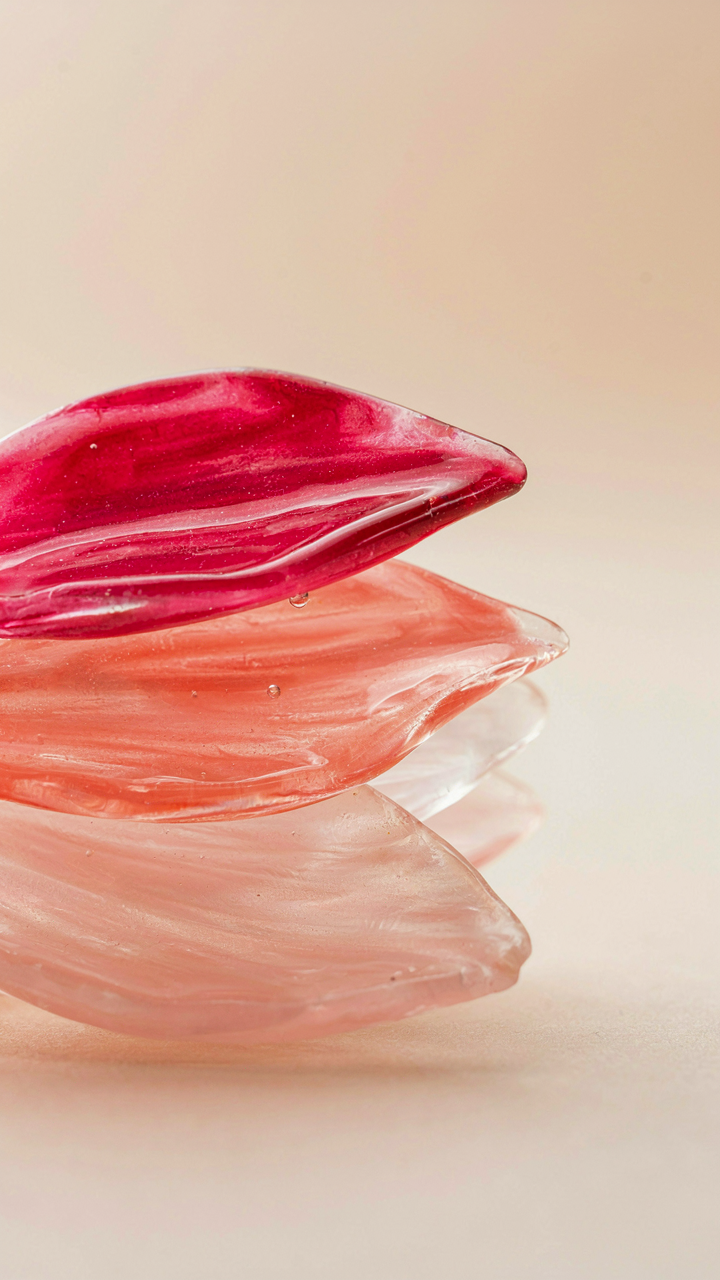
You want opacity control because it signals mastery. Most makers don’t understand the actual mechanism: opacity is about particle density and refractive index mismatch between pigment and resin. The pigment particles scatter light instead of letting it pass straight through. More particles or particles with higher refractive index values block more light. This is pure physics, not preference.
Different pigment types achieve opacity differently. Mica powders and synthetic oxides scatter light across their surface. Dyes dissolve into resin and transmit light rather than block it, creating transparency. Carbon black works through absorption, not scattering. Titanium dioxide scatters aggressively and dominates opacity conversations. The pigment you choose determines your ceiling for control before you even measure a ratio.
Building Depth With Stacked Color
Layering techniques fail when people treat each layer as isolated. The real mechanism is interference: bottom layers show through top layers based on pigment concentration and cure time between applications. Semi-opaque pigment over semi-opaque pigment creates visual depth that solid opaque pigment never achieves. This is how you move past flat, poster-like flowers into three-dimensional work.
Start with a translucent base layer using low pigment ratios, around 0.5 to 1 percent by weight. Cure fully. Add intermediate layers at 2 to 3 percent concentration. Finish with opaque details at 5 percent or higher. Each layer’s visibility depends on the pigment type beneath it and the thickness you pour. The bottom layer never disappears completely if you use transparent or translucent pigments in the middle tiers.
The Color Theory Matrix: Applying Design Principles To Resin Blooms
What Nature Actually Reveals About Hue
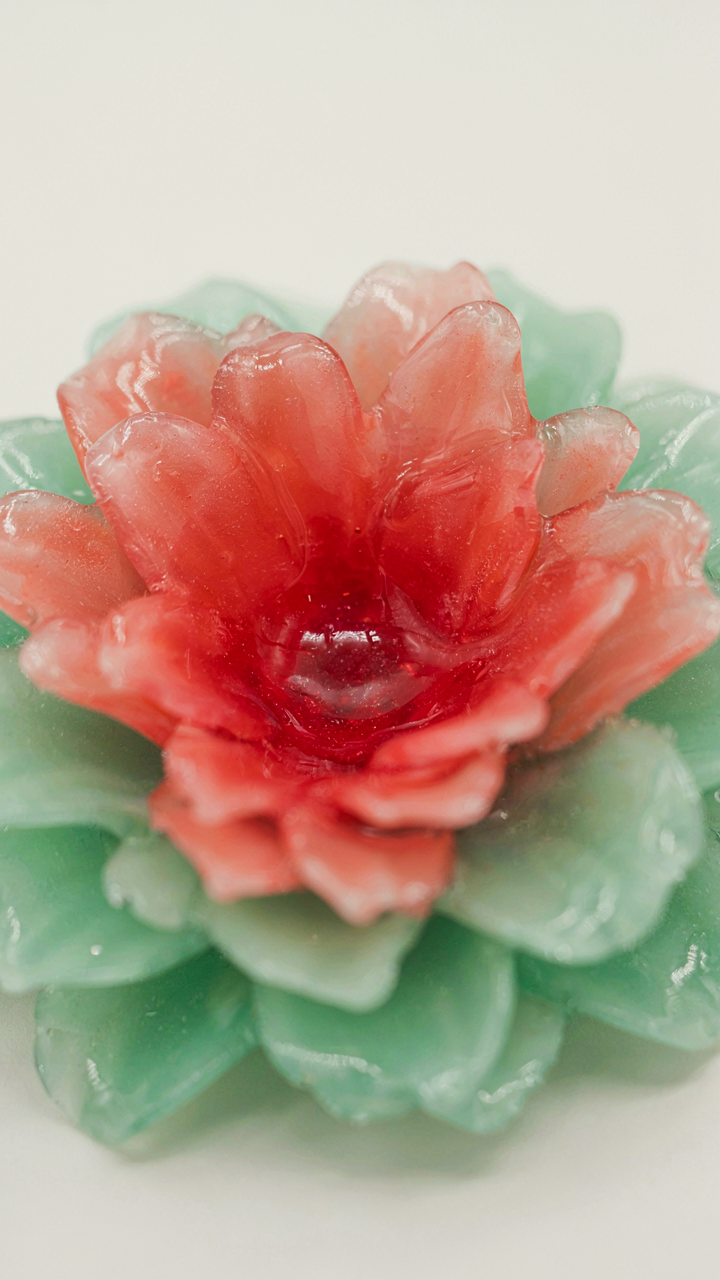
You want your resin flowers to look “real” because selling something that looks artificial feels like admitting you cut corners. But that’s backwards. The mechanism is this: natural flowers don’t follow a color rulebook. They follow constraints. Biology from evolutionary pressure creates patterns that work, not patterns that look pretty. Mimic those constraints, not the subjective aesthetic.
Petals layer pigments in specific ways because light absorption and reflection serve reproduction, not decoration. Deep reds concentrate in centers where pollinators focus. Gradients exist because pigment density varies with petal thickness and age. When you reproduce this in resin, you’re not making it “realistic”—you’re embedding the logic that made the original form work. Study actual flower cross-sections under magnification. The color shifts aren’t random.
The Emotional Currency Of Color Separation
Common advice says “use complementary colors for contrast” and leaves you hanging. That’s incomplete because it ignores what contrast actually does in human perception: it creates decision friction. Your buyer’s brain has to work to process the image. That work either builds tension or releases it depending on the color pair and saturation relationship. Psychology maps this as arousal versus calm. In resin work, high saturation complementary pairs trigger active engagement. Analogous palettes with muted saturation trigger rest states. Pick the emotional load first, then select pigment combinations that deliver it.
The real lever is saturation hierarchy, not hue selection. One fully saturated pigment surrounded by desaturated tones forces the eye to that point. This works because the brain prioritizes high-saturation signals as important. In nature, this signals ripeness or health. In your resin pieces, it signals intentionality. Build your color mixing protocol by testing pigment ratios at three saturation levels: full strength, 50 percent dilution with clear base, and 25 percent. Document which emotional response each achieves in your target buyer segment.
Testing & Iteration: The Resin DIY Lab Method
Batch Testing And Formulation Adjustments
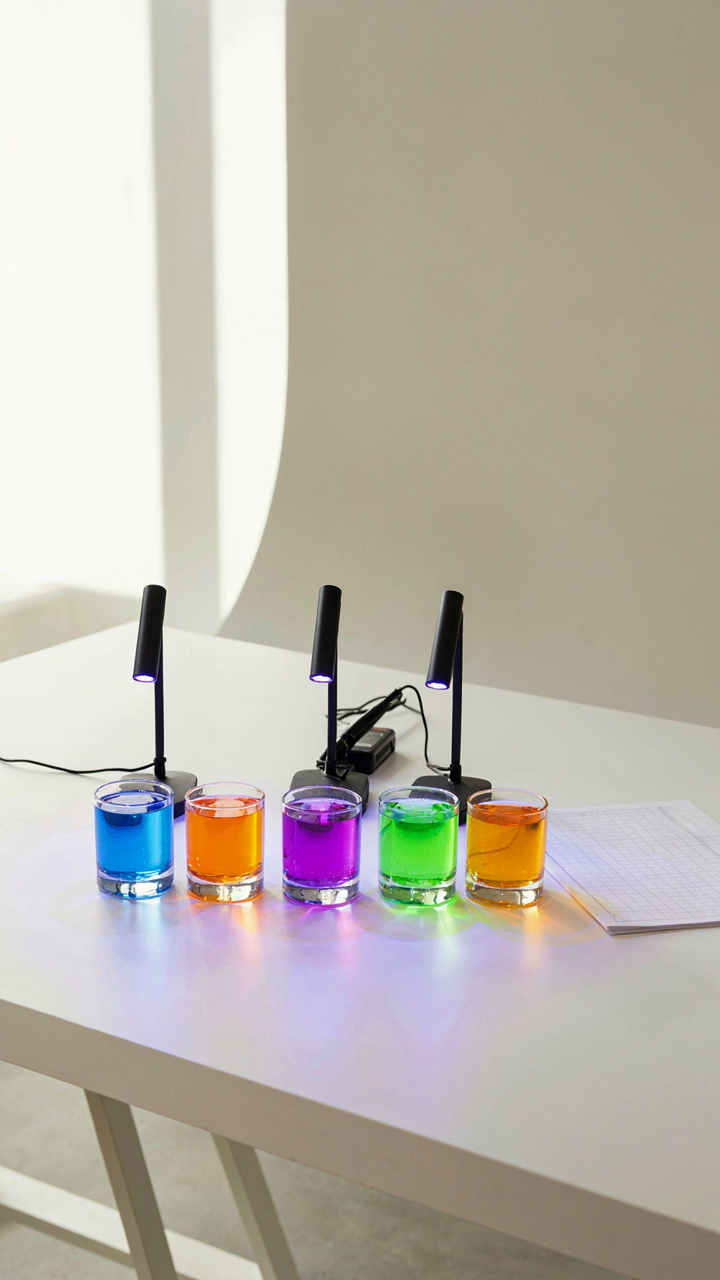
You want consistent results without looking like you’re guessing. The real problem is that most makers treat each pour like a one-off experiment instead of running controlled variables, which is how chemistry actually works. Pigment concentration, resin type, cure temperature, and UV exposure interact in ways you can’t predict by intuition alone.
- Single Variable Tests: Change one input per batch (pigment ratio, pour speed, temperature). Keep everything else identical so you isolate what actually moves the needle on color output and clarity.
- Pigment Load Range: Test 0.5% to 3% concentration by weight in the same resin base. Most makers underdose or overdose without knowing their sweet spot for saturation versus translucency trade-offs.
- Cure Condition Variants: Run identical formulations under different temps, humidity levels, and UV lamp distances. Environmental factors shift pigment suspension and final color tone more than most people acknowledge.
- Resin Base Comparisons: Same pigment in epoxy versus polyester versus UV resin produces measurably different results. The resin’s molecular structure changes how pigment particles disperse and light passes through.
- Mixing Duration Tests: Time how long you agitate pigment into resin before pouring. Under-mixing creates uneven color; over-mixing can degrade certain organic pigments or introduce unwanted air bubbles that affect visual depth.
Small batches prevent waste while giving you real data. Use consistent mold sizes, measure pigment by weight not volume, and pour all test batches on the same day under identical conditions. This removes noise from your results and lets you spot patterns that matter.
Recording Results For Future Replication
Documentation without structure is just noise. Write down the mechanism, not vibes: exact pigment type and supplier batch number, resin model and age, temperature range during cure, pour thickness, final color appearance under natural and artificial light, and any clarity loss or settling.
Use a simple table with columns for each variable and mark the outcome as pass, fail, or iterate. Include photos under consistent lighting because color perception shifts dramatically between LED, fluorescent, and daylight. After five to ten batches, patterns emerge: you’ll see which pigment brands hold suspension, which ratios prevent clouding, and which cure conditions lock in the exact shade you want. Reference this log before every new project instead of recreating the wheel.
Beyond The Bloom: Advanced Resin Crafts Pigmentation
When Light Becomes The Pigment
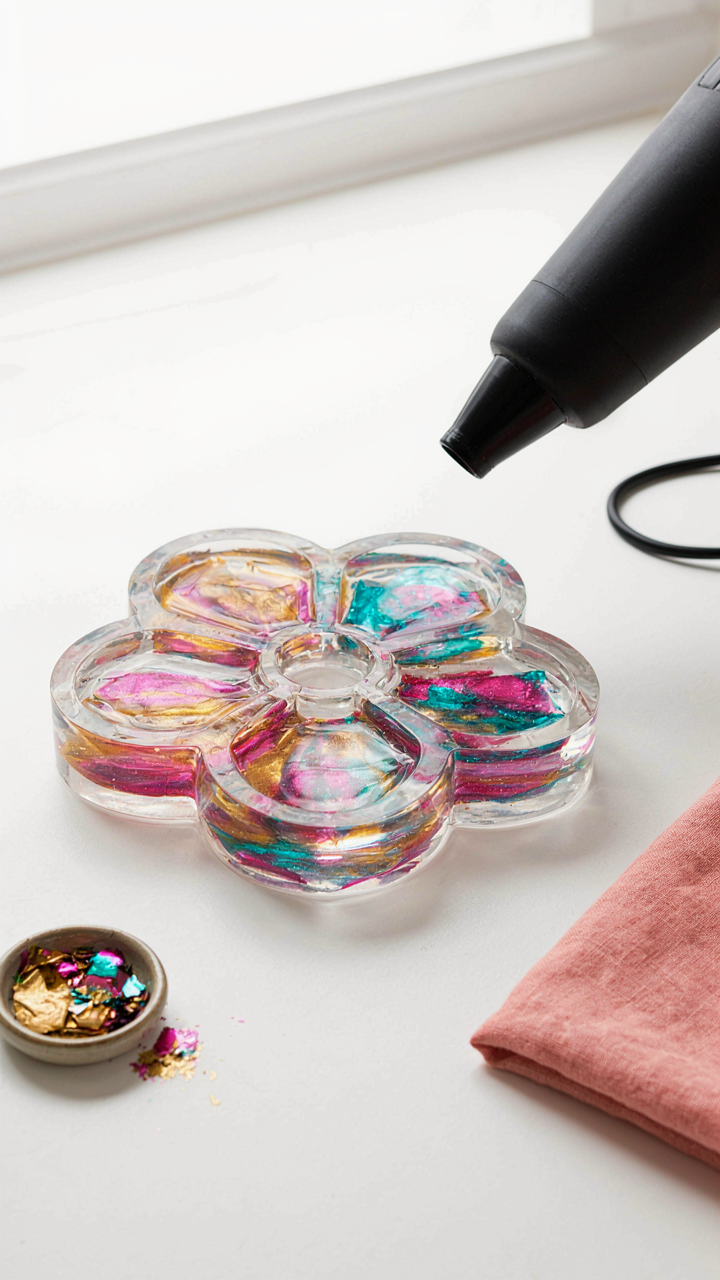
You want these effects because they signal mastery. Everyone can dump color into resin. Metallic, iridescent, and glow effects work through light manipulation, not pigment density. The mechanism is optical physics applied to suspension. Mica powders and pearl pigments don’t add color the way traditional pigments do. They refract and reflect light at specific angles, creating an effect that changes based on the viewer’s position and the light source. Aluminum oxide particles in metallic pigments work the same way mirrors do. The result feels intentional and expensive because it demands technical control most makers skip.
Iridescent pigments layer multiple thin films that interfere with light wavelengths. This is why angle matters. Glow pigments use photoluminescence, not reflection. They absorb UV energy during exposure and release it slowly as visible light. Common advice treats all three the same. It’s wrong. Each requires different resin curing speed, UV source intensity, and embedding depth to prevent degradation or uneven activation. Your resin’s clarity directly impacts how much light these pigments can manipulate. Cloudy resin kills the effect before it starts.
Depth Creates Dimension
The real mechanism here comes from layering theory in materials science. Think of internal luminosity like soil stratification. Each layer of color sits at a different depth, and light must travel through multiple densities before reaching the viewer’s eye. Embedding color for internal luminosity isn’t about mixing pigments into resin evenly. It’s about strategic placement. You build depth by pouring in stages, letting resin cure partially between pours so pigments stay suspended at their intended level rather than settling or floating.
Translucent pigments work better than opaque ones for this purpose. Alcohol-based dyes penetrate resin more evenly than powder pigments. The critical step is controlling resin viscosity during each pour. Thicker resin holds pigment position better. Once you pour, manipulate the resin with heat or movement before it gels completely. The pigment migration window lasts thirty to ninety seconds depending on your resin formula. After that point, the pigment locks in place. Measure your pot life before your first pour, then time your pours backward from full cure.
The Real Obstacle Isn’t Your Pigment, It’s Your Reliance On Someone Else’s Formula
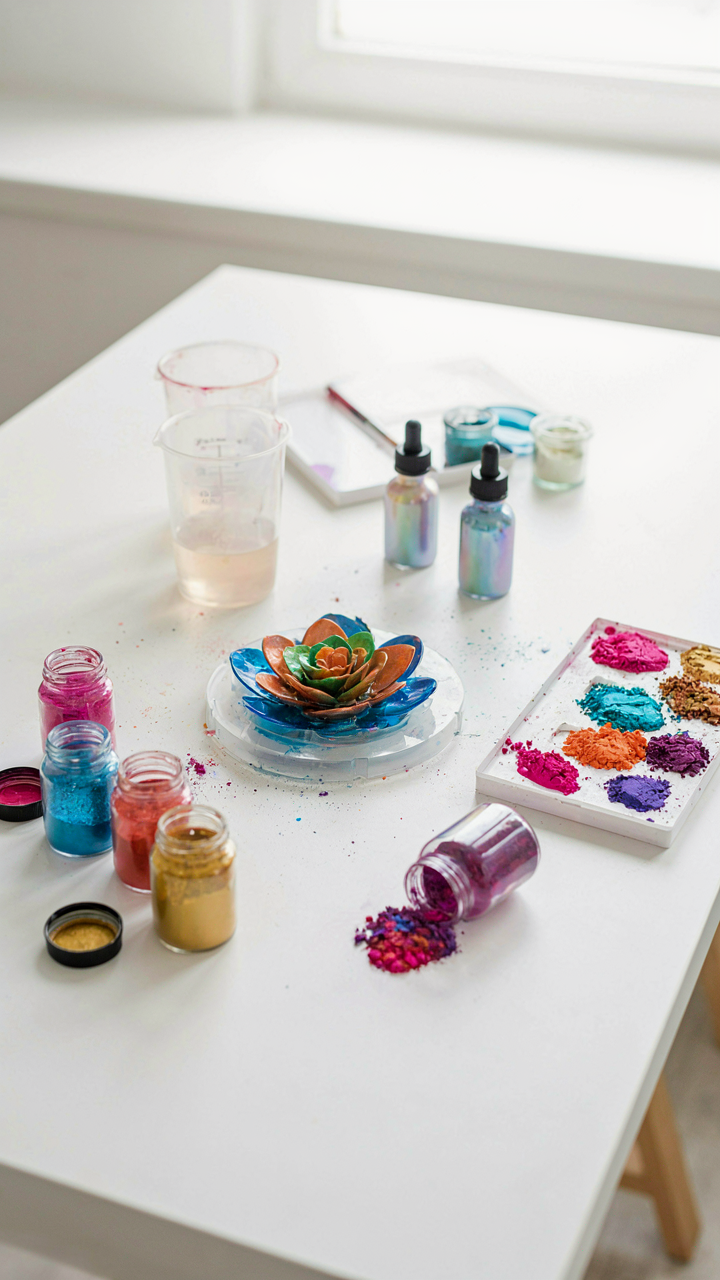
You’re waiting for permission to experiment. You’re copying ratios instead of building intuition. The pigments don’t fail. Your willingness to fail does. Mix one batch today that breaks every rule you’ve read. Document what happens. The craftsmen who dominate this space aren’t following recipes. They’re breaking them systematically. Your competitive edge lives in the experiments nobody else runs.



