
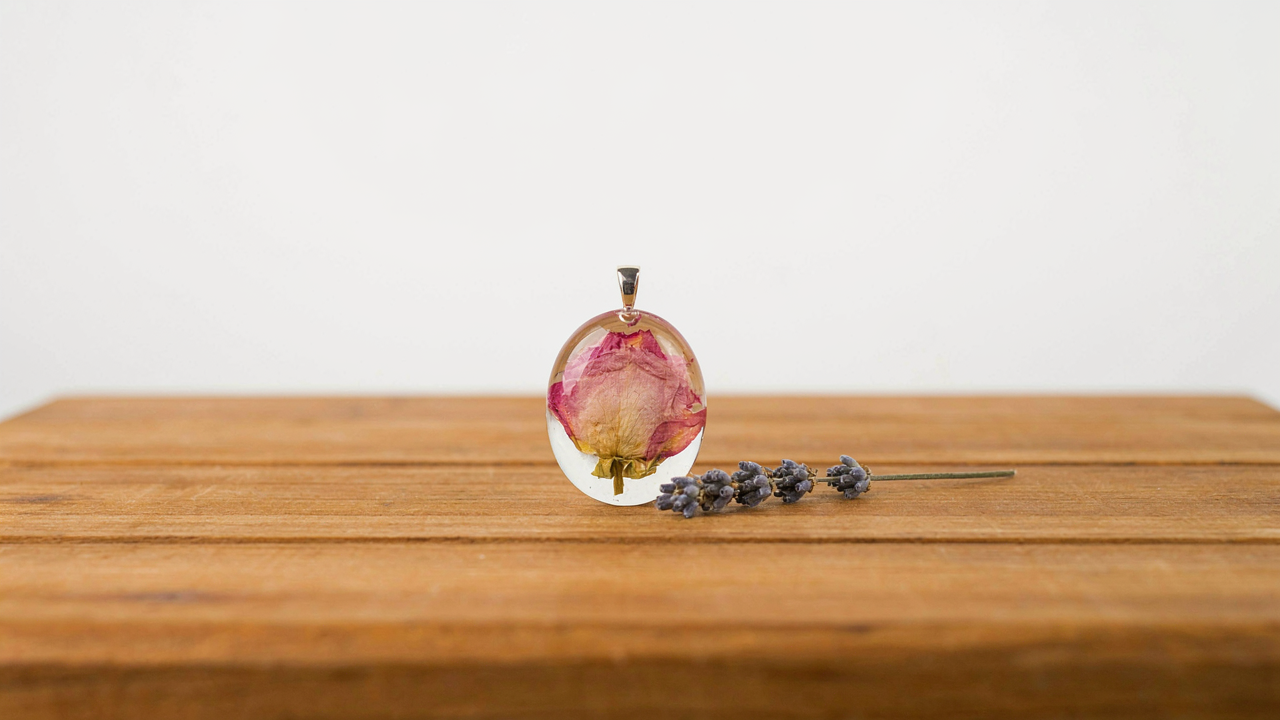
The Preservation Paradox: Why Your “Fresh” Flowers Fail
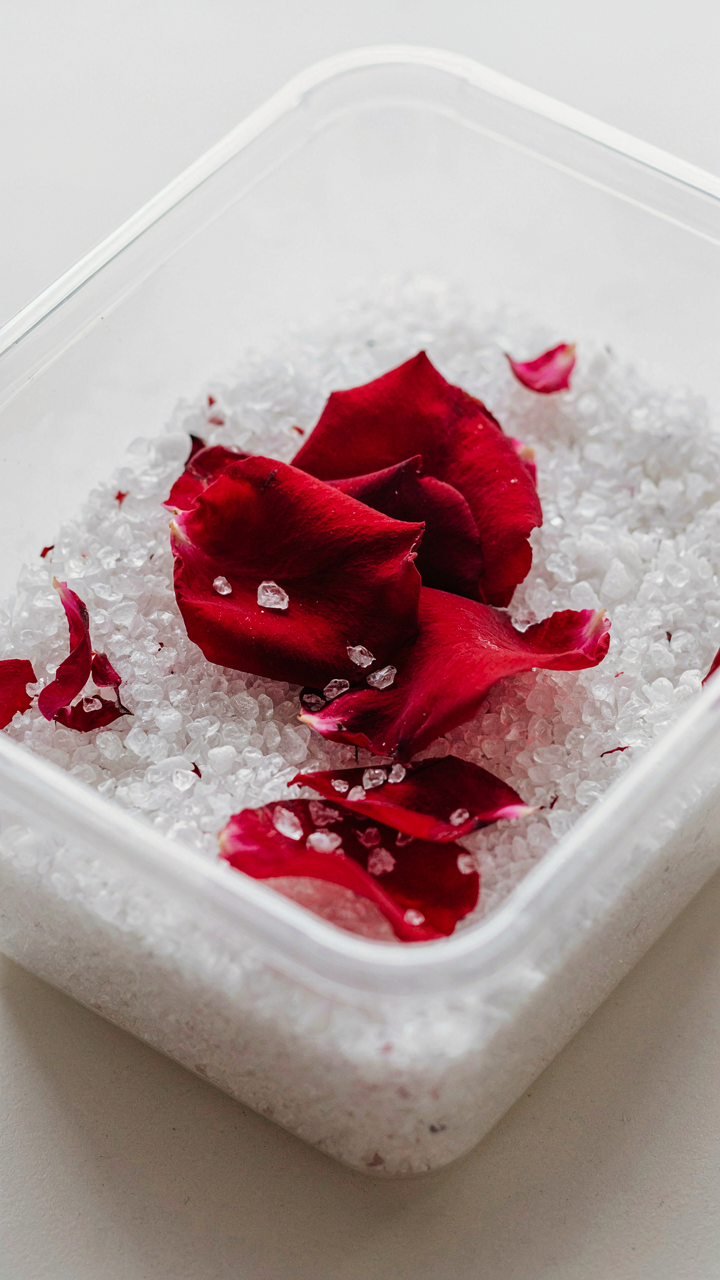
Moisture Elimination Protocols For Lasting Resin Flowers
You want to cast flowers in resin because you think it’ll preserve that fresh moment forever. It won’t, unless you remove the water first. The mechanism is straightforward: moisture trapped inside resin creates cloudiness, brittleness, and accelerated degradation. Flowers contain 80 to 90 percent water. Resin is hydrophobic. They are fundamentally incompatible until you eliminate that moisture completely through deliberate drying protocols before casting.
The common mistake is assuming air alone will dry flowers sufficiently. It won’t. Surface moisture evaporates, but cellular water remains trapped deep in petals and stems. You need active moisture removal, not passive waiting. The flower must reach a moisture content below 15 percent before it touches resin. Below that threshold, the resin cures clear and the flower retains structural integrity without degradation markers appearing months later.
Air Drying Versus Silica Gel: The Real Trade Off
Air drying is slower but gentler on delicate petals. It takes 7 to 14 days depending on humidity and airflow. Silica gel dries flowers in 2 to 5 days by absorbing moisture directly from cellular tissue. Neither method is universally superior. Air drying preserves more natural color variation but leaves residual moisture. Silica gel removes more moisture but can bleach pigmentation if left too long in the medium.
Choose silica gel if you’re casting within weeks and need maximum moisture removal for clarity. Choose air drying if the flower has already lost its fresh appearance and you’re working with a longer timeline. The deciding factor is your resin cure time and the visual result you’re targeting. Once dried, store flowers in airtight containers with desiccant packs until casting to prevent reabsorption of ambient moisture from the air.
Beyond Basic Molds: Engineering Unique Resin Crafts With Flowers
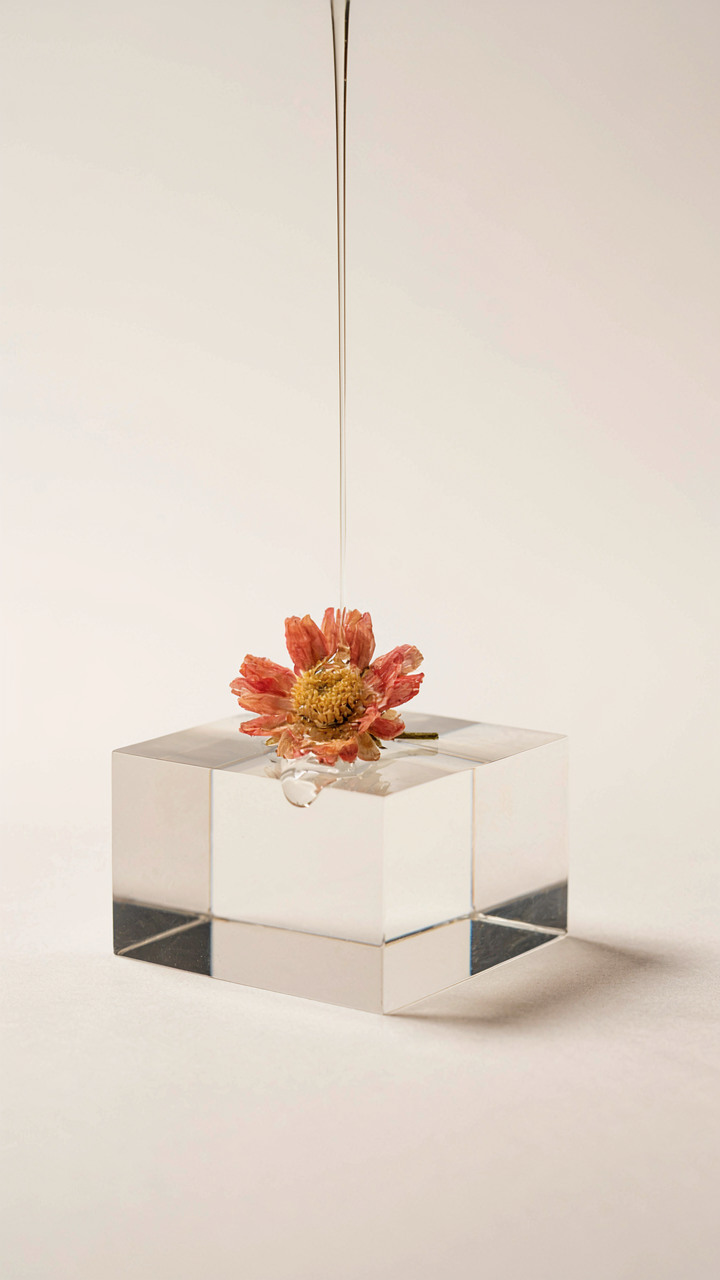
What Material Actually Controls Your Detail
You want people to notice the craftsmanship, not suspect you bought it wholesale. The mechanism is simple: mold material determines surface tension behavior during pour, which controls how resin fills micro-geometry. Silicone, polyurethane, and epoxy molds each release resin differently. Silicone molds hold moisture and create surface tension that prevents sharp detail transfer. Polyurethane captures finer geometry but degrades faster under UV exposure and alcohol contact.
Epoxy molds deliver the sharpest detail capture because the material cures rigid and doesn’t flex during demolding, which means zero detail distortion. The trade-off is obvious: epoxy molds cost more and require precision in mold release application. Choose based on your flower’s actual complexity. Simple, large petals work fine in silicone. Intricate stamens and fine veining demand polyurethane or epoxy. The detail you lose in the mold is the detail your final piece never recovers.
Making Molds That Don’t Exist Yet
The standard advice says use existing molds and accept their limitations. That’s incomplete. Custom mold creation is a materials problem, not an art problem. You’re not being creative, you’re engineering a negative space that captures what commercial molds ignore.
The process uses thermoplastic or two-part silicone mixed with clay masters. Build your master from polymer clay, pressed flowers, or 3D-printed forms. The master quality directly determines mold quality. A pressed flower loses detail if compression is uneven. A 3D-printed master introduces layer lines that transfer to your resin casting. Cast your mold by carefully pouring liquid silicone around the master, removing air bubbles with a pressure chamber or vacuum degasser. Once cured, demolding should take 24 hours minimum. Test the mold with clear resin before committing to colored batches. Your first three pulls reveal whether surface tension or undercuts will cause sticking.
The Resin Chemistry Playbook: Avoiding Common Pitfalls

Getting The Ratio Right Without Ruining Everything
You care about this because one wrong move tanks hours of work and money. The real mechanism is stoichiometry—the chemistry principle that mass matters. Epoxy resin requires precise hardener ratios because the two components link through molecular bonds. Too much hardener and the resin cures too fast, trapping heat and bubbles. Too little and it stays tacky or never hardens at all. Temperature amplifies this problem. Warm environments accelerate the cure reaction, which means your timing window shrinks.
Room temperature sits around 68 to 72 degrees Fahrenheit for most home setups. This baseline matters because manufacturers calibrate their resin and hardener ratios to this range. Deviate ten degrees in either direction and your cure time shifts significantly. The hardener percentage is not a suggestion. Most two-part epoxy systems demand 1 to 1 ratios by volume or weight, but flower mold resins often run 2 to 1 or 3 to 1. Weigh on a scale, not eyeball. Check your specific product data sheet and follow it exactly, then measure your workspace temperature before you pour.
Defeating Bubbles Before They Trap Your Work
Bubbles destroy the optical clarity people pay for in resin flower molds. Physics calls this the nucleation problem—small air pockets expand as pressure drops or temperature changes. Vacuum chambers work because they lower atmospheric pressure, forcing dissolved air out of the resin before it hardens. A heat gun does something different. It reduces surface tension and increases flow, letting bubbles rise to the top and escape during the initial cure window.
The protocol: pour your resin, wait two to three minutes for it to settle, then apply light heat about six inches from the surface for thirty to sixty seconds. Move the gun constantly to avoid scorching. If you have a vacuum chamber, use it before pouring into molds, pulling vacuum for five to ten minutes until micro bubbles stop forming. After removing from vacuum, pour immediately into your flower molds. Never let resin sit in a vacuum chamber for extended periods after degassing, or it will begin reabsorbing atmospheric air within minutes.
The Layering Protocol: Mastering Depth In Resin Jewelry Making
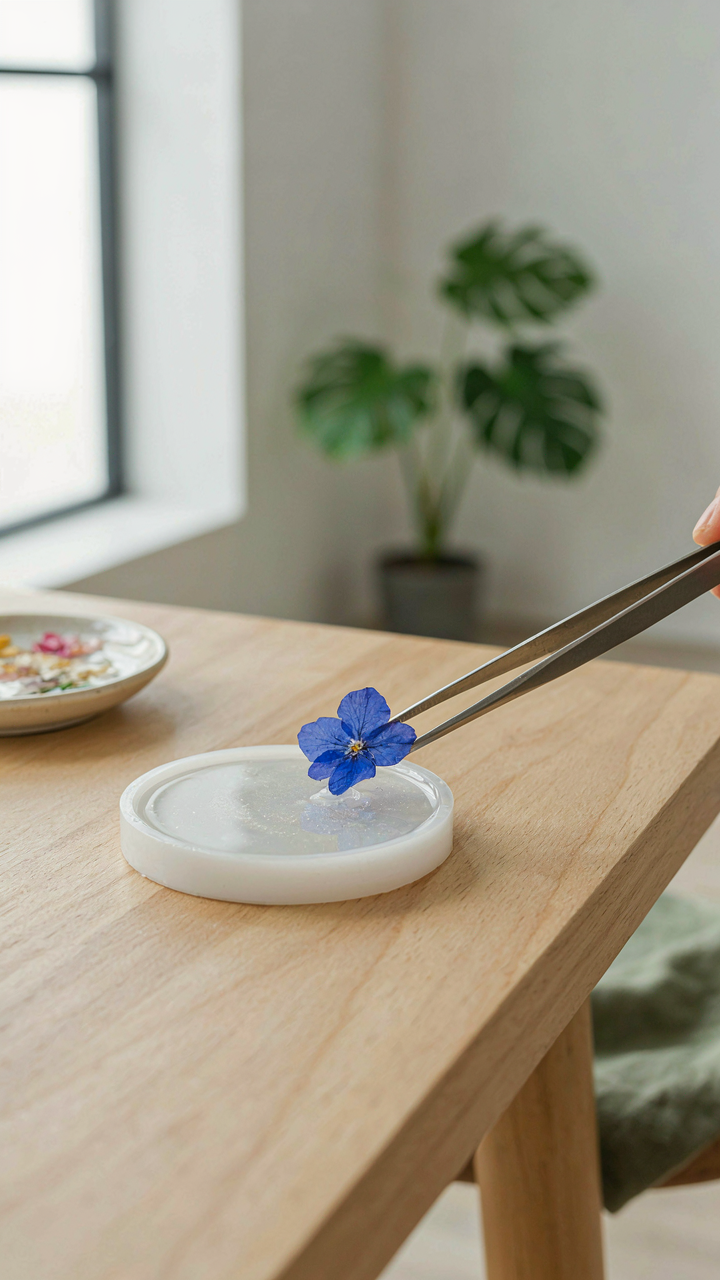
Where To Position Flowers For Maximum Impact
You want people to notice the piece before they forget about it. That’s the real driver here. Positioning flowers creates visual hierarchy, which is a principle borrowed directly from graphic design and composition theory. In resin work, hierarchy means some elements pull attention first, others support them. A single focal flower positioned off-center in the top third of a pendant commands the eye before secondary blooms register. This isn’t decoration. It’s engineered attention.
The mechanism is simple: the human eye enters at high-contrast or isolated elements first. Place your largest or most vibrant flower where light hits it directly during the first layer pour. Smaller blooms and filler go around it, creating depth that appears three-dimensional. Asymmetrical placement works better than centering because symmetry reads as flat and mass-produced. Position heavier flowers lower in the composition to ground the piece. This prevents the visual “float” that makes amateur resin look unstable.
Layer Timing For Clarity And Durability
Most people get this wrong. They pour everything at once or wait randomly between layers. The real variable is viscosity and cure state. You need the first layer firm enough to suspend flowers without shifting, but tacky enough that the second layer bonds molecularly to it, not just sits on top. Standard two-part epoxy resin cures to this stage in 24 to 48 hours depending on brand and ambient temperature. Let it harden past this window and you’re gluing layers mechanically instead of chemically bonding them.
Pour the base layer thin, let it reach the gel stage where it’s no longer liquid but still soft enough to accept the next pour without adhesion loss. This timing prevents optical distortion at layer boundaries, which appears as cloudy lines or refraction shifts in finished pieces. Rushing between layers creates micro-separations that catch light wrong. Each subsequent layer poured within the adhesive window bonds as a single mass. Check your specific resin’s technical sheet for gel time, not just full cure time.
Botanical Integration: How To Set A Fresh Flower In Resin
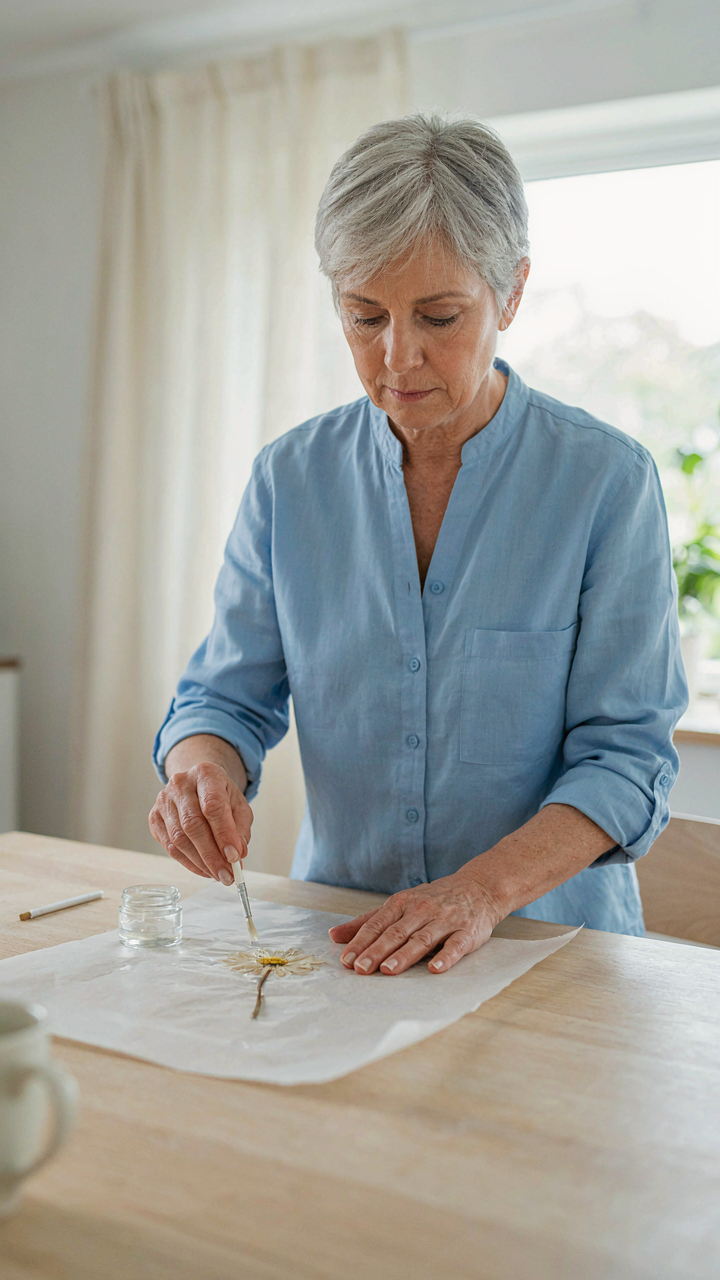
Encapsulation Techniques For Delicate Pressed Flower Crafts
You want the Instagram version of preservation without understanding why most attempts fail. The real mechanism is moisture control. Resin doesn’t suspend flowers in time—it traps whatever water content exists inside the flower at pour time. That trapped moisture causes the flower to rot, discolor, and break down from the inside out before the resin even fully cures.
Pressed flowers work because they’ve already lost 90 percent of their water content through the pressing process. You need to press flowers between absorbent paper under weight for two to four weeks before they touch resin. The drier the flower, the better the encapsulation. Skip this step and you’re embedding a slow decay process, not preservation.
Preventing Discoloration And Degradation Of Organic Materials
Everyone says “UV resin preserves better than epoxy” but that’s not the whole truth. The real problem is oxidation and chemical reaction between flower pigments and resin components. Both resin types will yellow or cause flowers to brown if you don’t address what’s actually happening at the material level.
Use clear epoxy resin rather than UV formulas for botanical work. Epoxy cures through chemical reaction, not light, which means it doesn’t generate the heat that accelerates pigment breakdown. Pre-treat pressed flowers with a thin coat of clear acrylic sealer before embedding. This creates a barrier that prevents direct contact between organic matter and uncured resin. Pour at room temperature, not accelerated. Cold curing takes longer but stops the thermal degradation that browns delicate petals and leaves within weeks.
The Finishing Equation: Polishing Your Resin Tutorial To Perfection
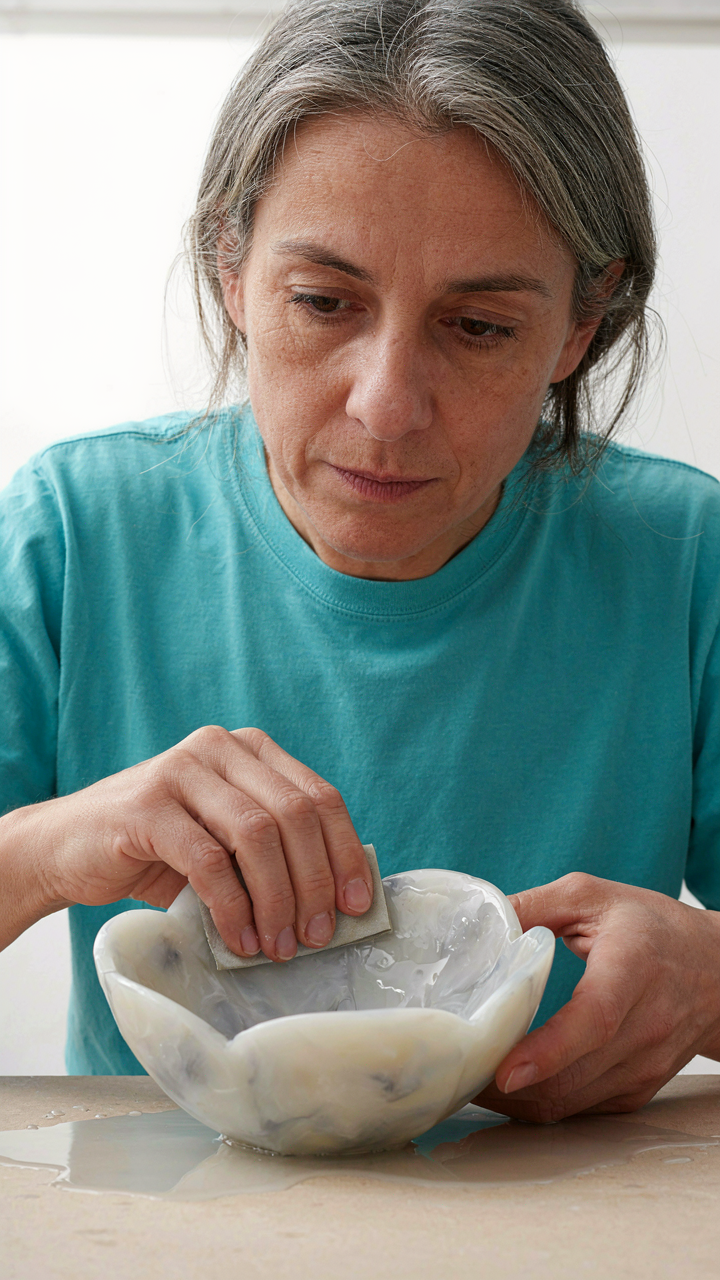
Sanding Progression For Crystal Clear Resin Flowers
You want this to look expensive. That’s the real reason you care about this section. The mechanism is simple: resin straight from the mold has a cloudy micro-texture on its surface. Light scatters through those peaks and valleys instead of passing clean. Sandpaper flattens those irregularities in stages. You start coarse, move to medium, then fine. Each pass removes the scratches from the previous grit. The progression matters because jumping grits leaves visible scratches that finer paper can’t erase.
Start at 400 to 600 grit wet sanding. Water prevents dust and keeps the paper from clogging. Move to 1000 grit next, then 1500 or 2000 grit for the final sand before buffing. Each stage takes five to ten minutes depending on piece size. Sand in circular motions with light pressure. Heavy pressure burns through resin faster than you intend and creates uneven surfaces. The goal is uniform dullness before you buff, not perfection at the sand stage.
Buffing Compounds And Tools For High Gloss Resin Crafts
Most people think buffing is one step. It’s actually two: cutting and polishing. Cutting compound removes the fine scratches sanding left behind. Polishing compound brings the gloss without removing material. Use a rotary tool or bench polisher with a foam pad attachment. Speed matters here. Too slow and you generate friction heat that can warp thin resin. Around 1500 to 3000 RPM works for most hobby setups.
Apply cutting compound to the pad, not the piece. Work in sections for thirty seconds, then wipe clean and inspect. Switch to a fresh foam pad for the polishing compound stage. This prevents cross contamination where cutting grit transfers to the polish. After polish compound, hand buff with a microfiber cloth to remove any residue. The final surface should reflect light without any haze or streaking. Skip this buffing stage and your flowers stay dull regardless of sanding effort.
The Iteration Cycle: Learning From “Failures” In Resin Art
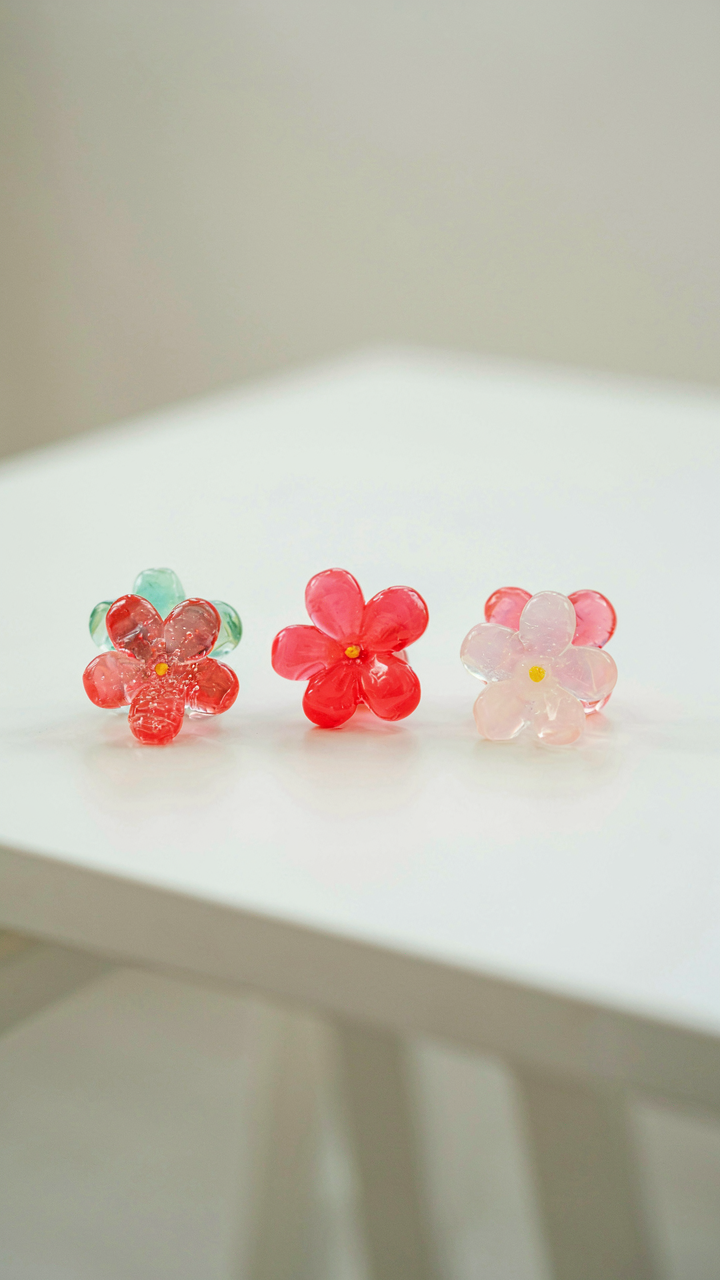
What Your Cured Pieces Actually Tell You
You want to believe your mistakes are isolated incidents. They’re not. Cybernetics, the study of feedback systems and control, teaches us that every output contains embedded information about your process. In resin work, each cured piece is a feedback signal. Bubbles, cloudiness, uneven curing, color shift, mold release failure—these aren’t random. They’re data points revealing what your technique missed. You ignore them, you repeat them.
Document every piece before demolding. Photograph under consistent lighting. Note ambient temperature, pour time, mold type, resin brand, and cure duration. This isn’t obsessive—it’s the only way to see patterns. Most resin artists skip this step and wonder why their results stay unpredictable. After three to five cured pieces with documented conditions, you’ll spot the actual culprit behind your surface defects or color issues. The feedback loop only works if you capture the signal.
Categorizing Flaws, Not Wasting Time On Guesses
The common advice is to “learn from mistakes” without naming what a mistake actually is. That’s useless. Military strategy distinguishes between tactical errors (execution failure) and strategic errors (wrong approach). Apply this to resin casting: a tactical error is pouring too fast into one corner; a strategic error is using the wrong mold material for your resin type.
Separate your flaws into two buckets. Tactical: temperature swings, pour technique, air exposure, timing. Strategic: wrong silicone durometer, resin viscosity mismatch, mold design flaw, color pigment incompatibility. Tactical problems you fix by adjusting your hands. Strategic problems require material or equipment changes. Misidentifying which category your flaw belongs to wastes weeks of trial. Once you name the category, the solution becomes mechanical instead of mysterious.
The Anti Ephemeral Ethic: Crafting Legacies, Not Just Items
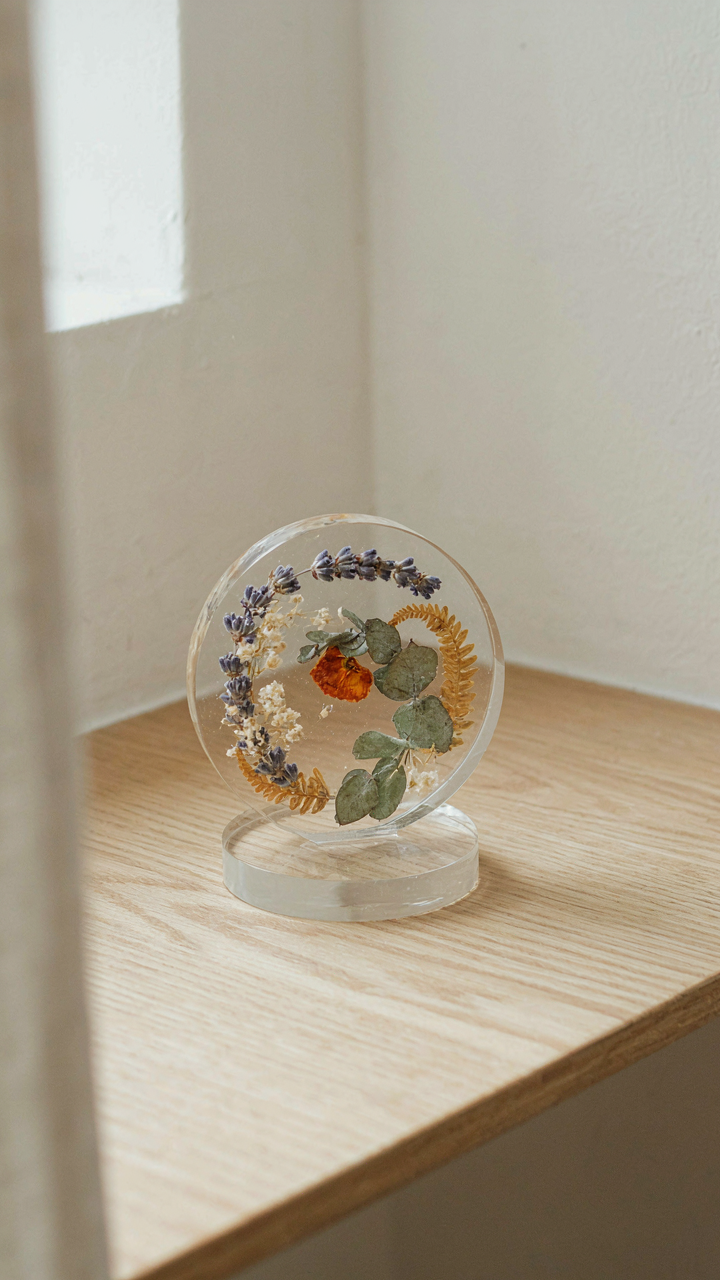
Build For Decades, Not Seasons
You want your resin flowers to outlast your interest in them. That’s the real fear here—that you’ll make something, show it off, and watch it degrade while you’re still alive to see it fail. The mechanism that separates lasting work from garbage is material stability. Epoxy resin yellows and becomes brittle when exposed to UV light without UV inhibitors. Polyester resin degrades faster and embrittles in heat cycles. The choice of base resin determines whether your piece survives five years or fifty. Add UV stabilizers at the recommended concentration, store pieces away from direct sunlight, and accept that sealed containers with silica gel are non negotiable for long term preservation.
Real durability comes from understanding that resin flowers face two enemies: light and moisture. UV exposure isn’t theoretical—it’s a measurable degradation process that accelerates in warm climates. Polyurethane resin offers better flexibility and can handle temperature swings better than epoxy, but costs more and has a shorter working window. The decision tree is simple: epoxy for clarity and depth, polyurethane for flexibility in unstable environments. Pick one, commit to its limitations, and build around it rather than switching bases midproject. Your finished piece outlasts the trend cycle only if you matched material to environment from the first pour.
Design That Survives Taste
The common advice is to make what feels fresh today. That’s how you end up with neon flowers that looked innovative in 2021 and look wrong now. Real timelessness comes from restraint in color choice and form. Natural color palettes—ivory, sage, dusty rose, deep burgundy, soft gold—don’t date because they’re rooted in how light actually moves through resin and how human eyes have consistently responded to those wavelengths across decades. Trend driven color combinations lock your work to a specific year the moment you pour them.
Form matters more than color. Symmetrical flower structures based on actual botanical geometry—spiral patterns in roses, radial symmetry in daisies, helical growth in ferns—stay visually stable because they match how humans perceive natural order. Abstract or heavily stylized forms anchor to the aesthetic moment they were made in. The protocol: reference real flowers before designing, constrain your color palette to three shades maximum, and ask whether you’d want this object in your home in ten years without explanation. If the answer depends on context or trend, redesign it.
The Real Obstacle To Stunning Resin Flowers Is Never The Mold; It Is Always Your Impatience
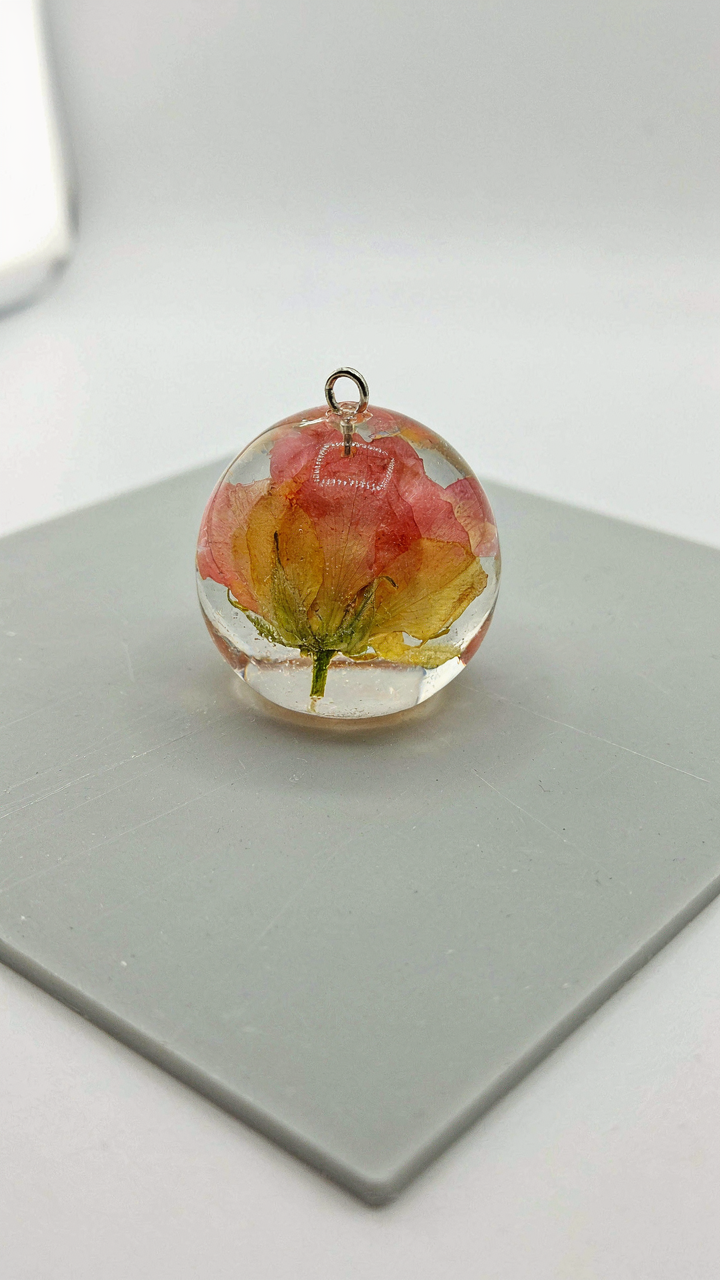
You’ll sabotage yourself before the mold ever does. Most people yank their pieces out early, skip the cure time, or rush through layering. The mold doesn’t fail you. Your hands do. Pick one project today. Commit to the full cure schedule. Don’t touch it. Actually wait. The gap between amateurs and people who sell their work isn’t talent or equipment. It’s the ability to do nothing when nothing is what the resin demands.



