

The Illusion Of Effortless Dried Flower Garlands
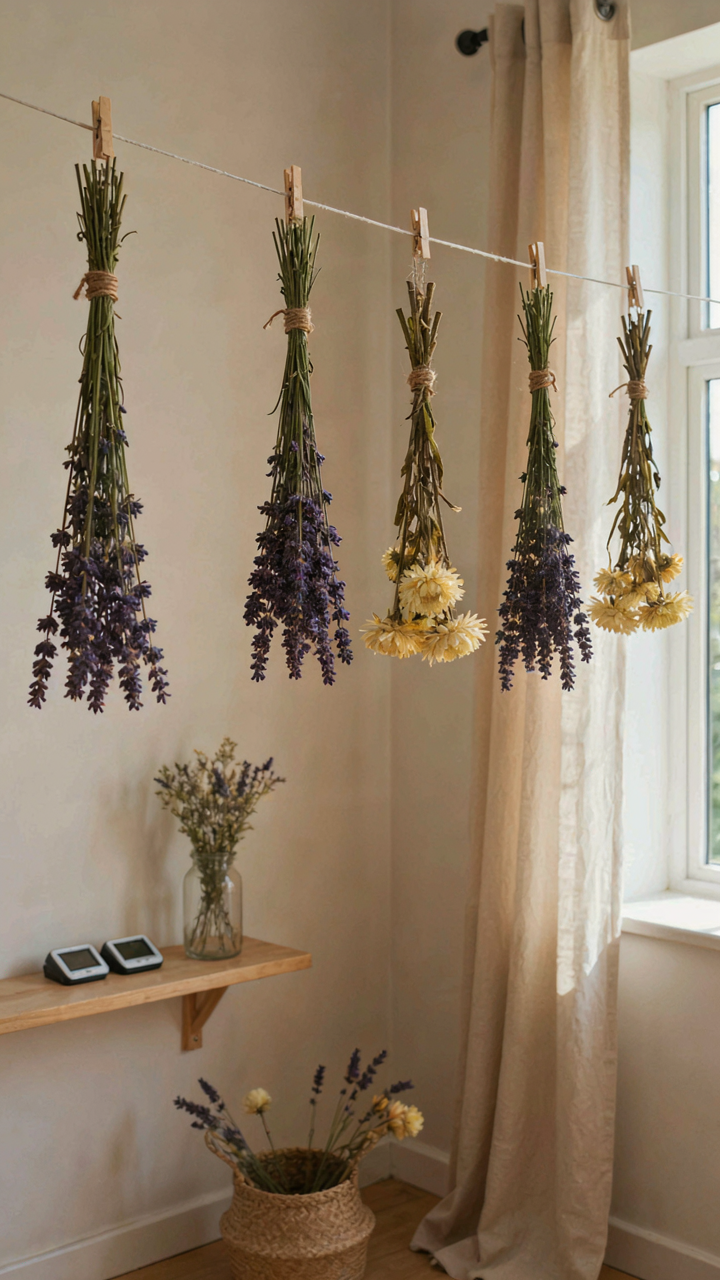
You’re Probably Drying Flowers Wrong
You want this to feel simple because simple projects protect your ego from failure. Here’s the mechanism: most people skip the drying phase entirely or rush it, then blame the flowers. Moisture trapped inside petals causes mold, discoloration, and structural collapse. The flower doesn’t fail. Your process did.
The standard advice says “hang flowers upside down in a dark room.” That’s incomplete. Dark matters. Temperature matters. Humidity matters. Airflow matters. Miss one variable and your garland falls apart before you string it. Drying is a controlled environment problem, not a casual hang-and-wait situation. Start with stems bundled loosely, never packed tight. Packed bundles trap moisture between flowers and accelerate decay.
Why Most Projects Collapse Before Assembly
People build garlands from flowers that aren’t actually dry. They look dry on the surface. They feel papery. Then humidity hits or time passes and the petals warp, the stems weaken, and the whole structure sags. This happens because they mistook “surface dryness” for “actually dry.” The interior of thick petals or clustered blooms stays moist for weeks.
The real failure point is the rush between drying and assembly. You need a 48-hour buffer where dried flowers sit in your assembly space, acclimating to the exact humidity level you’ll display them in. Skip this and expansion and contraction will crack petals and loosen connections. Store dried flowers in sealed containers with silica gel before you build anything. Assembly from fresh-dried stock leads to rapid deterioration.
The Unspoken Rule Of Dried Flower Garlands: Embrace Imperfection

What Decay Actually Looks Like
You want permission to make something that doesn’t look like it came from a studio shoot. The real mechanism: dried flowers follow wabi-sabi, the Japanese design principle that finds beauty in incompleteness and deterioration. Unlike fresh arrangements that demand symmetry, dried garlands gain visual weight through their asymmetry. Petals fall unevenly. Colors fade to muted ochres and dusty purples. Stems curve unpredictably. This isn’t settling. This is the material expressing its actual state, which reads as more honest than forced perfection.
The moment you stop fighting the natural breakdown of botanicals, your garland stops looking like a failed attempt at something else. Curled edges, darkened centers, brittle stems—these are the signature of authenticity. A dried rose petal doesn’t need to look like a fresh one. It needs to look like what it actually is: something that lived, dried, and weathered time. You build the garland by layering these imperfect pieces intentionally, not hiding them. Start with your longest stems as the base structure, then weave shorter, more damaged pieces through them. The damage becomes the detail.
When Instagram Logic Breaks Down
The common advice says dried flower garlands should look “effortless and romantic.” That’s code for dishonest. Most Pinterest garlands use supplementary fillers, floral tape, and wire that hide the actual construction. The photos show the front angle only. You don’t see the back, the areas where things don’t connect, or the labor required to make disorder look planned. This creates an expectation mismatch that wastes your time and kills motivation before you start.
Here’s what actually happens: you can’t achieve that curated look without either spending weeks perfecting it or buying pre-assembled pieces. The shortcut to a real garland is to abandon the aesthetic completely. Work with what dries well in your region. Combine varieties with contrasting textures rather than matching colors. Let the garland be visibly constructed. Your dried flower garland doesn’t compete with photographs. It exists in physical space, where imperfection reads as intentional design rather than failure.
The Minimalist’s Guide To Hanging Dried Flower Garlands
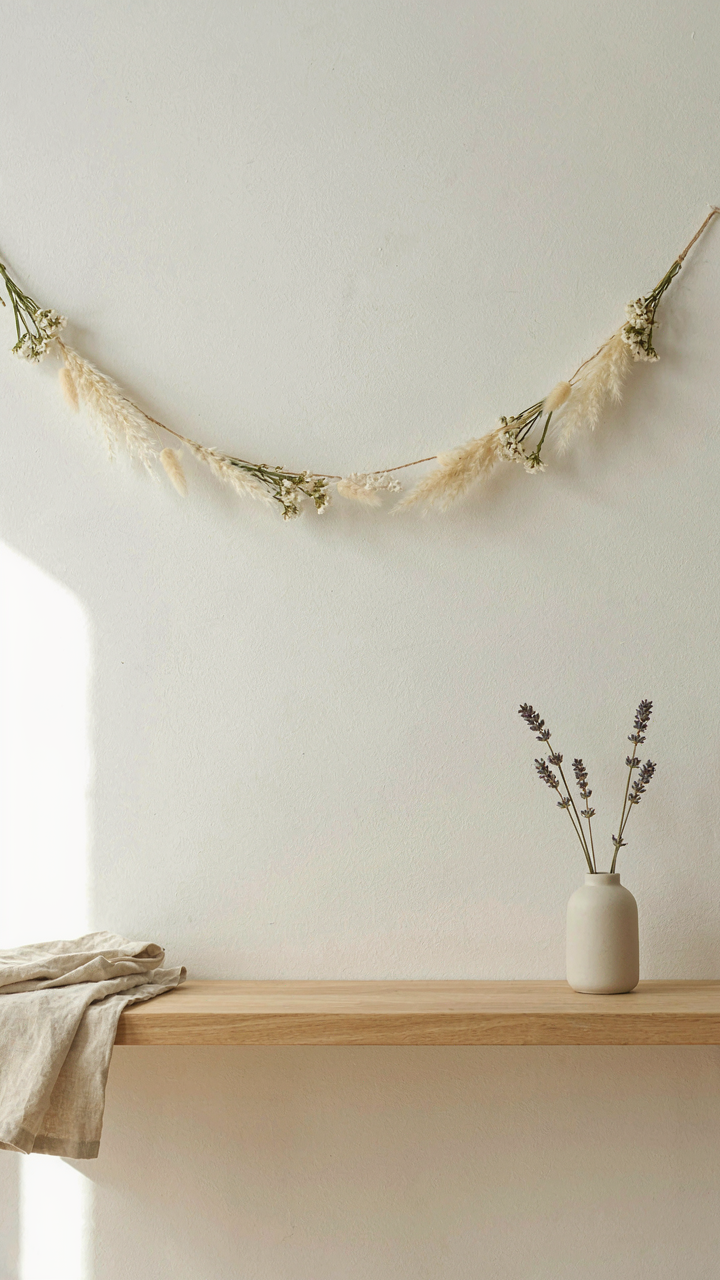
Where To Hang For Actual Results
You want permission to make your space look intentional without effort. Here’s the mechanism: dried flower garlands work through contrast, not coverage. Borrowing from visual hierarchy in graphic design, a garland functions as the focal point only when competing elements disappear. A single garland above a doorway or along one wall edge commands attention. Multiple garlands scattered across a room create visual noise and dilute the impact of each one.
The rule is surgical placement over generous distribution. Hang above doorframes, mantels, or along a single wall edge where the eye naturally travels. Avoid corners, cluttered shelves, or spaces already occupied by other decor. The garland stops working the moment you treat it like filler. Position it where the wall behind it is clean and the garland becomes the statement, not the decoration hiding something else.
Restraint Creates The Aesthetic
Most advice says to layer garlands with other decor for “richness.” That’s wrong. Garlands paired with throw pillows, plants, and wall art create visual static. The minimalist approach works because it removes competition for attention. A single dried flower garland on a bare wall commands more psychological weight than three garlands buried among other objects.
The actual mechanism: negative space amplifies perceived value. Your brain registers empty space around an object as intentionality. When you hang a garland in isolation, viewers assume curation happened. Build your hang by removing everything else first, then place the garland. Hang it at eye level or slightly above. If you feel the urge to add something near it, stop and wait a week instead.
The OODA Loop Of Home Made Dried Flower Garland
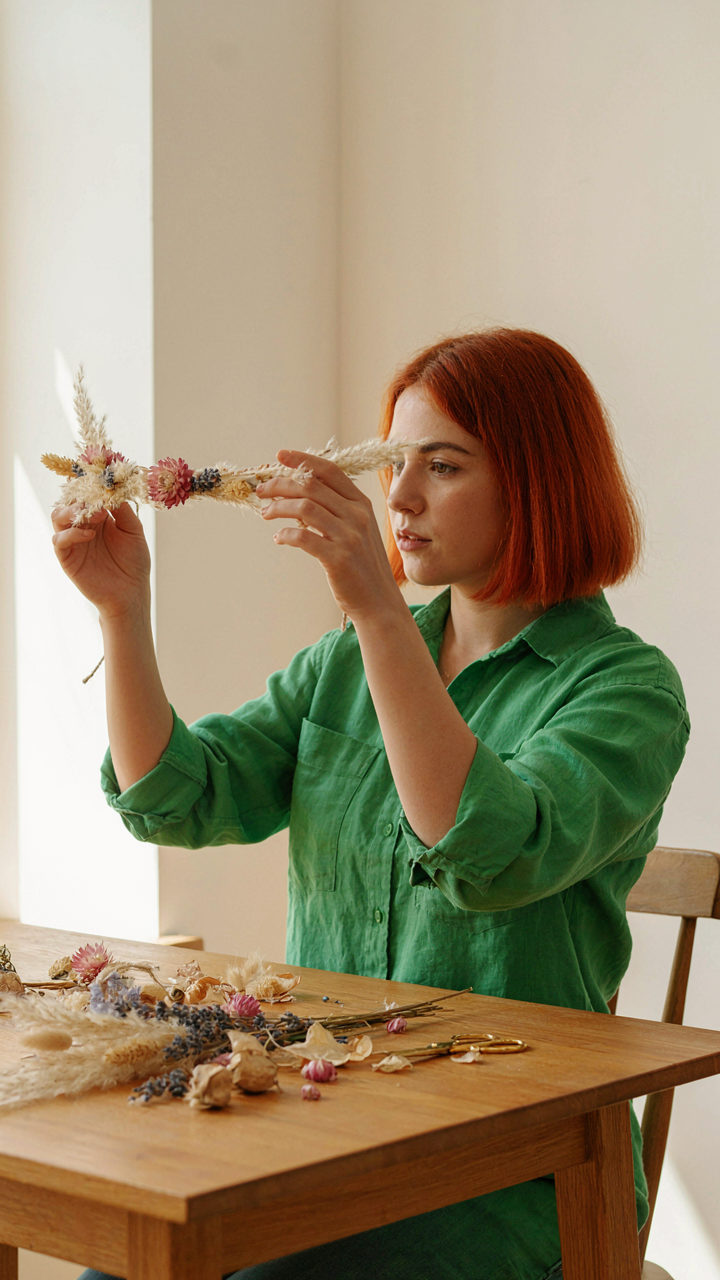
Watch Before You Wire
You want permission to start before you’re ready. The real mechanism here comes from military strategy: the OODA loop (Observe, Orient, Decide, Act) compresses the time between seeing a problem and fixing it. In dried flower garland design, your “observe” phase determines everything downstream. Lay out all your dried materials on a flat surface. Look at color gradients, stem thickness, and filler density. Don’t arrange yet. Just see what you actually have, not what you think you have.
Most beginners skip this step because it feels wasteful. It’s not. You’re gathering data that prevents wasted wire, wasted time, and failed garlands. Spend five minutes observing before touching a single stem. Note which flowers fade fastest, which stems are brittle, which fillers clump or separate. This observation shapes your orientation: the mental framework you’ll use to make decisions. You can’t orient properly without accurate input.
Build, Break, Rebuild
Iterative design means you make something, test it, break it, remake it faster each cycle. Nobody talks about this part because it sounds inefficient. It’s actually the only efficient way to learn garland construction. Wire your first section loosely. Hang it for one minute. Does it droop? Adjust wire tension. Does it look sparse? Add filler. Does the color flow work? Rearrange one flower. Make one change per test cycle, then re-hang.
You’ll hit the real constraints this way: wire gauge limits, flower head fragility, visual balance under actual light. Each rebuild takes half the time of the last one because you’ve eliminated one variable. By your third or fourth garland, you stop making structural mistakes. Stop planning in theory. Start making garland, identify the failure point, fix it, and repeat. That’s the protocol.
Beyond The Bloom: Unexpected Elements For Dried Flower Garlands
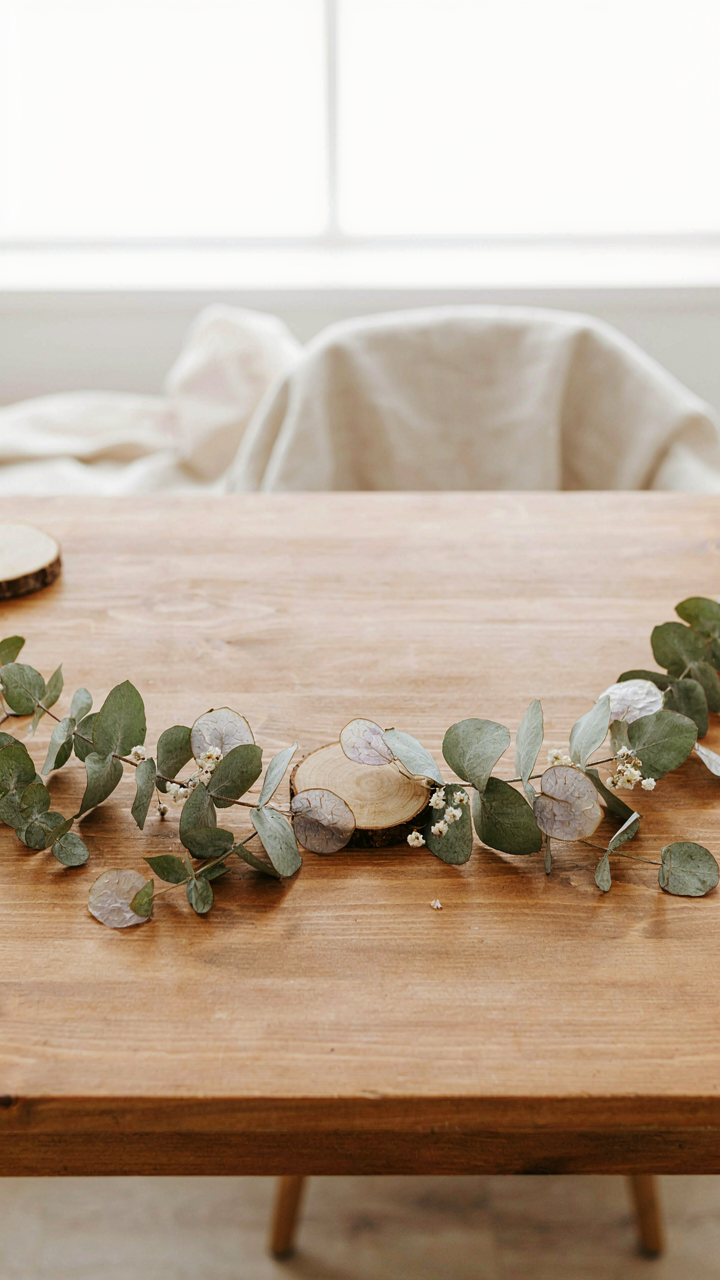
Foliage And Seed Pods As Anchors
You want your garland to look intentional, not like you assembled it from whatever dried flowers survived in a box. Here’s the mechanism: foliage and seed pods function as structural load-bearing elements in garland design, borrowed directly from botanical architecture. They’re not decoration—they’re the skeleton your flowers hang on. Without them, you’re gluing flowers directly to twine or wire, which fails fast and looks hollow once flowers shed.
Grasses, eucalyptus leaves, and statice stems dry reliably and hold their shape for months. Seed pods from nigella, protea, or lunaria give weight to the design and fill gaps without adding more blooms. Attach these first as your base layer, spacing them 2 to 3 inches apart along the garland foundation. Flowers then slot into these anchors, not vice versa. This reverses the amateur approach of buying a bulk dried flower mix and hoping it holds together.
Textural Contrast With Non Floral Items
The common advice says “add greenery for balance.” That’s incomplete. Real texture work means introducing materials with different visual density—materials that read differently under light. Wood slices, raffia, cinnamon sticks, and cotton bolls don’t compete with flowers. They create visual rhythm by breaking up the repetitive texture of petals.
Place these items at irregular intervals, never symmetrically. A wood slice at 6 inches, cotton bolls at 14 inches, raffia at 22 inches. This spacing prevents clustering and forces the eye to move through the garland rather than stopping at one section. The garland becomes an object with depth, not a flat arrangement of the same material repeated. Attach non-floral elements first, then build flowers around them intentionally.
The Strategic Sourcing Of Dried Flower Garlands
Quality Over Volume
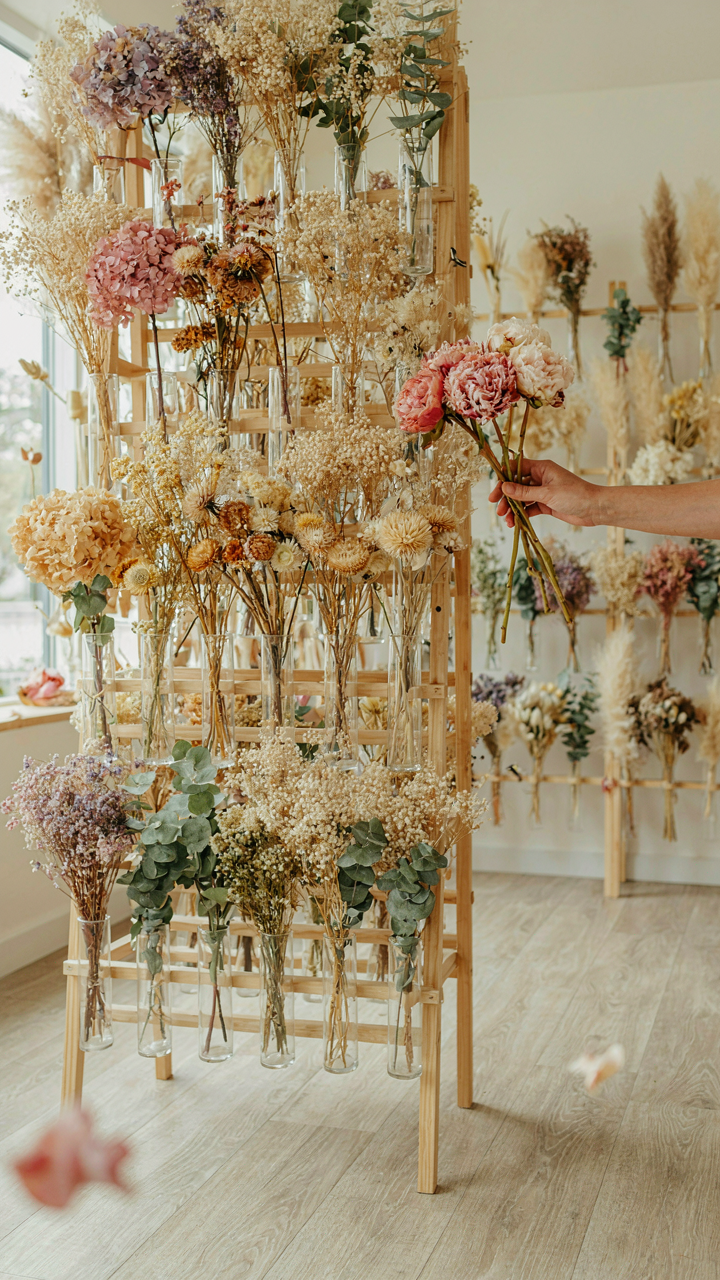
You want cheap materials fast because you’re afraid a garland won’t work out. That fear is backwards. Economics teaches scarcity: the constraint forces better decisions. With dried flowers, scarcity is your advantage. You’ll pick specimens ruthlessly instead of dumping mediocre stock into a design. One perfect peony stem beats ten weak ones. The mechanism is simple. Limited supply forces intentionality. You stop treating garlands as bulk projects and start treating them as composition problems.
Sourcing quality means rejecting the commodity mindset. Most beginners buy dried flowers like groceries, grabbing whatever’s available in bulk bins. That’s waste dressed as efficiency. Instead, evaluate each stem for structure, color saturation, and petal integrity before purchase. Three excellent specimens create a stronger garland than thirty fragile ones. Your constraint becomes your edge.
Foraging Versus Buying
Local foraging sounds romantic but carries real friction that purchasing eliminates. When you forage, you control timing, species, and freshness during the drying process. You know exactly when flowers peaked. Purchased dried flowers lose that timeline data, creating uncertainty about their actual condition. The trade-off: foraging demands knowledge and season-bound access. Buying demands money but guarantees consistency. Pick based on your actual constraints, not nostalgia.
Most advice pretends foraging and buying are equal paths. They’re not. Foraging works if you live near flowering plants, understand drying timelines (typically two to three weeks depending on species and humidity), and can store them properly. Buying works if you need reliability now. For beginners, purchasing from reputable suppliers removes variables while you learn construction fundamentals. Once you understand how garlands hold together, experiment with foraged material. Start by sourcing five stems from a supplier, building one complete garland, then sourcing five foraged stems to compare the structural differences directly.
Deconstructing “Easy”: Real Steps To How To Make Dried Flower Garland
Drying Methods That Actually Work
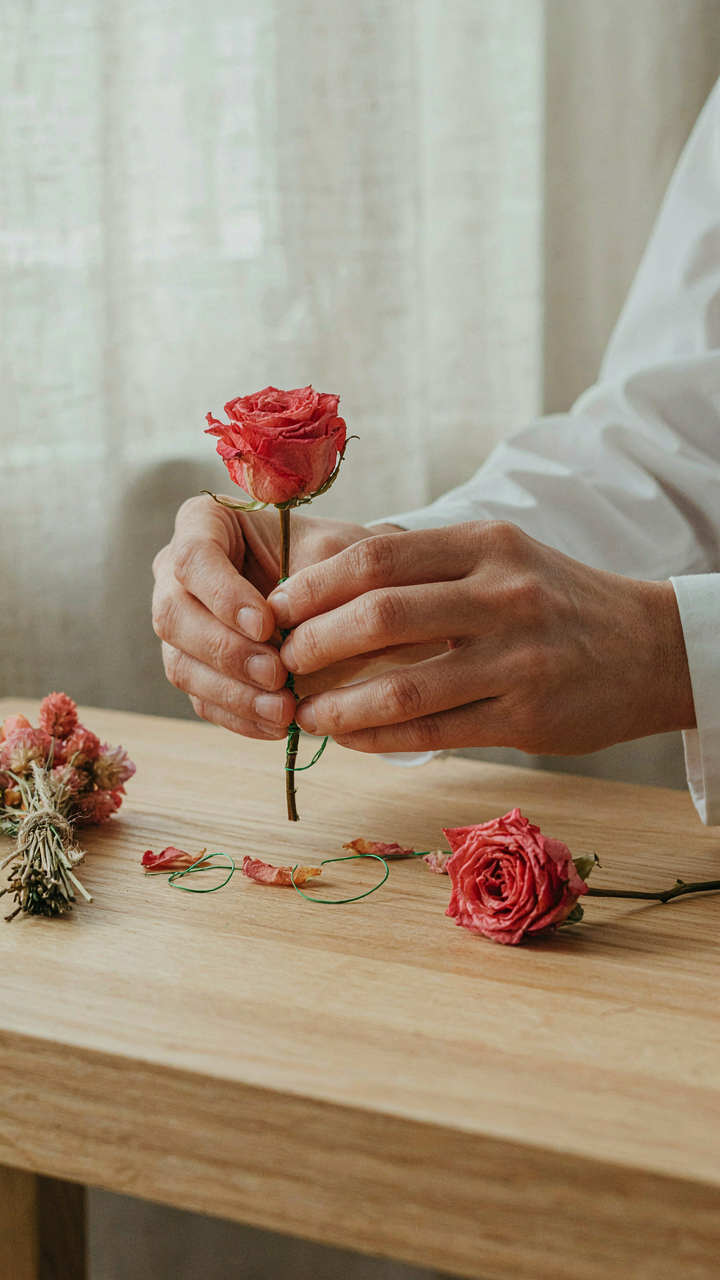
You want this to feel effortless because effort feels like failure. The truth: drying flowers is a simple material science problem, not an art form. Moisture leaves plant tissue through evaporation. Control airflow, temperature, and humidity, and flowers dry flat and colorfast instead of brown and brittle. There’s no magic involved.
- Air Drying in Bundles: Hang flowers upside down in groups of five to eight stems in a dark, dry space. Takes seven to fourteen days. Works for roses, lavender, baby’s breath, and statice. Slow but reliable method with zero equipment cost.
- Silica Gel Submersion: Bury flowers in silica gel crystals in an airtight container. Pulls moisture fast, preserves color better than air drying. Takes three to seven days. Silica costs fifteen to twenty dollars per pound, reusable indefinitely after heating.
- Paper Towel Pressing: Layer flowers between paper towels in a heavy book or under a flat weight. Creates thin, pressed specimens ideal for garland backing. Takes ten to twenty-one days depending on flower thickness and moisture content.
- Oven Drying on Low Heat: Place flowers on parchment paper at the lowest oven setting, door cracked open. Speeds drying to four to eight hours. Risk of browning is high. Best for thick-petaled flowers like dahlias, not delicate blooms.
- Desiccant Powder Alternatives: Borax mixed with cornstarch or commercial flower drying compounds work identically to silica gel. Cheaper upfront but harder to reuse. Takes similar timeframes as silica method with comparable color retention.
Pick one method based on your timeline and space, not on what sounds easiest. Air drying takes longest but demands nothing. Silica gel is faster and preserves color, which matters if you care how your garland looks in month three. Commit to the method before you buy flowers. Switching mid-project wastes both.
Assembly Techniques For Beginners
The assembly phase is where most people break their garlands apart in frustration. Common advice says to glue everything randomly and hope it holds. That’s wrong. Treat assembly like a structure problem: you need a base that supports weight, attachment points that won’t slip, and a logical sequence that prevents damage.
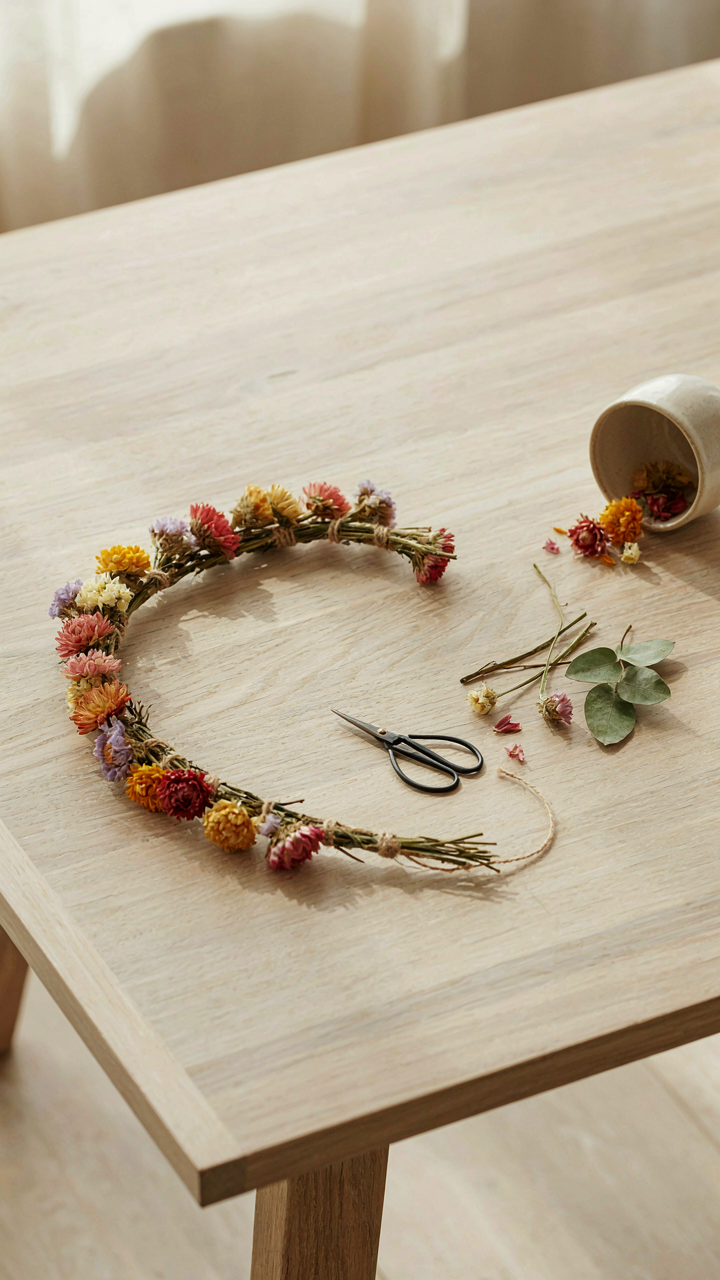
Build your base first. Use a floral foam rope, florist wire twisted into a continuous strand, or twine wrapped tight. This isn’t decoration. It’s infrastructure. Once your base is set, work in sections of twelve to eighteen inches at a time. Secure your dried flowers to the base using hot glue, floral tape, or fine wire wraps. Hot glue sets instantly and holds heavy blooms. Floral tape is reversible if you make mistakes. Wire wraps are slow but give you the most control. Never attach everything at once. Add flowers in layers, letting each section cure or stabilize before moving forward. Stagger heights so blooms overlap slightly. This hides gaps and creates visual density. Check weight balance every twenty-four inches by holding the garland horizontally. If one side dips, redistribute flowers or add padding on the light end.
The Lifecycle Of Dried Flower Garlands: Longevity Hacks
What Actually Kills Your Garland
You want your garland to last because replacing it feels like admitting you wasted money on something that should be permanent. Here’s what actually happens: dried flowers degrade through three mechanisms—moisture reabsorption, UV exposure breaking down cell walls, and insect activity in stored materials. These aren’t preventable through vague “care tips.” They’re chemical and biological processes you either interrupt or you don’t.
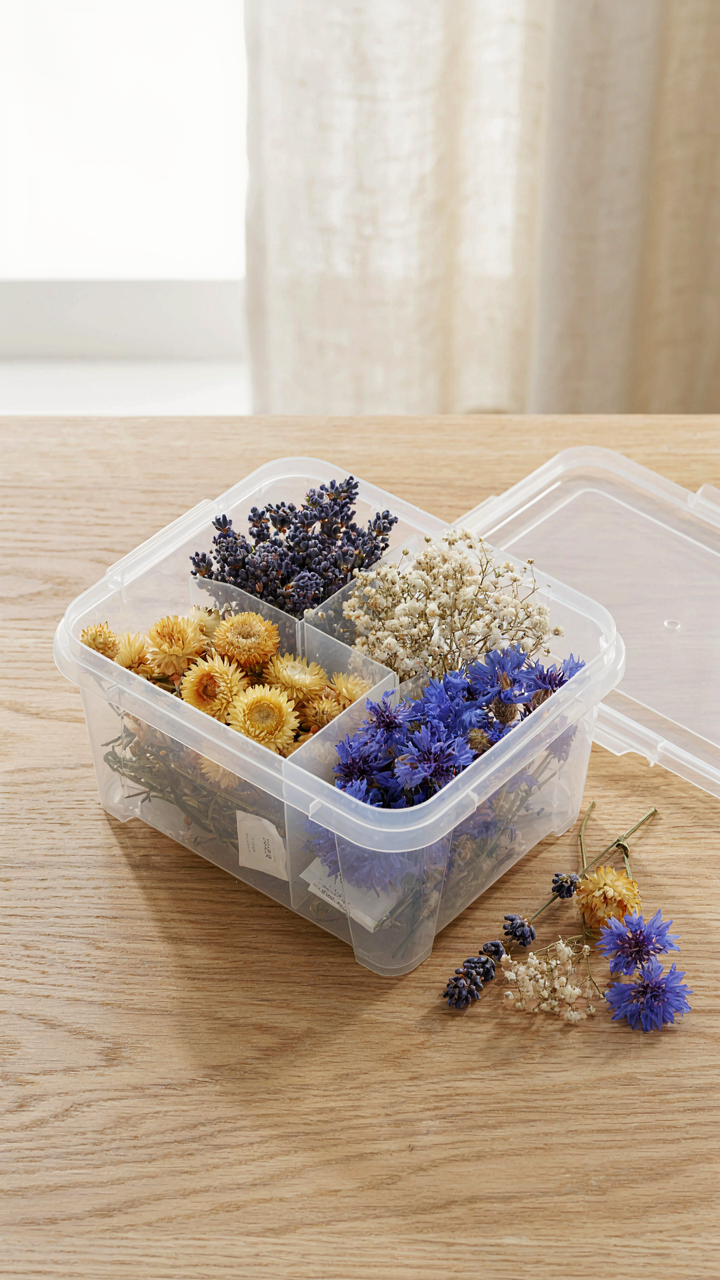
Humidity is the primary killer because dried flowers exist in a state of controlled desiccation. When moisture returns, it reactivates decomposition at the cellular level. Direct sunlight accelerates lignin breakdown, making petals brittle and color-faded within weeks. Temperature swings create expansion and contraction cycles that crack stems and loosen connections. Store your garland in a cool, dry space away from windows. Use airtight containers with desiccant packs if you’re storing between seasons. This stops the clock on degradation instead of just slowing it down.
Restoring What You Already Have
Most people throw out old garlands because they assume fading means death. That’s incomplete thinking. Dried flowers don’t rot like fresh flowers do—they desiccate. A garland that looks pale or dusty is still structurally intact and can serve a new purpose.
Revitalization requires resetting expectations, not resurrection. A faded garland works perfectly as a textural element in wreaths, tossed into shadow boxes, or woven into larger installations where color saturation matters less than form. You can also harvest individual stems and repurpose them into smaller arrangements or supply them to crafters building composite pieces. The stems themselves retain structural integrity for years. Disassemble, reorganize by stem type, store in labeled boxes, and rebuild into something else. This extends the actual lifespan from one garland to multiple projects across years.
Selling The Myth: What “Experts” Won’t Tell You About Dried Flowers Garland
The Cost Of Chasing Flawless
You want proof you did it right. That’s the real reason you’re reading this section. The truth is Instagram has trained you to believe a dried flower garland must look museum-quality to count as success. Most tutorials show you polished results, never the rejection pile. The hidden cost isn’t money or time, it’s the perfectionism tax: you’ll throw out usable work because it doesn’t match an unrealistic standard you inherited from other people’s highlight reels.
Perfection in garland design creates a false floor. You spend three hours arranging stems because you’re chasing a visual that took someone else fifty failed attempts to photograph correctly. The mechanism is simple: higher perceived standards delay your start date and kill your completion rate. Beginners abandon projects not from lack of skill but from comparing their process to someone else’s finished product. Start messier, ship sooner, iterate with real feedback instead of imagined judgment.
Complexity Is Often Just Inefficiency Disguised
The economic principle of diminishing returns applies directly here: each additional design element adds exponential effort for minimal visual gain. What looks “complex and professional” on social media is frequently just poor editing disguised as sophistication. A three-color garland with seventeen different flower types isn’t better than a two-color garland with five types. It’s harder to source, harder to arrange, and harder to replicate if a client wants it again.
Effective garland design uses constraint, not abundance. Master the tension between two complementary dried flowers before you add a third. Study what peonies paired with eucalyptus actually produce versus what your imagination predicted. The real skill isn’t making complicated garlands, it’s knowing when to stop adding and when you’ve already won. Build one strong garland using minimal elements, photograph it properly, then sell that design before you branch into complexity.
The Unvarnished Truth About Your Hanging Dried Flowers Decor

Simple Arrangements Win Every Time
You’re worried people will think your garland looks cheap if it isn’t intricate. That’s backwards. The mechanism at work here is signal clarity. Complex arrangements send mixed messages. They look busy, fragmented, uncertain. A dried flower garland with three types of flowers, repeated in a rhythm, reads as intentional. That’s the opposite of cheap. Tight editing beats clutter in every design discipline. Remove options, not flowers.
Most beginners obsess over variety and filler. They load garlands with everything they own. The result looks like someone threw dried plants at a string and hoped it stuck. Stop doing this. A garland made from pampas grass, one complementary dried flower, and eucalyptus leaves reads clean. It reads designed. It takes the same amount of time to assemble, but lands harder because the eye knows what it’s looking at. Constraint forces clarity.
The Actual Return On Assembly Time
The common advice says dried flower garlands take hours. That’s incomplete. What takes hours is overthinking the arrangement and second-guessing placement. The actual labor breaks down this way: stripping leaves and prepping flowers takes fifteen minutes. Building the garland takes twenty to thirty minutes. Hanging and adjusting takes another ten. Total: under an hour for a six-to-eight-foot garland that sits in your space for months.
Here’s what matters economically: a single dried flower garland costs eight to twenty dollars in materials and generates perceived value of one hundred to three hundred dollars in finished decor. You’re trading fifty minutes for visual impact that lasts three to six months before light fading. That’s a higher hourly return than most side projects people attempt. The mechanism isn’t the flowers themselves. It’s the leverage between material cost, assembly time, and duration of visual payoff. Assemble once, extract value continuously.
The Only Thing Stopping Your Perfect Dried Flower Garland Is Your Fear Of Imperfection

You’re waiting for permission to start. You think dried flower garland ideas require some secret knowledge or aesthetic gene you don’t have. They don’t. The shift you need is simple: imperfection is the entire point. Asymmetry sells. Flaws read as handmade authenticity. Stop scrolling inspiration and grab flowers today. Tie them to twine. Live with what you made. Done beats perfect every single time.



