
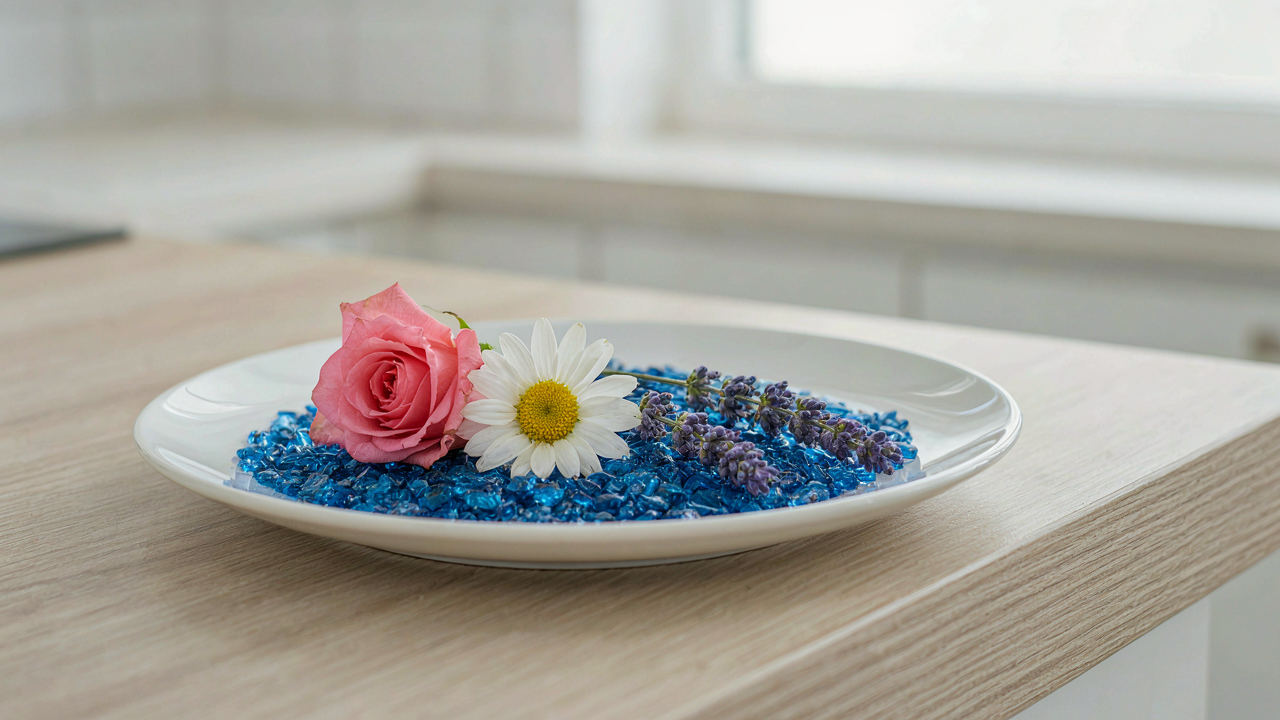
The Microwave’s True Power: Not Drying, But Dehydration Dominance
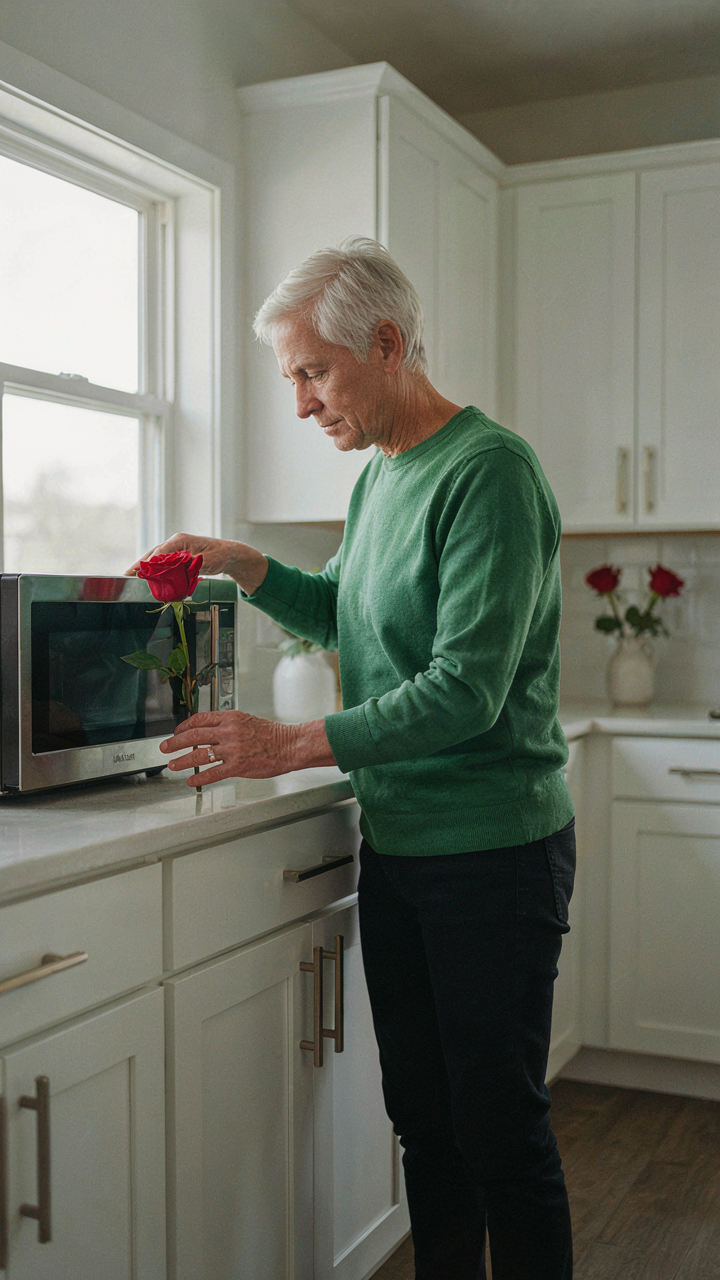
Why Air Drying Fails Before You Start
You want to preserve flowers without watching them rot in a dark corner for weeks. The real mechanism here comes from thermodynamics: dehydration is a rate problem, not a time problem. Air drying relies on ambient humidity and passive evaporation, which means decay microbes colonize the flower’s surface faster than moisture leaves it. The flower browns, blackens, or loses structural integrity before it dries completely. Microwave drying inverts this timeline by forcing rapid moisture removal before biological breakdown begins.
A microwave doesn’t dry flowers the way a dehumidifier does. It excites water molecules through radiation, converting stored moisture to steam in seconds, not days. This speed is the entire advantage. When you expose a flower to 30 to 60 seconds of microwave energy, you’re creating an environment where water exits the cells before mold or fungus gains a foothold. The flower hardens in place rather than withering or decomposing.
The Mechanism Behind Moisture Extraction
Thermal engineering reveals why targeted heat removal works where passive air circulation fails. A microwave concentrates energy into the flower’s water content, raising its internal temperature rapidly and pushing moisture outward as vapor. This directional energy transfer means you’re not waiting for ambient air to slowly pull moisture away. You’re actively expelling it.
The critical variable is power setting and duration. Most household microwaves run at 1000 watts on full power, but flowers need 30 to 50 percent power at 10 to 15 second intervals. Running full power causes the flower to scorch or shatter from sudden steam buildup. Lower power with repeated pulses allows steam to escape gradually while the cellular structure remains intact. After each pulse, you open the door, check the moisture level, and repeat until the petals feel papery and snap cleanly when bent.
Required Gear For Radical Dehydration: Your Microwave Flower Press Arsenal
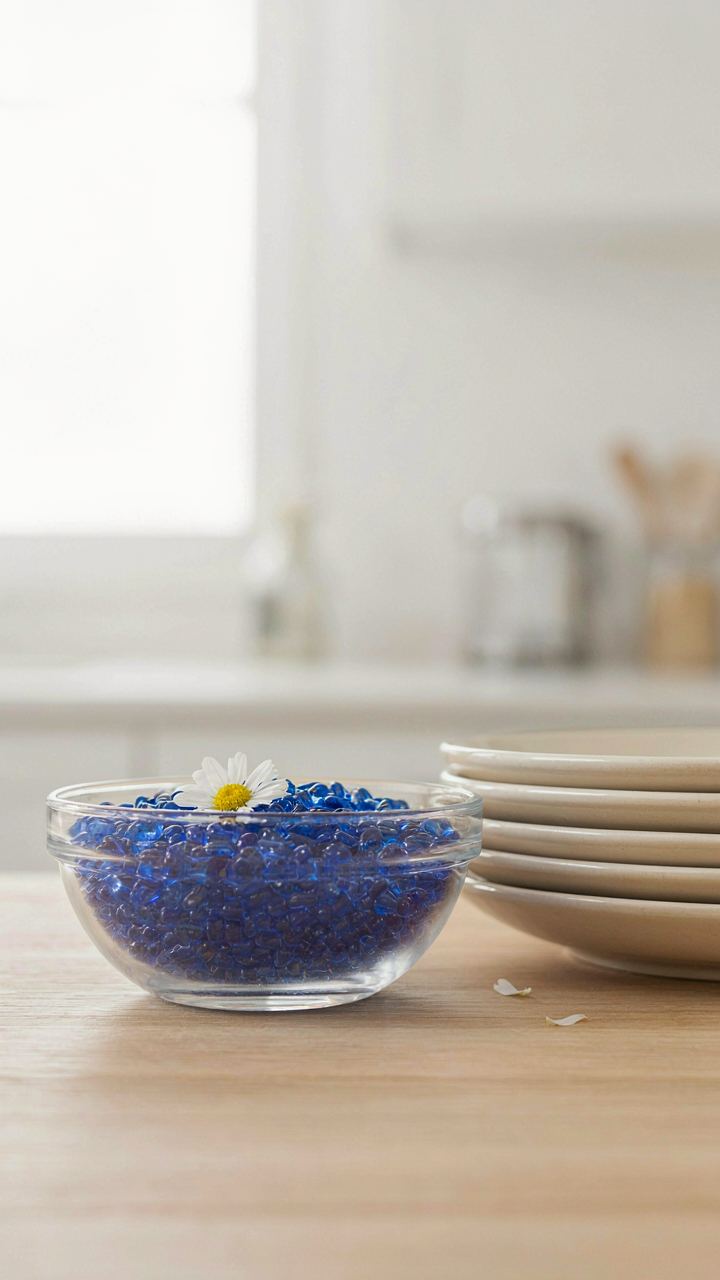
Silica Gel: The Moisture Assassin
You want this section because you’re afraid you’ll waste flowers and money on a method that doesn’t work. Here’s what actually matters: silica gel operates on the same principle as any desiccant in industrial chemistry—it absorbs moisture through physical adsorption, not chemical reaction. The gel’s porous structure traps water molecules, pulling them from flower tissue faster than air drying ever could. This speed is the entire mechanism. Flowers stay intact because dehydration happens before decomposition begins.
Most guides tell you to just “add silica gel and microwave.” That’s incomplete. Silica gel’s effectiveness depends on saturation state. Fresh gel pulls moisture aggressively. Used gel that’s already absorbed water pulls nothing. You need either new gel or gel you’ve already regenerated in a conventional oven at 250 degrees Fahrenheit for 20 to 30 minutes until it’s dry again. Replace or regenerate before each batch, or your flowers will mold instead of preserve.
Press Plates And Essential Tools
The right pressure setup determines whether petals flatten cleanly or crush into pulp.
- Microwave-safe ceramic or glass plates: Heavy, flat surfaces that distribute heat evenly without warping. Ceramic won’t spark or leach chemicals when exposed to repeated microwave cycles.
- Paper towels or parchment paper: Separates flowers from silica gel to prevent direct contact that causes discoloration. Change after each cycle to remove moisture accumulation.
- Kitchen scale: Measures exact silica gel ratios to flowers. Precision here prevents over-drying, which causes brittleness and color loss in delicate species.
- Microwave-safe container with lid: Traps steam during the process, accelerating moisture removal. A sealed environment speeds dehydration by 30 to 40 percent compared to open-air methods.
- Heat-resistant gloves or tongs: Flowers and containers reach high temperatures during microwaving. Direct contact burns skin and damages flower structure if you’re handling them while hot.
The weight of your plates matters more than most people admit. Light plates transmit uneven heat and allow flowers to shift during microwaving, ruining symmetry. Heavy ceramic or glass maintains consistent temperature distribution across the entire surface. Check that all tools are microwave-safe before your first run—some glazed ceramics contain metallic compounds that arc and damage the unit.
The Accelerated Dehydration Protocol: How To Microwave Flowers

Prep Your Blooms For Heat Stress
You want faster results without admitting you didn’t plan ahead. The real mechanic here is moisture removal rate, borrowed from thermodynamics: flowers are containers of water, and microwaves excite water molecules to accelerate evaporation. Start by removing excess moisture from stems and petals with paper towels. Don’t leave them wet. Trim stems to two to three inches and strip leaves entirely—leaves retain moisture longer and compete with petals for microwave energy.
Arrange flowers face-up on a microwave-safe plate lined with paper towels. Space them so no petals overlap or touch the microwave walls. Clustering flowers traps steam and creates uneven drying. The goal is exposing maximum petal surface to direct microwave radiation. Delicate blooms like roses or peonies need more space than hardy flowers. Dense packing is the most common mistake people make, and it ruins batches by creating hot spots and incomplete dehydration.
Power Levels And Timing Windows
Everyone says “low power for longer,” which is incomplete advice. The real trade-off is speed versus texture preservation. Microwaves at 30 to 40 percent power—not 50 percent—give you controlled water removal without scorching petals or turning them brittle. Start with 30-second intervals, check the flowers, and add 15 to 30 seconds as needed. Most flowers finish between two and four minutes total depending on bloom size and water content.
The mechanism is this: microwave energy penetrates petals unevenly, so interrupted heating prevents concentrated heat damage. Your microwave running continuously at high power creates internal steam pockets that rupture cell walls. After each interval, open the door for five to ten seconds to release trapped moisture. Roses typically need three minutes at 30 percent power with three to four check cycles. Daisies finish in ninety seconds. Small blooms like statice dry in sixty seconds. Set a timer and stick to the protocol—guessing ruins the batch.
Beyond Petals: How To Press Flowers Using A Microwave For Structure
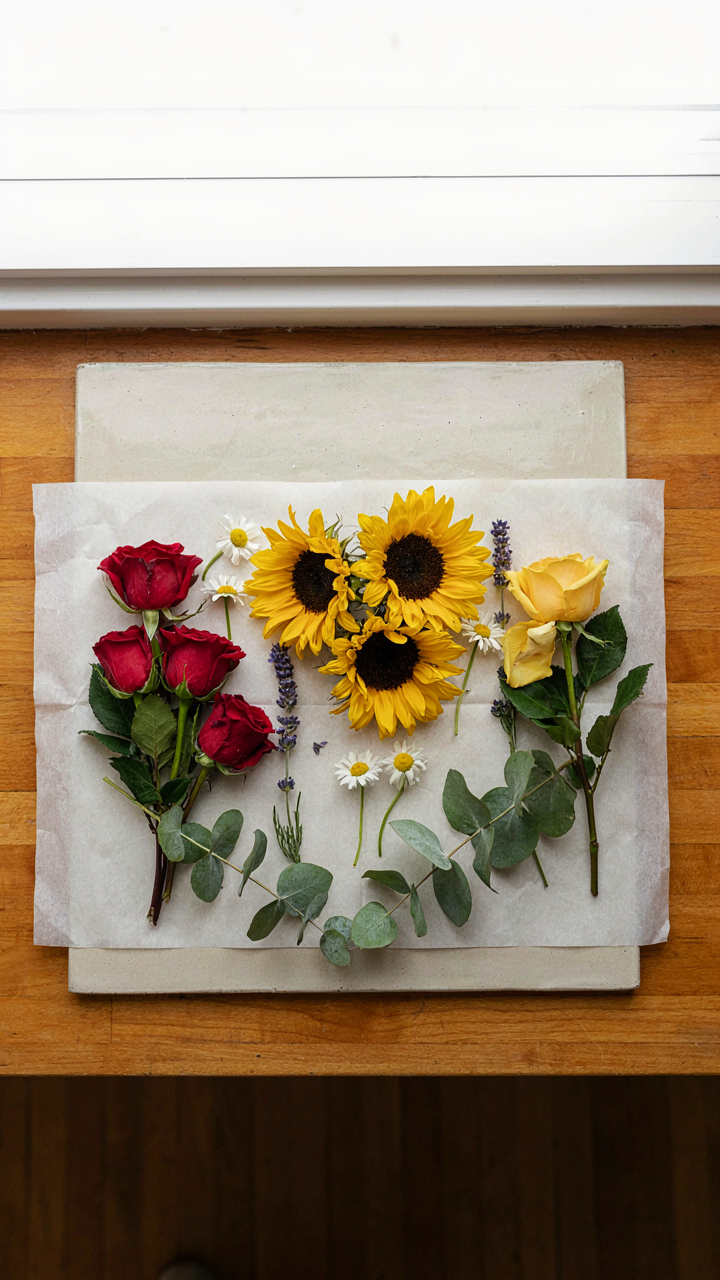
Maintaining Form With Deliberate Pressure
You want your dried flowers to look expensive and intentional, not crumpled like something you found in a book. The real mechanism is moisture extraction under controlled compression. Think of it in terms of load bearing from structural engineering: a flower’s cell walls collapse unevenly when water escapes too fast. Microwave pressing solves this by forcing simultaneous dehydration and weight distribution. The heat softens the cell structure while the physical pressure keeps petals flat and proportional.
Most advice tells you to just “place flowers between paper and microwave them.” That’s incomplete. You need to pre-position each flower with consistent petal separation before any heat enters. Use absorbent paper, not tissue. Lay flowers with petals fanned open, not overlapped. The microwave then shrinks the water inside while pressure prevents buckling. Twenty to thirty second bursts with resting periods between them preserve petal edges better than one long cycle.
Flower Selection For Structural Integrity
Not all flowers press the same way because not all flowers have the same cellular density. Thin-petaled varieties like pansies and violas collapse into translucent sheets even under ideal conditions. Thicker specimens like roses, zinnias, and statice retain dimension because their cell walls resist compression. Water content also matters more than people admit. High-moisture flowers like dahlias and hydrangeas will shrivel unevenly no matter your technique.
Choose flowers in their mature stage, not peak bloom. Overblown petals have already begun cellular breakdown and won’t hold pressed form. Underripe flowers contain too much water and take longer to stabilize. Mid-stage blooms have firm walls and moderate moisture, which creates the fastest and most uniform drying under microwave pressure. When selecting your batch, discard any with bruises or discoloration, since the microwave won’t improve damaged tissue. Begin your pressing cycle within hours of harvest.
The Engineering Of Color Retention: Drying Flowers In The Microwave
How Heat Affects Pigment Stability
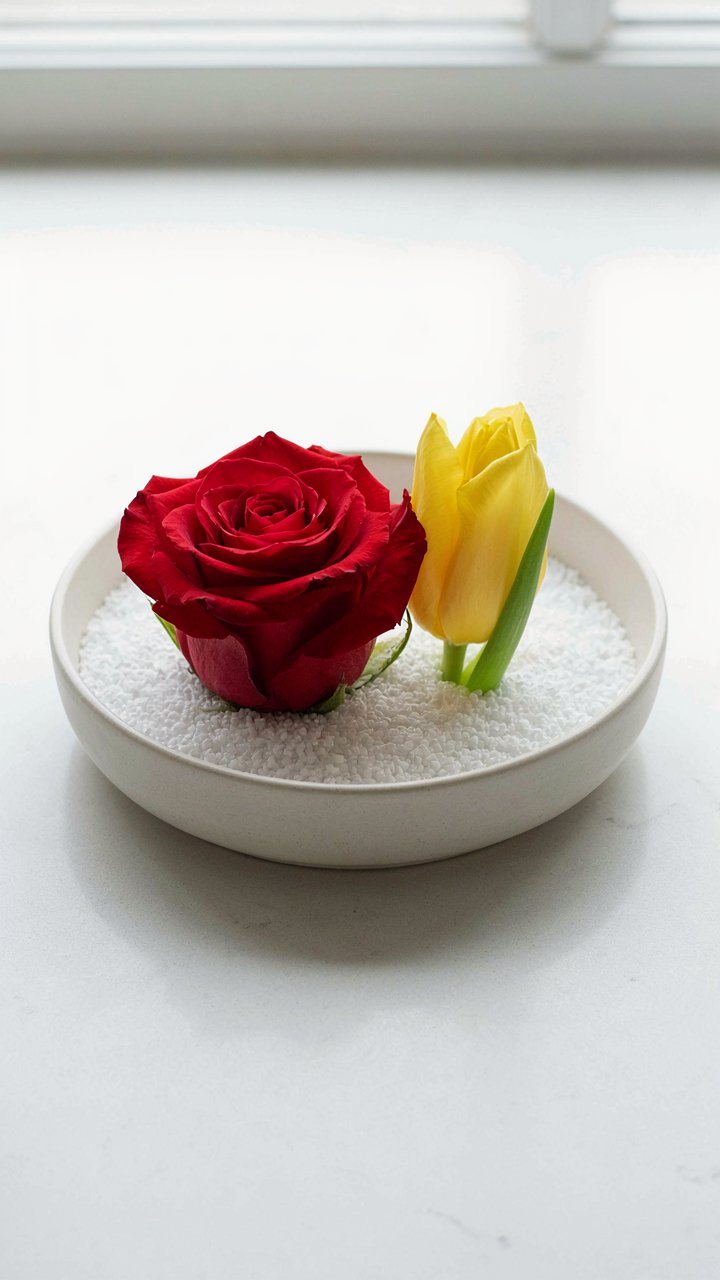
You want vibrant dried flowers because faded ones feel like a personal failure. The mechanism is cellular: microwaves excite water molecules, and that rapid heat accelerates the breakdown of anthocyanins, carotenoids, and chlorophyll—the three pigment families that give flowers their color. Speed matters here. The faster you remove moisture, the less time heat has to denature these compounds. Slow air-drying gives heat weeks to work. Microwave drying compresses that window to minutes, which is why color retention is mechanically superior, not just theoretically.
The pigment preservation problem isn’t about temperature alone—it’s about exposure time. Traditional advice says “use low power,” but that’s incomplete. Low power extends the drying cycle, which defeats the entire advantage. What actually works: hit flowers with enough microwave energy to evaporate water fast, then stop immediately when the flower reaches the brittle stage. Overrides to this logic make flowers brown. The protocol is binary: desiccant-assisted microwave drying at medium power, checked every 30 seconds after the first minute, until petals snap rather than bend.
Stopping Oxidation Before It Starts
Oxidation isn’t mystical—it’s a chemical reaction where oxygen bonds with pigment molecules and turns them brown or dull. The microwave doesn’t eliminate oxygen, but it eliminates time, which is the real variable in oxidation equations. Pre-drying preparation determines the outcome more than the microwave setting itself. Flowers left sitting in air for hours before microwaving oxidize before the drying even starts. This is why timing between harvest and microwave treatment compresses to under two hours for best results.
Silica gel acts as the active mechanism here, not just a passive drying agent. It absorbs moisture faster than the microwave heats the flower, creating a moisture gradient that protects pigments from oxidative stress. Place flowers face-up in a shallow microwave-safe container, nestle them in silica gel, and microwave at 50 percent power for the first cycle. The gel pulls water out while the microwave accelerates the process—neither works alone at full capacity. Reset the gel between batches by heating it separately until it regains its original color, then reuse immediately.
Microwave Dried Flowers DIY: Avoiding Common Pitfalls And Failures
When Heat Becomes The Enemy
You’re worried about wasting flowers you paid for. Here’s what actually happens: microwave energy excites water molecules at the cellular level, and there’s a hard line between “dried” and “destroyed.” Cross it, and the plant material turns brittle, discolored, or charred. The mistake isn’t drying too long by accident. It’s not having a protocol that accounts for the fact that microwaves don’t heat evenly, and flower density varies wildly by species.
Most guides say “check every 30 seconds.” That’s useless without knowing what you’re checking for. Petals should feel papery but retain color and structure. The moment they darken or curl into ash, you’ve hit irreversible damage. Delicate flowers like roses need 2 to 4 minutes total. Thick stems and dense blooms like sunflowers need 5 to 8. No flower needs more than 10 minutes. Start conservative, add 30-second increments, and stop the instant the texture shifts to brittle.
Trapped Water: Why Some Flowers Still Fail After Drying
Biology teaches us about osmotic pressure, and flower drying works the same way. Water doesn’t leave uniformly from petals, stems, or dense seed centers. Thick areas create moisture pockets that stay locked inside even after the outer surface feels dry. These pockets reabsorb humidity from the air, causing mold, discoloration, and total crop loss within days.
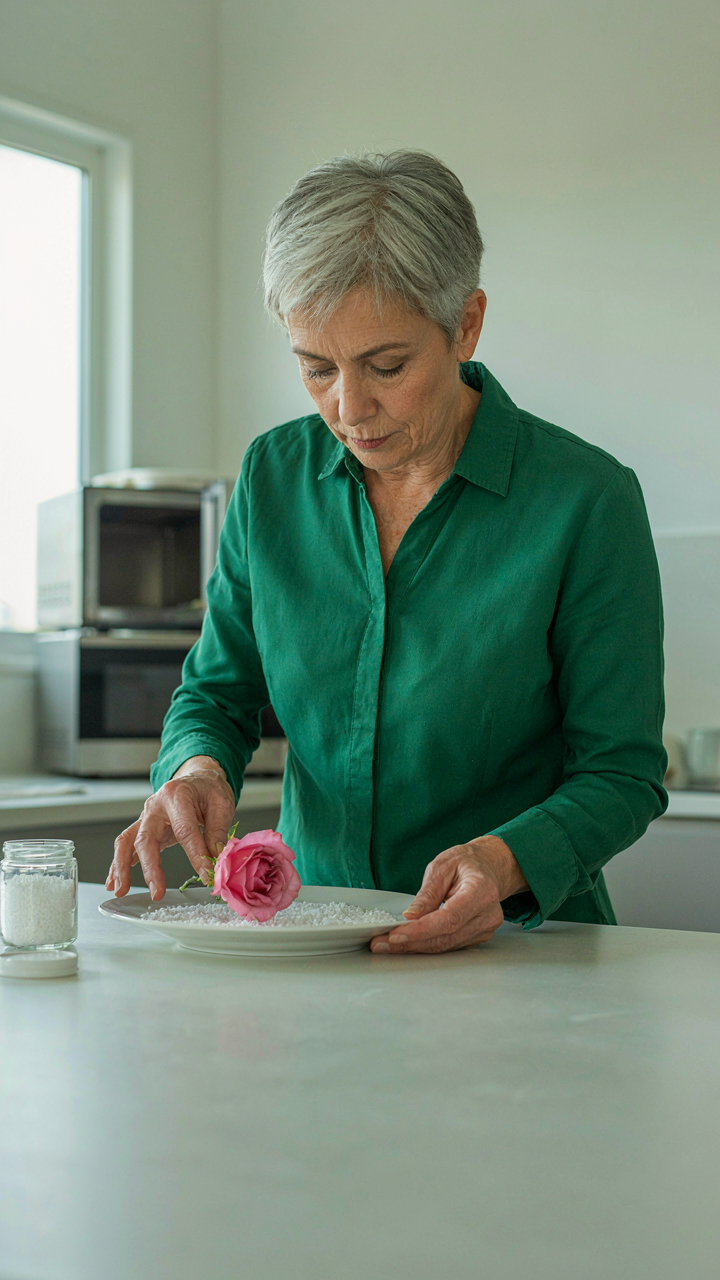
The solution isn’t longer microwave time. It’s preparation and a desiccant layer. Remove excess foliage, strip leaves from stems, and place flowers on a microwave-safe plate lined with absorbent material like silica gel or even paper towels. The desiccant pulls moisture outward during the microwave cycle, preventing internal pockets from forming. After microwaving, let flowers sit on fresh desiccant for 24 hours in a dry space before storage. This final stage is where most people fail because they assume the microwave did all the work.
Longevity Hacks: Post Microwave Preservation Of Your Dried Flowers
The Sealant Layer That Actually Works
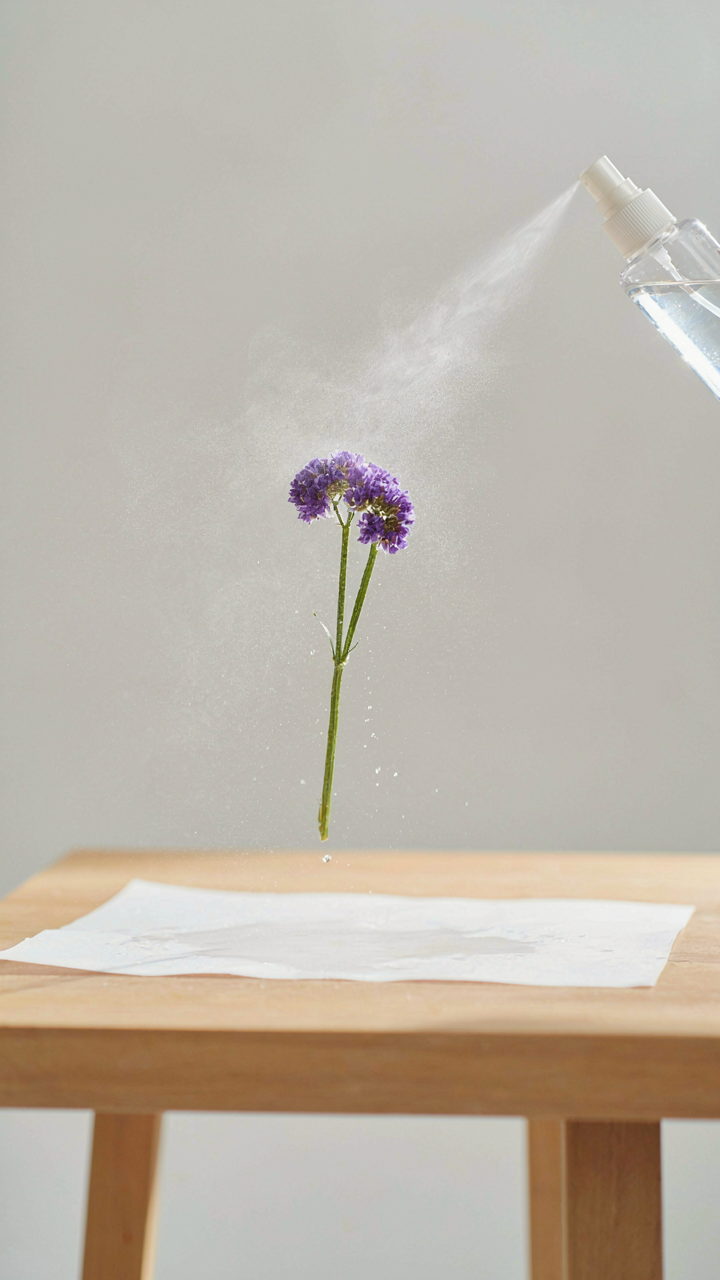
You want your flowers to last because you’ve invested time in the microwave process and you’re not about to watch them crumble. The mechanism here borrows from entomology: insects preserve themselves in amber by blocking oxygen exposure, and you do the same with a resin or wax coating. Most people skip this step or use weak solutions. The physics doesn’t change whether you’re protecting an insect or a petal—oxygen causes degradation. A thin acrylic spray or melted paraffin wax applied within 24 hours of microwaving locks moisture out and halts oxidation dead.
The coating needs to be thin enough not to alter the flower’s appearance but thick enough to seal the surface completely. Two light passes beat one heavy coat because dripping creates weight that warps delicate petals. Allow 48 hours for full cure before storing or displaying. This is the difference between flowers that last two months and flowers that last eight.
Humidity Is The Mechanism That Kills Them
Everyone talks about “keeping flowers dry” as if that’s advice. It’s not. The real issue is vapor pressure equilibrium—your dried flowers will absorb ambient moisture until they match the humidity level around them, which reverses the drying process entirely. A microwave removes water fast, but without humidity control afterward, that water creeps back in from the air. You can’t stop this physically; you stop it by controlling the environment.
Store dried flowers in sealed glass containers with silica gel packets or desiccant cartridges that actively pull moisture from the enclosed space. Replace desiccant every two weeks if your home sits above 55% relative humidity. The goal is creating a microclimate inside the container that stays below 40% humidity, where flowers stabilize and stay brittle. Check containers weekly for condensation on the glass—that’s your signal the seal is broken or the desiccant is saturated.
The Regular Microwave Flower Press: Unlocking Hidden Potential
Build Your Own Setup For Real Control
You want this section because you think buying expensive equipment proves you’re serious about the craft. You’re not. The mechanism is simple: a microwave flower press works by extracting moisture through radiant heat while weight distribution controls the drying rate. Most people skip building their own and waste money on branded kits that solve no actual problem.
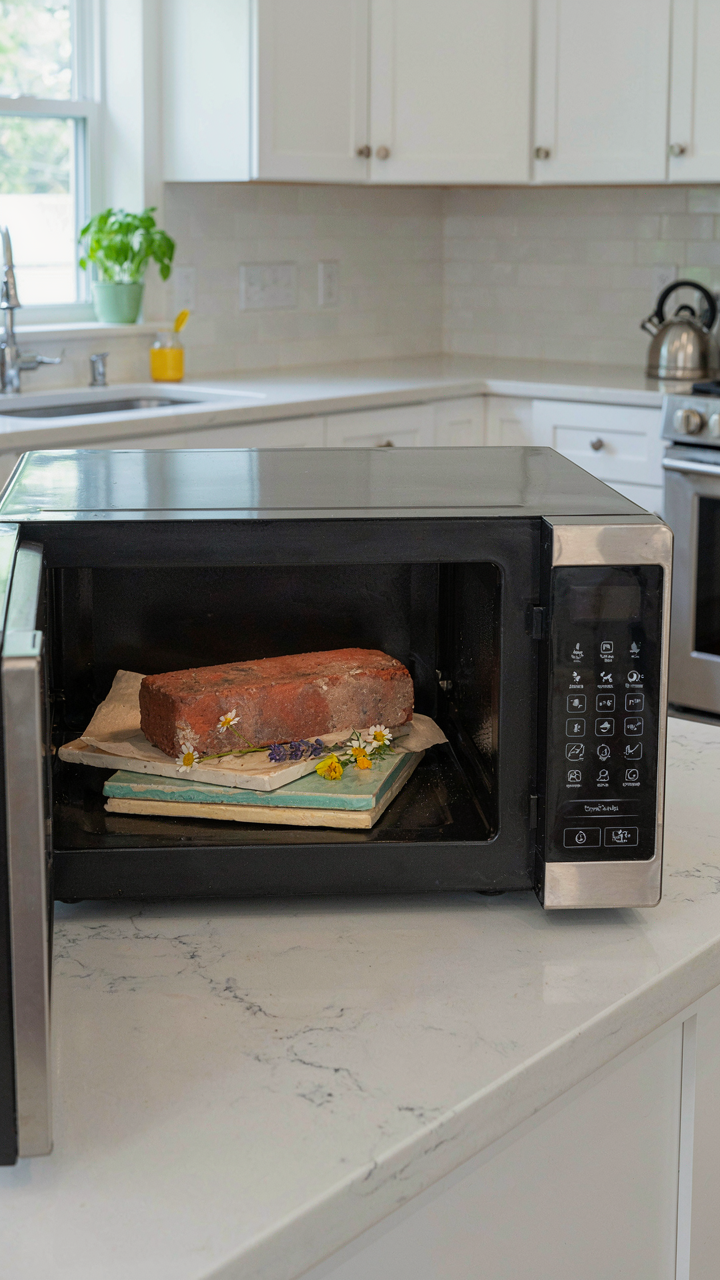
A standard microwave flower press uses two ceramic tiles, absorbent material between them, and weight on top. The ceramic tiles absorb and redistribute moisture evenly. Stack them flat, place paper towels or silica gel between the tiles, add your flowers in a single layer, then weight the top with books or a brick. Set your microwave to 30 percent power and run in 30-second intervals, checking between each cycle. This gives you the precision commercial kits charge triple for.
Skip The Brand Tax, Buy The Components
Everyone tells you to buy complete kits. That advice exists because retailers profit from it, not because kits work better. You buy four things separately, assemble them yourself, and spend half the price. A microwave-safe ceramic tile costs under five dollars. Heavy-duty paper towels cost two dollars. Silica gel packets cost three dollars. A weight you already own. Done.
The real savings come from understanding what each component does independently. Ceramic tiles conduct and hold heat better than alternatives. Paper towels are replaceable between batches without waste. Silica gel absorbs more moisture than standard materials but costs pennies per use. You skip logos and packaging markup by sourcing components instead of waiting for a branded product to arrive in oversized packaging.
The Real Obstacle Isn’t The Method; It’s Your Resistance To Efficient Control Over Natural Processes
Most people don’t dry flowers. They let them die. There’s a difference. The microwave flower drying method works because you stop waiting for nature and start commanding it. You trade patience for precision. Today, grab three flowers from your house and microwave them for ninety seconds. Watch what happens when you decide to own the outcome instead of hoping for one. Control beats hope every single time.



