

The Illusion Of Easy Tree Uplighting: What They Don’t Tell You

The Real Cost Of Ignoring Fixture Placement
You want this to work on the first try because failure means wasted money and a yard that looks worse than before. The mechanism is simple: uplighting fails when the fixture distance from the tree trunk doesn’t match the beam angle of your light. Most beginners place lights too close or too far, creating either harsh shadows or washed-out illumination that reads as amateur from the street.
The physics of lighting borrows the inverse square law from optics. Light intensity drops proportionally as distance increases. Your fixture brightness and beam spread must work together, not against each other. A 30-degree beam at three feet from a trunk behaves completely differently than the same fixture at eight feet. Get this relationship wrong and no amount of tweaking fixes it.
Starter Kits Sell You Compromise
The industry consensus says starter kits are entry points to the hobby. That’s incomplete. Starter kits are engineered to be profitable, not effective, which means you’re buying fixtures designed to work adequately in no specific context rather than precisely in yours. The wattage, color temperature, and beam angle are compromises that satisfy nobody’s actual garden.
You end up with lights that perform at 60 percent of their potential because the kit assumes an average tree height, average trunk diameter, and average planting distance. Your trees are not average. You’ll replace these lights within two seasons and spend twice as much total. Skip the kit entirely and buy individual components matched to your specific trees instead.
The “Light Architect” Method: Mastering Outdoor Tree Lighting Inspiration
How Beam Angles Shape What People Actually See
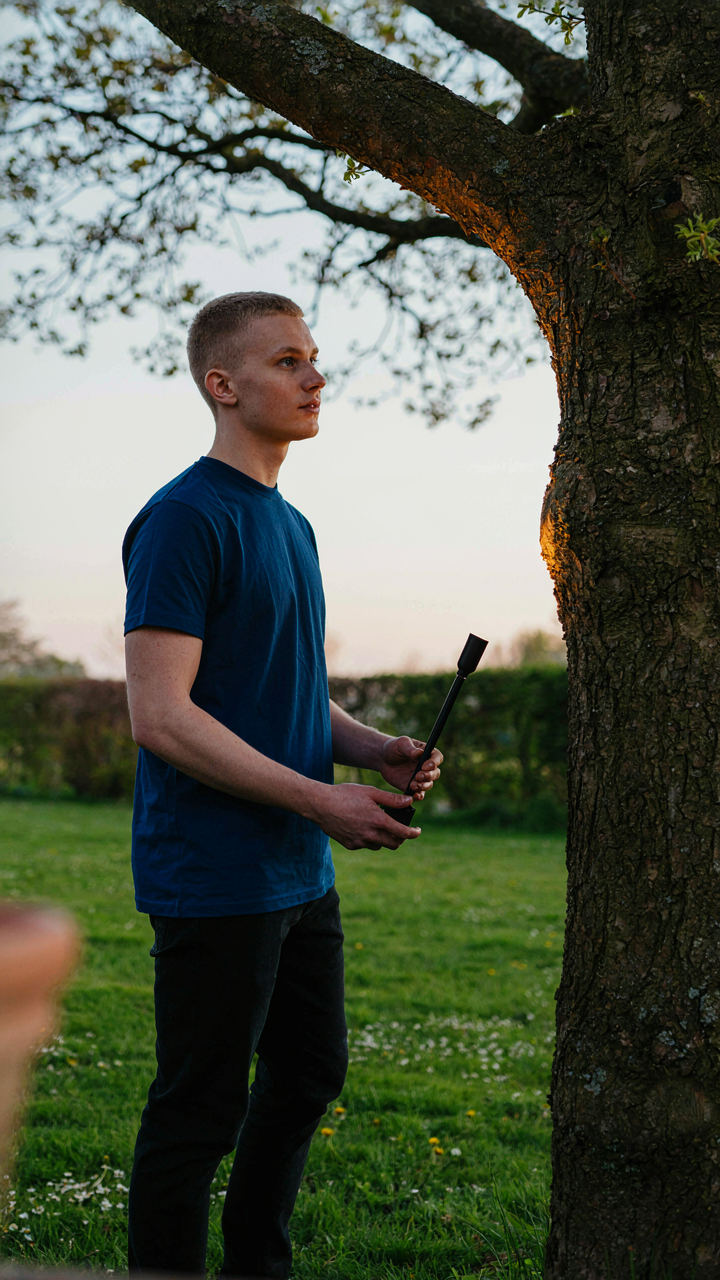
You want your trees to look impressive to visitors, but you’re afraid of wasting money on lights that miss the mark. Here’s what matters: beam angle is physics applied to perception. The narrower your beam angle, the more concentrated the light on a specific tree zone. A 15-degree beam creates a spotlight effect on trunk texture. A 40-degree beam spreads light across foliage. Most people default to wide angles and wonder why their trees look washed out instead of dimensional.
Intensity and beam angle work together as a system, not separately. A 10-watt fixture with a 15-degree beam can outperform a 20-watt fixture with a 60-degree beam because the light concentrates where it counts. Position your uplights 6 to 10 feet from the tree base. Angle the fixture upward at 30 to 45 degrees for natural shadow play on bark and limbs. This distance and angle combination prevents glare and lets foliage depth read properly from viewing positions.
Building Depth Through Light Placement Strategy
Layering light reveals what flat illumination hides. Instead of one fixture per tree, professionals use multiple light sources at different angles to create visual separation between bark, canopy structure, and background. Front uplighting shows texture. Side uplighting reveals dimensional form. Rear uplighting creates silhouette definition that makes trees stand forward in space. One light does none of this.
Start with a primary uplight positioned to hit trunk detail. Add a secondary fixture from the side at lower intensity to suggest form without competing for attention. If trees sit against walls or structures, a rear accent light separates the tree from its background. Test each fixture independently before combining them. Observe how shadows fall and whether the tree reads as a solid mass or as layered structure with actual depth.
Beyond Illumination: The Psychology Of Tree Lighting Outdoor
Light Triggers Specific Neural Responses
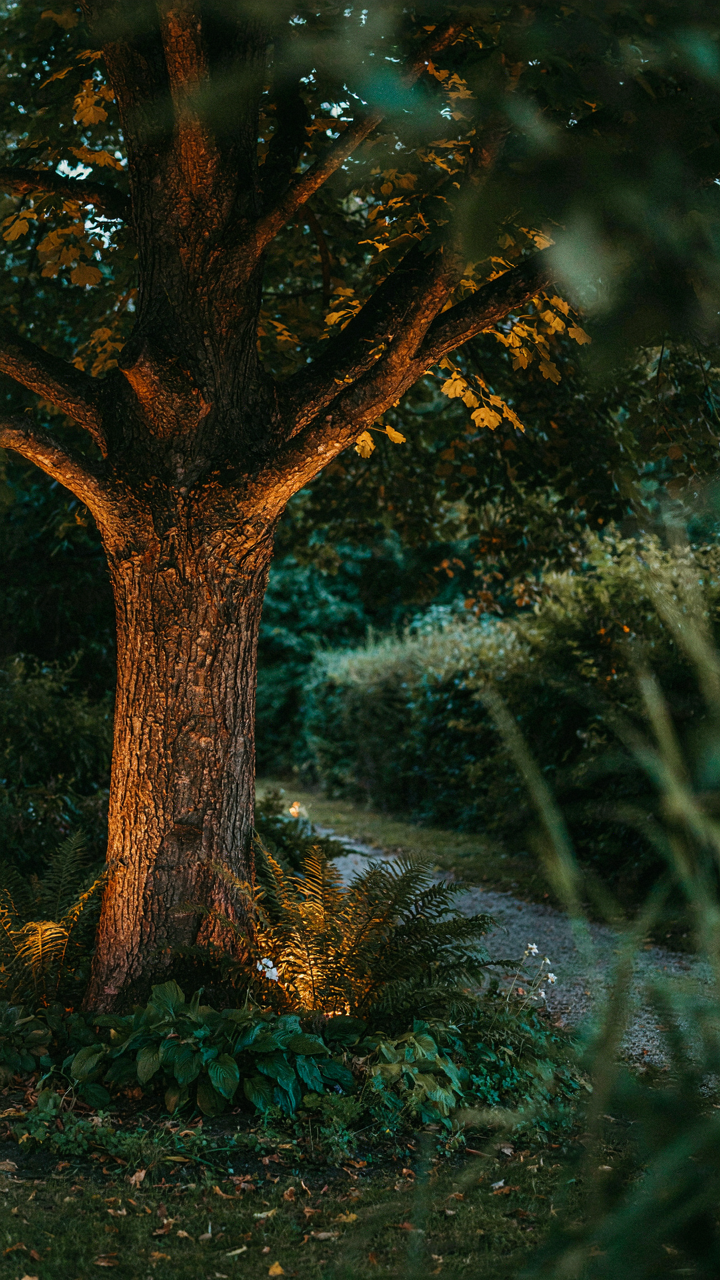
You want your garden to feel intentional. Most people light trees to prove they’ve thought about their space, and that matters more than the light itself. Psychology of lighting borrows from environmental psychology, which maps how spatial cues trigger limbic responses before conscious thought enters the game. Uplighting works because it reverses the sun’s natural angle, creating a primitive signal of safety and control. Your brain reads uplit trees as sculpted, owned, deliberate.
The mechanism is simple: warm light between 2700K and 3000K activates parasympathetic nervous system responses, lowering cortisol and heart rate. Cool light above 5000K does the opposite, creating alertness and tension. A tree lit from below in warm tones doesn’t just look better. It changes how your body feels standing near it. Install your uplights at a 30 to 45 degree angle from ground level, positioned two to four feet from the trunk base, and use dimmers to control intensity based on time of day.
Subtlety Beats Brightness Every Time
The common mistake is overexposure. Most beginners think more light equals more impact, which is backward. Lighting designers call this the threshold principle: beyond a certain brightness level, the human eye stops processing detail and starts experiencing glare as intrusion. A single 10 to 15 watt LED uplighter on a mature tree creates more visual interest than three 50 watt fixtures blasting the same canopy into washout.
Your goal is to reveal shape and texture, not erase shadow. Shadows define form. Remove them completely and you’re left with a flat green blob. Place uplights so they graze the trunk and undersides of lower branches, letting upper canopy fade into darkness. This creates depth and prevents the “stadium lighting” effect that reads as artificial and aggressive. The lighting should feel discovered, not announced.
The Energy Conservation Protocol: Smart Tree Uplighting Outdoor

Why LED Actually Matters For Your Trees
You want to feel like you’re doing the responsible thing without paying a premium or dealing with constant maintenance. Here’s the mechanism: LED fixtures convert electrical energy into light with 80 percent efficiency. Traditional halogen uplights waste 90 percent of their energy as heat, which degrades the lamp, the fixture housing, and anything near it. LEDs run cool, which means your tree stays undamaged, your fixture lasts 25,000 to 50,000 hours instead of 2,000, and your electric bill doesn’t spike.
The real economy isn’t about upfront cost. It’s about replacement cycles. A halogen uplighter demands bulb swaps every season or two. LED uplights run for years between replacements. This compounds. Over a five-year window, LED systems cost two-thirds what halogen systems cost when you factor in labor, replacements, and energy consumption. The fixture itself doesn’t degrade from heat stress, so the optics stay clear and the beam stays consistent. That’s not virtue signaling. That’s basic math.
Control Systems That Actually Change Behavior
The common advice is to “just add a timer.” That’s incomplete. Timers handle one variable: when the light turns on and off. Sensors handle what the light actually does based on conditions. A motion sensor prevents waste by only running the light when someone’s in the garden. A photocell prevents the light from running during dusk when natural light still dominates. A dimmer lets you dial output down during shoulder hours, cutting energy consumption by 40 to 60 percent without losing the visual effect.
Smart timers with multiple on-off cycles cost barely more than basic timers but let you match your lighting schedule to actual garden use patterns. This matters because most people run uplighting the same way every night. You don’t need full intensity at 10 PM on a Tuesday in March. Pairing a photocell with a dimmer creates the highest-impact setup: the light only activates after real darkness arrives, then runs at 50 to 70 percent output instead of 100 percent. Install the photocell at tree height, not at ground level where it catches reflected light and triggers early. Run your dimmer on a 30-minute fade cycle instead of sharp on-off transitions to reduce power surges to the fixture.
Installation As Investment: Durability In Garden Tree Lighting Ideas

Materials That Won’t Fail You In Six Months
You care about this because cheap fixtures make you look like you don’t know better. The mechanism is simple: polymer degrades under UV exposure and temperature cycling. Aluminum housings oxidize. Solder joints crack. You need materials that resist these forces, not materials that sound premium in marketing copy.
- Cast Aluminum Housings: Resists corrosion better than die-cast aluminum. Thicker walls absorb thermal stress without warping. Costs more upfront but lasts 10+ years outdoors.
- Stainless Steel Hardware: Uses 304 or 316 grade fasteners. Prevents galvanic corrosion where dissimilar metals touch. Standard steel bolts rust within seasons.
- Polycarbonate Lenses: Maintains clarity longer than acrylic. Acrylic yellows and becomes brittle within 3-5 years. Polycarbonate stays transparent for 7+ years in direct sun.
- Silicone Gaskets Over Rubber: Rubber hardens and cracks in freeze-thaw cycles. Silicone maintains flexibility across temperature ranges from minus 40 to 180 degrees Fahrenheit.
- Potted Electronics: Encapsulant resin protects solder joints and circuitry from moisture intrusion. Unpotted boards corrode from ground vapor within one season.
You’re not paying for aesthetics here. You’re paying to avoid replacing fixtures every time weather turns hostile. Verify material specs on product datasheets before buying, not after installation fails.
Burial Methods That Keep Moisture Out
Underground wiring fails not from age but from water pooling around cable entry points. Treat this like hydrology: water follows the path of least resistance, and your conduit is that path unless you force it downward and away.
Run conduit at a slope. Never level. Slope toward a drainage point, ideally 6 inches below grade where water naturally collects away from the fixture base. Use rigid PVC conduit rated for underground burial, not flexible conduit. Rigid conduit resists crushing from soil settling and root pressure. At the fixture end, seal the conduit entry with a compression fitting rated IP67 minimum. At the transformer or power source end, use a weatherproof junction box with a drip loop in the cable itself. The drip loop forces water running down the cable to drop off before reaching the connection point. Test this: pour water on the loop and watch where it falls.
The “Visual Weight” Principle: Applying Physics To Tree Lights
Light As Mass Balancing Visual Elements
You want this to look intentional, not like you’re compensating for a bare corner of your yard. Here’s the mechanism: in composition, visual weight describes how much attention an element commands. A bright uplighter on a tree functions like actual mass in physics—it pulls the eye with force proportional to its brightness and placement. The brighter the light, the heavier it feels. An overly bright tree at the garden’s edge creates visual imbalance because it demands attention that the rest of your space doesn’t earn.
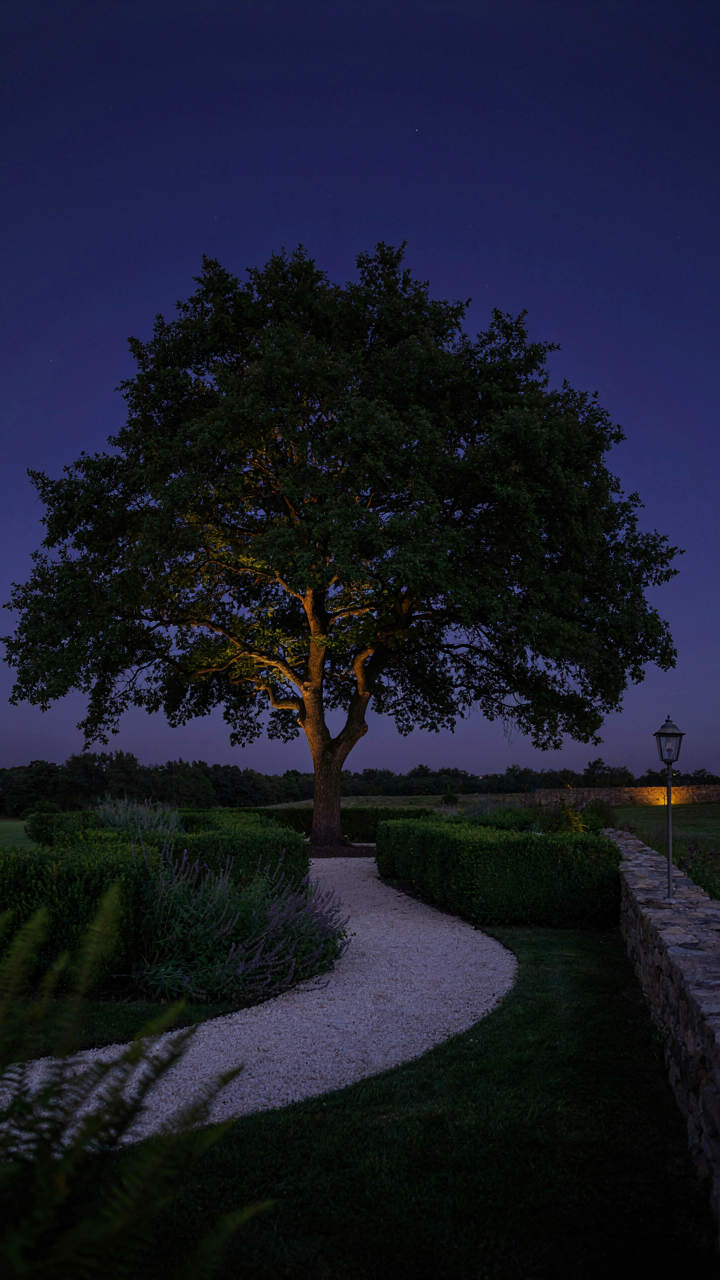
The practical fix is simple hierarchy. A single 20-watt warm-white uplighter under a mature oak shouldn’t outshine ambient patio lighting or landscape features you want noticed equally. Most beginners overdrive brightness because they’re testing the fixture. Instead, dial in your uplighter to 60 percent of its max output, then adjust everything else around it. This prevents that “look at this tree” theater effect and creates actual balance. Dim lights let the space breathe.
Focal Points And Negative Space Dynamics
The real mistake people make here is thinking uplighting creates the focal point. It doesn’t—negative space does. A well-lit tree against a dark void reads as a focal point because your eye has nowhere else to land. Uplighting without surrounding context just creates a lit object in darkness. The tree becomes the focal point only when the space around it provides compositional contrast.
Plant your uplighters with this in mind: position the light so the tree silhouette has dark space behind it and softer illumination to its sides. If you’re lighting a 40-foot oak centered in your yard, the dark sky behind it does the work. The uplighter just enables it. Conversely, if your tree sits against your house or a fence, that backdrop competes. Add a secondary light 15 feet away at lower intensity to create depth and let the tree separate visually from the structure. The lamp placement itself becomes a protocol: primary uplighter close to the trunk, secondary fill light 12 to 18 feet away at half the intensity.
Avoiding The “Amateur Hour” Look: Pro Tree Lighting Ideas
The Fixture Disappears, The Tree Remains
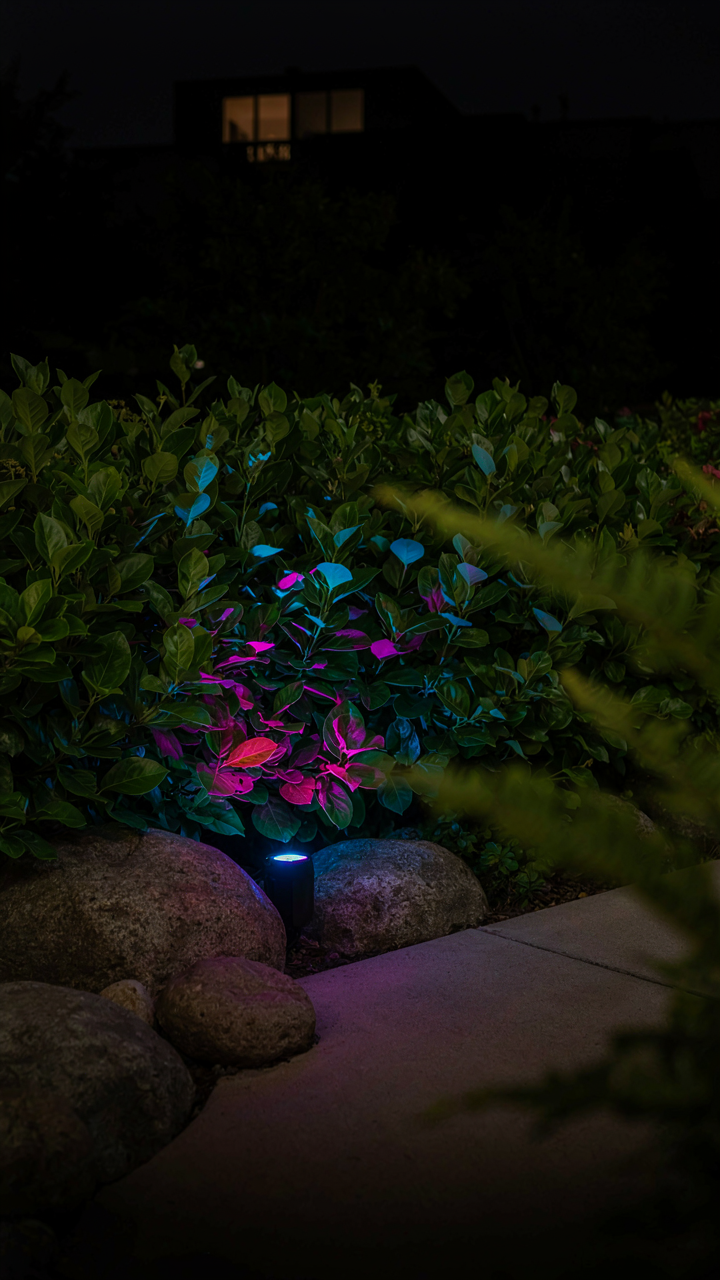
You want people to notice your trees, not your lights. That’s the real reason you’re reading this. The mechanism is simple: when a fixture sits visible on the ground, it becomes the focal point. Your brain processes the light source before the lit object. Pro installations bury the fixture or tuck it behind landscaping so only the light’s effect reaches the viewer’s eye. The tree becomes the subject. The equipment vanishes.
Placement determines everything. Position uplights at ground level, 2 to 4 feet from the tree trunk, angled upward between 30 and 45 degrees. Place fixtures behind dense plantings, berms, or hardscape elements that block direct line of sight from typical viewing angles. Use dark housings and matte finishes on fixtures themselves. A shiny fixture reflects ambient light and draws attention. Dark finishes absorb stray light and fade into the background.
Building Depth Through Contrast
Layering light works like architectural depth in photography. You’re applying the principle of selective focus. Instead of one fixture washing the entire tree, you deploy multiple angles and intensities to separate foreground branches from background foliage. The tree gains dimension. Flat, one-dimensional lighting looks cheap because it treats the tree as a surface, not a structure.
Deploy a primary uplight from one angle at higher intensity. Add a secondary fixture from the opposite side at lower intensity, roughly 50 to 60 percent of the primary output. This creates shadow and highlight separation. The primary light sculpts form. The secondary light fills depth without erasing contrast. Vary color temperature only if your design intent demands it. Most amateur mistakes come from too many fixtures at equal brightness, creating a blown-out, featureless glow. Restraint and contrast create dimension.
Maintenance Is Not A Chore: Extending Tree Lights Outdoor Life

Check Your Lights Before They Fail
You’re afraid of discovering problems mid-season because you don’t want to rewire everything. The real mechanism is simple: outdoor fixtures degrade predictably through moisture infiltration and connection corrosion, not randomly. Catch these before they compound. Walk your setup monthly. Look for water pooling in fixture housings, corroded connector pins, and loose ground wires. Test each light individually by unplugging adjacent fixtures. Most failures trace back to a single weak connection you could have spotted in sixty seconds.
Preventive inspection saves you from the false economy of replacement. Check sockets for mineral buildup where water has evaporated. Examine cable runs for splits or pinches from settling soil. Verify ground stakes haven’t shifted, exposing buried connectors. The cost of thirty minutes of attention beats the cost of a burned-out transformer or a fixture that stops working mid-entertaining. Document what you find so patterns emerge over seasons.
Solve Problems By Isolating The Variable
Most troubleshooting advice tells you to replace parts until something works. That’s waste. Use the control method from engineering: eliminate variables one at a time. If lights flicker, unplug the fixture and plug it into a different circuit in a different part of your yard. If it works there, the problem is the original circuit, not the light. If it flickers there too, the problem is the fixture or bulb. This distinction determines whether you’re replacing a fifty-dollar transformer or a ten-dollar LED.
When lights don’t illuminate, test the outlet with a different device. Then test a known-working light in that outlet. Then swap the bulb. You’ll isolate the failure in minutes instead of guessing. Water ingress causes ninety percent of outdoor lighting failures. If a fixture died after heavy rain, dry it fully before replacing components. Remove the bulb, leave the housing open to air, and wait forty-eight hours. Moisture that looked like a dead circuit often clears on its own.
The Iterative Design Loop: Evolving Your Outdoor Tree Lighting
How Seasons Change Your Lighting Math
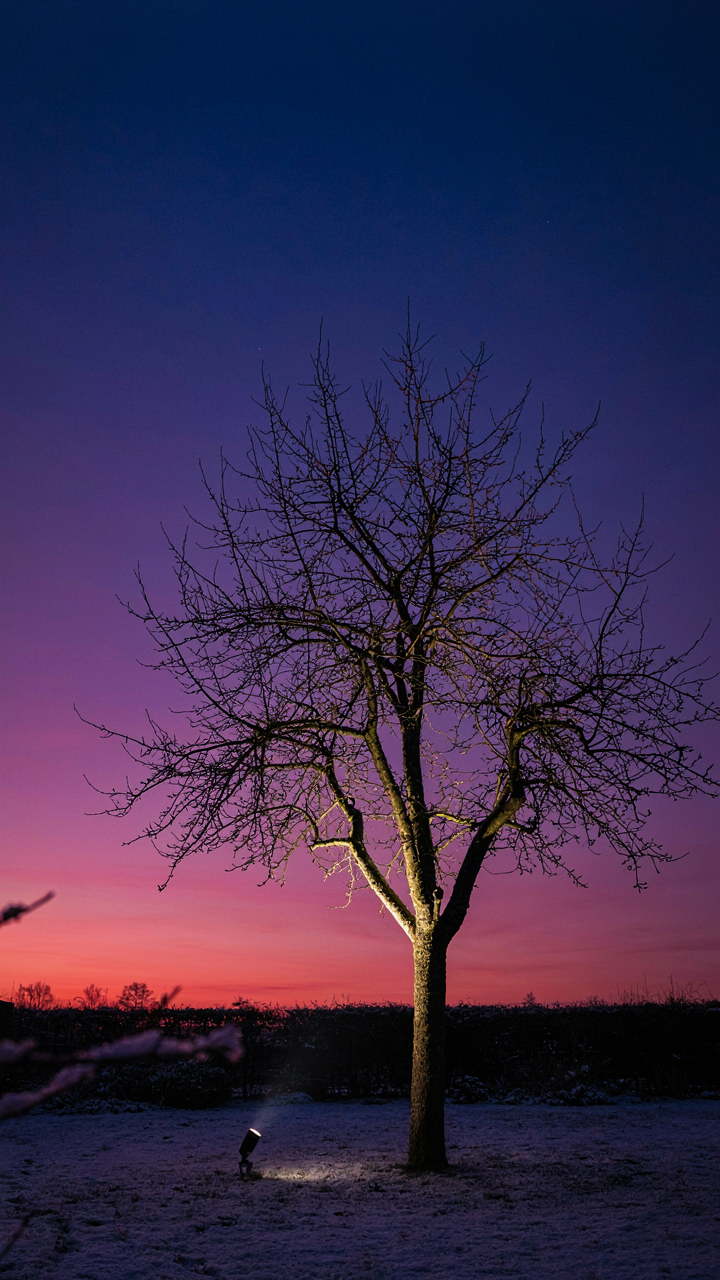
You want your setup to look intentional year-round, not like you installed it once and forgot it existed. Here’s what matters: trees change. Their canopy density, branch structure, and foliage volume shift dramatically across seasons, which means your light placement and fixture angle must shift too. This is basic biology applied to design. A spring maple with emerging leaves demands different uplighting intensity and positioning than the same tree in winter when branches are fully exposed.
Most people set their uplights in summer, then wonder why the effect vanishes in fall when leaves drop. The mechanism is straightforward: denser foliage blocks and scatters light differently than bare branches. Winter uplighting should angle steeper to catch lower branch structure. Spring and summer require softer angles to illuminate canopy volume without washing out the tree’s shape. Document your initial placement with photos and angle measurements, then adjust fixture tilt and brightness in 15-degree increments as seasons change. Track what works.
Testing Fixture Placement Before Committing
The standard advice says buy the lights, bury the cable, done. That’s incomplete. Real optimization requires friction first. Stake temporary uplights using landscape stakes and extension cords before digging anything permanent. Move fixtures left, right, closer, farther. Change angles. Run them at different brightness levels during evening hours. Photograph the results. This takes two to three nights and costs nothing but time.
The reason most people skip this: it feels like work before the “real” installation. It’s not. You’re gathering data on what your specific tree, yard geometry, and viewing angles actually demand. A fixture positioned wrong looks wrong permanently. Test duration maps directly to installation longevity. After testing, mark your chosen fixture locations with spray paint on the ground. Mark the angle with a stake reference. Only then run cable and set fixtures permanently. Your first installation will be your best one.
Beyond The Fad: Timeless Outdoor Tree Lighting Inspiration
Design Systems Beat Aesthetic Trends
You want your uplighting to look sophisticated in five years, not dated in two. The mechanism is simple: trends die because they depend on novelty. Design systems survive because they depend on constraint. Landscape architecture borrowed this from graphic design decades ago. A constraint-based system means you pick one color temperature, one mounting height range, one beam angle, then apply it consistently across all trees. This removes the decision fatigue that leads people to chase whatever Instagram showed them last week.
The real work is identifying which constraint matches your landscape’s existing geometry. If your trees have mature canopies over 30 feet, narrow beam angles (15 to 25 degrees) create punch and prevent light spill onto neighbors. If your trees are younger or smaller, wider spreads (40 to 60 degrees) read better. Once you define the parameters, stop tweaking. Consistency creates the appearance of intentionality, which is what actually ages well.
The Power Of Strategic Subtlety
Everyone’s first instinct is to illuminate everything. Everyone’s first result is a carnival. The correct approach uses uplighting as punctuation, not narration. You light maybe three to five anchor trees per viewing area, leaving others in shadow. This creates depth and forces the eye to move through the space instead of stopping at visual clutter.
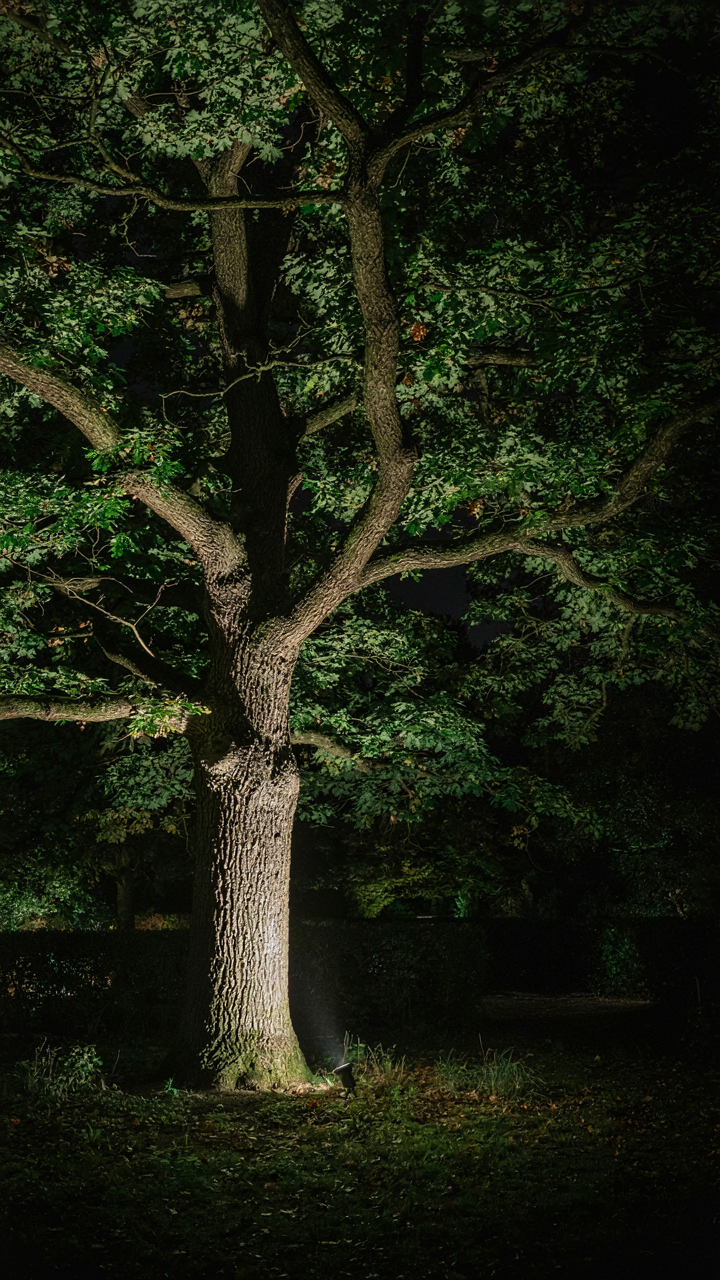
The math works against brightness creep. A single 10-watt LED fixture on a mature oak reads louder than three 5-watt fixtures scattered across multiple trees because light intensity matters less than distribution contrast. Your best trees aren’t the brightest ones. They’re the ones surrounded by intentional darkness that makes the lit trees actually visible. Place uplights at the tree base, aim slightly inward toward the trunk, and adjust angle only after sundown when your eye can actually see the result.
Your Fear Of Complexity Is The True Barrier, Not The Lack Of Easy Instructions

You’ve convinced yourself uplighting for garden trees requires expertise you don’t have. You’re wrong. The real problem is you’re waiting for permission to start. Buy one uplighter today. Stake it in the dirt beside your tree. Turn it on at dusk. Watch what happens. The fear dissolves the moment you stop thinking and start doing. Everything else you need to know comes from that first mistake.



