
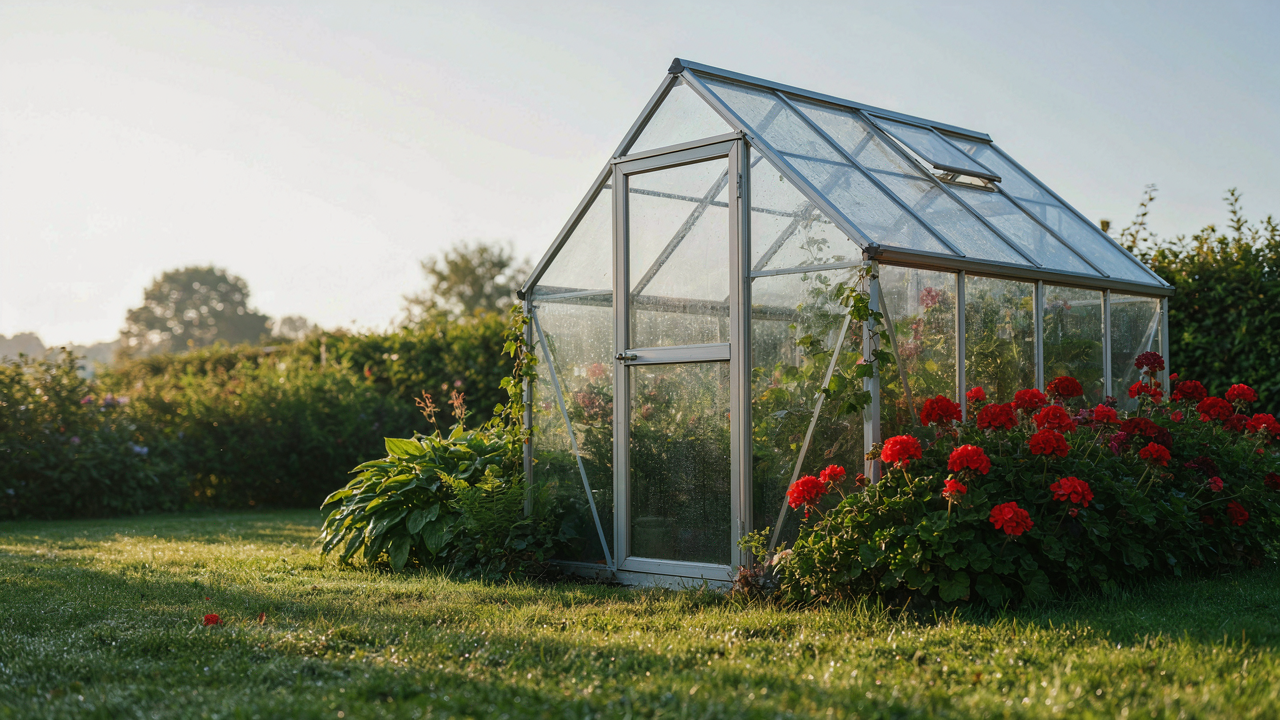
The Small Backyard Greenhouse Delusion: More Than A Shed

Why You Actually Want One
You want this because you’re tired of depending on systems you don’t control. A small backyard greenhouse sits at the intersection of self-sufficiency and status—you get the practical win of growing food year-round, but you also get the visible proof that you’re not completely helpless. The mechanism is simple: a greenhouse extends your growing season by trapping heat and protecting plants from external variables. It’s thermodynamics applied to dirt. Most people buy one for the Instagram-ready aesthetic, then realize they have a glass box that requires actual skill to operate effectively.
The real reason to build one isn’t romance. It’s control. You regulate temperature, humidity, soil composition, and pest pressure. A small backyard greenhouse turns gardening from a gamble into a predictable system. You stop blaming weather and start blaming yourself when things fail, which is exactly the feedback loop that builds competence. The structure itself is passive—it only works if you understand the variables it controls.
Building Without Wasting Money
Most advice about small greenhouses ignores the gap between intention and use. People tell you to start small and think about drainage and pick the right materials. That’s incomplete. The real trap is building something that looks finished but operates like a hobby nobody uses. You need to decide what you’re actually growing before you pick a size, material, or location. If you want salad greens in winter, you need different conditions than someone growing tomatoes in spring. The greenhouse doesn’t care about your intention. It will do exactly what its design allows, nothing more.
Start by identifying the single crop that matters most to you. Then work backward from that crop’s needs to the greenhouse specs. Size matters less than positioning. East or south-facing placement gets you maximum winter sun, which is the constraint that actually determines whether you’ll harvest in December or watch plants die under insufficient light. Build the minimum viable structure that serves that one crop, then expand once you’ve proven you’ll maintain it consistently. This filters out the aesthetic buyers who lose interest after six weeks.
The Unseen Costs Of A Cheap She Shed Ideas

What You Actually Pay For Budget Builds
You want to believe a greenhouse costs what the internet says it does. The real reason you’re reading this section is because you’re afraid you’ll waste money on something that collapses or rots in two years. Here’s the mechanism: cheap builds don’t fail because they’re undersized or poorly designed. They fail because the builder didn’t account for the gap between material cost and system cost. A $300 frame costs nothing compared to what happens when wind load calculations prove wrong or condensation destroys wood framing annually.
Material costs hide exponential maintenance expenses. You buy budget polycarbonate that degrades in UV light, requiring replacement every three to four years instead of ten. You skip proper foundation work and pay triple later when frost heave buckles your frame. Ventilation fans, shade cloth, irrigation upgrades, and structural reinforcement all emerge after the initial build fails to perform. The $800 greenhouse becomes a $2,400 commitment by year three because you’re now buying components the original design couldn’t support. Cheap builds force reactive spending instead of upfront prevention.
The Real Price Of Doing It Yourself
Economics calls this “opportunity cost,” but that’s lazy terminology for what actually happens. You’re trading hours of skilled labor for money you don’t have and time you do have. A small greenhouse demands precision in foundation work, frame assembly, and weatherproofing. Mistakes in any of these create cascading problems that cost more to fix than the labor would have cost upfront. Spending sixty hours building something wrong costs you sixty hours plus the full rebuild cost.
Worse: DIY projects expose you to weather delays, material shortages, and learning curve disasters. You buy the wrong fasteners or cut angles at incorrect degrees. You work solo on tasks requiring two people, which creates safety risk and produces lower quality output. The hidden cost isn’t just your time on the build. It’s every hour spent troubleshooting, every weekend lost to weather setbacks, and every dollar wasted on components you have to replace because installation went wrong. Calculate what your hourly rate actually is, then subtract it from the “savings” the project promised.
The Lean To Greenhouse Leverage Protocol
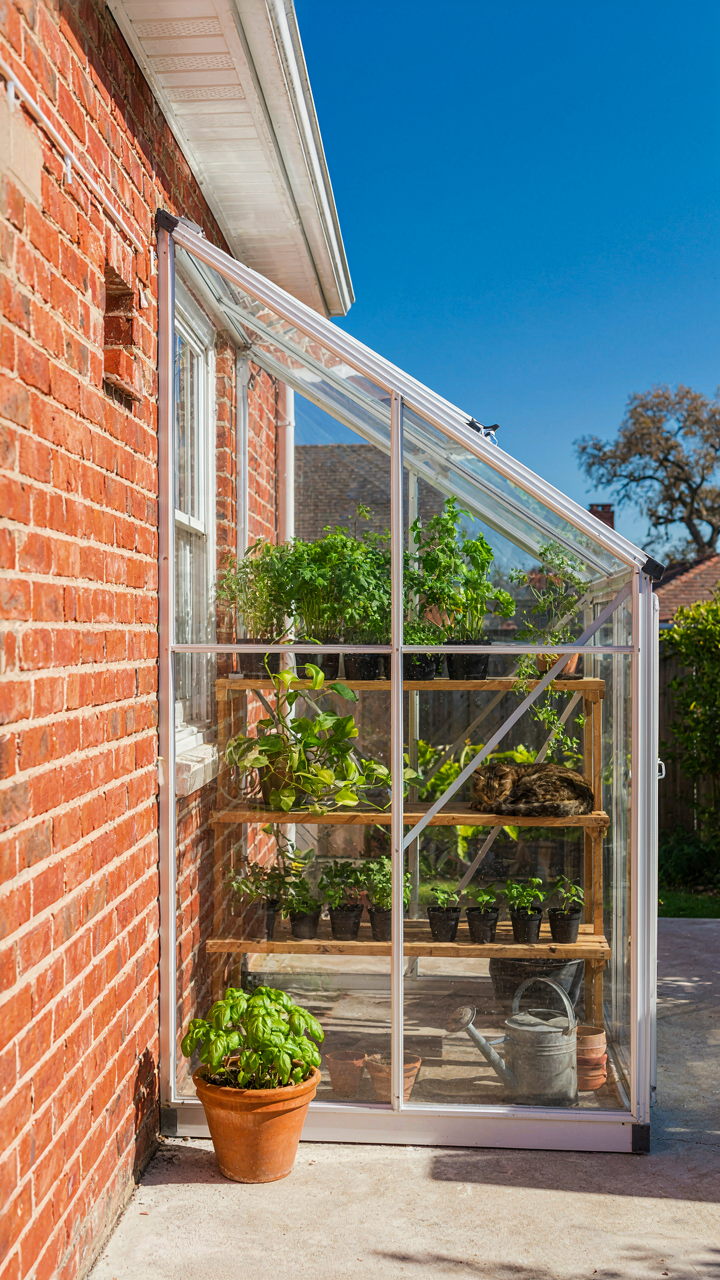
Borrowing Heat From Your Existing House Wall
You want a greenhouse that doesn’t require you to heat it separately because that sounds expensive and complicated. Here’s the actual mechanism: a lean-to greenhouse attached to your south-facing house wall exploits thermal mass from building physics. Your house wall absorbs solar radiation during the day and radiates that heat back into the greenhouse at night. This isn’t magic. It’s conduction through a material that already exists and already stores temperature.
The house wall becomes your primary heating source during shoulder seasons. A brick or concrete wall does this work better than vinyl siding, but even standard construction performs better than an isolated greenhouse. Position the greenhouse so the house wall receives unobstructed morning and afternoon sun. The wider the wall exposure, the more thermal capacity you access. This single design choice cuts heating demand by thirty to fifty percent compared to freestanding structures because you’re leveraging existing infrastructure instead of fighting the thermodynamics alone.
Solar Path Alignment For Passive Winter Gain
Most people place lean-to greenhouses on whatever side faces their yard, which wastes the entire advantage. The physics of passive solar heating demands a specific orientation: true south in the Northern Hemisphere, true north in the Southern Hemisphere. Your greenhouse intercepts maximum winter sun when the sun sits lower on the horizon. During summer, the same angle means less direct overhead heat, which is fine because you don’t want it then anyway.
Measure your lot’s sun path before attaching anything. Winter sun hits a south-facing wall at a lower angle than summer sun, and this angle difference drives your passive heating efficiency. If your house wall doesn’t face true south, a lean-to greenhouse loses its primary advantage. The thermal mass of the wall still helps, but the solar gain evaporates. In northern climates, even ten degrees off true south costs measurable growing days in early spring and late fall. Establish true south using a compass app, then design your greenhouse footprint around that constraint, not around the most convenient corner of your house.
Small Greenhouse Ideas: The Ecosystem, Not Just A Box

Design For Closed Loop Systems
You want this to feel effortless, like nature handles it for you while you take credit. That’s the real draw here. The mechanism is this: a small backyard greenhouse becomes viable the moment you stop treating it as a box you manage and start treating it as a system that manages itself. Biomimicry borrows from biology the principle of feedback loops. In your greenhouse, the loop is simple: plants release moisture, that moisture condenses on cooler surfaces, water runs to soil, soil feeds plants. Close that loop tightly enough and your intervention drops to almost nothing.
The common mistake is adding more technology to compensate for poor design. Automated watering systems, ventilation fans, thermostats. Wrong. Those exist to patch a system that fights itself. A well-designed small greenhouse uses thermal mass (concrete, water barrels, stone) to hold heat, places plants strategically to shade soil and reduce evaporation, and positions vents to create passive airflow without fans. Humidity self-regulates when you’ve stacked functions correctly. The result isn’t magical. It’s just physics operating without your interference.
Stacking Functions In Confined Space
Permaculture is an agricultural framework that treats land design as a problem of stacking multiple yields into one space. Your small backyard greenhouse is physically confined, so every square foot either serves one function or several. The difference between amateur and effective is choosing the latter. Place a water barrel against the north wall and it becomes thermal mass that warms during the day and radiates at night. Place it poorly and it just takes up square footage. Shelving isn’t just for plants. The space below shelves becomes a microclimate for humidity-loving plants or a cold frame for propagation. The space above a water barrel becomes a growing area that benefits from heat retention.
The protocol is straightforward: map every surface and volume, then ask what secondary functions each can serve. Walls reflect light and trap heat. Floors absorb and store thermal energy. Vertical space reduces ground footprint while increasing yield per square meter. Paths between growing areas create air channels that prevent stagnant pockets. Each design choice dissolves one problem while creating another advantage downstream. This isn’t optimization for beauty. It’s ruthless resource allocation in a confined system where waste compounds fast.
Greenhouse Set Up Ideas: The Minimalist Workflow

The Tools That Actually Matter
You want a setup that makes you look intentional without requiring a second mortgage. Here’s the mechanism: a small backyard greenhouse fails not from lack of equipment but from scattered tools that create friction every single day. Friction kills consistency, and consistency is what separates produce from compost.
- Hand pruners: Sharp bypass pruners handle 90 percent of cutting work. Dull ones breed disease and waste time. Replace when they stop cutting cleanly, not on a schedule.
- Watering wand with misting head: Replaces the guesswork of hand watering. A 25-foot hose with a wand costs thirty dollars and eliminates the spray pattern problem that drowns seedlings.
- A-frame shelving unit: Doubles vertical growing space instantly. Metal frame with four tiers fits in a 4×4 footprint and holds seedlings, propagation trays, and tools within arm’s reach.
- Soil mixing bin or bucket: Five-gallon buckets stack and store flat. Use them for potting soil, amendments, and water. Label them. Unlabeled containers waste time every season.
- Thermometer and moisture meter: Two instruments cost under twenty dollars combined. They replace assumption with data. You water when soil reads dry, not when you feel like it.
The real efficiency comes from containment, not quantity. Store every tool in one small shelf or wall-mounted pegboard inside the greenhouse. When everything has a spot, setup time drops and you actually use the space instead of hunting for the pruners.
Automation Versus Manual: The Real Trade
The consensus says automate everything to save time. That’s incomplete. Automation works when your problem is volume or consistency under identical conditions. In a small backyard greenhouse, your problem is usually visibility and response.
Manual watering teaches you what your plants actually need. You see stress, pest damage, and nutrient deficiency before they become problems. A timer waters on schedule regardless of weather, season, or plant stage. For a small system under 200 square feet, hand watering takes fifteen minutes every other day. Drip irrigation with a timer costs one hundred fifty dollars and removes the feedback loop that keeps you sharp. Invest in automation only after you’ve run the space manually for a full season and identified a genuinely repetitive task that breaks your workflow. Until then, the time you spend watering is the time you spend learning.
Beyond Bathtubs: The Greenhouse With Bathtub Myth

Water Collection And Retention That Actually Works
You want the aesthetic of a self-watering greenhouse without admitting you’re lazy. The bathtub hack circulates because it’s visible and feels intentional, but it solves the wrong problem. Thermal mass works through physics, not Instagram optics. A bathtub holds heat and water but does neither job better than purpose-built systems. The real mechanism: you need thermal mass that exchanges energy with air, not static water sitting in a corner collecting algae and mosquitoes.
Dig shallow trenches filled with dark stones or lay black landscape fabric over soil under benches. These absorb solar radiation during the day and release it at night, stabilizing temperature swings that kill plants faster than drought. Water your plants normally through drip lines or soakers. The soil itself becomes your retention system because roots access it constantly. Stone and fabric cost pennies compared to a bathtub, and they actually move heat instead of just holding dead weight.
Humidity Regulation Without The Moisture Trap
Everyone treats humidity like a separate problem, but it’s a symptom of poor air exchange. Evapotranspiration from plants creates moisture, and stagnant air traps it, breeding fungal diseases and rot. The mechanism comes from thermodynamics: warm air holds more water vapor than cool air, so you either vent heat or risk condensation damage. Install a small louver vent at the peak and one near the base on the opposite side. Hot air escapes up. Cool air pulls in low. This creates convection without a fan.
On cold nights when you need humidity to stay high, close the vents partially and monitor leaf wetness. Wet leaves at dawn signal excessive moisture, meaning you’ll have powdery mildew within weeks. The fix isn’t humidifiers or trays of water. It’s air movement tied to temperature. Install vents large enough that you can feel steady airflow with your hand when the sun heats the greenhouse. Measure humidity with a five-dollar hygrometer. Shoot for 50 to 70 percent during growing hours, below 60 percent at night.
Tiny Greenhouse Ideas: The Efficiency Matrix
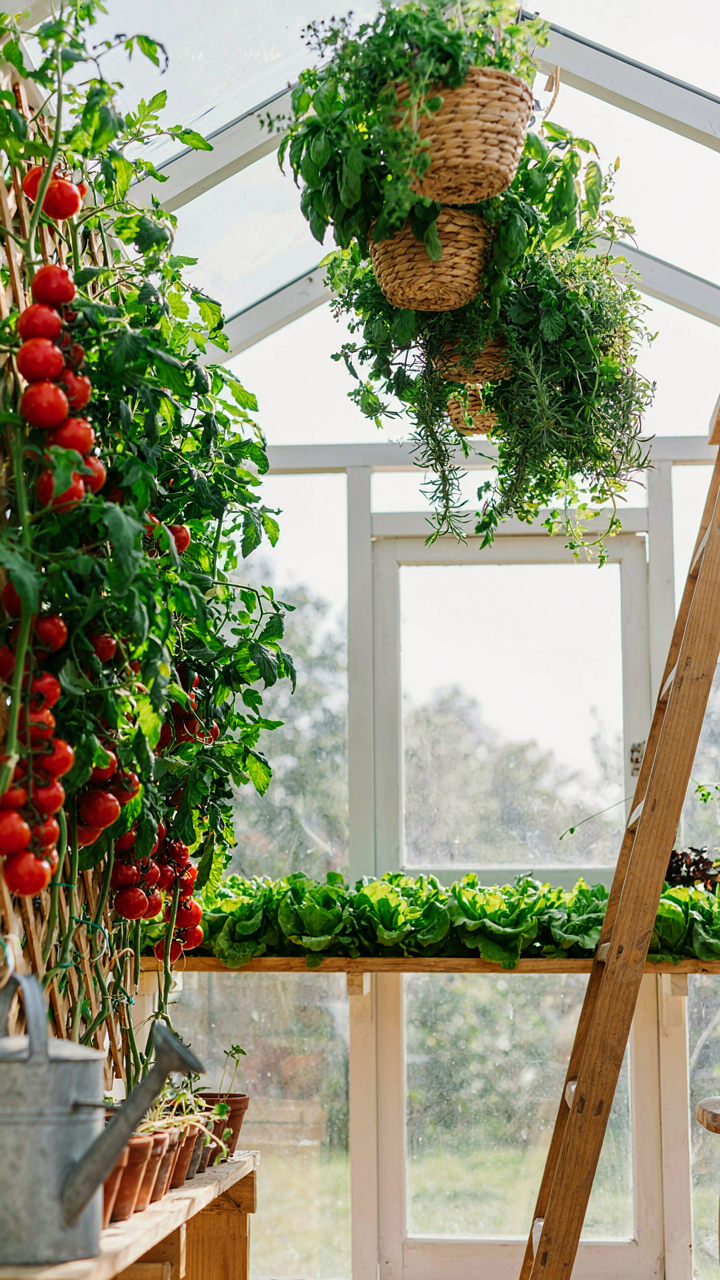
Stack Your Crops Vertically First
You want to feel productive without actually rethinking your space. Here’s the mechanism: you’re confusing square footage with cubic feet. Physics matters here. A small greenhouse with five feet of vertical headroom contains usable air volume most growers ignore. Trellising, shelving, and hanging systems don’t change the footprint but triple the growing capacity. Tomatoes climb. Lettuce stacks on shelves below. Herbs hang from above. The constraint isn’t horizontal space—it’s your refusal to build upward.
Most vertical systems fail because growers treat them as afterthoughts instead of the structural backbone. Design vertical first, then slot crops around it. Use sturdy shelving rated for wet soil weight, not decorative wire stands. Position your tallest plants on the north side of your greenhouse so they don’t shade lower levels. This forces you to choose crops that actually work together in layers rather than cramming incompatible plants into corners and hoping light reaches everything.
Rotation Protocol For Confined Soil
Biology runs soil health, and rotation is your debt payment system. You cannot grow the same crop family twice in small greenhouse soil without collapsing fertility and feeding pest populations. Nitrogen feeders (tomatoes, peppers) deplete one nutrient. Legumes (peas, beans) restore it. Root crops (carrots, beets) occupy a different soil depth. Leafy crops (lettuce, spinach) demand different minerals. Space is tight, so your rotation must be intentional, not random.
Map out what you planted last season and what lived in that soil before. Commit to moving crop families to different beds or containers each cycle. If you have only one growing zone, use containers and swap soil between seasons instead of trying to rotate within the same bed. Soil testing twice yearly reveals what’s actually depleting, not what you assume. This data drives your next planting decision and keeps a small system from becoming a disease vector within eighteen months.
The Greenhouse Shed Ideas: Integrated Design Thinking

Shed As Structural Support
You want the shed to do double duty so you feel like you’re not wasting space. Here’s what actually matters: borrow from load-bearing architecture. The shed becomes the greenhouse’s load-bearing wall system, not decoration. A properly positioned shed wall blocks wind, distributes snow load, and eliminates the need for expensive bracing on that side of your frame.
The mechanism is simple. Your shed’s existing foundation and framing already handle ground stress and weather exposure. Attach one or two greenhouse walls directly to the shed’s structure instead of building freestanding. This removes 30 to 40 percent of the bracing and framing cost from your greenhouse build. Your greenhouse becomes an extension, not an isolated structure fighting the same forces independently.
Utility Integration Water Power And Ventilation
Most people run greenhouse utilities as separate systems, which costs more and fails faster. The real move is co-locating your water, power, and ventilation infrastructure where the shed already exists. Your shed roof collects rainwater. Your main power lines likely already feed the shed. Your ventilation exhaust can stack vertically up the shed’s existing wall.
Install water collection gutters along the shed roof’s greenhouse-facing side and direct flow into a storage tank positioned at the shed’s base. Run electrical conduit alongside the shed’s exterior frame instead of burying new lines. Mount exhaust vents where the shed wall meets the greenhouse roof line, using the shed structure as mounting anchor. This clustering cuts installation labor by half and eliminates the redundancy that kills systems over time.
The Small Backyard Greenhouse System: Compounding Growth
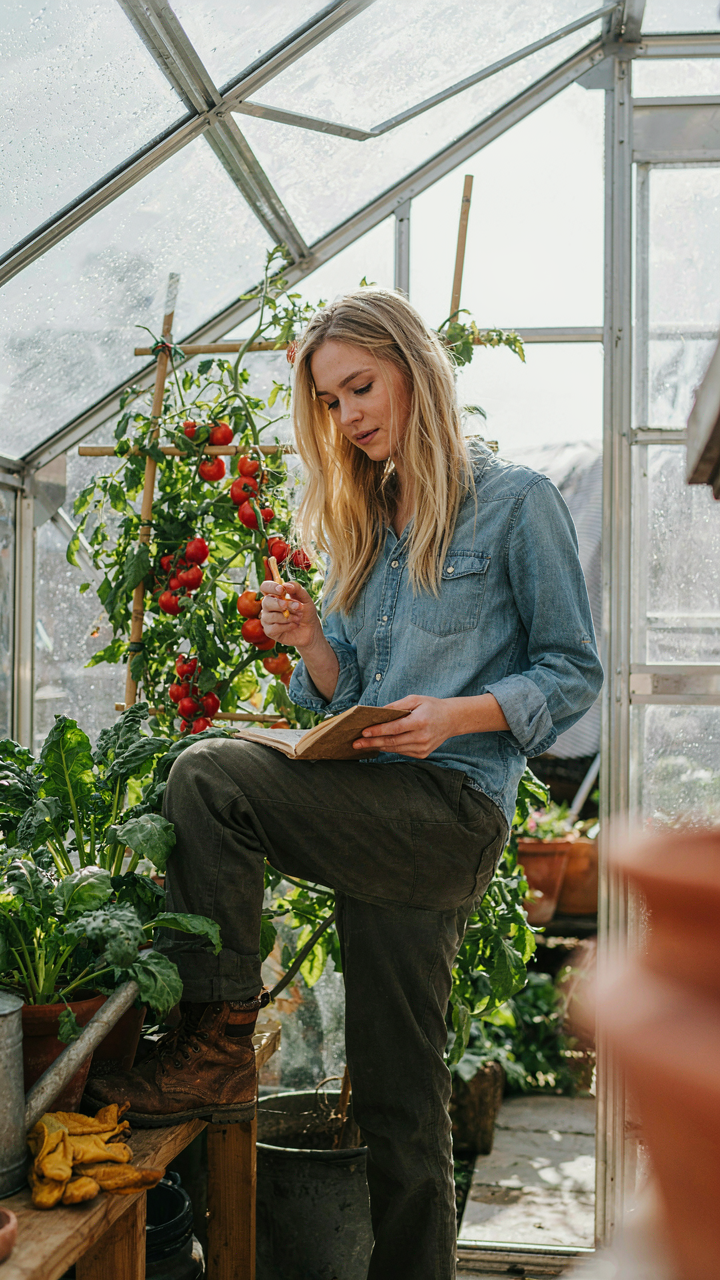
Plan Crops Around Seasons, Not Seasons Around Crops
You want to believe that a greenhouse lets you ignore seasons and grow anything anytime. It doesn’t. The real mechanism is this: seasonal planning maximizes what your greenhouse can actually produce by stacking crop cycles where energy costs and plant growth rates align naturally. You’re not fighting thermodynamics. You’re working with it.
Winter crops require less light but demand heating. Spring and fall crops need ventilation more than fuel. Summer crops demand shade and water management. The actual yield multiplier comes from choosing plants that match what your greenhouse naturally provides each quarter. Tomatoes in June. Leafy greens in February. Root crops in November. Stack these right and you compound output without compounding expenses.
Track What Works, Repeat What Doesn’t Fail
Biology works on feedback loops. Your greenhouse is a biological system. Systems thinking from cybernetics says the mechanism that matters is how fast you detect deviation and correct it. You measure temperature, humidity, soil moisture, and harvest weight. Most people don’t. They guess. Guessing breaks systems.
The compounding happens when you stop relying on memory and start logging actual numbers. Note planting dates. Record first harvest. Track pest pressure by week. Monitor water usage per crop. Within three seasons, the data shows which plants perform, which fail, and which conditions you control poorly. This isn’t optional if you want to scale upward. It’s the only way to know what actually works in your specific microclimate.
The Real Obstacle Isn’t Your Small Space, It’s Your Small Thinking

You don’t need more square footage. You need permission to start. Most people kill their greenhouse dreams before they plant a single seed because they’re waiting for ideal conditions that never arrive. Stop waiting. Measure your space today. Draw it out. Pick one crop. Buy the materials this week. The greenhouse that produces food beats the perfect greenhouse you’re still planning in your head. Your backyard doesn’t limit you. Your hesitation does.



