
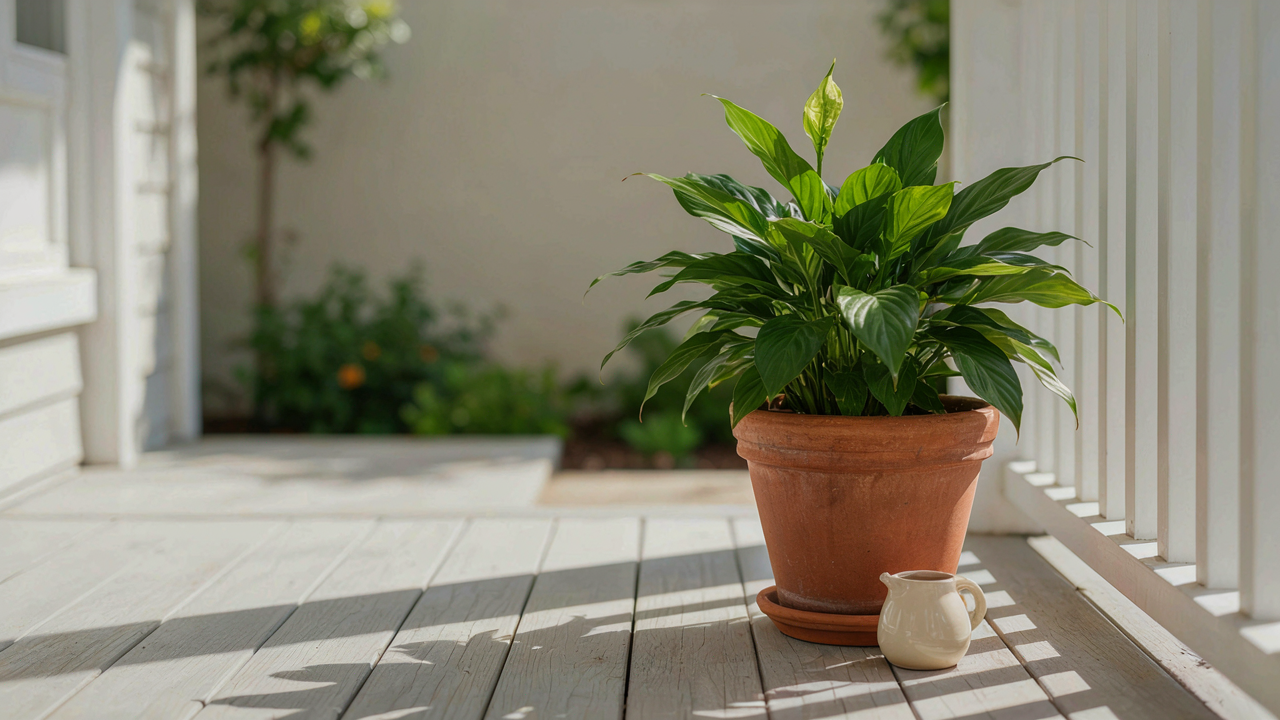
The Porosity Paradox: Why Your Terracotta Pots Aren’t What You Think
Water Wicking Myth Vs. Reality
You believe terracotta breathes water out evenly, keeping roots perfectly moist. It doesn’t work that way. Terracotta is porous, yes, but the mechanism that matters is capillary action, borrowed from physics: water moves up through the clay against gravity, not away from roots. This means water concentrates at the pot’s base, not the sides.
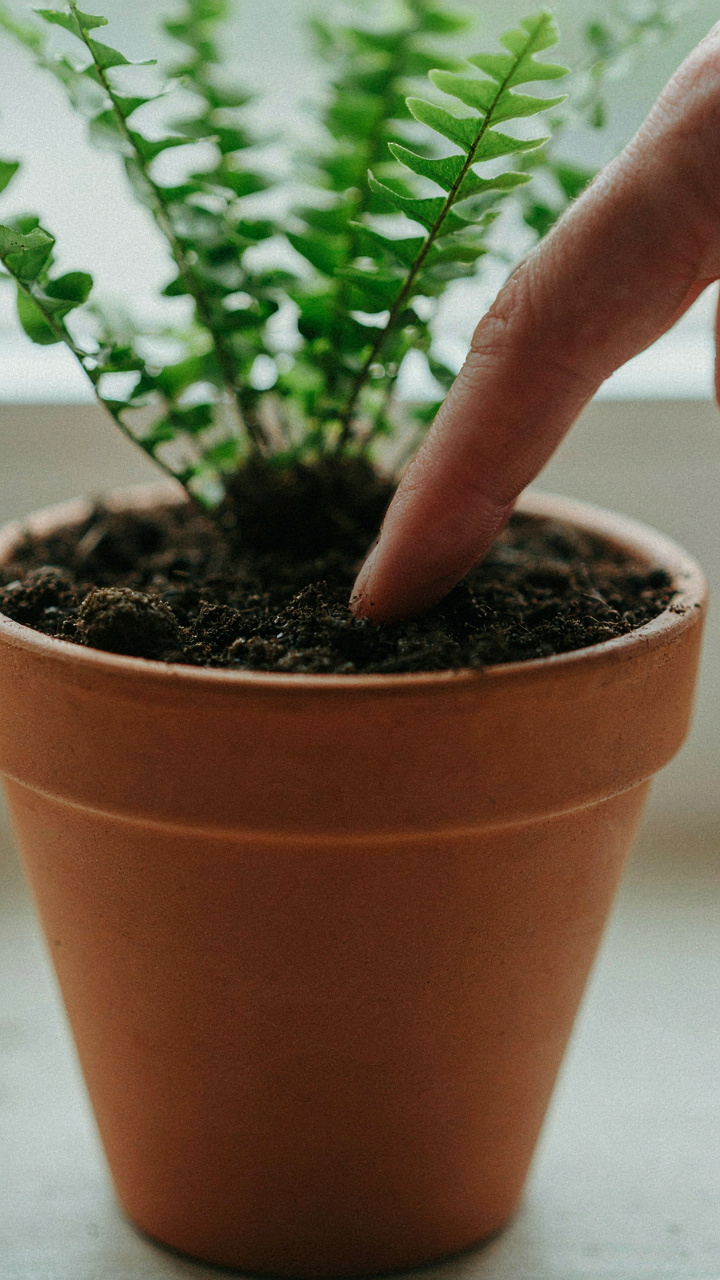
The common advice says terracotta prevents overwatering through even evaporation. Wrong. Water wicks upward through the clay matrix and pools at the bottom where roots sit. Soil at the base stays wet longer than the surface, creating localized saturation. Your watering frequency should account for this vertical water distribution, not assume even drying across all soil layers. Check soil moisture three inches down, not at the surface.
Root Aeration: Unintended Consequences
Porous clay does allow oxygen exchange through the walls, but this trades one problem for another. The same capillary action that wicks water also dries the outer soil layer faster than inner layers, creating a moisture gradient that roots exploit unevenly. Roots concentrate where water pools, not where oxygen is highest. Terracotta’s aeration advantage disappears if you overwater, since saturated soil blocks oxygen regardless of pot material.
The real mechanism: terracotta forces you to match watering precision to pot size and soil composition. Smaller pots dry faster, larger pots create internal wet zones. Dense soil holds water longer in terracotta than loose mixes. Stop treating terracotta as a failsafe against bad watering habits. Instead, establish a watering protocol based on your specific pot size, soil type, and drainage hole positioning, then stick to it weekly without deviation.
The Unseen Enemy: Mineral Buildup And Its Silent Kill

When Salt Crystals Take Over Your Pot
You care about this because white crusty buildup looks like neglect, and neglect signals you don’t maintain what you own. The real mechanism: salt efflorescence happens when water moves through terracotta’s porous structure and evaporates on the surface, leaving mineral deposits behind. This isn’t cosmetic. The crystals expand and contract with temperature swings, creating micro-fractures that weaken the pot’s structural integrity over months.
The visual cues matter because they tell you your watering pattern is wrong. White or grayish film on the outside of the pot means water is traveling through the clay faster than it should, pulling dissolved minerals to the surface. If you see dark staining or pitting beneath the crust, the damage has progressed past surface level. At that stage, the pot’s lifespan shortens significantly. Stop treating efflorescence as something to ignore.
Hard Water Corrodes From The Inside Out
Borrow a term from chemistry: hard water functions like an acid on terracotta’s calcium structure. High mineral content, particularly calcium and magnesium, doesn’t just sit on the surface. It penetrates the clay matrix, weakening the bonds that give terracotta its durability. Most advice ignores this entirely, focusing only on the crusty buildup you see. That’s incomplete.
The corrosive impact accelerates when you use hard water repeatedly in the same pot without intervention. Over time, the pot becomes more porous, absorbs water faster, and loses its ability to regulate moisture for your plant. The solution isn’t aesthetic adjustment. You either switch to filtered water, periodically flush the pot with distilled water to leach accumulated minerals, or replace affected pots before they fail completely.
The “Cleaning Clay Pots Terra Cotta” Deception: More Than Just Scrubbing

Bleach: When It Helps, When It Harms
You want bleach to solve your pot problem because you assume stronger kills better. That’s not how clay chemistry works. Bleach oxidizes organic growth on the surface, but terracotta is porous—the mineral deposits and salts live deeper in the matrix. Bleach damages the pot’s structural integrity by breaking down the clay’s binding compounds over repeated use. It works fast on visible algae or mold, which is why it feels right. It isn’t.
The real mechanism is osmotic pressure, borrowed from biology. Salt deposits migrate through the clay’s pores toward the surface when water evaporates. Bleach accelerates this migration and creates micro-fractures in the clay walls. Use bleach once, maybe twice for severe surface growth, then stop. A one-part bleach to nine-parts water solution applied for five minutes, then rinsed thoroughly, kills what you see. Anything beyond that trades short-term clean for long-term structural failure.
Vinegar’s Acidic Advantage For Mineral Scale
Mineral deposits are calcium and magnesium compounds bonded to clay through alkaline chemistry. Vinegar reverses that bond. The acetic acid dissolves mineral scale without damaging the pot’s clay matrix because it targets only the deposits, not the substrate. This is why vinegar outperforms bleach for pots showing white crusty buildup on the rim and sides.
White vinegar at full strength applied with a soft brush removes scale in 10 to 15 minutes. Soak the pot’s exterior in a bucket if deposits are heavy, then scrub gently. The acid doesn’t weaken clay—it neutralizes what shouldn’t be there. Rinse with clean water twice to stop the acid’s work and prevent redeposition as water evaporates. This is the protocol that actually extends pot life instead of consuming it.
The Thermal Shock Protocol For Terracotta Pot Gardening Tips

Why Temperature Swings Crack Your Pots
You care about this because a cracked pot looks like failure, and you paid money for it. Here’s what actually happens: terracotta obeys the physics of thermal expansion. When temperature shifts fast, the clay’s outer layer expands or contracts before the interior catches up. This creates internal stress. The material fractures along its weakest points, usually invisible until the damage is done. Most people blame poor quality. The real culprit is the temperature differential itself, not the pot.
Terracotta is porous and dense simultaneously, which makes it vulnerable to rapid temperature swings. A pot sitting in direct sun at eighty degrees, then exposed to forty-degree night air, experiences severe structural stress. The clay wants to move at different rates on its surface versus its core. This mismatch causes micro and macro fractures. Prevention isn’t about buying thicker pots. It’s about controlling the environment the pot enters and exits.
Acclimate Before You Plant
Most care guides skip this step or bury it under vague language like “let it adjust.” That’s incomplete. Here’s the protocol: bring a new terracotta pot indoors to room temperature for twenty-four hours before watering or placing it outside. Don’t move it directly from a store shelf to harsh sunlight or freezing temperatures. The clay needs time to stabilize its internal moisture and temperature profile.
After indoor acclimation, transition the pot outdoors gradually over three to five days. Place it in partial shade first, then increase sun exposure incrementally. Water it lightly during this period, not heavily. You’re teaching the clay to handle environmental stress incrementally, not shocking it into failure. The goal is zero fractures before your plant ever enters the soil.
Beyond Sterilization: The Microbiome Of Terracotta Pots

What Actually Lives In Your Pot
You want to sterilize your terracotta because you fear invisible contamination. Stop. The real mechanism is this: terracotta is porous ceramic, and porosity means microbial colonization is inevitable and mostly beneficial. Sterilization kills everything, then your pot refills with whatever enters first. The goal isn’t a dead pot. It’s a pot colonized by organisms that defend your plant, not attack it.
Terracotta’s clay matrix naturally hosts bacteria, fungi, and microorganisms. Most are harmless. Some actively suppress root pathogens. Aggressive sterilization with bleach or heat strips this ecosystem, leaving your pot vulnerable to whichever pathogen arrives first. The plants that thrive longest don’t sit in sterile containers. They sit in pots where competitive microbes have established territory.
Microbial Competition Prevents Disease
Ecology teaches us about resource competition and niche occupation. Apply this to terracotta: the available surface and nutrient space in a pot’s pores will be colonized. The question is who colonizes it first. Beneficial bacteria and saprophytic fungi occupy niches that pathogenic fungi would otherwise claim. When these defenders establish early, pathogens simply have no resources or attachment points.
Stop soaking used pots in bleach solutions, expecting that to fix disease problems. It doesn’t. It guarantees the next organism to arrive fills the void unchallenged. Instead, lightly scrub pots to remove soil debris, then allow natural microbes from your growing environment to recolonize. This competitive ecosystem becomes your plant’s most effective immune system. Reuse pots in the same growing area whenever possible to preserve this microbial continuity.
The Relocation Reflex: Why Moving Your Terracotta Pots Kills Them

Stress Points In Brittle Geometry
You want to move your pots without looking careless. That’s the real fear here. But most people don’t understand what actually breaks them. Terracotta behaves like any brittle material in physics: it fails at concentrated stress points, not from uniform pressure. The rim, the base transition, and the narrowest wall sections are where fractures initiate. When you grip the pot’s sides or lift from the rim, you’re channeling all the load through those weak zones.
The pot’s shape works against you. The cylindrical walls distribute stress unevenly. The base connection is a stress concentration point where the flat bottom meets vertical sides at a hard angle. That junction absorbs impact first. Moving a pot isn’t about how hard you grip it. It’s about how you distribute the weight across the entire structure so no single point bears the load.
Leverage And Load Distribution
Lift from the base, not the sides. That’s the advice everyone gives. It’s incomplete garbage. You need to understand the difference between leverage and load distribution. When you grip the pot under the base with both hands, you’re creating opposing forces that actually bend the pot slightly. That bending concentrates stress at the midpoint of the walls. Instead, cradle the pot with one hand under the base and the other supporting the lower third of the exterior. This keeps the structure rigid and moves the whole mass as a unit without flexing.
The carrying position matters more than the grip. Hold the pot close to your body at waist height. Transport it with no rotation or tilting. If you must set it down during relocation, place it on a stable, flat surface before adjusting your grip. Never shift a pot while holding it. Never carry multiple pots stacked or nested. Terracotta fractures from small momentum shifts during transport. Move one pot at a time, keep it perfectly level, and set it in its final position before releasing it.
Cleaning Terra Cotta Pots: The Pre Planting Soak Myth

Why Soaking Matters Before You Plant
You want to believe soaking fixes everything because it feels like control, and control beats uncertainty. Here’s the mechanism: terracotta is fired clay with microscopic pores. When dry, these pores pull water from soil faster than roots can absorb it. Soaking saturates the clay itself, slowing that initial draw.
Soak new pots in clean water for 24 hours before planting. This matters most for brand new terracotta that has never held moisture. The clay absorbs water into its matrix, reducing the capillary pull that would otherwise stress young roots during establishment.
- New pot priority: Soak unglazed terracotta before first use. Pre-fired clay grabs moisture aggressively and needs dampening to stabilize the soil environment.
- Water quality: Use tap water or collected rainwater. Chlorine and minerals won’t damage the pot, and soaking isn’t selective anyway.
- 24 hour standard: One full day submerged gives adequate saturation without over-hydration or mold risk in storage conditions.
- Used pot cleaning: Scrub old terracotta with water and a stiff brush, then soak for 12 hours to remove salt deposits and rehydrate the clay base.
- Timing before planting: Soak, then let drain completely before adding soil. Soggy clay plus wet potting mix creates anaerobic conditions roots reject.
After soaking and draining, the pot stays damp internally for days. This reduces the stress on new transplants that would otherwise face immediate dehydration in their new container. The goal isn’t permanent saturation. It’s calibrating the clay’s thirst during the critical first growth phase.
When Soaking Becomes A Root Killer
Waterlogging in plant biology means oxygen depletion in the root zone, and terracotta’s porosity becomes a liability when you misapply the soak. Extended soaking beyond 24 hours, or soaking a pot immediately before planting without drainage time, traps water in the soil mix itself. Roots suffocate.
The confusion happens because people think “soak the pot” and “soak before planting” are the same action. They’re not. Soak the clay. Then drain it completely. Then add dry or barely moist potting soil. If you skip the drainage step and plant into a waterlogged pot, the clay’s permeability means nothing because the soil blocks oxygen flow to the roots anyway.
Established plants in terracotta don’t need pre soaking. Their root systems have adapted to the clay’s water dynamics. Re soaking an active pot disrupts that balance and can cause sudden wilting or fungal issues if the excess water lingers in the soil profile. Only soak when the pot is empty and before you introduce any plant material into it.
The Fungal Fallacy: When “Clean Clay Pots” Invites Disease
Scrubbing Away Your Pots’ Natural Defense
You want your pots spotless because clean feels like control. Here’s what actually happens: terracotta is porous. When you scrub it aggressively with soap and bleach, you strip the microbiome that lives on and in the clay surface. This isn’t dirt. It’s a protective layer. Biology calls this colonization resistance, and it works the same way your gut bacteria defend you against pathogens. Remove the established colony, and you create a vacuum.
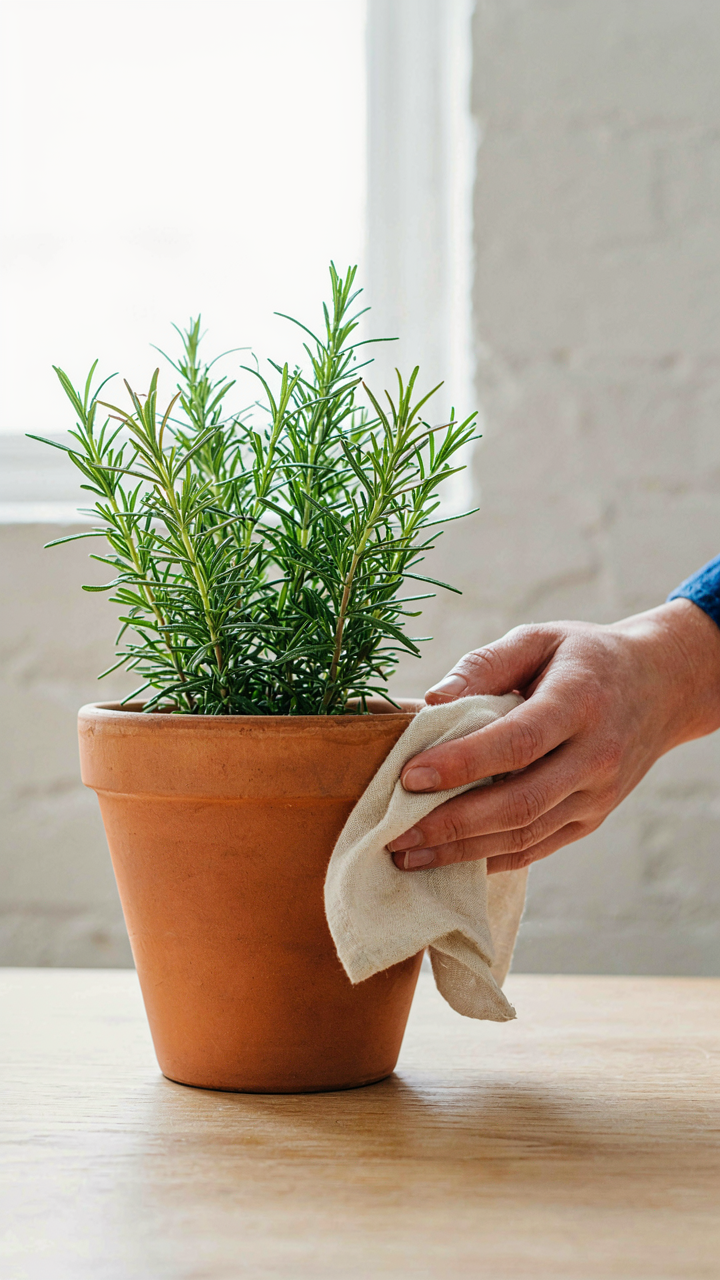
The gap you create lasts days to weeks depending on humidity and airflow. During that window, fungal spores find clean, undefended pores and establish themselves faster than the beneficial microbes return. The pots are most vulnerable right after you’ve cleaned them. This is why aggressive sanitization often precedes problems, not prevents them. Wipe terracotta with a dry cloth. Rinse with water only when salt deposits accumulate. Skip the antimicrobial soap entirely.
Residue Buildup Creates The Exact Conditions Fungi Love
Fresh terracotta pores absorb water and minerals. You see white crusty deposits form, panic, and clean them aggressively. The deposits are salts and minerals from water and soil, not disease. When you scrub them off, you leave behind moisture trapped in freshly opened pores and a sterile surface. Fungi exploit both conditions. The irony is brutal: the residue you removed was actually signaling a problem you needed to address differently.
Instead of scrubbing, leach the pots before first use by soaking in water for 24 hours, then repeating twice. This saturates the clay and lets salts migrate out naturally. After that, salt deposits mean your water contains dissolved minerals. Switch to filtered or distilled water for sensitive plants, or accept the deposits as normal aging. When deposits accumulate thick enough to affect water movement, brush them gently with a soft brush, never scour. Fungal prevention depends on maintaining the original microbiome intact.
Winter’s Deception: True “How To Clean Clay Pots Terra Cotta” Storage
The Moisture Trap
You’re storing pots to protect them, but you’re actually setting up the conditions for destruction. Here’s what nobody says plainly: terracotta is porous clay, and moisture trapped inside expands when frozen, then contracts when thawed. Think of physics’ expansion principle applied directly to your pot’s integrity. One wet pot in an unheated garage moves through freeze-thaw cycles that crack ceramic from the inside out.
Most storage advice tells you to “keep pots dry.” That’s lazy. You need to eliminate moisture before storage even begins, not just hope it stays absent.
- Pre-storage rinse and dry: Run water through pots, then air dry for 48 hours minimum in direct sun. Moisture trapped in clay’s pores gets expelled only through active evaporation, not time alone.
- Interior inspection: Check for soil residue inside the pot cavity. Damp soil clinging to walls acts as a moisture reservoir during winter, feeding freeze-thaw damage from within.
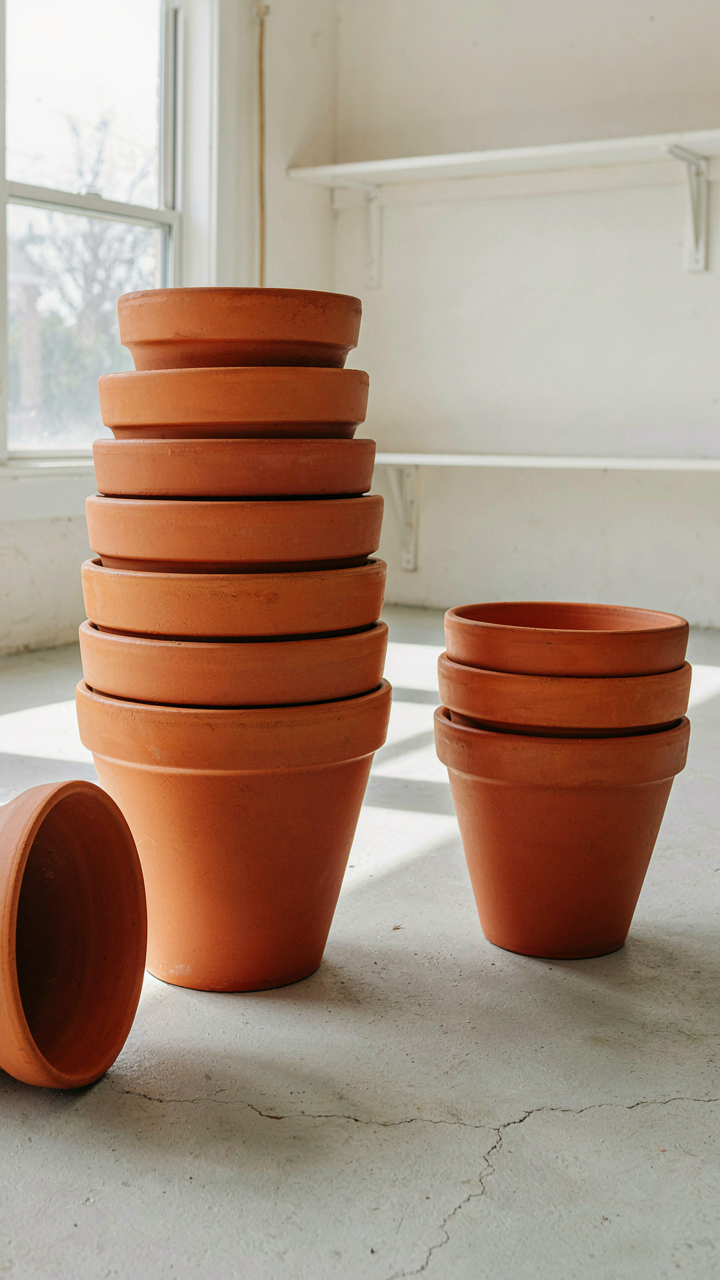
- Upside-down stacking: Store pots inverted so any condensation runs off instead of pooling inside the vessel where freezing begins.
- Unheated space choice: Select storage areas that stay consistently cold, not spaces with temperature fluctuation. Garages with heaters create condensation cycles worse than steady freezing.
- Wrapped isolation: Wrap each pot individually in burlap or cloth to absorb ambient moisture before it penetrates the clay, creating a buffer layer between pot and air.
The mechanism is simple: water expands roughly 9 percent when frozen. Terracotta, being clay, has nowhere for that expansion to go except outward and into existing micro-fractures. Your job is removing every molecule of water before temperature drops. Inspect pots after drying by running your hand inside. Moisture will register as coolness on your palm. If you feel it, the pot isn’t ready for storage yet.
Weight Distribution And Structural Failure
Stacking terracotta pots might look efficient, but the weight-bearing capacity of clay deteriorates predictably under pressure. Don’t stack heavy pots on lightweight ones and expect the system to hold. The bottom pot compresses first, and compression cracks radiate upward through the stack. This is structural failure, not accident.
Most people stack pots in a pyramid or tower, assuming the wider base holds everything. It doesn’t. The clay at the rim of the bottom pot bears direct load from the pot above it. Rims are thinner and weaker than sidewalls. Start by assessing each pot’s wall thickness and base stability before stacking. Heavier, thicker-walled pots belong on top. Lighter specimens go underneath or remain unstacked. Position each pot so its base sits fully inside the rim below it, not balanced on the rim edge. This distributes pressure across the interior surface, not the vulnerable perimeter. Never exceed three pots high. Two is safer. One is safest.
Weight bearing matters more than appearance during storage. Organize by size and weight separately. Stack only pots of similar thickness together. If a pot has visible cracks or thin spots already, store it alone on a padded surface. The cost of breaking one pot is replacing it entirely. The cost of preventing breakage is ten minutes of thoughtful arrangement.
Your Fear Of Imperfection Blinds You To The Resilient Simplicity Of True Terracotta Pot Plant Care

You’re waiting for the perfect conditions to exist before you act. They won’t. Terracotta doesn’t demand perfection. It demands consistency. Pick one pot today. Water it when the soil feels dry. Watch what happens over two weeks. Most plant deaths happen because people overthink the process, not because they miss some hidden technique. Stop designing the ideal setup in your head and start observing what your actual plants need. The system reveals itself through action, not research.



